
Hanging curtains over patio door demands a strategic approach that standard windows don’t require. Get it wrong, and you’ll block precious light, ruin your view, or even interfere with the door’s operation. The most common disaster? Installing rods too narrow for the space, forcing curtains to cover the glass when open—turning your patio door into a decorative barrier instead of a functional feature. This isn’t just about aesthetics; it’s about preserving the door’s purpose while adding privacy and style. In this guide, you’ll discover the exact measurements, hardware choices, and installation tricks to hang patio door curtains that work as beautifully as they look—without sacrificing functionality.
The stakes are higher with patio doors because they serve dual roles: they’re your primary light source and your main access point to outdoor spaces. Unlike standard windows, curtains here must glide smoothly multiple times daily while stacking back completely to avoid obstructing views or door tracks. Many homeowners make the critical error of treating patio doors like oversized windows, resulting in skimpy fabrics, poorly positioned rods, and curtains that snag when opening. But with the right technique—which we’ll break down step by step—you’ll achieve that coveted designer look where hardware disappears and fabric becomes the star.
Why Your Patio Door Curtains Fail to Stack Back Properly
The #1 frustration with patio door curtains is blocked glass when open. This happens almost exclusively because the rod isn’t wide enough. When curtains can’t fully clear the door frame, you lose natural light and the visual connection to your outdoor space—a fundamental purpose of having a patio door.
The Minimum Stackback Space You Can’t Skip
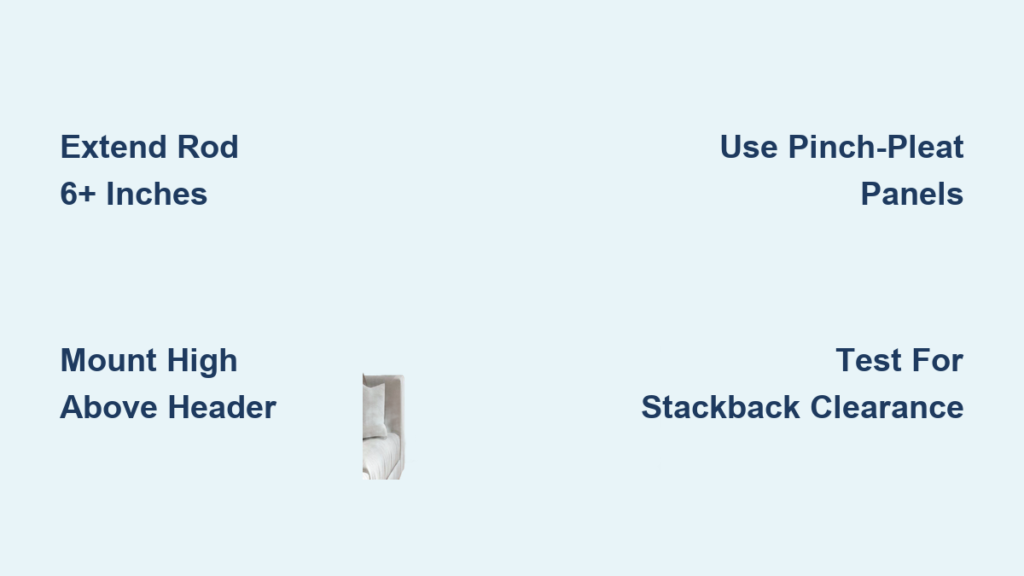
For curtains to clear the glass completely, your rod must extend at least 6 inches beyond the door trim on each side. This creates the essential “stackback” space where fabric gathers when open. If your wall space allows, stretch to 12 inches per side—this prevents fabric from spilling onto the door frame during operation. Measure your available wall space first; if you have less than 6 inches of clearance on either side, consider a ceiling-mounted rod system to bypass this limitation entirely.
How Door Track Interference Creates Daily Headaches
Patio doors slide horizontally, meaning curtain hardware must sit high enough to avoid the track. Position rods at least 4 inches above the door header (the top molding) to prevent fabric from dragging or catching. If your door has a low header, measure from the track itself—never let the rod sit lower than 2 inches above the highest point of the track mechanism.
High-and-Wide Placement: The Designer Trick for Instant Ceiling Height

This method transforms cramped rooms by creating optical illusions of grandeur. It’s the professional standard for good reason: it makes ceilings feel taller and doors appear more majestic while maximizing light control.
Exact Mounting Heights for Different Ceiling Types
- Standard 8-9 ft ceilings: Mount rods 4-6 inches below the ceiling line. This creates vertical drama without making the space feel top-heavy.
- 10+ ft ceilings: Go bolder—place rods 8-12 inches below the ceiling to fill the extra height.
- Cathedral/vaulted ceilings: Anchor rods 6 inches below the crown molding or highest architectural detail to maintain proportion.
Why Extending Beyond the Trim is Non-Negotiable
Your rod must be 12-18 inches wider than the door frame total. For a standard 6-foot wide patio door, that means a 7.5-8 foot rod. This width ensures curtains stack back onto the wall—not the glass—when open. Test this before buying hardware: hold a tape measure at your planned rod height, extending 9 inches past each side of the door. If curtains still touch the frame when pulled open, add 3 more inches per side.
Frame-Aligned Curtains: When to Choose a Tailored Look Instead
This approach works best in minimalist spaces or where wall space is limited. It creates a clean, built-in appearance but demands precise execution to avoid functional issues.
The Critical 3-Inch Clearance Rule
Mount rods only 1-3 inches above the door header, but never directly on the molding. This narrow buffer prevents fabric from scraping the door frame during operation. Crucially, maintain the 6-inch side extension—skimping here is why frame-aligned installations often fail. If your trim is ornate, add 1 extra inch of clearance to avoid fabric catching on details.
When This Method Backfires (And How to Salvage It)
Avoid frame-aligned placement if:
– Your door has a low header (under 8 inches tall)
– You have less than 7 inches of wall space per side
– You use thick blackout fabrics (they require more stackback space)
If committed to this style, install a double rod system—sheers on an inner rod, heavier panels on an outer rod—to reduce bulk when open.
Exact Measurements for Patio Door Curtains That Look Luxurious

Skimpy curtains scream “afterthought.” Professional fullness requires precise math, not guesswork.
Rod-to-Fabric Width Ratio: The 2.5x Secret
Multiply your rod width by 2.5 to determine total curtain width. For a 96-inch rod, you need 240 inches (20 feet) of fabric—typically two 100-inch wide panels. Never go below 2x; 1.5x creates a stretched, anemic look. Pro tip: Buy panels 4-6 inches wider than calculated to allow for hem adjustments.
Floor Clearance: Kiss vs. Puddle vs. Float
- Classic “kiss”: Curtains graze the floor with zero gap (ideal for traditional spaces)
- Modern float: ½-inch clearance for crisp, uncluttered lines
- Romantic puddle: 1-2 inches of excess fabric pooling on the floor (use only with lightweight materials)
Measure from rod bottom to floor, then subtract your clearance preference. Always measure at the door’s highest point—floors slope!
Choosing a Rod That Won’t Sag Under Heavy Patio Door Drapes
Flimsy rods bow under fabric weight, creating uneven hangs and operational headaches. Your solution must handle 2-3x the weight of standard window curtains.
Traverse Rods: The Only Choice for Heavy Panels
Opt for telescoping metal traverse rods with internal pulley systems. They allow one-pull operation—critical for wide spans—and distribute weight evenly. Avoid plastic rods entirely; even “reinforced” versions flex under 10 lbs of fabric. Confirm weight capacity: if your panels exceed 15 lbs total, choose a rod rated for 30+ lbs.
Bracket Installation: Anchor Like a Pro
- Stud-mounted: Use 3-inch screws driven into two studs minimum (one per end bracket)
- Drywall-only: Install 2.5-inch toggle bolts through both bracket holes
- Critical reinforcement: Add a center support bracket for rods over 72 inches
Never rely on single anchors—distribute weight across multiple points. Test stability by hanging a 10-lb weight before adding curtains.
Best Curtain Styles for Doors You Open Multiple Times a Day
Grommet tops snag on tracks; rod pockets bunch awkwardly. For high-traffic doors, prioritize smooth gliding mechanics.
Pinch-Pleat Panels: The Gold Standard for Function
These create clean, even folds that glide effortlessly on traverse rods. The hidden back tabs prevent fabric from catching on hardware during operation—a lifesaver for daily use. Opt for 3-finger pinch pleats (not double) for lighter weight and better drape.
Tab Top: Surprisingly Functional for Light Fabrics
Only choose this style if using sheer or lightweight linen panels. Ensure tabs are 2 inches wide and spaced 6 inches apart to prevent tearing. Avoid with blackout liners—they add too much bulk for smooth movement.
How to Hang Patio Door Curtains: 6 Steps Without a Stud Finder Disaster

Skip these steps, and your curtains will tilt, sag, or crash down mid-use. Precision here prevents future headaches.
Step 1: Mark Bracket Positions with Laser Accuracy
Hold your rod at planned height, extending 9+ inches past door trim. Mark bracket centers with painter’s tape. Crucial: Use a laser level—not a bubble level—to ensure perfect horizontal alignment across the entire span.
Step 2: Locate Hidden Support Points
Scan walls with a stud finder, but verify by drilling ⅛-inch pilot holes at marked spots. If you hit wood, drive a 3-inch screw immediately. If not, switch to ½-inch toggle bolts—never use plastic anchors for curtain rods.
Step 3: Install Brackets with Zero Tolerance for Error
Tighten brackets until they’re immovable, then check alignment again. If one bracket is ¼-inch higher than the other, the entire rod will tilt. Fix now by shimming with cardboard scraps behind the bracket.
Step 4: Test Rod Stability Before Adding Fabric
Hang a 10-lb weight (like a bag of rice) from the rod’s center for 24 hours. If it sags more than ⅛ inch, add a center support bracket.
Step 5: Hang Panels with Professional Tension
Attach pinch-pleat hooks at the top seam, spacing them 4 inches apart. For grommets, thread the rod through before mounting. Never force fabric—the rod should slide freely.
Step 6: Final Clearance Check
Open curtains fully. If fabric touches the door frame, loosen end brackets and shift rod outward by 1 inch increments until clearance is perfect.
5 Costly Patio Door Curtain Mistakes You Must Avoid
These errors ruin functionality and force expensive re-dos. Learn from others’ regrets.
Mistake #1: Ignoring Stackback Space During Measurement
Consequence: Curtains block 30% of your view when “open.”
Fix: Always measure available wall space before buying rods. If less than 6 inches per side exists, use ceiling mounts or track-mounted systems.
Mistake #2: Choosing Grommets for Blackout Panels
Consequence: Stiff fabric catches on grommets, requiring two hands to open.
Fix: Reserve grommets for sheers only. Use pinch pleats for any fabric over 300 GSM weight.
Mistake #3: Mounting Rods on Door Molding
Consequence: Rods vibrate loose from door movement; fabric snags on trim.
Fix: Maintain 1-inch minimum clearance above all moldings.
Mistake #4: Skipping Double Rods for Layered Light Control
Consequence: No daytime privacy without sacrificing light.
Fix: Install inner rod for sheers 2 inches behind main rod—allows independent operation.
Mistake #5: Accepting “Floating” Curtains
Consequence: Gaps at sides waste privacy and let light bleed.
Fix: Ensure panels overlap center by 6+ inches when closed.
Final Note: Perfect patio door curtains balance form and function—never sacrificing one for the other. By extending rods wide enough for complete stackback, choosing pinch-pleat panels for daily use, and anchoring hardware into structural supports, you’ll create a seamless transition between indoor and outdoor spaces. Remember: the goal isn’t just to cover the door, but to enhance it. When done right, your curtains will disappear into the background during the day, revealing unobstructed views, then transform the space with soft privacy as dusk falls. For ongoing success, check bracket tightness quarterly and steam curtains annually to maintain smooth operation—your patio door deserves nothing less.


