
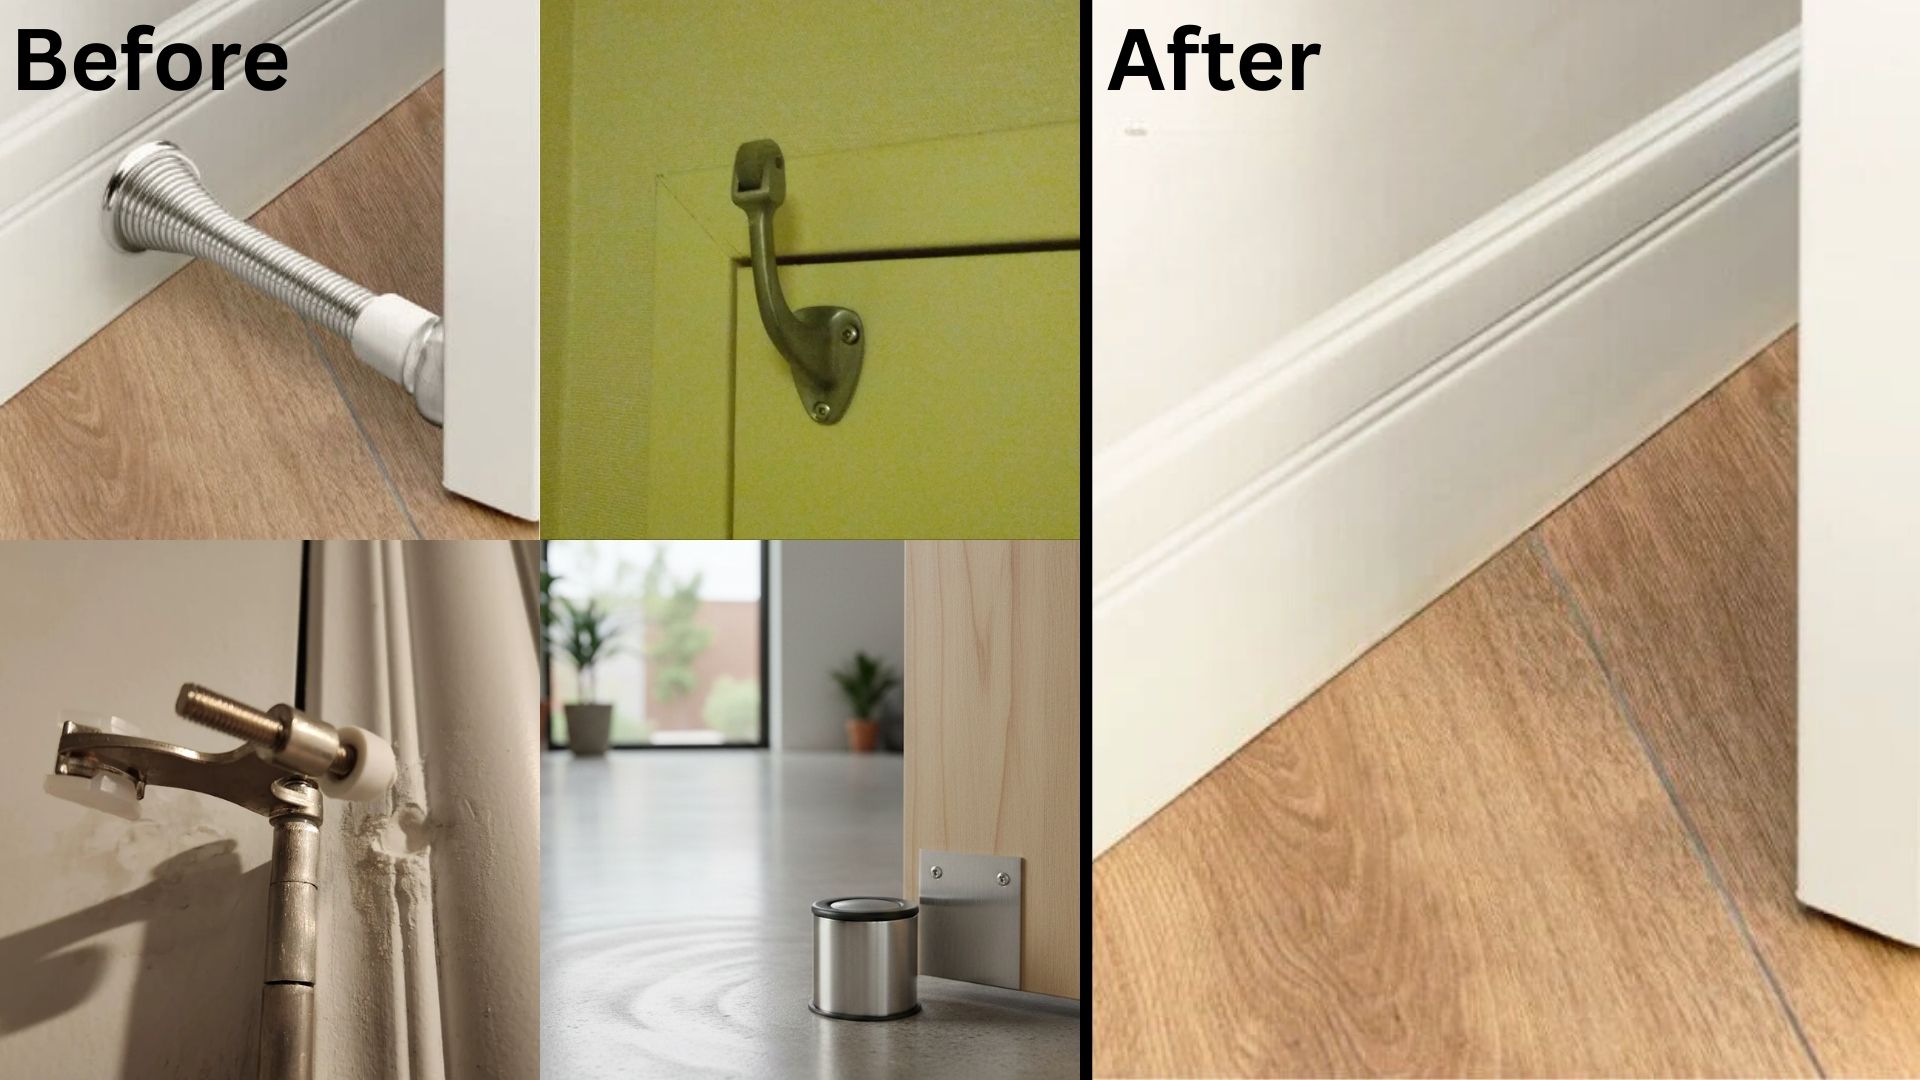
That jarring thud when a door slams into your wall isn’t just annoying—it chips paint, dents drywall, and can even crack tiles. A properly installed rubber door stopper stops this damage before it starts, protecting your walls and floors while keeping doors securely positioned. Unlike flimsy adhesive alternatives, a mounted rubber stopper withstands daily impacts and lasts for years. In this guide, you’ll learn exactly how to install rubber door stopper hardware correctly the first time, avoiding common pitfalls that leave doors swinging freely or stoppers wobbling loose. We’ll cover precise placement techniques, material-specific mounting methods, and professional adjustments that ensure your door stops exactly where it should—every single time.
Selecting the Right Rubber Door Stopper Type for Your Door
Choosing the correct stopper prevents rework and ensures reliable performance. Your door’s weight, swing path, and installation surface dictate the ideal solution—using the wrong type guarantees failure.
Wall-Mounted vs. Floor-Mounted vs. Hinge-Pin Options
Wall-mounted stoppers are your best defense against wall damage in standard rooms. Install them on baseboards where the doorknob strikes, positioning the rubber pad 1-2 inches from the wall to avoid interference with cleaning. They work exceptionally well for lightweight interior doors but require stud anchoring for heavy exterior doors. Floor-mounted stoppers excel where baseboards are absent or for doors swinging over thresholds. Position them to contact the door’s bottom edge, maintaining 1-2 inches of clearance from walls to prevent premature contact. Crucially, in wet areas like bathrooms, apply silicone sealant around screw holes during installation to block water seepage into subfloors. Hinge-pin stoppers offer tool-free installation for renters or quick fixes—simply remove the hinge pin, insert the rubber stopper, and reinsert the pin to limit swing arc. However, they lack the stopping power for heavy doors and may require frequent readjustment.
Critical Pre-Installation Planning Steps
Skipping these measurements guarantees misaligned stoppers that fail to engage properly. Invest 5 minutes here to avoid hours of drilling corrections later.
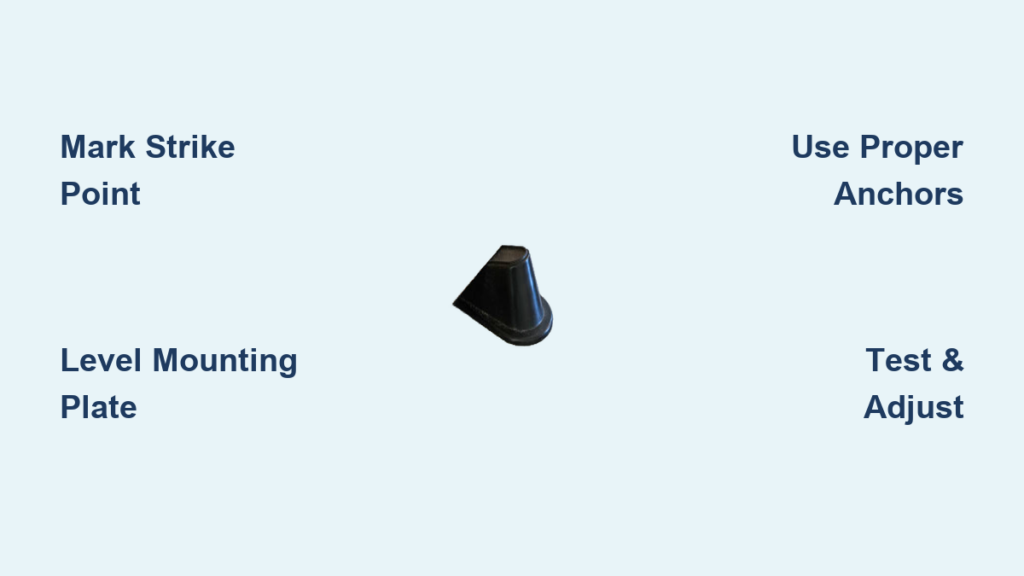
Pinpointing Your Door’s Exact Strike Point
Fully swing the door open until it naturally hits the wall or molding. Place a coin or business card flat against the impact zone, then slowly close the door until it gently presses against this marker. Mark the precise contact point with a pencil dot—this is your bullseye. For knob-strike installations, measure vertically from the floor to the knob’s center point; this determines your mounting height (typically 2-4 inches above floor level). On uneven floors, kneel down and sight along the door’s swing path to confirm the stopper won’t obstruct travel. Use a stud finder along this mark: if you hit a stud, great—use the provided screws. If not, grab hollow-wall anchors rated for at least 50 lbs to handle repeated impacts.
How to Install a Rubber Door Stopper: Precision Mounting Process
Rushing through installation causes stripped anchors and crooked stoppers. Follow these exact steps for rock-solid positioning that withstands years of use.
Step 1: Laser-Accurate Marking and Leveling
Hold the stopper’s mounting plate against your pencil mark, aligning its center with the strike dot. Use a spirit level to ensure the plate is perfectly horizontal—tilted stoppers cause doors to bounce off instead of stopping cleanly. For floor-mounted units, double-check that the stopper sits 1-2 inches from the wall so the door engages it before hitting obstacles. Mark all screw holes with a pencil, then verify measurements by holding the plate in place while swinging the door slowly toward it. If the door clears the stopper or hits early, reposition the marks immediately—this is your last chance for error-free placement.
Step 2: Surface-Specific Drilling and Anchoring

For drywall or plaster: Drill pilot holes ⅛ inch smaller than your screw shank using a standard bit. Insert plastic anchors until flush, then screw in the stopper plate just tight enough to prevent wobbling—overtightening cracks drywall. On tile walls: Apply masking tape in an “X” over drill points to prevent bit slippage. Use a carbide-tipped tile bit at the lowest drill speed, applying light pressure until the bit bites through the glaze. Switch to a standard bit to penetrate the backing. For concrete floors: Use a masonry bit with a hammer drill for clean holes. Insert concrete sleeves, then drive screws with a screwdriver attachment—never use a drill’s high torque which can shear stopper screws. In all cases, wipe away dust with a damp cloth before mounting to ensure secure adhesion.
Step 3: Real-World Testing and Micro-Adjustments
After mounting, swing the door at normal speed toward the stopper. Listen for a solid thud—a hollow sound means improper contact. If the door still hits the wall, loosen screws slightly and shift the stopper ¼ inch toward the wall. If the door bounces back, move it ¼ inch away. For hinge-pin types, test swing limits by opening the door incrementally—the stopper should engage firmly at 90 degrees. Make final adjustments while the door is in motion; small shifts of 1/8 inch often solve engagement issues. Tighten all screws only after perfect contact is confirmed.
Pro Installation Hacks for Flawless Results
These field-tested tricks solve problems most guides ignore, turning amateur attempts into professional-grade installations.
Mastering Tricky Surfaces and Angles
For uneven floors: Place a business card under the stopper’s low side while mounting—it creates an instant shim that levels the rubber pad. On hollow-core doors: Install magnetic stoppers instead of wall-mounted types; the magnet’s pull compensates for the door’s light weight. In high-traffic zones: Pre-drill holes using a drill stop collar to prevent over-penetration into studs, then apply a bead of silicone caulk behind the mounting plate to dampen vibration noise. For tile installations, run a thin line of clear silicone around the stopper base after mounting—it seals against moisture without visible residue.
Fixing Common Rubber Door Stopper Failures

Even perfect installations develop issues over time. These targeted fixes restore function in minutes.
Stopper Won’t Stop the Door? Here’s Why
Problem: Door still slams into the wall despite correct height placement. Solution: The stopper’s rubber pad has compressed from impacts—replace it with a higher-density model (look for 70+ durometer rating). Problem: Floor-mounted stopper wobbles after 3 months. Solution: Concrete anchors have vibrated loose; remove the stopper, inject epoxy anchor adhesive into the hole, and reinstall. Problem: Stopper squeaks on contact. Solution: Wipe the rubber pad with rubbing alcohol to remove dust buildup, then apply dry silicone lubricant—not oil-based products that degrade rubber. Problem: Wall-mounted stopper pulls out of drywall. Solution: Replace with toggle bolts: drill a ¾-inch hole, insert the toggle, and tighten until the wings grip behind the wall.
A correctly installed rubber door stopper becomes invisible in its effectiveness—no more wall dents, no more frantic door catches, just smooth, silent operation. Remember to inspect your stoppers quarterly: tighten loose screws, clean rubber pads with mild soap to maintain grip, and replace cracked stoppers before they fail. For exterior doors or high-impact areas, upgrade to UV-stabilized rubber models that resist sun degradation. By following these precise installation techniques, you’ve not only protected your walls today but eliminated a recurring household headache for years to come. The next time a door swings toward the wall, it’ll meet firm, quiet resistance exactly where you intended—proof that the smallest hardware, installed perfectly, makes the biggest difference.


