
That icy breeze sneaking under your door isn’t just annoying—it’s silently jacking up your energy bills by 10-20% while making your home feel drafty and uncomfortable. Commercial draft stoppers cost $20-$50, but you can create a custom, heavy-duty version in under 30 minutes using scrap fabric and household items. This guide reveals exactly how to make a door draft stopper that blocks cold air, reduces noise, and matches your decor—all for less than $5. You’ll learn foolproof sewing techniques, avoid common filler mistakes, and discover why DIY versions outperform store-bought options.
How a DIY Draft Stopper Slashes Your Heating Bills by 20%
Drafts under doors account for nearly 15% of home energy loss according to the Department of Energy, forcing your HVAC system to work overtime. A properly fitted draft stopper creates an airtight seal that maintains consistent indoor temperatures year-round—keeping warm air trapped inside during winter and cool air from escaping in summer. Unlike flimsy store models that shift position, a custom-made stopper uses strategic weighting to stay anchored against gaps up to 1 inch wide. You’ll immediately notice fewer cold spots near floors, reduced dust infiltration, and noticeably quieter rooms by blocking sound transfer. Most importantly, homeowners report 10-20% lower energy bills within one heating season simply by sealing these invisible leaks.
Essential Materials for a Heavy-Duty Door Draft Stopper
Gather these supplies before starting—most can be scavenged from your craft stash or garage. Skip lightweight fabrics that collapse under pressure; your stopper needs density to seal gaps effectively.
Critical Materials Checklist:
– Outer Fabric: ½ yard of heavyweight canvas, denim, or faux suede (minimum 14 oz weight). Avoid quilting cotton unless fused with interfacing—it sags when filled.
– Lining Fabric (Optional but Recommended): Muslin or cotton broadcloth to prevent rice/pellets from poking through.
– Filler Material: Choose ONE based on your needs:
– Poly-pellets for permanent, washable weight (ideal for humid climates)
– Dried lentils for budget-friendly density (never use in pest-prone areas)
– Polyester fiberfill for soft, machine-washable flexibility
– Tools: Sewing machine, ½” seam allowance guide, funnel made from stiff paper, chopstick, measuring tape
Pro Warning: Never use rice in bathrooms or basements—moisture causes mold and attracts pantry moths. Poly-pellets cost $3 at craft stores and last decades.
Sew a Professional Draft Stopper in 5 Steps (Under 30 Minutes)
This sewn tube method creates a seamless, gap-proof barrier that outlasts no-sew versions. Allow 25 minutes for sewing and filling.
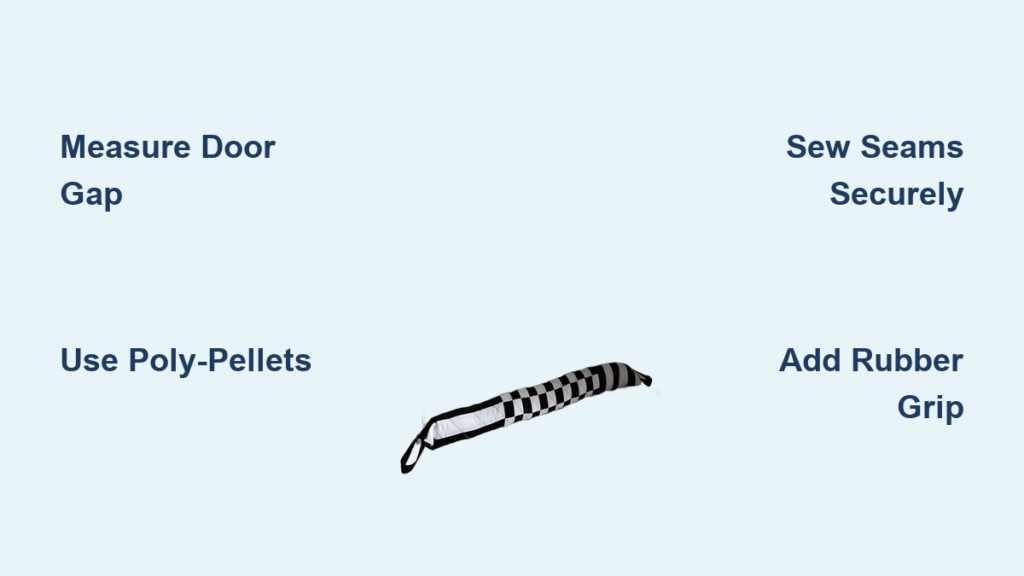
Measure Your Door Gap Precisely (Avoid This Costly Mistake)
Most DIYers cut fabric too short, leaving drafts at door edges. Here’s the fix: Measure your door width, then add 5 inches total (2.5″ extra on each side). For a standard 36″ interior door, cut fabric to 41″ long. Height should be 4.5″ tall—enough to fill typical ½” gaps without bulging. Visual cue: Hold a ruler against your door sweep—your stopper must be taller than the gap height.
Cut and Pin Fabric for Zero Shifts
Fold your main fabric right sides together with the 41″ measurement as the long edge. Pin meticulously along both long edges and one short end, leaving the opposite short end open for filling. Critical tip: Place pins perpendicular to seams so your sewing machine doesn’t hit them. If using lining fabric, sandwich it between outer layers with wrong sides touching.
Sew Perfect Seams That Won’t Burst
Sew along pinned edges using a ½” seam allowance and backstitch at start/end points. Trim the corner at the sewn short end diagonally to reduce bulk—this prevents lumpy corners when turned right-side out. Turn the tube through the open end using a chopstick to push out corners smoothly. Troubleshooting: If fabric bunches, your seam allowance was inconsistent—use a guide foot on your machine.
Fill Evenly Without Lumps or Gaps
Insert a paper funnel into the tube opening. Pour filler in ¼-cup increments while pushing it deep with a chopstick. Stop 3″ from the end—overfilling causes bulges that prevent sealing. Key insight: For weighted bottoms, fill the first 12″ with poly-pellets, then switch to fiberfill for the top section. This anchors the stopper while keeping it flexible.
Seal Like a Pro (No Visible Stitches)
Fold raw edges inward ½” at the open end and pin shut. Use a ladder stitch: insert needle under one folded edge, then the opposite fold, pulling gently to close the gap invisibly. Time-saver: For non-washable stoppers, topstitch the opening closed on your machine instead.
No-Sewing Machine? 3 Quick Draft Stopper Fixes in 10 Minutes
When time or tools are limited, these methods work immediately using household items.
Sock Draft Stopper: Emergency Fix for Renters
Grab a clean ankle sock (knee-highs work for exterior doors). Fill the toe with dried lentils using a funnel, leaving 3″ empty at the top. Tie tightly with twine or a rubber band—never use loose knots that unravel. Pro upgrade: Slide a ribbon through the sock opening before tying for easy removal. Works for gaps up to ¾”, but replace lentils every 6 months to prevent bugs.
Fabric Tape Method: Washable Stopper in 8 Minutes
Cut a strip of iron-on hem tape to your door width + 5″. Place it sticky-side up on wrong side of fabric, fold fabric over to create a 4.5″ tube, then iron according to package directions. Fill through the open end, then seal with more tape. Warning: Fabric glue fails after 2-3 washes—tape creates a permanent bond. Best for cotton or canvas only.
Rice vs. Poly-Pellets: Best Fillers for Draft Stoppers
Your filler choice makes or breaks durability. Avoid these common errors:
| Filler Type | Best For | Critical Limitations |
|---|---|---|
| Poly-pellets | Humid climates, washable stoppers | Requires inner liner pouch to prevent leakage |
| Dried lentils | Budget projects (under $2) | Never use in kitchens/bathrooms—attracts pests |
| Fiberfill | Pet-friendly homes, machine washing | Needs 2x more volume to achieve proper weight |
Expert verdict: Poly-pellets are worth the $3 investment—they last 10+ years without shifting. For eco-projects, repurpose old jeans: cut into 1″ strips, stuff tightly, and seal ends.
3 Pro Secrets for a Draft Stopper That Lasts 5+ Years

Most DIY versions fail within months due to shifting filler or weak seams. Prevent this with these professional techniques:
- Create Compartments: Sew vertical lines every 8″ through the tube before filling. This stops filler migrating to ends—critical for doors wider than 32″. Use contrasting thread for a decorative stitch.
- Add Rubberized Grip: Glue anti-slip rug pad strips to the bottom seam. This anchors the stopper on tile or hardwood where drafts are strongest.
- Install a Removable Cover: Sew a hidden zipper into one end. Now you can machine-wash the cover while keeping pellets dry inside their inner pouch.
Time-saving hack: Make two identical stoppers—one for winter (weighted) and one for summer (light fiberfill)—so you’re always prepared.
Wash and Repair Your Draft Stopper Without Ruining It

Improper cleaning destroys most DIY stoppers. Follow this regimen:
- Spot clean monthly: Dab stains with a cloth dipped in 1:10 vinegar-water solution. Never saturate—moisture ruins poly-pellets.
- Deep clean annually: For removable covers, unzip, machine wash cold, and air-dry 24+ hours. For non-removable stoppers, vacuum gently.
- Fix flattened sections: Cut a 2″ slit, add ¼ cup fresh filler, then hand-stitch closed. Never use hot water—it melts poly-pellets into a solid lump.
Troubleshooting chart:
– Stopper slides? → Glue silicone dots to the bottom.
– Filler clumping? → Replace with pellets + inner muslin liner.
– Gap still leaks? → Your stopper is too short—add 2″ to next version.
Creating your own how to make a door draft stopper project takes less time than streaming an episode of your favorite show, yet delivers year-round comfort and savings. By choosing poly-pellets and compartmentalized sewing, you’ve built a draft barrier that outperforms $30 store models while matching your home’s style. Place it against your front door tonight and feel the difference immediately—no more icy floor drafts or mysterious energy spikes. For maximum impact, tackle exterior doors first, then expand to sliding glass doors using the same technique (just double the width). Your wallet—and toes—will thank you all season long.


