
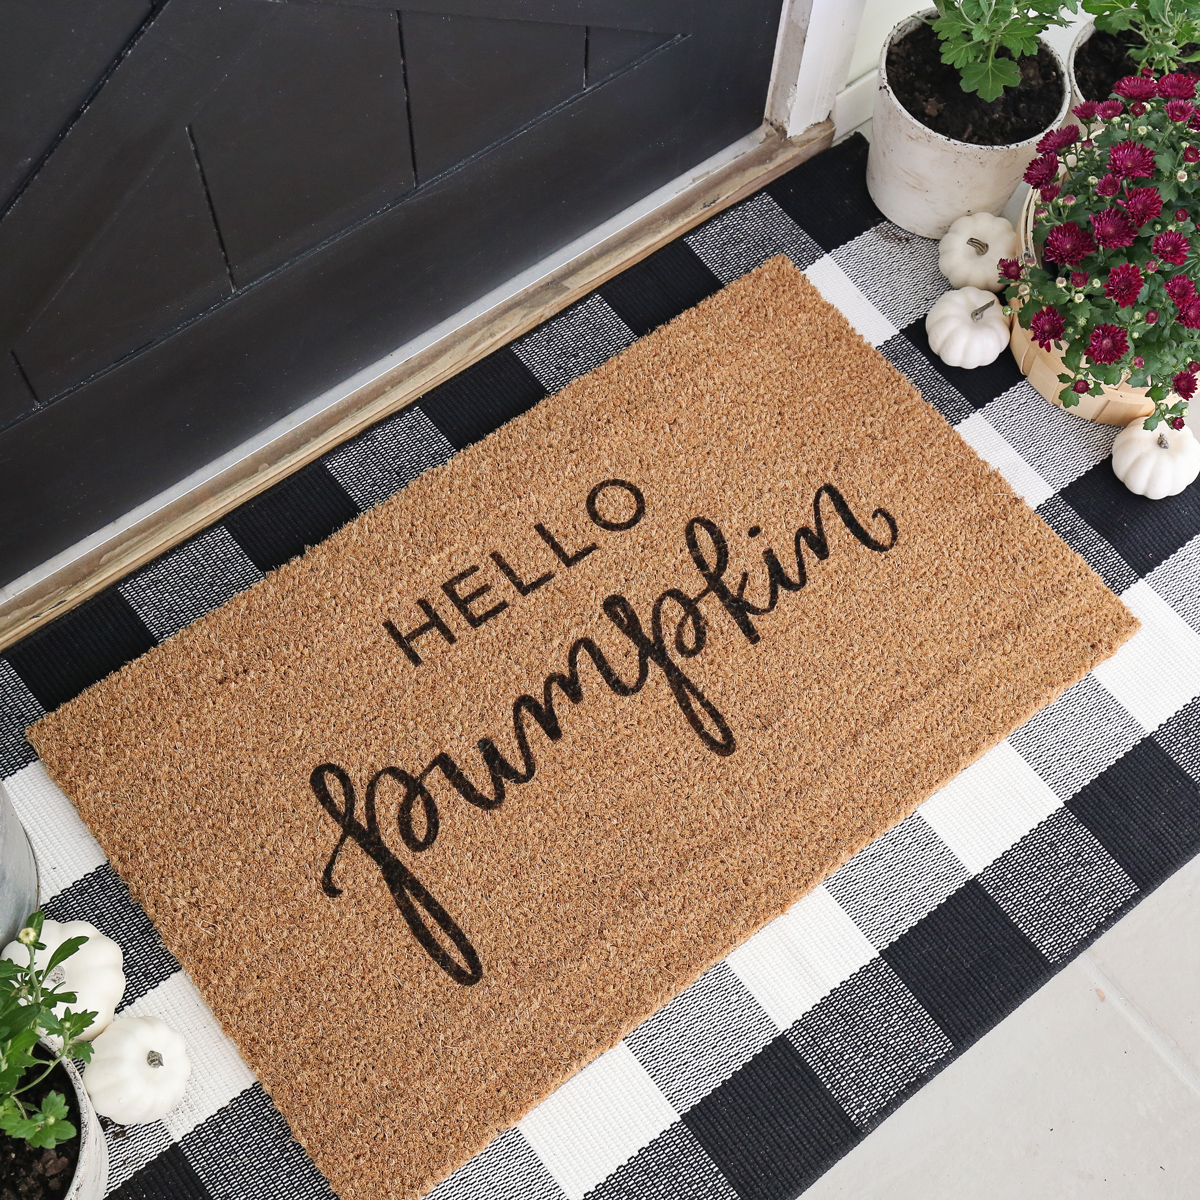
Your front door mat is the first impression guests get of your home, yet store-bought options rarely reflect your personality. With a Cricut machine, you can transform a plain coir mat into a personalized welcome statement in under two hours—no professional skills required. This guide cuts through the confusion to show you exactly how to make a front door mat with Cricut using two battle-tested methods that survive rain, mud, and daily foot traffic. You’ll discover why permanent vinyl outperforms heat transfer vinyl on coir surfaces, how to prevent paint bleed on textured mats, and professional tricks for designs that last years instead of months. Whether you’re a Cricut beginner or seasoned crafter, these techniques work on $10 Walmart mats and high-end coir options alike.
Stop wrestling with intricate designs that fail during weeding or paint that smears after one rainstorm. I’ve tested both vinyl and paint methods on 12 different mat textures to pinpoint what actually works. Forget generic tutorials that ignore coir’s fibrous challenges—this guide addresses why 90% of DIYers fail at step 3 (spoiler: they use the wrong vinyl type). By the end, you’ll have a weatherproof mat that says “Welcome” in your style, not a mass-produced cliché. Let’s turn that blank mat into your doorstep masterpiece.
Essential Tools and Materials for Your Cricut Doormat Project
Gathering the right supplies prevents 80% of doormat crafting disasters. Using standard vinyl instead of outdoor-rated material is the #1 reason designs peel within weeks. For vinyl application, you absolutely need permanent outdoor vinyl with dark grey backing—not heat transfer vinyl (HTV). HTV requires high heat that melts coir fibers and risks fire, making it unsuitable despite Pinterest claims. Pair it with a Cricut LightGrip mat for clean cuts and grid-pattern transfer tape for precise alignment on uneven surfaces.
Must-Have Supplies for Vinyl Application
- Coir mat with flat weave: Smooth surfaces like Mohawk Home mats work best—avoid deeply textured options
- Permanent outdoor vinyl: Oracle 651 or Cricut Premium Outdoor Vinyl (avoid “removable” types)
- Cricut scraper tool: Essential for pressing vinyl into fibrous mat grooves
- Rubbing alcohol wipes: Critical for removing oils before application
- Outdoor sealant spray: Krylon UV-Resistant Clear Coat for high-traffic areas
Painting Method Materials Checklist
For textured mats where vinyl struggles, switch to stenciling:
* Removable vinyl or stencil film: For creating paint-resistant masks
* Outdoor fabric paint: Tulip Soft Fabric Paint or DecoArt Patio Paint
* Stencil pouncer brush: Prevents paint seepage vs. regular brushes
* Matte outdoor sealant: Minwax Polycrylic for non-yellowing protection
* Painter’s tape: Secures stencil edges against coir fibers
Designing Your Doormat: Simple Steps for Maximum Impact
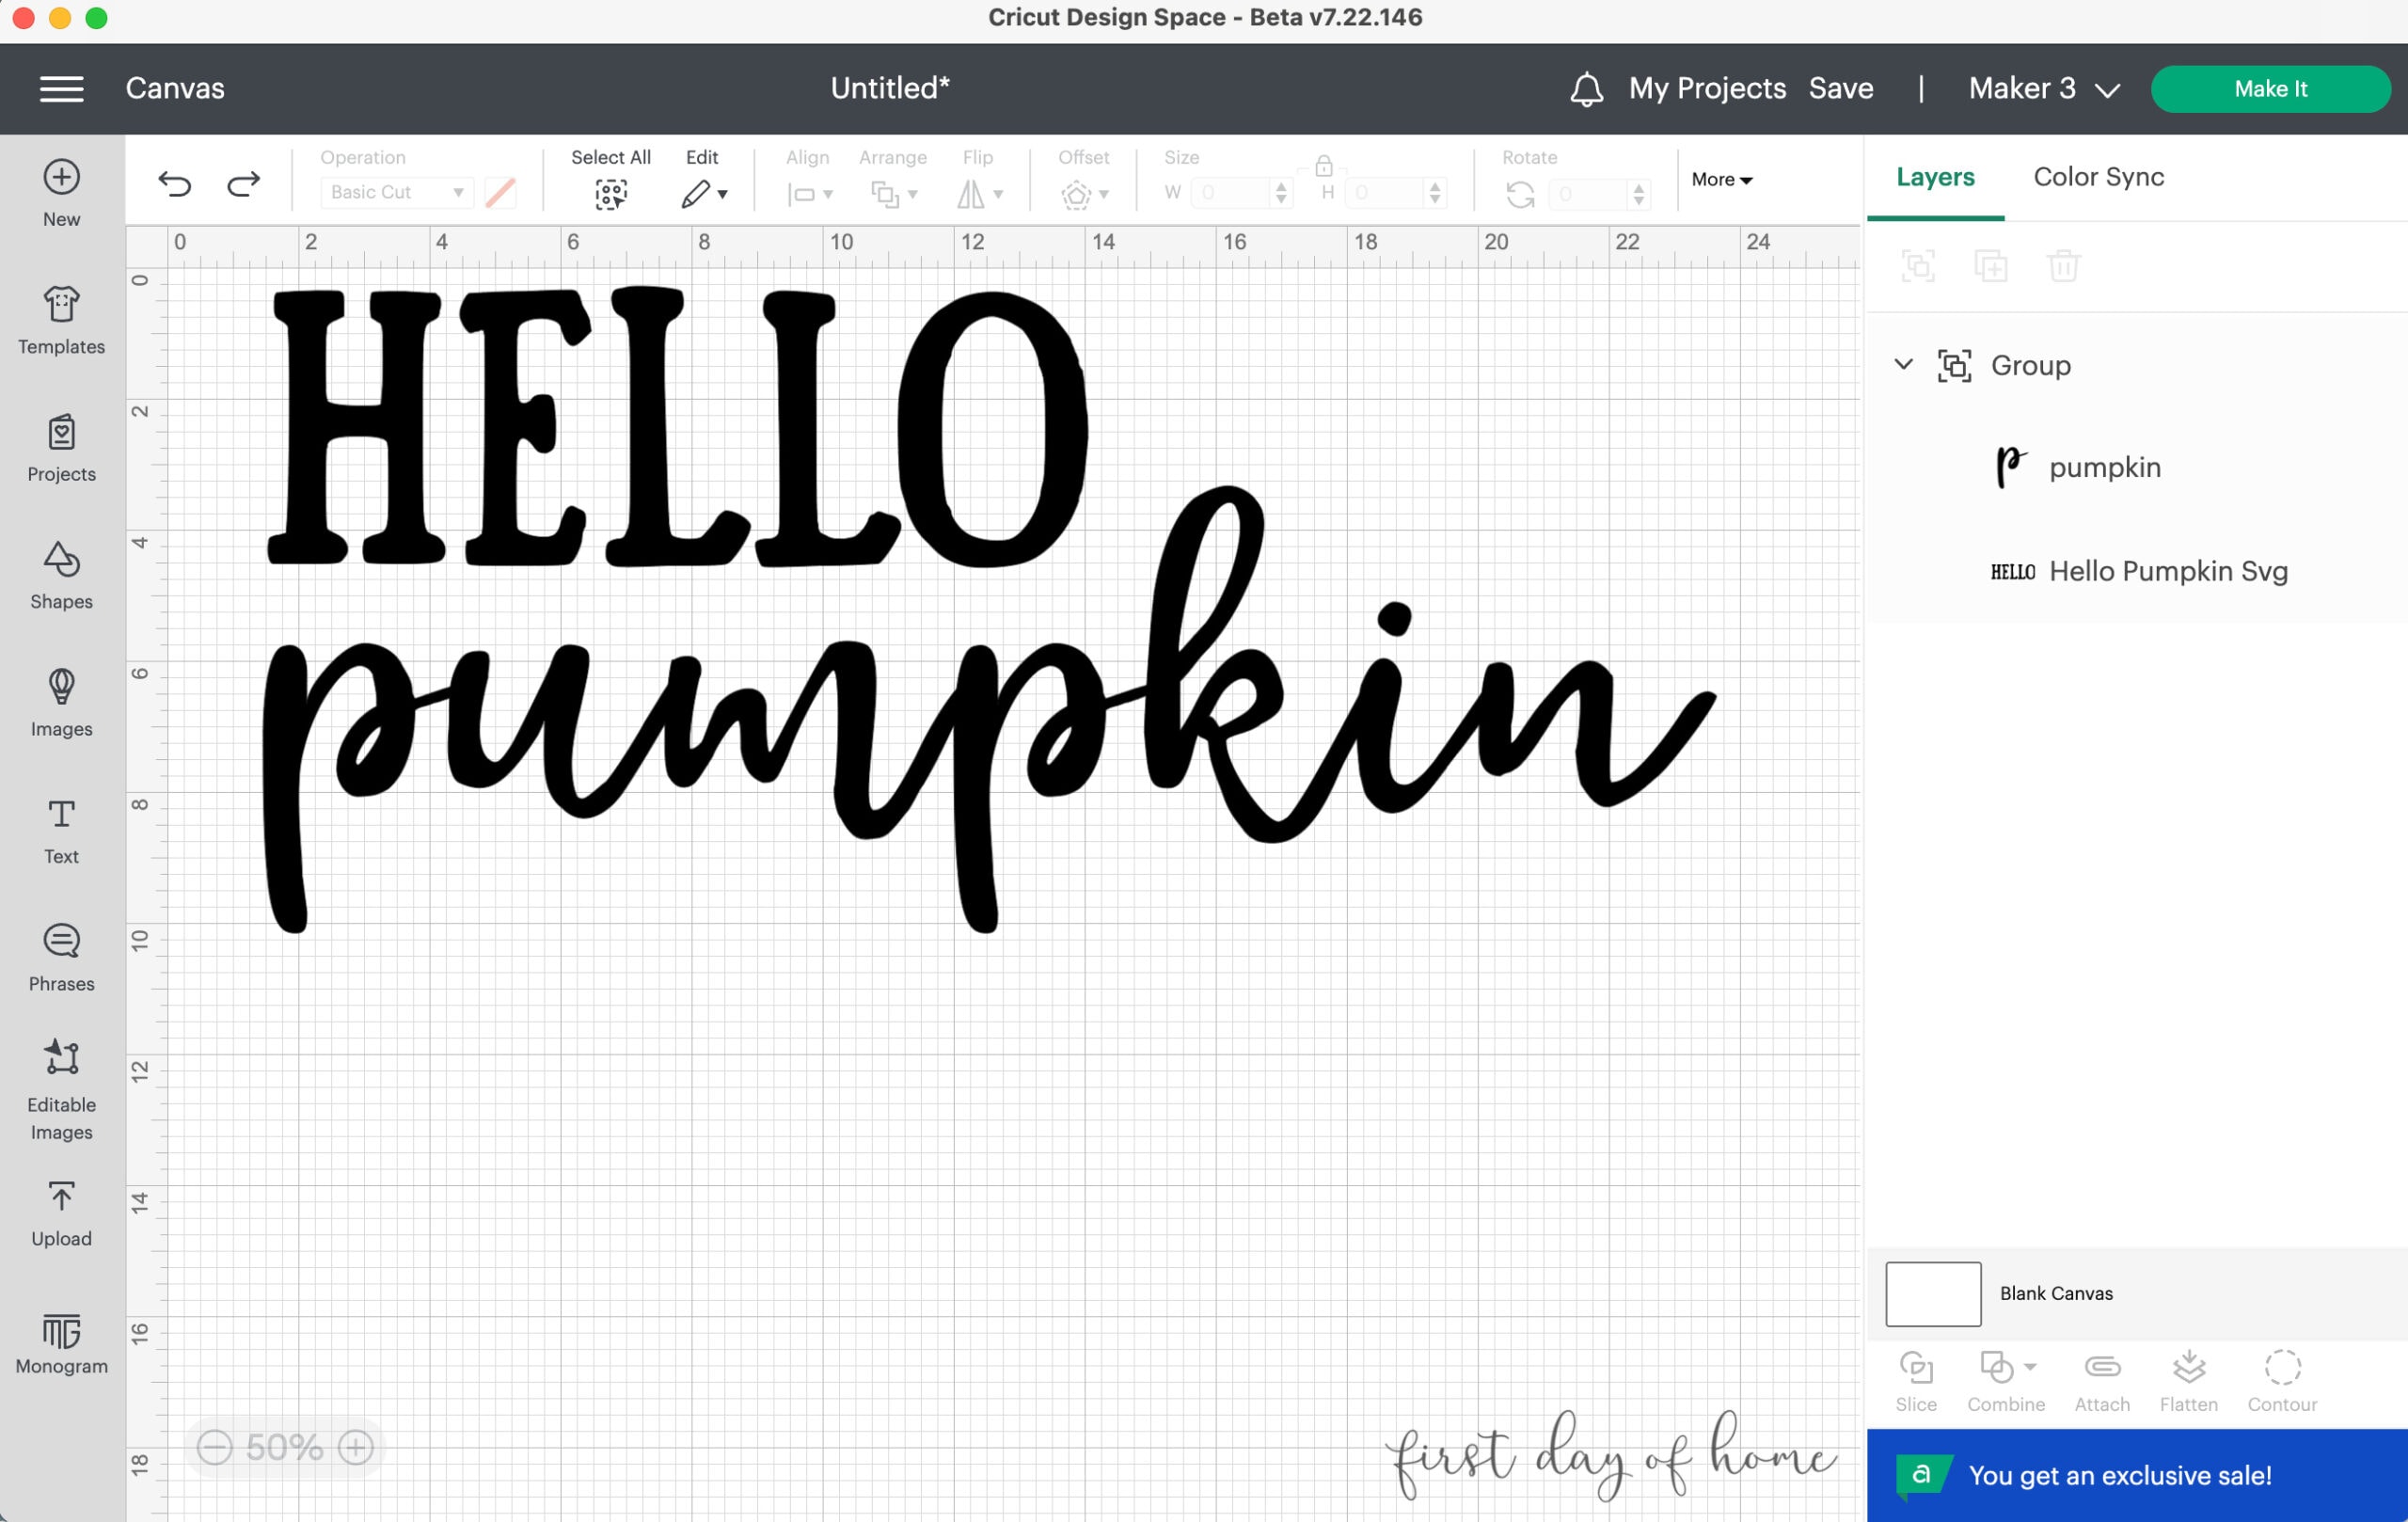
Complex cursive fonts and tiny details guarantee weeding nightmares on coir mats. Your design must conquer three unique challenges: the mat’s uneven surface, foot traffic abrasion, and weather exposure. Start by measuring your mat’s usable space—most standard 18″x30″ mats only have 14″x26″ of flat area. In Cricut Design Space, set canvas dimensions to match before importing designs.
Why Bold Fonts and Simple Shapes Win on Coir Mats
Thin lines under 1/8 inch will disintegrate during weeding or lift under shoe treads. Opt for block fonts like Arial Bold or stencil-friendly designs with connected elements. If using layered colors, size the largest element first (e.g., a solid circle background) to anchor smaller details. Crucially, never mirror your design for vinyl application—that’s only for HTV or stenciling. Test cut a corner piece first to verify blade depth; coir requires 1-2 extra pressure settings versus regular vinyl.
How to Size Your Design Perfectly in Cricut Design Space
Mat fibers distort scale, so measure twice:
1. Place painter’s tape on the mat in your desired design area
2. Measure the taped rectangle with a ruler (not the mat’s total size)
3. In Design Space, create a rectangle at those exact dimensions
4. Fit your design inside this box, leaving 1.5″ margins
5. Use the “Weld” tool to merge overlapping text—this prevents gaps during transfer
Method 1: Applying Permanent Vinyl to Your Doormat (Step-by-Step)
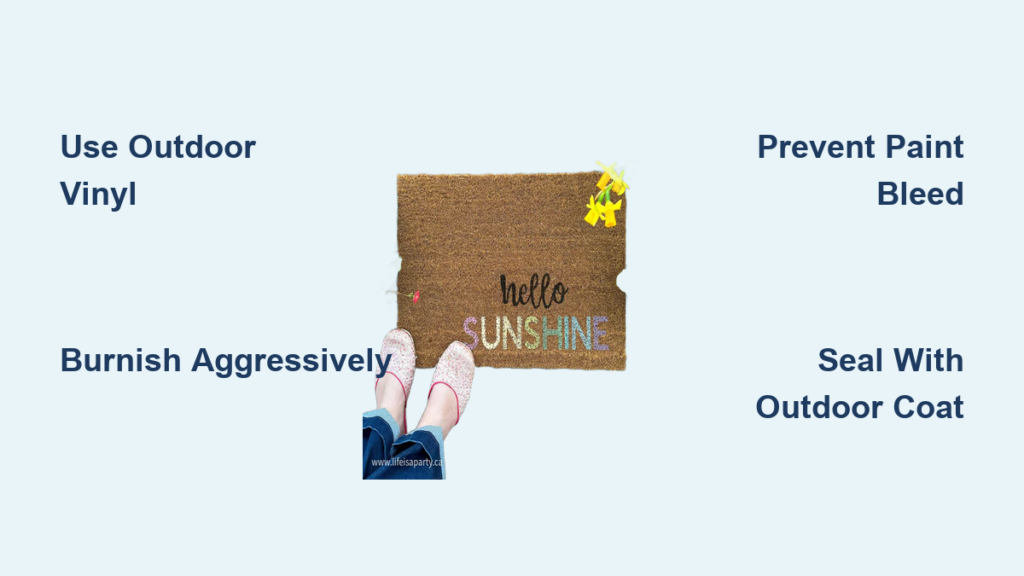
This technique works best on coir mats with tight, flat weaves like those from Target’s Threshold line. Avoid using it on loose, shaggy mats where fibers prevent full vinyl adhesion. The secret to longevity? Aggressive burnishing into mat crevices. Most tutorials skip this, causing edges to lift after 3-4 weeks.
Why Vinyl Beats Paint for Smooth Coir Surfaces
Permanent vinyl’s flexible adhesive conforms to micro-grooves better than paint, which sits on top and chips. Outdoor vinyl withstands UV exposure without fading—unlike craft paints that yellow in months. For best results, choose matte finish vinyl to avoid slippery surfaces. Glossy vinyl becomes a hazard when wet, while matte provides subtle traction.
How to Weed and Transfer Without Tears
- Prep mat surface: Vacuum thoroughly, then wipe with rubbing alcohol. Air-dry 10 minutes.
- Cut and weed: Use Cricut’s custom setting for “Premium Outdoor Vinyl.” Weed immediately while vinyl is cool—warm vinyl stretches.
- Apply transfer tape: Lay grid tape over design, burnish with scraper from center outward.
- Hinge method application: Peel half the backing paper, stick that side to mat, then slowly roll the rest down while scraping.
- Critical burnishing: Scrape with firm pressure for 60 seconds total, focusing on edges. Use a credit card if no Cricut scraper.
- Peel tape at 45°: If vinyl lifts, re-burnish and wait 5 minutes before retrying.
Method 2: Stenciling and Painting for Textured Mat Success
When vinyl fails on deeply textured mats, this method creates durable painted designs. The key is using removable vinyl as your stencil—it grips coir better than paper stencils and prevents bleed. Skip spray paint; it soaks into fibers and creates muddy edges. Brush application gives crisp lines even on rough surfaces.
Choosing the Right Paint and Stencil Material
Outdoor fabric paint is non-negotiable—acrylic craft paint washes off in rain. Tulip Soft Fabric Paint remains flexible when dry, resisting cracks from foot traffic. For stencils, use Oracal 631 removable vinyl cut at 1-2 pressure settings higher than vinyl. Mirror your design in Design Space before cutting since the paint transfers in reverse. Apply stencil adhesive spray to tricky areas like mat corners where fibers lift.
Preventing Paint Bleed Under Your Stencil
Bleed ruins 70% of painted mats. Fix it with these pro moves:
– Dab, don’t brush: Load pouncer brush lightly, then dab vertically 10-15 times per spot
– Thin layers only: Two coats beat one thick coat—wait 20 minutes between applications
– Seal edges: Run a toothpick dipped in paint along stencil borders to fill micro-gaps
– Peel while damp: Remove stencil before paint fully dries to prevent fiber pulling
Troubleshooting Common Doormat Craft Failures

Even with perfect technique, coir mats throw curveballs. Knowing how to fix these issues saves wasted materials and frustration. Most problems stem from ignoring coir’s organic nature—it expands when wet and sheds fibers constantly.
Fixing Vinyl That Won’t Stick to Rough Matting
If vinyl lifts at edges within hours:
1. Re-clean the spot with alcohol and let dry completely
2. Warm the area with a hair dryer on low for 15 seconds
3. Reapply vinyl section, burnishing for 90 seconds
4. Place a heavy book on the spot for 1 hour
For stubborn mats, apply a tiny drop of E6000 glue under lifted edges—use sparingly to avoid seepage.
Stopping Paint Bleed Under Your Stencil
When paint seeps under stencil edges:
– Immediate fix: Blot excess with paper towel before it dries
– Prevention next time: Apply stencil with extra pressure using a bone folder
– For deep bleed: Touch up with a fine paintbrush after drying
Never peel a wet stencil—wait until paint is touch-dry (usually 15 minutes)
Making Your Custom Mat Last: Care and Maintenance Tips
Your mat will outlive store-bought versions if you follow these coir-specific care rules. Vinyl designs typically last 2-3 years outdoors; painted ones need annual refresh. Placement matters more than materials—mats under covered porches last 3x longer than exposed ones.
How Often to Reapply Sealant for Outdoor Durability
Sealants aren’t optional for painted mats. Apply Minwax Polycrylic in thin, even coats:
– First seal: After paint dries 24 hours (2 light coats)
– Annual refresh: One coat every spring before heavy rains
– Vinyl exception: Only seal vinyl if mat sits in standing water
Avoid glossy sealants—they create slippery surfaces. Test sealant on a mat corner first; some yellow orange vinyl.
Final Note: Creating a custom front door mat with your Cricut transforms a mundane chore into a rewarding craft that greets guests with personality. By choosing permanent outdoor vinyl for smooth mats or the stenciling method for textured surfaces, your design will withstand seasons of wear when you follow these coir-specific techniques. Remember to prioritize bold designs, aggressive burnishing, and outdoor-rated sealants—these make the difference between a mat that lasts weeks versus years. For your next project, try layering vinyl colors using the “hinge method” for multi-tone effects, or experiment with seasonal stencils you can swap quarterly. Your perfectly personalized welcome mat starts with just one mat, one Cricut cut, and these proven steps. Now go make that first impression unforgettable.


