
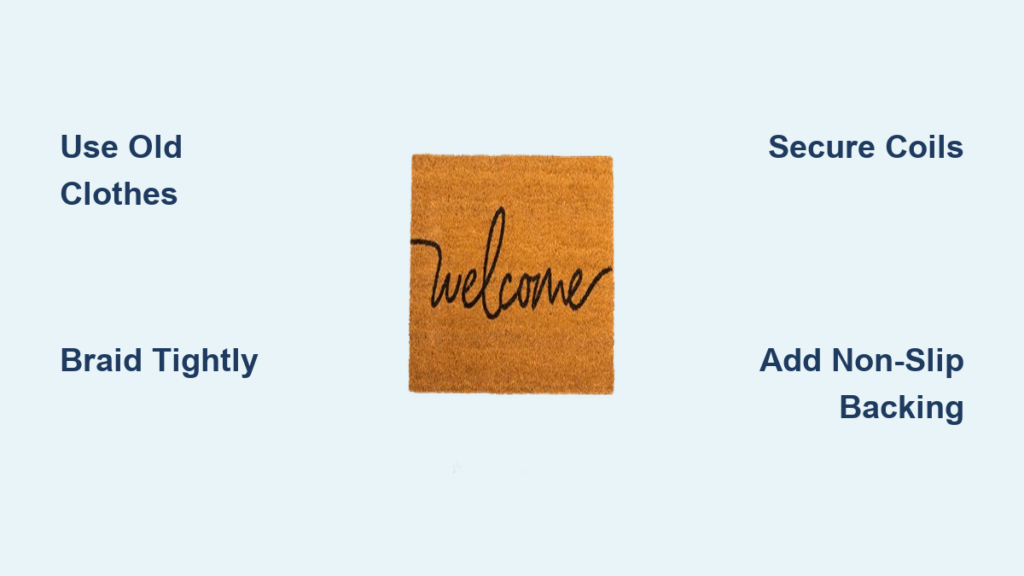
Your overflowing donation bin isn’t trash—it’s treasure waiting to become the perfect welcome mat for your front door. Learning how to make a door mat with old clothes solves two problems at once: clearing out worn-out garments while creating a durable, personalized entryway feature. This practical upcycling project transforms discarded t-shirts, jeans, and cotton fabrics into a vibrant mat that withstands foot traffic while showcasing your creativity. You’ll save money, reduce textile waste, and craft a one-of-a-kind piece that greets guests with personality.
Instead of buying another mass-produced mat that wears out in months, imagine stepping onto a colorful creation made from your favorite childhood band t-shirt or that pair of jeans you wore thin. The braided construction technique creates remarkable durability—far exceeding store-bought options—while the non-slip backing ensures safety. Whether you’re a beginner crafter or seasoned DIYer, this guide walks you through every step to transform fabric scraps into a functional masterpiece that lasts for years.
Gather These Essential Tools for Your Upcycled Door Mat Project
Before cutting your first fabric strip, assemble these critical supplies to ensure smooth progress. Having everything ready prevents frustration mid-project when you realize you’re missing the right needle or thread. The right tools make the difference between a professional-looking mat and a frustrating mess that falls apart.
Must-Have Materials for Success
- Old Clothing: Focus on durable cotton fabrics like denim jeans, flannel shirts, cotton t-shirts, and twill pants—avoid stretchy knits or slippery satins that won’t hold shape
- Cutting Tools: Heavy-duty fabric scissors or rotary cutter with self-healing mat for precise, consistent strips
- Needles: Size 16 or 18 upholstery needles or sail-making needles that can handle thick fabric layers
- Thread: Waxed linen thread, heavy-duty carpet thread, or upholstery thread that won’t snap under tension
- Marking Supplies: Fabric chalk or washable marker for measuring consistent strip widths
Pro Tip: Pre-wash all fabrics to remove sizing and prevent future shrinkage—this prevents your finished mat from twisting after first use. Sort clothes by color before cutting to create intentional patterns rather than random color combinations.
Prepare Fabric Strips That Won’t Unravel During Braiding

The foundation of your door mat’s durability starts with properly prepared fabric strips. Many beginners skip crucial preparation steps, leading to fraying edges and inconsistent braiding that weakens the final product. Taking time to cut correctly ensures your mat holds together through seasons of use.
Cutting Techniques for Maximum Strength
Begin by removing all non-fabric elements—snip off zippers, buttons, and embellishments that could damage needles or create lumps. For t-shirts, cut along the bottom hem and up both sides to create a tube, then slice in a continuous spiral to make endless strips. With denim jeans, cut along existing seams to avoid bulky layers, then slice into 1-1.5 inch widths following the fabric grain to prevent unraveling. Stretch each strip gently to encourage the edges to curl inward, creating self-finished edges that resist fraying.
Critical mistake to avoid: Cutting strips too wide creates a bulky mat that won’t lie flat, while strips narrower than 1 inch lack structural integrity. Stick to the 1-1.5 inch sweet spot for perfect tension.
Creating Seamless Fabric Yarn Connections
When joining strips, lay new and old fabric pieces perpendicular with right sides together. Pinch the overlapping section and fold both raw ends inward to create a flat, secure connection—this “magic knot” technique hides joins within the braid. For t-shirt strips, simply stretch the connection point to activate the fabric’s natural curl, eliminating visible knots. Test each join by gently tugging—if it slips, redo it before incorporating into your braid.
Master the Braiding Technique That Creates Durable Door Mats
Your mat’s longevity depends entirely on consistent, tight braiding. Loose braids create weak spots that unravel under foot traffic, while uneven tension causes warping. The three-strand braid method provides perfect balance between flexibility and structural integrity for entryway use.
Step-by-Step Braiding Process
- Start Strong: Knot three fabric strands together at one end, securing to a fixed point (like a chair leg) to maintain tension
- Braid Consistently: Cross left strand over middle, then right strand over middle—keep palms facing down for maximum tightness
- Maintain Even Tension: Pull each strand with equal force after every crossover to prevent loose sections
- Add New Strips: Incorporate fresh strips every 18-24 inches to maintain strength throughout the braid
Time-saving tip: Braid while watching TV or listening to podcasts—this meditative process requires minimal attention once you establish rhythm. Aim for 3-4 crossovers per inch for optimal density.
Fixing Common Braiding Mistakes Immediately
If your braid twists like a rope instead of lying flat, you’re crossing strands in the same direction repeatedly—alternate the crossing direction every few inches. For uneven thickness, replace fabric strips of varying weights with more uniform materials. When a strip frays mid-braid, stop immediately, trim the damaged section, and create a new seamless join before continuing.
Coil and Secure Your Braid into a Stable Door Mat Shape

The transition from loose braid to functional mat happens during coiling. This stage separates successful projects from frustrating failures—improper coiling creates wavy edges and unstable centers that won’t lie flat at your doorstep.
Building a Solid Foundation Coil
Start by coiling the braid end into a tight center circle about 2-3 inches across—this creates your mat’s anchor point. Use a whipstitch with waxed thread to secure the first three coils together, catching both the new coil and previous layer with each stitch. Maintain consistent tension: too loose creates gaps where dirt collects, while too tight causes puckering. For rectangular mats, begin with a straight braid section before transitioning to coiling at the corners.
Visual cue: Your stitches should create a nearly invisible seam along the braid’s outer edge—any visible gaps mean you’re skipping sections between coils.
Finish with Professional-Grade Edges That Last
The final inches of your mat determine whether it withstands years of use or unravels after one season. Proper finishing prevents the most common failure point in handmade mats—edge deterioration from foot traffic.
Securing the Tail Without Visible Bulges
As you approach the end, gradually narrow each fabric strand by trimming width by 1/4 inch increments over the last 6 inches. Tuck the tapered end beneath the previous coil and anchor with 8-10 hidden whipstitches through multiple layers. For extra security, apply a dab of fabric glue to the tucked end before stitching—this prevents moisture from working the threads loose over time.
Add Non-Slip Backing That Stays Put in All Weather
A beautiful mat becomes a safety hazard without proper backing. Skip this step and your creation will slide across smooth surfaces, creating tripping risks and frustration. The right backing transforms your craft project into a genuinely functional door mat.
Three Proven Backing Methods
- Latex Treatment: Brush water-based latex rug backing onto the mat’s underside with a putty knife—this flexible coating grips without damaging floors
- Rug Pad Fusion: Cut non-slip rug pad material to size and secure with fabric glue along the perimeter, leaving a 1/2 inch border
- Hot Glue Grid: Create a grid pattern with hot glue on the backside, allowing it to cool completely before use (best for indoor mats)
Critical warning: Never use petroleum-based adhesives that can stain floors or deteriorate fabric. Test any backing method on a scrap first to ensure compatibility with your fabric colors.
Maintain Your Upcycled Mat for Years of Reliable Service
Unlike store-bought mats that disintegrate after one season, your handmade creation can last decades with proper care. Establishing a simple maintenance routine prevents the most common causes of premature wear.
Daily and Seasonal Care Protocol
Shake your mat vigorously outside at least twice weekly to dislodge embedded dirt—this prevents abrasive particles from grinding down fibers. For deeper cleaning, spot-treat stains with a 50/50 vinegar-water solution before they set. Never machine wash, as agitation destroys the hand-stitched structure. During wet seasons, bring indoor mats inside overnight to prevent moisture buildup that encourages mildew.
Pro Tip: Rotate your mat 180 degrees monthly to distribute wear evenly—this simple habit doubles your mat’s lifespan by preventing one area from wearing thin.
Troubleshoot Common Issues Before They Become Disasters
Even well-made mats develop problems over time. Catching minor issues early prevents total reconstruction. The most frequent failures stem from improper initial construction rather than normal wear.
Quick Fixes for Mat Emergencies
- Loose Coils: Thread a needle with doubled thread and invisibly stitch the affected section to the layer beneath
- Fraying Edges: Apply fray check solution to raw edges and allow 24 hours to cure before use
- Sliding Mat: Reapply non-slip backing after thoroughly cleaning both mat and floor surface
When a section unravels completely, don’t discard the whole mat—carefully unpick just the damaged area, re-braid the affected section, and re-stitch. With proper repairs, your upcycled door mat can serve your home for 10+ years.
Transforming old clothes into a functional door mat proves sustainability doesn’t require sacrifice—it creates something more valuable than what you started with. Your newly crafted mat carries stories in every thread while solving a practical household need. Now that you know how to make a door mat with old clothes, gather those neglected garments and create an entryway feature that sparks conversation while keeping your floors clean. The perfect welcome begins underfoot, and yours is already waiting in your closet.


