
You’ve designed a sleek curtain wall system in Revit, but now you need to insert a functional door—and the software won’t let you place a standard door family. This frustrating roadblock happens because Revit treats curtain walls as panel-based systems, not solid walls. When you try dragging a standard door into a curtain wall, you’ll get an error: “Cannot place door in curtain wall.” Don’t scrap your design or resort to modeling workarounds that break BIM coordination. The solution lies in creating a specialized curtain wall panel that functions as a door. In this guide, you’ll learn the exact workflow to integrate operational doors into curtain walls while maintaining schedule accuracy and model integrity—no plugins or workarounds required.
The core issue is simple: curtain walls operate on a grid of panels, mullions, and frames, while standard doors expect solid wall hosting. By converting your door into a curtain panel family, you transform it into a native curtain wall component that schedules correctly and responds to grid changes. This method preserves critical data like fire ratings and dimensions while allowing realistic swing animations. Whether you’re working on a standard rectangular facade or complex triangular geometry, this approach delivers a production-ready solution that meets architectural and documentation standards.
Why Standard Doors Fail in Curtain Walls (and How to Fix It)
Attempting to place a conventional door family directly into a curtain wall triggers Revit’s fundamental system conflict. Curtain walls require panel-based components, while standard doors are designed for solid walls with defined thickness. When you select a curtain wall grid intersection and try inserting a door, Revit blocks the action with “Element is not a valid host.” This isn’t a software limitation—it’s by design. Curtain walls function as non-load-bearing skins where panels are discrete elements between mullions, unlike solid walls where doors cut openings.
The critical fix involves repurposing curtain wall panels as door carriers. Instead of fighting the system, you create a custom panel family that contains the door geometry and parameters. This transforms your door into a legitimate curtain wall component that:
– Schedules alongside other curtain elements
– Maintains parametric relationships with grid lines
– Allows swing animation through rotation parameters
– Preserves material and fire-rating data
Never try to “cut” openings with voids or model doors as in-place families—these approaches break panel continuity and cause coordination headaches during documentation.
Creating Your Door Panel Family: Template Selection Matters
Start by launching the Family Editor through File > New > Family. Never use standard door templates—this is the most common beginner mistake. You must select either Curtain Wall Panel.rft or Curtain Wall Door Panel.rft from the template list. The latter includes pre-built reference planes for door swings, saving setup time. Verify the template path: Revit Templates > English > Curtain Wall Panels.
Once loaded, immediately confirm the family category:
1. Go to Family Category and Parameters
2. Set category to Curtain Panels (non-negotiable!)
3. Check “Visible in all views” and “Model”
4. Save as CW_Door_Single_FireRated.rfa before modeling
This step determines whether Revit recognizes your family as a valid curtain panel option later. Skipping it guarantees failure when trying to load the family.
Modeling Door Geometry Within Panel Constraints

Work within the template’s boundary sketch lines—they define panel insertion points. For a standard single door:
– Extrude a 1.5″ thick panel for the door frame
– Create a separate extrusion for the door leaf (use reference planes at 0° and 90° swing positions)
– Add a void to cut the reveal gap (standard 1/8″ around edges)
Critical constraint setup: Lock the door leaf to reference planes using dimension parameters, not fixed distances. This allows the door to resize dynamically when placed in different grid cells. For example:
– Create a “Door Width” parameter driving the horizontal frame dimension
– Link swing angle to a “Swing Direction” Yes/No parameter
– Set frame thickness to a type parameter for material variations
Always model in 3D view to verify clearance—Revit won’t warn you if the door intersects mullions until placement.
Replacing Curtain Panels with Your Door in 4 Clicks
With your custom panel loaded into the project, placement becomes remarkably simple. But first, prepare your curtain wall grid to match the door’s required dimensions. Use the Curtain Grid tool (Architecture tab > Build panel) to adjust vertical/horizontal grids. For a standard 36″ door, ensure one grid cell measures exactly 38″ wide (allowing 1″ for mullions on each side).
Targeting the Exact Panel for Replacement
Navigate to a 3D or elevation view showing your curtain wall. Never attempt this in plan view—Revit won’t display panel selection correctly. Hover over the curtain wall until individual panels highlight. Click the specific panel where the door should go. If no panels appear:
– Check Visibility/Graphics > Model Categories > Curtain Panels is enabled
– Verify curtain wall isn’t set to “Coarse” detail level
– Ensure no temporary hide/isolate is active
Once selected, the Properties Palette reveals the key parameter: Curtain Panel. This dropdown lists all available panel types—but your custom door won’t appear if the family category was set incorrectly.
Executing the Panel Swap Without Errors
In the Properties Palette:
1. Click the Edit Type button next to “Curtain Panel”
2. In the Type Properties dialog, find the Curtain Panel parameter
3. Click the button to open the Type Selector
4. Choose your CW_Door_Single_FireRated family from the list
If your family is missing:
– Critical fix: Reload the family and confirm category is “Curtain Panels”
– Check for typos in the family name (Revit sorts alphabetically)
– Ensure you’re not in a view with view-specific overrides
After selection, the panel instantly transforms into your door. Use Spacebar to rotate swing direction if you built parametric controls.
Troubleshooting Grid Alignment for Complex Geometries

Non-rectangular curtain walls (like triangular facades) require specialized grid management. When grids don’t align to standard rectangles, manual grid refinement becomes essential. Select the curtain wall, then use Add Grid Line to subdivide problematic sections. For triangular walls:
1. Activate Divide Surface (Massing & Site tab)
2. Draw adaptive reference points at triangle vertices
3. Create grid lines connecting these points
4. Adjust grid density until one cell matches your door dimensions
Never force-fit doors into irregular cells—this causes modeling errors. Instead, subdivide the triangle into smaller quadrants where one quadrant can host your door panel. Use temporary dimensions to verify cell size before panel replacement.
Fixing Swing Clearance Conflicts
After placement, check for swing path collisions with adjacent elements. In 3D view:
1. Select the door panel
2. Adjust the “Swing Angle” parameter to 90°
3. Look for intersections with mullions or adjacent panels
To resolve conflicts:
– Option 1: Move grid lines using Align tool (temporary hide mullions first)
– Option 2: Increase reveal gap in family editor (modify the void extrusion)
– Option 3: Reduce door width parameter by 0.5″ to create clearance
Warning: Never delete mullions to create space—this compromises structural integrity in documentation.
Scheduling and Documenting Your Curtain Wall Door Correctly
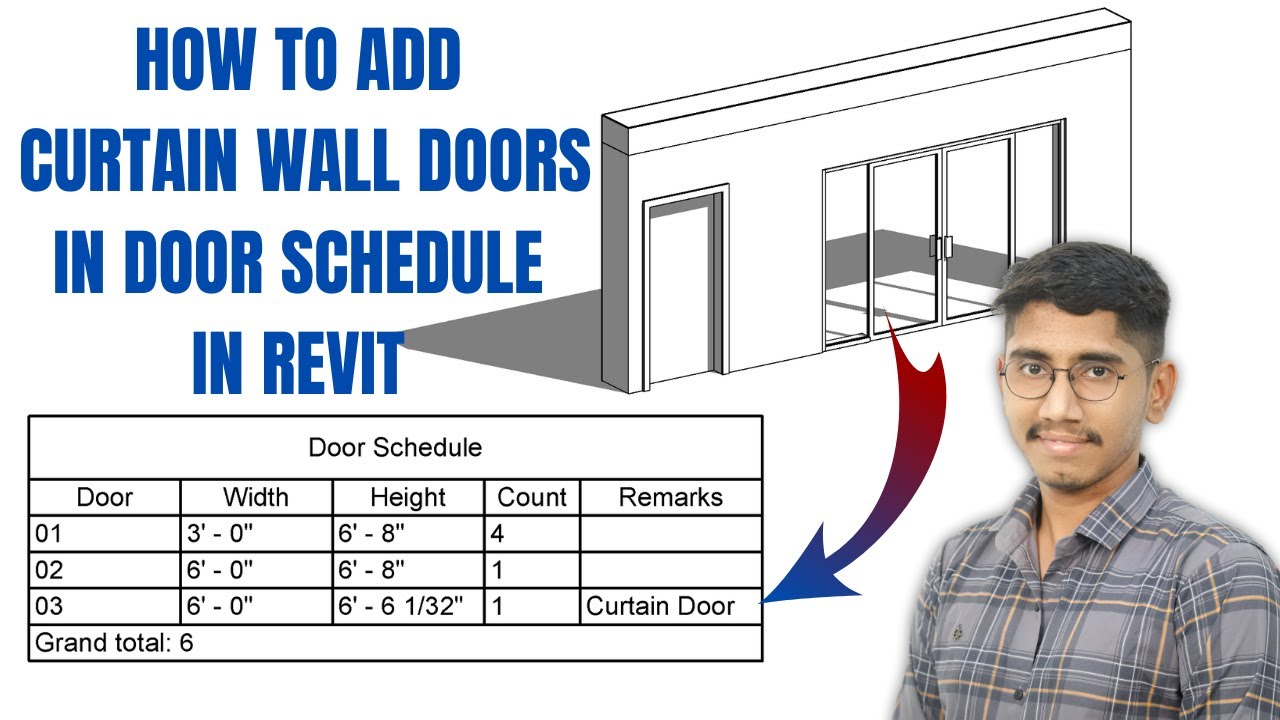
The true power of this method emerges in documentation. Because your door is a legitimate curtain panel, all parameters populate schedules automatically. Create a curtain wall schedule (View tab > Schedules > Schedule/Quantities), then:
1. Add fields: Family and Type, Width, Height, Fire Rating
2. Filter by Family = CW_Door_*
3. Group by Fire Rating for code compliance reports
Unlike workarounds, this schedule updates when you modify door types. For door tags:
– Load standard door tags into your project
– Use Tag by Category and select your door panels
– Revit recognizes custom parameters like “Hardware Set” if defined in family
Pro tip: Add shared parameters for “Door Operation” (e.g., “Manual,” “Automatic”) to track accessibility requirements across the model.
Performance Optimization for Large Facades
Complex door families can slow down projects with hundreds of panels. Optimize before finalizing:
– Use nested families for hardware (hinges, handles)
– Set nested components to “Detail Level Coarse” visibility
– Replace intricate 3D geometry with symbolic lines in coarse views
– Implement “Level of Detail” parameters that simplify geometry
For triangular curtain walls, avoid adaptive components—they exponentially increase file size. Instead, use the divide surface method described earlier with simplified panel families. Test performance by placing 10 identical doors; if Revit lags, reduce polygon count in the panel frame.
Final Note: Successfully putting a door in a curtain wall in Revit hinges on respecting the system’s panel-based architecture. By creating purpose-built curtain wall panel families with correct categorization, you transform what seems like a software limitation into a coordinated BIM solution. Remember to always start with the right template, verify family categories, and refine grids before panel replacement. This method ensures your doors schedule accurately, maintain design intent across views, and avoid the documentation nightmares of makeshift workarounds. For complex geometries, prioritize grid subdivision over forcing non-standard placements—your model’s performance and accuracy will thank you.


