
Your doorbell stays silent while packages pile up and visitors wonder if you’re home. Or worse—it buzzes like an angry bee instead of playing its cheerful tune. Don’t call an electrician just yet. 90% of doorbell chime failures stem from simple, fixable issues requiring only basic tools and 10–45 minutes of your time. Whether your system buzzes, chimes weakly, or stays completely silent, this guide walks you through step-by-step repairs verified by electrical diagnostics. You’ll pinpoint the exact problem—button, wiring, transformer, or chime unit—and restore reliable operation without breaking the bank.
Why Your Doorbell Button Causes 90% of Failures
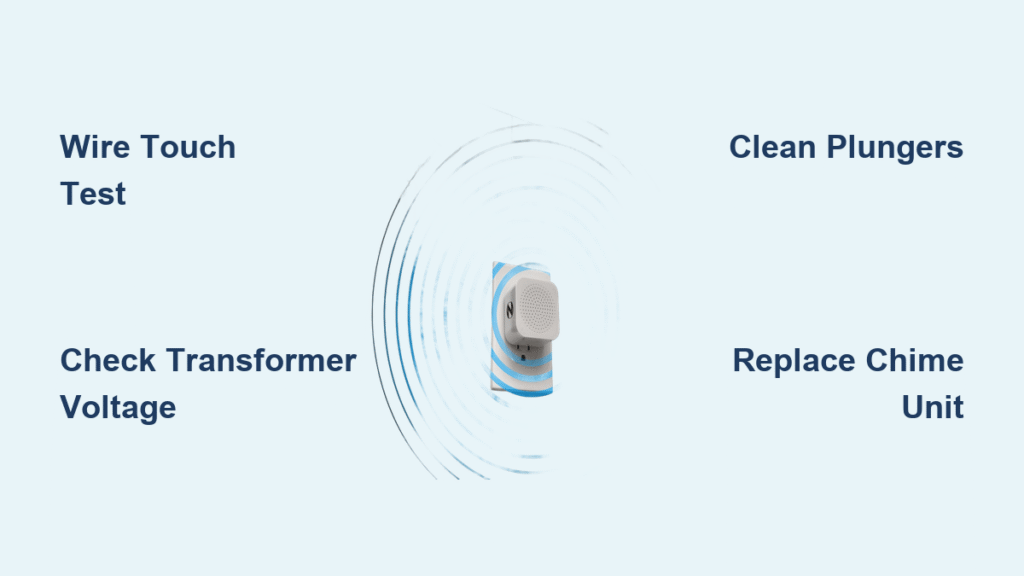
Outdoor buttons endure constant weather exposure and physical stress, making them the #1 failure point. When your chime stays silent, bypassing the button with a wire test confirms the culprit in 60 seconds. This eliminates guesswork before touching other components.
Perform the Wire Touch Test
- Remove the button using a multi-bit screwdriver (typically two mounting screws). Gently pull it away from the wall to expose the terminals.
- Disconnect both 18-gauge wires from the button’s terminals. Strip 1/2 inch of insulation if ends are frayed.
- Touch the bare wire ends together while an assistant watches/listens for the chime.
→ Chime rings? Button is dead—replace it ($10–$20, 10 minutes).
→ No sound? Move to transformer testing—the button isn’t the issue.
Critical mistake to avoid: Never touch wires to metal surfaces like door frames. This creates a short circuit and damages the transformer. Hold wires by their insulated sections only.
Replace a Faulty Button in 6 Steps
Skip this if your wire test produced a chime. For confirmed button failures:
1. Turn off power at the breaker (safety first, even though it’s low-voltage).
2. Snap off the old button’s faceplate and unscrew the mounting bracket.
3. Take a photo of wire positions before disconnecting—terminals rarely have labels.
4. Connect wires to the new button (polarity doesn’t matter in AC systems).
5. Mount the new button, ensuring the spring-loaded plunger moves freely.
6. Seal edges with silicone caulk—this weatherproofing step prevents 70% of future button failures.
Pro tip: Test before sealing! Press the new button to verify the chime sounds. If silent, recheck wire connections—loose terminals mimic button failure.
Why Your Doorbell Transformer Reads Below 14 Volts

If the wire touch test failed, your transformer—the small metal box near your electrical panel—is likely underpowered or dead. Low voltage (below 14V) starves the chime, causing silence or buzzing. Testing takes 2 minutes with a multimeter.
Measure Transformer Output Accurately
- Locate the transformer (check basement walls, garage, or near breaker panels).
- Set your multimeter to AC voltage (not DC!).
- Touch probes to the two low-voltage terminals.
→ Reading 14–18V? Transformer works—chime unit is faulty.
→ Below 14V or zero? Replace the transformer.
Warning: Transformer replacement involves 120-volt wiring inside your electrical panel. Hire an electrician unless you’re experienced with household circuits. One misstep risks shock or fire.
Fix a Buzzing or Weak Doorbell Chime Unit
When the button and transformer check out but your chime buzzes, sticks, or sounds faint, gummed-up plungers are almost always the cause. Dust and grime prevent the metal rods from striking tone bars cleanly—a 15-minute cleaning solves this 80% of the time.
Clean Sticky Plungers Without Damage
Never skip this step: Label wires with masking tape before disconnecting anything. Mark them Front, Back, and Trans (Transformer).
1. Remove the chime cover (lifts off or has two screws).
2. Push each plunger gently—it should spring back smoothly. Sticking indicates buildup.
3. Spray electrical contact cleaner (not WD-40!) while working the plunger in/out.
4. Wipe residue with a microfiber cloth—oil-based lubricants attract more dust.
5. Tighten all terminal screws (loose wires cause intermittent operation).
Why this works: Contact cleaner dissolves sticky residue without leaving residue. Oil sprays seem helpful but create a dust magnet, worsening the problem within months.
Replace a Broken Doorbell Chime Unit Safely

If cleaning fails or plungers are physically damaged, swapping the chime unit takes 30 minutes. Match voltage ratings (12–24V AC) to avoid poor performance.
Install a New Chime in 5 Critical Steps
- Kill power at the breaker—transformer wires carry live current.
- Label and disconnect wires using your Front/Back/Trans tags.
- Unmount the old chime (usually two screws through a bracket).
- Connect wires to the new unit’s matching terminals. Splice short wires with connectors—never stretch.
- Restore power and test both front and back door buttons.
Voltage mismatch alert: A 16V transformer paired with a 24V chime produces weak tones. Check labels on both components before buying replacements.
Repair Hidden Doorbell Wiring Faults
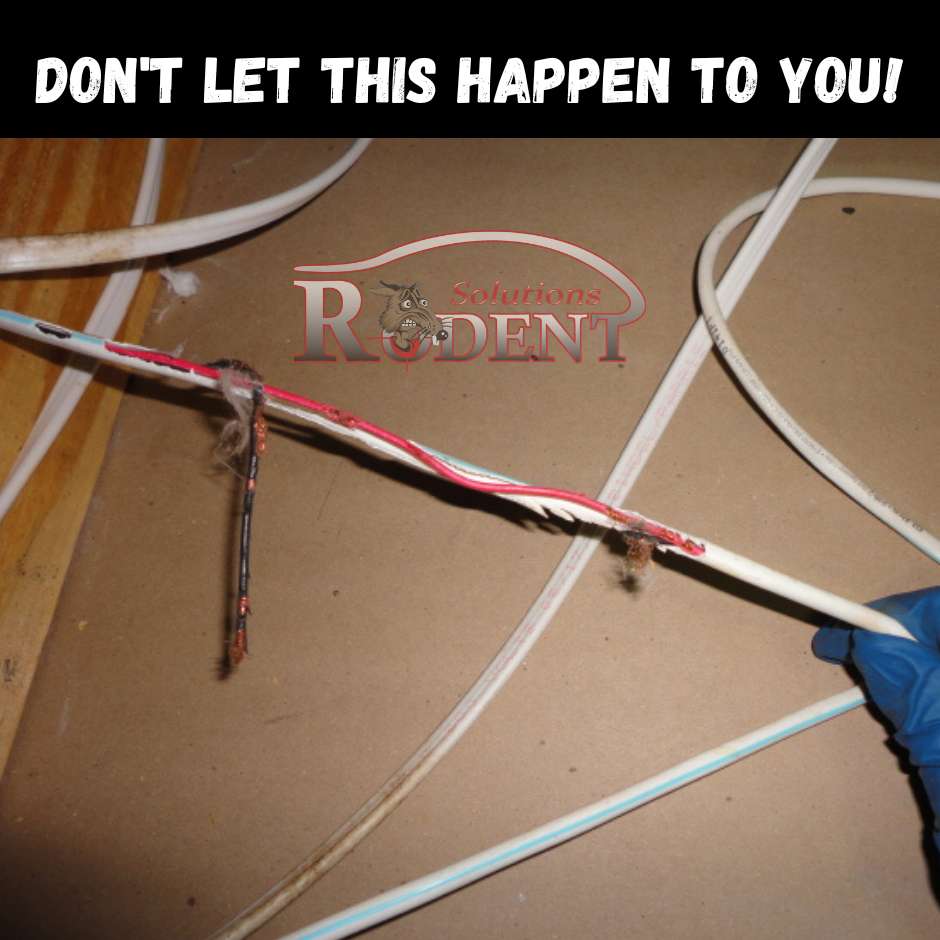
When all components test good but the chime stays silent, rodent damage or wire punctures break the circuit. This is rare (<5% of cases) but easy to confirm.
Locate and Fix Wire Breaks
- Trace 18-gauge bell wire from transformer → button → chime.
- Look for: Chewed insulation (rodents love this wire), nail/staple punctures, corroded wire nuts.
- Cut out damaged section, strip 1/2″ insulation from both ends.
- Splice with wire connectors—keep splices accessible in junction boxes, never buried in walls.
When to call a pro: If wires run through finished walls or ceilings, professionals use tone tracers to locate breaks without destructive searching.
Prevent Doorbell Failures With 5-Minute Maintenance
Annual upkeep prevents 95% of recurring issues. Dedicate 5 minutes each spring to these critical checks:
Weatherproof Your Outdoor Button
- Reapply silicone caulk around the button’s edges if you see gaps.
- Clear debris from the plunger hole—leaves and dirt prevent full presses.
- Listen for “weak” chimes—a sign plungers need cleaning before failing.
Secure Internal Connections
- Tighten terminal screws at the chime and transformer (vibration loosens them over time).
- Verify transformer output reads 16V ±2V during your annual check.
Upgrade shortcut: Wireless systems ($20–$200) eliminate wiring headaches. For $50, you get video, motion alerts, and battery-powered reliability—ideal for older homes with fragile wiring.
Essential Tools for Fixing Doorbell Chime Problems
You need only 4 items for 95% of repairs:
– Multi-bit screwdriver (for buttons and chime covers)
– Multimeter (AC voltage and continuity testing—$15 on Amazon)
– Electrical contact cleaner (not lubricant!)
– Masking tape and pen (for foolproof wire labeling)
Skip these “helpful” items:
– WD-40 (gums up mechanisms)
– Silicone spray (attracts dust)
– Wire nuts (too bulky for 18-gauge bell wire—use push-in connectors instead)
Total cost: Button replacement = $15 + 10 minutes. Full chime repair = $25 + 30 minutes. Transformer work requires an electrician ($150–$250) but prevents safety risks.
Final Fix Checklist: Start with the wire touch test—90% of silent doorbells need a $15 button swap. If that fails, check transformer voltage (14–18V AC). Clean sticky chime plungers with contact cleaner before replacing units. Always label wires, and never force components. With these steps, you’ll restore your doorbell’s welcoming chime in under an hour. For persistent issues or transformer work, invest in a wireless system—it’s the modern, wiring-free solution that avoids these repairs entirely.


