
Your front door deserves more than a generic decoration—it needs a custom wreath that tells your story. When guests spot your handmade creation, they’ll feel an instant connection to your home’s personality. Forget complicated crafts; how to make a door wreath is simpler than you think with the right approach. In just 45 minutes to 2 hours, you can transform basic supplies into a showpiece that welcomes everyone from pizza delivery drivers to holiday guests. This guide cuts through the guesswork, giving you actionable steps to craft a professional-looking wreath—even if it’s your first time. You’ll learn to avoid flimsy attachments, overcrowded designs, and other pitfalls that make store-bought wreaths look better than DIY attempts.
Why settle for mass-produced decor when you can express your style through color, texture, and personal touches? A handmade wreath costs less than $20 using affordable craft store materials, yet looks infinitely more special. Whether you’re creating a spring floral masterpiece or a rustic fall statement piece, the process builds confidence with every stem you attach. By the end of this guide, you’ll have a wreath that stays securely hung through wind and rain, with a focal point that makes neighbors stop and ask, “Where did you get that?” Let’s turn your vision into reality—one perfectly placed pinecone at a time.
Essential Supplies Checklist for Your DIY Door Wreath Project
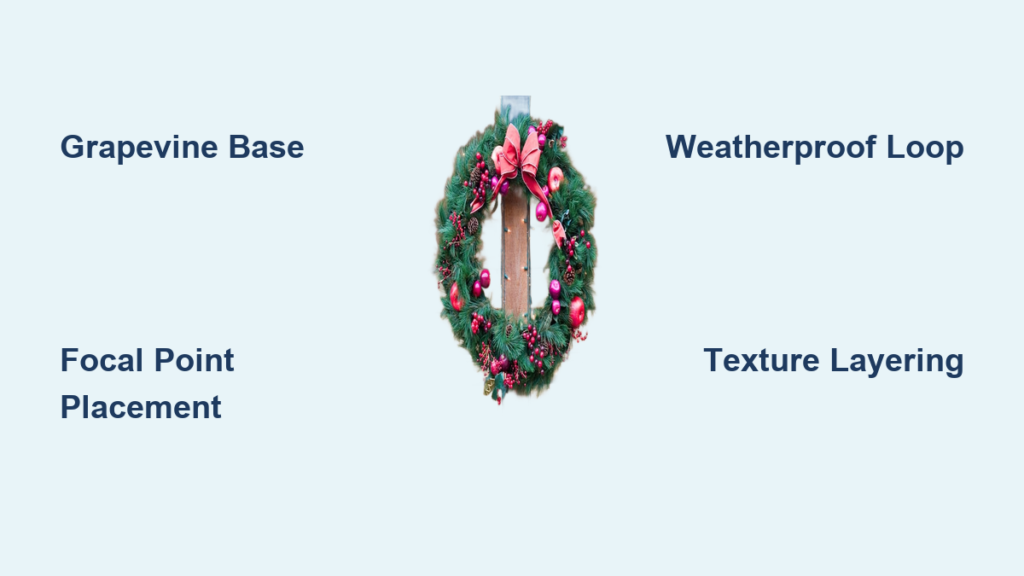
Before you grab glue sticks or wire cutters, gather these non-negotiable items. Skipping even one tool leads to frustration mid-project—like realizing your ribbon won’t stay put because you forgot floral wire. A 12-inch grapevine base is ideal for beginners since its nooks naturally grip decorations, but we’ll cover alternatives. You’ll need heavy-duty floral wire (22-gauge) for structural attachments, not the flimsy kind sold in holiday packs. For adhesives, a mini hot glue gun offers precision without messy strings, but have floral tape ready for stem bundling.
Must-Have Tools for Flawless Construction
Wire cutters are non-optional—they snip stems cleanly without crushing delicate silk flowers. Keep a second pair dedicated to cutting wire to avoid blade damage. Use floral tape to wrap wire joints; its stretchy texture bonds when stretched, creating invisible seams. For hanging, choose satin ribbon over burlap—it won’t fray when looped through the wreath hanger. Pro tip: Wrap ribbon tails around the hanging loop twice before securing to prevent slippage in heavy winds.
Selecting Theme-Perfect Decorations on a Budget
Skip expensive pre-made bundles. Instead, hit the clearance aisle for seasonal items: leftover Valentine’s Day roses become spring wreaths, while Christmas pinecones transform into rustic fall decor. For cohesive color, pick one dominant hue (like sage green) plus two accents (cream and terracotta). Avoid mixing more than three textures—combine smooth silk berries, rough twine, and velvety leaves for depth without chaos. Dollar stores often carry foam rings and basic florals perfect for practice wreaths.
Choosing the Right Wreath Base: Grapevine, Foam, or Wire?

Your base isn’t just a foundation—it dictates your entire design approach. Get this wrong, and you’ll fight the structure instead of creating. Grapevine bases win for beginners because their tangled vines hide attachment points, but they’re heavy for delicate doors. If your wreath will hang on glass or a flimsy screen door, switch to a lightweight foam ring. Wire frames shine when you want 360-degree visibility, like for porch railings, but require meticulous greenery coverage to avoid “see-through” spots.
Grapevine Bases for Rustic Charm
Look for bases with dense, knotted vines—not sparse ones where decorations fall through. Pre-soak in water for 10 minutes if using fresh greenery to prevent wilting. When attaching items, tuck stems into vine crevices first before wiring; this cuts attachment time by half. Avoid hot glue here—it peels off rough bark. Instead, twist floral wire tightly in a figure-eight pattern around stems and vines.
Foam Rings for Full-Coverage Designs
Choose closed-cell foam (like Oasis) over styrofoam—it won’t crumble when pierced. Cover it completely with sheet moss first using hot glue, creating a “skin” that hides the base. Push floral picks straight down into the foam at 45-degree angles; they’ll grip tighter than horizontal placements. Warning: Never use water-based glue on foam—it causes disintegration within weeks.
Step-by-Step: Attaching Greenery Without Gaps or Slippage
Start with your largest elements first—this creates a framework for smaller details. For grapevine bases, bundle 3-5 greenery sprigs (like eucalyptus or ivy) with floral tape, then secure the bundle’s base to the wreath with double-wrapped wire. Overlap each new bundle by 50% over the previous one—like shingles on a roof—to hide mechanics. If using foam, insert picks at even intervals around the ring before filling gaps.
The Overlap Technique for Wind-Resistant Wreaths
Hold your wreath against a window while attaching items; backlighting reveals gaps invisible in normal light. Place dense foliage (like boxwood) at the 5 and 7 o’clock positions—this anchors the design and prevents top-heaviness. When adding flowers, angle stems inward slightly so blooms face outward, not upward. Test stability by gently shaking the wreath; if items shift, add a drop of hot glue under the attachment point.
Why Hot Glue Fails on Certain Materials (And Fixes)
Hot glue melts on foam bases and peels off smooth surfaces like ribbon. Solution: For foam, use floral picks dipped in tacky glue. For slippery ribbons, rough up the attachment area with sandpaper first. Always let glue cool 10 seconds before placing—it becomes tackier and less stringy. Keep a damp cloth nearby to wipe accidental drips before they harden.
Creating a Show-Stopping Focal Point That Doesn’t Topple
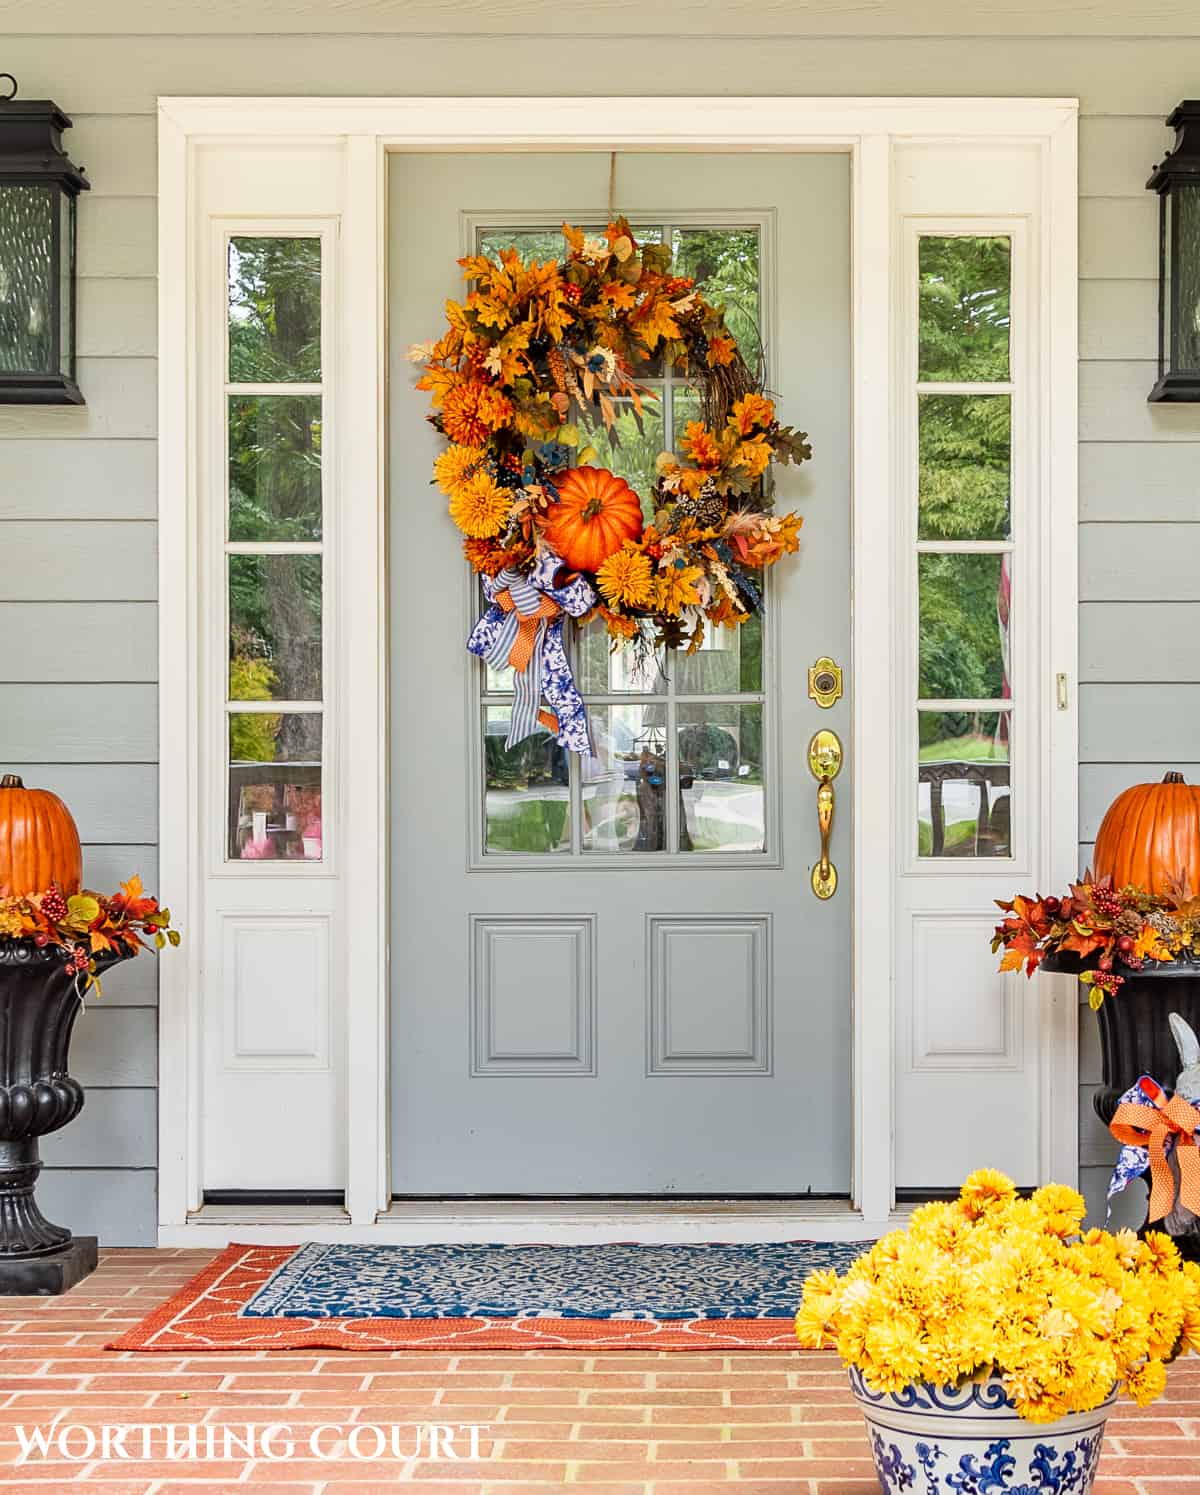
Your focal point—whether a bow, bloom, or monogram—must feel intentional, not tacked-on. Place it at 4 or 8 o’clock (never dead center) for organic asymmetry. For bows, use 2.5-inch wired ribbon: cut two 18-inch tails, form loops, then twist the center tightly before securing. Attach bows with hidden wire through the knot, not glue—this prevents sagging. Large blooms like peonies need dual support: glue the base, then wire the stem to the frame.
Monogram Magic for Personalized Wreaths
Use lightweight wood letters (under 3 oz) to avoid tilting. Paint them before attaching—spray paint sticks better than brush-on. Secure with two crisscrossed wires through pre-drilled holes, then camouflage wires with moss or small flowers. Never glue letters directly; temperature changes cause separation. Instead, wrap floral tape around the wire attachment points for a seamless look.
Securing a Weatherproof Hanging Loop in 60 Seconds
Flimsy ribbons snap in wind, while thin wire cuts into door hooks. Create a military-grade loop that holds 5+ pounds: Cut 18 inches of 18-gauge wire, fold in half, and thread both ends through the wreath’s top center from back to front. Twist the ends tightly 8 times on the backside, leaving a 3-inch loop. For decorative flair, wrap the twisted section with matching ribbon, securing ends with a single glue dot. Test by hanging the wreath on a nail—give it a firm tug to ensure no slippage.
5 Design Mistakes That Make Wreaths Look Cheap (And Fixes)
Why Your Wreath Looks “Too Full”
Overcrowding is the #1 beginner error. Stop adding items when you can still see 20% of the base—this creates breathing room. If your wreath feels cluttered, remove three elements; you’ll instantly notice improved flow. For seasonal wreaths, limit decorations to 5-7 key pieces: one focal bloom, two accent flowers, pinecones, ribbon, and filler greenery.
The Symmetry Trap
Perfectly balanced wreaths look robotic. Intentionally offset elements: place your largest bloom 2 inches left of center, then cluster smaller items to the right. Use the “rule of thirds”—divide your wreath into imaginary thirds and place focal points at intersection points. Hold the wreath at eye level while designing; what looks balanced on a table appears lopsided on a door.
Pro Tips for a Gallery-Worthy Finish
Texture Layering Secrets from Floral Designers
Combine three contrasting textures: smooth (silk hydrangeas), rough (birch slices), and wispy (dried lavender). Place rough elements at the bottom—they ground the design visually. Never mix more than two shiny items (like metallic ornaments and satin ribbon); they compete for attention. For winter wreaths, tuck cinnamon sticks vertically between greenery—they add scent and linear contrast.
The Odd-Number Advantage
Groups of three pinecones feel natural; groups of four look staged. Cluster berries in fives, ribbon loops in threes. When adding filler like baby’s breath, snip sprigs into uneven lengths (2”, 3.5”, 5”) before attaching. This mimics organic growth patterns that feel effortless, not craft-store obvious.
Troubleshooting: Fixing Common Wreath Problems After Completion
When Decorations Start Falling Off
Don’t panic—reinforce without redoing everything. For loose stems, slide a toothpick dipped in tacky glue into the base, then reattach the item. If a bow sags, add a hidden drop of glue where ribbon meets the base, but only on the underside. For heavy ornaments, drill a tiny hole in the back, thread wire through, and anchor to the frame.
Salvaging an Unbalanced Wreath
If your wreath leans left when hung, add weight to the opposite side: tuck a small stone wrapped in moss behind greenery. For top-heavy designs, relocate focal points downward—never add decorations to the top to “balance” it, as this worsens the issue. Rotate the entire wreath 180 degrees; sometimes the imbalance disappears when viewed from the door’s perspective.
Crafting your own door wreath transforms your entryway from ordinary to extraordinary with minimal investment. Remember: perfection isn’t the goal—personality is. Your slightly asymmetrical bow or mismatched pinecones tell a story no store-bought wreath can replicate. Hang it proudly, knowing you’ve mastered the fundamentals. Now, imagine swapping out elements for every season: swap spring florals for autumn wheat stalks in 10 minutes, or add twinkling lights for winter. Each wreath builds your confidence for more ambitious projects—like porch swags or centerpiece arrangements. Grab that wire cutter today; your front door is waiting for its moment to shine.


