
Picture this: You’re hosting a neighborhood gathering when a guest pauses at your front door, smiling at the cheerful gnome peering from your entryway. That handmade gnome door hanger you created last weekend has become the talk of the block – and it only took you three hours from start to finish. Forget expensive store-bought decor; crafting your own gnome door hanger transforms ordinary pine into year-round magic that sparks joy for everyone who visits. In this guide, you’ll discover exactly how to make a gnome door hanger that withstands rain, snow, and curious toddlers while looking professionally crafted. We’ll cover wood selection secrets, carving techniques that work even if you’ve never touched a chisel, and weatherproofing tricks that keep your gnome vibrant for seasons.
Unlike flimsy holiday decorations, a properly constructed gnome door hanger becomes a permanent fixture that tells the world your home has personality. The beauty lies in its adaptability – swap the hat color for Christmas, add a tiny pumpkin for fall, or paint it in your favorite sports team’s colors. What makes this project truly special is how it bridges generations: grandparents teach grandchildren carving basics, couples collaborate on design choices, and even solo crafters find therapeutic rhythm in the sanding process. You’ll complete this project with confidence knowing every step is designed for beginners yet detailed enough for seasoned woodworkers.
Gather These 15 Essential Supplies Before Starting Your Gnome
Having everything ready prevents mid-project frustration and keeps your creative flow. Here’s your exact shopping list for a weather-resistant gnome door hanger:
- Wood Base: 12-14″ wide × ¾” thick pine board (1×6 or 1×8)
- Gnome Body: 6″ tall × 3″ wide piece of 2×4 lumber
- Hat Section: 4″ cube of 4×4 post
- Adhesives: Titebond II wood glue (waterproof formula)
- Paints: Exterior-grade acrylics in hat color, beard white, and facial tones
- Finishes: Minwax Helmsman Spar Urethane (for UV/water protection)
- Safety Gear: ANSI Z87.1 safety glasses, NIOSH-approved dust mask
- Cutting Tools: Jigsaw with fine-tooth blade or handsaw
- Carving Tools: #5-10mm gouge chisels, rubber mallet
- Sanding Supplies: 80/120/220-grit sandpaper, sanding block
- Clamping System: 2-3 bar clamps with rubber pads
- Painting Tools: 1/4″ flat brush, 2mm detail brush
- Hanging Hardware: 1.5″ brass D-ring hanger
- Personalization: Wood-burning pen (optional)
- Cleanup: Mineral spirits, lint-free rags
Critical Pro Tip: Skip the power sander for final smoothing – hand-sanding with 220-grit wrapped around a dowel prevents accidental gouges in delicate beard areas. Always work in a ventilated space when applying finishes.
Design Your Gnome Using This Foolproof Template Method
Skip complicated patterns with this beginner-friendly approach that guarantees proportional results. Trace this simple template onto your 2×4 lumber: Draw a 5″ tall cone shape (base 2.5″ wide) for the body, then a separate 4″ tall cone (base 3″ wide) for the hat. The magic happens in the negative space – leave 1″ between the body’s top and the hat’s bottom for easy assembly. For instant personality, carve a subtle smile line 1/2″ below the hat brim using a pencil compass set to 1.5″ radius.
How to Adapt Your Gnome for Different Skill Levels
Beginners: Paint facial features instead of carving – use a toothpick for precise beard strokes.
Intermediate: Add texture with a #3-6mm V-tool along the hat seam for “fabric” details.
Advanced: Hollow out the hat interior with a drill bit to reduce weight without compromising structure.
Cut Your Gnome Pieces Without Power Tools

You don’t need expensive machinery for clean cuts. Clamp your wood securely to a workbench, then score cut lines with a utility knife to prevent splintering. For the body cone: Make shallow relief cuts every 1/4″ along the outline with a handsaw, then slice through the kerfs. The hat requires one critical angle – set your miter box to 45 degrees for the signature slant. When separating pieces, leave 1/16″ extra wood for sanding adjustments. Warning: Never force the saw – let the blade do the work to avoid dangerous kickback.
Troubleshooting Common Cutting Mistakes
- Splintered edges? Apply masking tape along cut lines before sawing.
- Uneven hat angle? Use a protractor app on your phone to verify 45 degrees.
- Body wobble? Sand mating surfaces flat before gluing – check alignment with a carpenter’s square.
Carve Your Gnome’s Personality in 20 Minutes Flat
Focus on three key areas that create maximum impact with minimal effort. First, round the body’s bottom edge with a #8-10mm gouge – this prevents snagging clothes when hung. For the beard, make parallel 1/8″ deep cuts with a V-tool starting 1″ below the face line, working outward in wavy patterns. The hat brim gets subtle texture: gently tap a 3mm chisel along the edge with a mallet to create “fabric folds.” Always carve with the wood grain – test on scrap first by making shallow strokes toward you.
Pro Carving Sequence:
1. Round body base (2 min)
2. Define beard area (5 min)
3. Texture hat brim (3 min)
4. Smooth transitions (10 min)
Achieve Glass-Smooth Surfaces With This 3-Step Sanding System
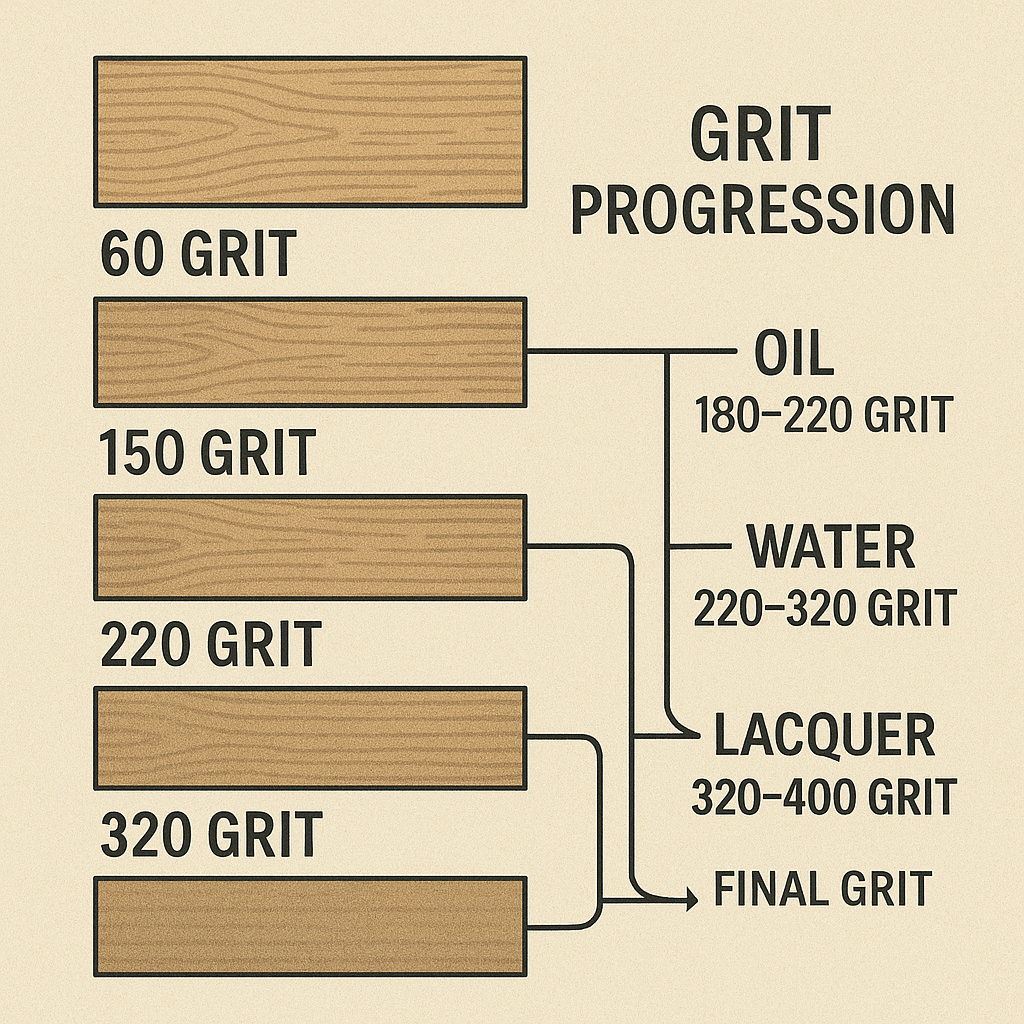
Most beginners ruin good carvings with improper sanding. Start with 80-grit wrapped around a sanding block, focusing on eliminating tool marks while preserving carved details. Progress to 120-grit using only your fingertips to feel for imperfections – pay special attention to beard grooves where dust collects. Finish with 220-grit dampened with mineral spirits for a glass-like surface that makes paint adhere perfectly. Critical: Wipe all dust with a tack cloth before painting – any particles will ruin your finish.
Paint Like a Pro With This Layered Technique

Your paint sequence determines professional results. First, apply water-based primer with a 1/4″ flat brush, working into all carved details. Let dry 2 hours. For the beard: Dry-brush white acrylic using 30% paint / 70% water, pulling upward in wavy motions. Hat application: Paint the slanted side first with 2 coats of red (or your color), then the curved top last. Facial details require the toothpick method – dip in brown paint for eyebrows, then use a 2mm brush for rosy cheeks. Time-Saver: Mix 1 tablespoon of Floetrol into paints to prevent brush strokes.
Weatherproofing Your Gnome for Outdoor Display
Apply Minwax Helmsman Spar Urethane in three ultra-thin coats:
1. First coat: Full saturation (dries 4 hours)
2. Second coat: Light mist after light sanding
3. Third coat: Focused on exposed edges
Never skip the urethane – standard polyurethane yellows in sunlight within months.
Create 5 Seasonal Gnome Variations in Under 30 Minutes
Transform your base gnome for any occasion without re-carving. For Christmas: Paint hat green, add red pom-pom with hot glue. Spring version: Swap red hat for pastel blue, glue tiny faux flowers. Summer gnome: Paint hat yellow, add miniature sunflower. Fall edition: Brown hat with glued-on maple leaf. Year-round classic: Keep traditional red hat but add your house number via wood-burning on the base. Pro Tip: Store off-season accessories in labeled ziplock bags attached to the back hardware.
Hang Your Gnome Without Damaging Doors or Walls
The right hardware prevents costly mistakes. Position your D-ring hanger 1″ below the top of the base board – this creates subtle forward tilt for better visibility. For solid doors: Use 1″ #6 screws into door frame stiles. Hollow-core doors require Molly bolts – drill 3/16″ hole, insert anchor, then screw. Critical Test: Hang your gnome, then gently pull downward with 5 lbs force to verify security. Never use adhesive hooks – temperature changes cause failure.
Maintain Your Gnome for Years of Cheerful Service
Extend your door hanger’s life with these simple habits. Every spring, wipe with damp cloth and reapply one coat of spar urethane to sun-exposed areas. If paint fades, spot-treat with matching acrylic before sealing – never paint over existing finish. During winter storms, bring indoors if temperatures drop below 15°F. Warning Sign: Check monthly for hairline cracks at glue joints – reinforce with wood glue injection using a syringe.
Your gnome door hanger isn’t just decor – it’s a conversation starter that transforms your entryway into a magical threshold. By following these precise steps, you’ve created more than a craft; you’ve built a legacy piece that generations will admire. The real secret? This project proves you don’t need expensive tools or years of experience to create professional-looking home accents. Now that you’ve mastered the classic gnome, try scaling down the technique for mailbox toppers or garden stakes. Share your creation online with #MyGnomeWelcome – you’ll inspire others to add handmade charm to their homes. Remember to store your carving tools properly; your next gnome adventure (a fishing-themed one for the lake house?) is just a weekend away.


