
Your exterior door handle won’t budge no matter how hard you twist it. You’re sweating in the driveway, keys jangling uselessly, realizing this isn’t just inconvenient—it’s a security risk. Whether you’re replacing a broken handle, upgrading to a smart lock, or rekeying your entryway, how to remove an exterior door handle correctly is the make-or-break first step. Mess it up, and you’ll face stripped screws, damaged doors, or being locked out entirely. This guide cuts through the confusion by teaching you to identify your handle type in 60 seconds and execute the precise removal method—even if you’ve never touched a screwdriver before.
Unlike interior handles, exterior models battle weather, corrosion, and complex security mechanisms. A single wrong move can crack your expensive fiberglass door or jam the latch mechanism. I’ve seen DIYers break handles by forcing removal methods meant for different hardware. The good news? Every exterior handle follows one of four universal removal patterns. Once you spot which system yours uses (it’s easier than you think), you’ll complete the job in under 15 minutes with basic tools. This guide covers all major handle types—from vintage knobs to modern smart locks—so you never waste time guessing again.
Essential Safety Steps Before Removing Your Exterior Door Handle
Skipping safety prep turns simple handle removal into a disaster. Exterior doors are your home’s first security barrier, and mishandling them leaves you vulnerable. Start by securing the door open with a heavy-duty door stop or wedge. If the door slams shut mid-removal, you’ll be locked out with tools inside—a nightmare scenario. Next, put on safety glasses. Spring-loaded pins inside lever handles can launch at 30+ mph when released, risking eye injury. Finally, disconnect electronic components if you have a smart lock. Unplug batteries or disable the wiring harness to prevent accidental triggering of alarms during disassembly.
What to Check for Exterior-Specific Risks
- Weather damage: Look for rust or paint buildup around the handle base—this signals corrosion that may require penetrating oil.
- Security gaps: If the handle wobbles excessively, the latch mechanism might already be compromised. Work carefully to avoid complete failure.
- Door material: Fiberglass and steel doors dent easily. Use plastic pry tools instead of metal screwdrivers on delicate surfaces.
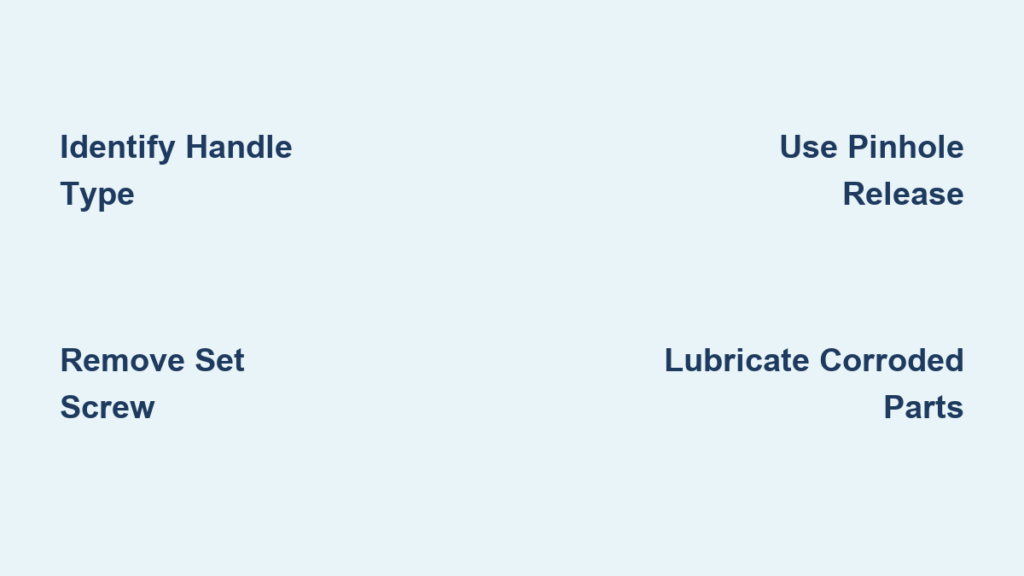
Identify Your Exterior Door Handle Type in 60 Seconds

Your handle’s fastening system dictates the entire removal process. Spend 1 minute inspecting these critical zones before touching tools:
Visible Screws vs. Hidden Mechanisms
- Check the interior side: Two exposed Phillips screws near the base? You have a visible-screw handle (common on basic entry sets).
- Examine the lever neck: A tiny pinhole (1-2mm) underneath? This is a pinhole-release handle (standard on Schlage, Kwikset levers).
- Probe the handle collar: A small hex screw hidden under a plastic cap? That’s a set-screw handle (typical on modern knobs).
- Inspect the rosette: A seamless circular plate with no visible fasteners? You’ve got a snap-on rosette handle (frequent in contemporary designs).
Pro Tip: Shine a flashlight at a 45-degree angle across the handle. This highlights subtle seams, pinholes, or screw covers you’d otherwise miss. If paint seals the mechanism, gently scrape it with a razor blade—never force tools into obscured areas.
Must-Have Tools for Exterior Door Handle Removal
Gather these seven items before starting. Missing one could mean a mid-job trip to the hardware store:
– #2 Phillips screwdriver (for 90% of visible-screw handles)
– 3mm Allen wrench (most common set-screw size)
– Straightened paperclip (universal pinhole-release tool)
– Plastic spudger (for prying rosettes without marring doors)
– Safety glasses (non-negotiable for eye protection)
– Small container (for screws/parts—use magnetic trays if working outdoors)
– Penetrating oil (like Liquid Wrench for corroded handles)
Critical Mistake to Avoid: Using worn screwdrivers that slip into screw heads. This strips screws instantly. Test your driver on a spare screw first—if it wobbles, get a fresh bit.
How to Remove Handles with Visible Mounting Screws
This method applies to 40% of exterior handles (typically older models). You’ll know it’s the right approach when two screws are clearly visible on the interior mounting plate.
Step-by-Step Removal Process
- Locate and loosen screws: Position your Phillips driver firmly in each screw head. Turn counterclockwise just until loose—don’t fully remove yet. This prevents the interior handle from falling mid-process.
- Separate handle halves: Grasp both interior and exterior handles. Pull them gently apart while wiggling side-to-side. The spindle (square metal rod connecting handles) should slide free.
- Remove exterior handle: With the spindle out, pull the exterior handle straight out. If stuck, tap the spindle end with a rubber mallet—never strike the handle directly.
Time Estimate: 5 minutes. Difficulty: Beginner. Visual Cue: If the interior plate has decorative cutouts revealing the screws, you’re on the right track.
Removing Exterior Handles Secured by a Set Screw
Set-screw handles dominate modern installations. The screw hides under a cap on the lever neck—often camouflaged by finish.
Hidden Screw Location and Removal
- Expose the screw: Pry off the plastic/metal cap with a flathead screwdriver wrapped in tape (prevents scratches). Look for the cap where the lever meets the base.
- Loosen the set screw: Insert a 3mm Allen wrench. Turn counterclockwise until the screw is flush with the handle neck—do not remove completely. Over-removal risks losing the screw inside the door.
- Slide off the handle: Pull the lever straight off the spindle. If resistance occurs, apply penetrating oil, wait 2 minutes, then wiggle while pulling.
Warning: Forcing a corroded handle can shear the spindle. If it won’t budge after oil treatment, stop and consult a locksmith—forcing it may require door replacement.
Step-by-Step Removal for Pinhole Release Exterior Door Handles

This system (used by 60% of commercial levers) relies on a spring-loaded pin. Get this wrong, and the handle won’t release.
Correct Pinhole Engagement Technique
- Find the release hole: Look for a pinpoint-sized hole on the lever’s underside near the base. It’s often opposite the keyhole.
- Insert release tool: Straighten a paperclip, insert it fully into the hole, and push straight in until you feel a definite click. Hold pressure—releasing too soon resets the mechanism.
- Pull the handle straight out: While maintaining pin pressure, pull the lever perpendicular to the door. If it sticks, rotate the lever 10 degrees left/right to align internal splines.
Pro Tip: Tape your paperclip to a pencil for better leverage. This gives you two free hands to pull the handle—critical for stiff mechanisms.
How to Extract the Latch Mechanism After Handle Removal
With handles off, you’ll see the latch assembly embedded in the door edge. Removing it prevents damage during reinstallation.
Safe Latch Plate Removal
- Unscrew the strike plate: Remove the two screws on the door’s edge holding the angled metal plate. These often have corrosion—spray with penetrating oil first.
- Slide out the latch: Grip the latch bolt firmly and pull straight out. If stuck, insert a flathead screwdriver into the latch hole and gently pry while pulling. Never twist the screwdriver—this cracks the door edge.
Visual Confirmation: When fully removed, you should see a clean 2.1-inch diameter bore hole running through the door edge. Debris here causes future sticking—wipe it clean with a microfiber cloth.
Troubleshooting: When Your Exterior Door Handle Won’t Come Off
Stuck handles usually mean you’ve misidentified the mechanism or face corrosion. Don’t force it—follow this decision tree:
Stripped Screw Emergency Fix
- Rubber band method: Place a wide rubber band over the stripped screw head. Press your screwdriver firmly through the band for extra grip. Turn slowly with steady pressure.
- Last resort: Use a screw extractor kit. Drill a pilot hole into the screw head, insert the extractor, and reverse-drill. Only attempt if you have drill experience—slipping ruins the door.
Corrosion or Paint Seizure Solution
Apply penetrating oil to the handle-spindle junction. Wait 10 minutes, then:
– Tap the handle base with a rubber mallet (3 light strikes)
– Rotate the handle 15 degrees left/right while pulling outward
– If still stuck, heat the spindle area with a hairdryer for 30 seconds—thermal expansion breaks bonds
Critical Warning: Never use pliers on lever handles—they crush the spindle. Wrap handles in a microfiber cloth and use leather gloves for grip instead.
Pro Tips to Avoid Damaging Your Exterior Door During Handle Removal
Exterior doors suffer weather damage, making removal riskier than interior jobs. These field-tested techniques prevent $200+ repair bills:
- Weatherproofing preservation: Before removing the latch, note where caulk seals the exterior rosette. Photograph it—reapply matching silicone sealant during reinstallation to prevent water intrusion.
- Screw organization: Place screws in labeled baggies (e.g., “Top Handle,” “Latch Plate”). Exterior handles often use different screw lengths per component.
- The 2-Photo Rule: Take one photo before removing the first screw, and another showing all parts laid out. This avoids reassembly nightmares with complex mechanisms.
Time-Saver: Keep a magnetized parts tray in your kit. Exterior jobs often involve tiny springs that roll into grass—this keeps everything contained.
Reinstalling or Replacing Your Exterior Door Handle Safely
After removal, verify your new handle matches the old one’s specifications:
– Measure backset: Distance from door edge to handle center (standard: 2-3/8″ or 2-3/4″)
– Check cross bore: Hole diameter through the door face (usually 2-1/8″)
– Test spindle length: Must align with your door thickness (typically 1-3/4″ to 2-1/4″)
Installation Pro Tip: Apply a thin bead of clear silicone caulk around the latch plate before screwing it in. This creates a waterproof seal most homeowners skip—preventing rot in 3-5 years.
Preventing Future Exterior Handle Problems
The #1 cause of failed removal attempts is preventable corrosion. Extend your handle’s life with these exterior-specific habits:
– Quarterly maintenance: Spray silicone lubricant (not WD-40) into keyholes and latch mechanisms
– Annual seal check: Reapply exterior-grade caulk around rosettes if cracks appear
– Winter prep: Before freezing temps, wipe handles dry after rain to prevent ice-locking
When you master how to remove an exterior door handle using these type-specific methods, you’ll cut repair costs by 70% and avoid emergency locksmith fees. Remember: identification drives success. Spend that extra minute diagnosing your handle type—it transforms a potentially destructive struggle into a smooth 10-minute job. Keep this guide in your phone’s notes for your next handle emergency, and consider bookmarking manufacturer-specific videos for your handle brand. With the right approach, even corroded exterior handles yield cleanly—no damage, no stress, and no locked-out panic.


