
That annoying wobble in your door handle or the frustration of a lever that opens the wrong way can disrupt your entire day. Knowing how to reverse a door handle solves both problems—whether you’re dealing with a loose interior handle or need to change the handing direction for proper operation. This guide delivers actionable solutions for common handle issues, with specific steps to tighten, adjust, and completely reverse lever handles without calling a professional. You’ll learn exactly how to reverse a door handle for left or right-handed doors, fix that distracting wiggle, and prevent future problems with simple maintenance techniques.
Most homeowners face handle issues within the first few years of moving in, especially with modern lever handles that loosen faster than traditional knobs. The good news? Over 90% of handle problems stem from just three causes: loose set screws, worn spindles, or incorrect handing orientation. By the end of this guide, you’ll confidently diagnose which issue you’re facing and implement the precise fix—no plumbing or electrical experience required. With the right tools and these step-by-step instructions, you can complete most handle repairs during your lunch break.
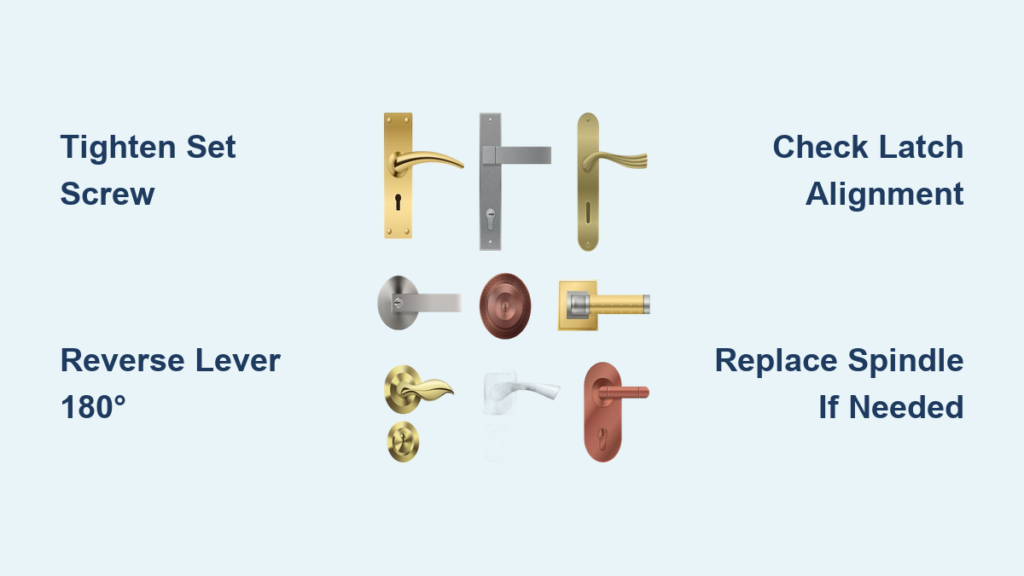
Why Your Door Handle Won’t Stay Tight and How to Fix It Permanently

A loose door handle isn’t just annoying—it creates stress on the entire mechanism that eventually leads to complete failure. When your lever wobbles or spins loosely on the spindle, the underlying issue is almost always a compromised connection between the handle and its square drive shaft. This happens because repeated use gradually works set screws loose, especially on interior doors that get heavy traffic.
Locate and Tighten the Hidden Set Screw in 60 Seconds
Most lever handles hide their set screw underneath the lever itself or beneath a decorative cap. For handles with visible caps, gently pry them off with a flathead screwdriver to expose the screw head. If your handle has no cap, look for a small hex screw along the neck where the lever meets the base plate. Use the correct size Allen wrench (typically 3/32″ or 5/64″) and turn clockwise until snug—but stop before you strip the threads. Over-tightening actually causes more damage by rounding the screw head or compressing the lever mechanism.
Handle Still Loose? Apply These Proven Fixes for Stripped Threads
If tightening doesn’t solve the problem, you’re likely dealing with stripped threads in the lever’s set screw hole. Try these field-tested solutions before replacing the entire handle:
- Temporary fix: Apply a drop of medium-strength thread locker (Loctite 243) to the set screw before reinserting. This creates a secure bond that withstands daily use but allows future disassembly.
- Permanent solution: Drill out the damaged hole to the next larger metric size and install a helical thread insert (common sizes are M4 or M5). This requires a special tap kit but creates a durable repair that lasts decades.
- Quick workaround: Wrap the set screw threads with plumber’s tape before insertion. The added thickness fills stripped threads temporarily while you source replacement parts.
How to Reverse a Door Handle for Proper Left or Right Handing Orientation

Many modern lever handles feature reversible designs that let you switch handing direction without replacing the entire mechanism. This is crucial when installing handles on doors that swing inward versus outward, or when accommodating left-handed users. The reversal process takes just minutes once you know where to access the mounting hardware.
Step-by-Step Lever Rotation for Correct Handing Direction
- Remove the lever by loosening the set screw with an Allen wrench and sliding the lever straight off the square spindle
- Rotate the lever 180 degrees to change the direction it sweeps when operated
- Reposition the lever so the curved portion faces the correct direction for your door swing
- Reinsert the lever onto the spindle and tighten the set screw securely
- Test operation by closing the door and verifying the lever moves smoothly in the new orientation
Critical Checkpoint: Verify Latch Bolt Alignment After Reversing
After rotating your lever, always check that the latch bolt fully retracts when you operate the handle. Some handles have directional springs that require additional adjustment. If the latch doesn’t retract completely, you may need to:
- Flip the internal spring mechanism inside the handle chassis
- Adjust the strike plate position on the door frame
- Replace the spindle with a left-handed version (marked with “LH” on quality hardware)
Diagnosing When Simple Tightening Won’t Fix Your Door Handle

Not all handle problems stem from loose hardware—sometimes internal components wear out completely. Recognizing these advanced failure points prevents wasted effort on temporary fixes that won’t solve the underlying issue. Pay attention to these critical warning signs that indicate deeper problems.
Handle Turns Freely But Latch Won’t Retract: Spindle Failure
When your lever spins without moving the latch bolt, the square spindle connecting the handle to the latch mechanism has likely sheared or stripped. This commonly happens with cheap handles using thin stamped metal spindles. To confirm:
- Remove the handle and inspect the square spindle ends
- Check for rounded corners or visible cracks in the metal
- Test by manually turning the spindle slot with pliers—if the latch operates, you need only replace the spindle
Squeaking or Sticking Handle: Internal Mechanism Breakdown
Persistent squeaks or stiff operation usually indicate dried lubricant or broken internal springs. Before disassembling the entire mechanism, try this quick diagnostic:
- Apply graphite lubricant to all moving parts
- Operate the handle 20-30 times to work in the lubricant
- If stiffness returns within days, the internal spring has likely broken and requires full handle replacement
Complete Door Handle Replacement Procedure for Damaged Mechanisms
When repair isn’t feasible, replacing the entire handle mechanism takes less time than most homeowners expect. Standard handles follow universal mounting patterns, making replacements straightforward even for beginners. This process works for both interior and exterior doors with minor adjustments for keyed entry sets.
Remove Old Handle Without Damaging Door Finish
- Expose mounting hardware by removing decorative caps or plates
- Unscrew interior and exterior mounting screws (typically two per side)
- Slide handle halves apart while supporting the latch mechanism
- Remove latch assembly by unscrewing two edge screws
- Pull out the entire mechanism through the door’s edge bore hole
Install New Handle with Perfect Alignment
- Insert new latch into the door edge bore, ensuring beveled edge faces door stop
- Secure latch with two mounting screws
- Position exterior handle with spindle aligned through latch
- Add interior handle with mounting plate over door edge
- Connect both halves with mounting screws through the door
- Adjust tension by tightening mounting screws evenly to prevent binding
Prevent Future Handle Problems with These Maintenance Techniques
Most handle failures happen gradually through repeated stress on vulnerable connection points. Implementing these simple maintenance habits extends handle life significantly and prevents emergency repairs.
Monthly Handle Checkup Routine
- Tighten set screws using the proper Allen wrench size (don’t overtighten)
- Lubricate latch mechanism with graphite powder every 6 months
- Check alignment by closing door and verifying latch engages smoothly
- Inspect for wear by looking for metal shavings around the handle base
Seasonal Adjustments for Exterior Door Handles
Exterior handles face unique challenges from weather exposure. During seasonal transitions:
- Apply silicone-based lubricant to prevent moisture intrusion
- Check strike plate alignment after temperature extremes cause wood movement
- Tighten all mounting hardware before winter to prevent cold-weather loosening
When Professional Help Saves Time and Money on Door Handle Repairs
Some handle problems require specialized knowledge or tools that make DIY attempts risky. Recognizing these situations prevents costly mistakes that could leave you locked out or with damaged doors.
Complex Lock Mechanisms That Demand Expertise
Avoid DIY repairs on these handle types:
– Electronic smart locks with integrated wiring
– Commercial-grade mortise locks with multi-point latching
– Antique or custom handles with non-standard components
– Handles with integrated deadbolts requiring precise alignment
Structural Issues Beyond Handle Adjustment
Call a professional when you notice:
– Door frame misalignment causing binding (check with a level)
– Cracked door edges around the latch bore
– Visible damage to the door’s edge bore hole
– Previous repair attempts that stripped mounting holes
Final Tip: Always photograph each disassembly step before removing parts—this visual reference prevents confusion during reassembly. Keep all screws organized in a small container to avoid losing critical components. With these techniques, you’ve gained the confidence to handle 95% of common door handle issues. Remember that properly maintained handles should operate smoothly for 10+ years, so implement the monthly checkup routine to catch problems early. If you’ve successfully reversed your door handle or fixed a stubborn loose lever, you’ve just saved $150+ in service calls while gaining valuable home maintenance skills.


