
You yank the handle, but nothing happens. That familiar click-and-swing motion fails, leaving you stranded outside your own vehicle while rain pours or traffic whizzes past. A door handle not working from outside isn’t just inconvenient—it compromises your car’s security and usability. The frustrating truth? This issue plagues millions of drivers yearly across Honda Accords, Ford F-150s, BMWs, and countless other models. But here’s the good news: 90% of cases stem from one tiny, inexpensive part failure, not the entire handle or lock mechanism. This guide reveals exactly how to diagnose and fix your limp exterior door handle yourself—saving you $300+ in dealership fees.
Most drivers mistakenly blame the lock system when their outside handle fails. In reality, the problem almost always traces back to the cable or clip connecting the handle to the latch. When you pull the exterior handle, a thin braided steel cable should transmit force to release the latch. When this connection breaks, you get that telltale “limp handle” sensation—zero resistance, no door opening. You’ll learn to spot the broken cable end or snapped plastic clip within minutes and complete this repair in under three hours with basic tools. Let’s get you back in control of your car’s access.
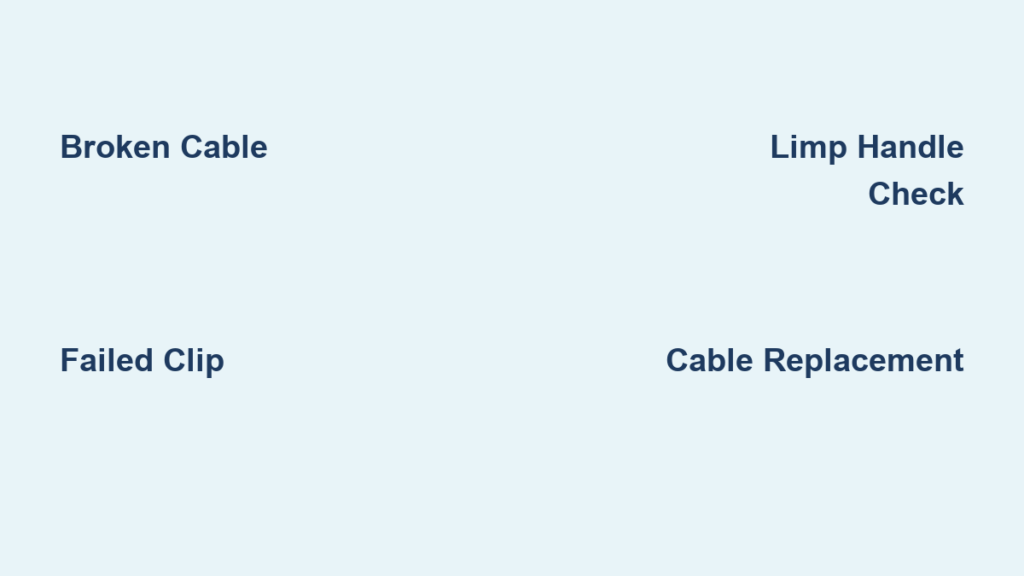
Why Your Exterior Door Handle Suddenly Failed
The #1 Cause: Broken Cable or Failed Clip
Your car’s exterior handle relies on a hair-thin steel cable (or sometimes a metal rod) running through the door cavity. This cable connects the handle’s pivot point to the latch mechanism. Over time, corrosion and stress cause two critical failure points:
- Cable Breakage: The braided steel strands snap near the crimped end—especially notorious on 2000s Honda/Acura models where moisture attacks exposed crimps
- Clip Failure: The plastic clip anchoring the cable to the handle or latch shatters from temperature swings and daily stress (this causes 70% of “limp handle” cases)
When either fails, pulling the handle moves nothing inside the door. You’ll feel complete slack—like tugging a disconnected rope. This isn’t a lock malfunction; it’s a mechanical disconnect between your hand and the latch.
Critical Diagnostic Test: The Limp Handle Check
Before disassembling anything, confirm cable failure with this 30-second test:
- Pull the exterior handle slowly while listening at the door seam
- Observe resistance:
– ✅ Normal operation: Firm resistance followed by a metallic clunk as the latch releases
– ❌ Broken cable/clip: Handle pulls freely with zero resistance (feels “dead”)
– ❌ Stuck latch: Handle feels stiff or frozen (requires different repair) - Verify internal movement: Have someone pull the handle while you watch the latch through the interior door panel access hole—if the cable isn’t moving, the break is confirmed
Pro Tip: If only the outside handle fails but the inside handle works, the problem is always isolated to the exterior mechanism—never the central lock system.
Step-by-Step Exterior Door Handle Repair Guide
Essential Tools and Parts Checklist
Don’t start without these—missing one item risks damaging your door panel:
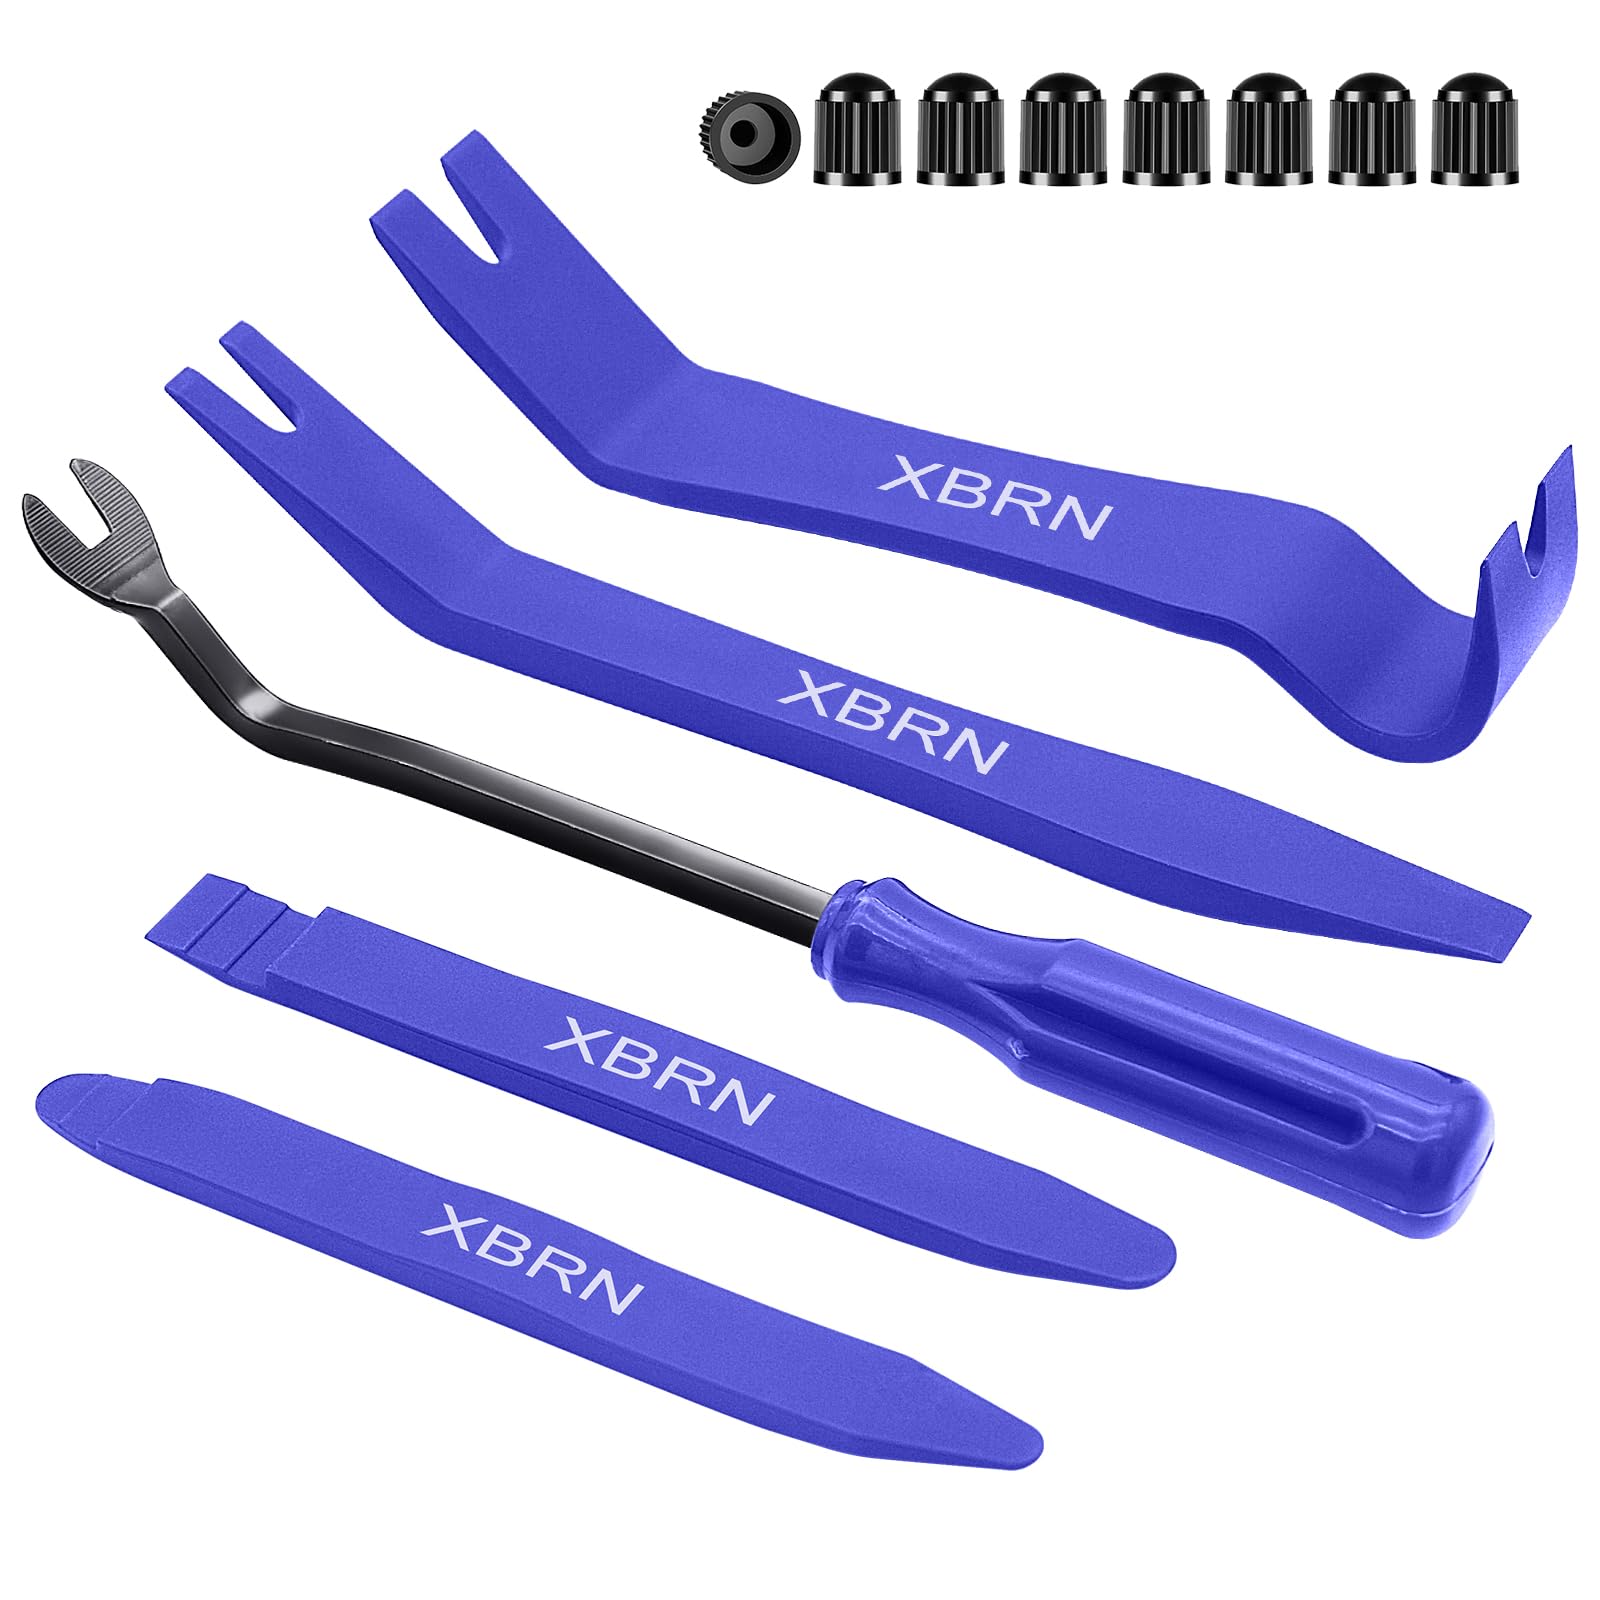
- Tools: Phillips/flathead screwdrivers, plastic trim removal tools (prevents panel cracks), 10mm socket set, Torx bits (T20/T25 common), needle-nose pliers
- Parts: Replacement cable ($15-$35) or handle assembly ($40-$80)—search “[Your Year/Make/Model] exterior door handle cable” on RockAuto
- Critical Supplies: Butyl tape (for vapor barrier resealing), work gloves (sharp metal edges inside doors), zip ties (temporary cable securing)
- ⚠️ Safety First: Disconnect the negative battery terminal for 10 minutes if your door has side airbags
Step 1: Remove the Interior Door Panel (Without Breaking Clips)
Time estimate: 20 minutes | Difficulty: Moderate
- Disconnect battery negative terminal (prevents airbag deployment)
- Remove visible fasteners: Pry out armrest screws (hidden under rubber pads), window switch bezel, and door pull cup
- Release hidden clips: Insert plastic trim tool at bottom corner, gently twist to release first clip—never use metal screwdrivers
- Work upward systematically: Slide tool along edges, popping each plastic clip with firm but controlled pressure (expect loud “cracks”—this is normal)
- Lift panel upward to clear window channel, then disconnect wiring harnesses for locks/windows
Critical Warning: If you hear crunching instead of popping, you’re breaking clips—stop and reposition your tool. Damaged clips cause panel rattles later.
Step 2: Locate the Broken Cable Connection Point
Time estimate: 10 minutes | Difficulty: Easy
- Peel back the vapor barrier carefully (don’t tear—it’s your moisture shield)
- Follow the cable from the exterior handle toward the latch mechanism
- Spot the failure:
– Look for a detached cable end with a white plastic ball connector
– Check for a black grommet or metal clip lying loose in the door bottom
– Inspect cable routing for kinks or fraying near sharp metal edges
Visual Cue: On Honda models, examine the cable’s crimped metal sleeve—if rusted or split, the cable is compromised even if intact.
Step 3: Replace the Cable or Handle Assembly
![[Year] [Make] [Model] car door handle cable replacement diagram](https://www.kiapartsnow.com/resources/encry/diagram/kpn/2023/medium/b37939f0d54190c2eb0327b2b29aad01/ca5cbacd4c3fadac8b89abe877cefd4a.png)
Time estimate: 45 minutes | Difficulty: Moderate
- Document connections: Take phone photos of cable routing before disconnecting anything
- Disconnect old cable:
– At handle: Squeeze metal clip with pliers to release cable ball-end
– At latch: Unhook cable from lever arm (may require removing latch bolts) - Remove handle: From outside the car, unscrew 2-3 mounting bolts (often 10mm)
- Extract handle: Gently wiggle handle outward through door skin hole
- Install new part:
– Thread new cable through door cavity (use zip tie to pull through)
– Attach cable to handle first—ensure clip clicks securely into place
– Connect cable to latch lever, verifying full range of motion
Pro Tip: Apply dry silicone lubricant to the new cable before installation—reduces future friction and corrosion.
Step 4: Critical Reassembly and Testing
Time estimate: 25 minutes | Difficulty: Easy (but meticulous)
- Test before sealing: Have helper pull exterior handle while you verify latch releases smoothly
- Seal vapor barrier: Apply fresh butyl tape in a continuous bead (no gaps)—water leaks cause electrical nightmares later
- Reinstall panel: Align top edge first, then press straight inward to engage all clips
- Reconnect battery: Test all functions—windows, locks, and crucially, the exterior handle
Red Flag: If handle feels “sticky” after repair, the cable is kinked inside the door—recheck routing immediately.
When to Skip DIY and Call a Professional

While 80% of exterior door handle repairs are DIY-friendly, seek professional help if:
– Your vehicle has complex electronics (e.g., BMW iDrive-connected handles)
– The latch mechanism itself shows corrosion or won’t release (requires latch replacement)
– You snapped door panel clips during removal (specialty tools needed for replacement)
– Aftermarket parts don’t resolve the issue (indicates deeper latch failure)
Dealership repairs typically cost $250-$500 for labor and OEM parts—making DIY a 60-80% savings for most models. For older cars (15+ years), check junkyards for low-cost used handles—many F-150 and Accord handles swap between model years.
Prevent Future Exterior Handle Failures
Extend your repair’s lifespan with these maintenance habits:
– Lubricate annually: Spray silicone lubricant into handle pivot points (not graphite—it attracts dirt)
– Avoid forceful pulls: Jerking the handle accelerates cable fatigue—use smooth, steady motion
– Check for slack: Every oil change, test handle resistance—if it feels looser than normal, inspect early
Final Note: That “limp handle” symptom almost always means a $20 cable or clip failure—not a catastrophic issue. By following this guide, you’ve reclaimed control over your vehicle’s access while avoiding unnecessary repair bills. If you successfully fixed your door handle not working from outside, share your model-specific tip in the comments—Honda CR-Z owners especially need your insights! For persistent latch issues, consult our companion guide on diagnosing frozen door mechanisms.


