
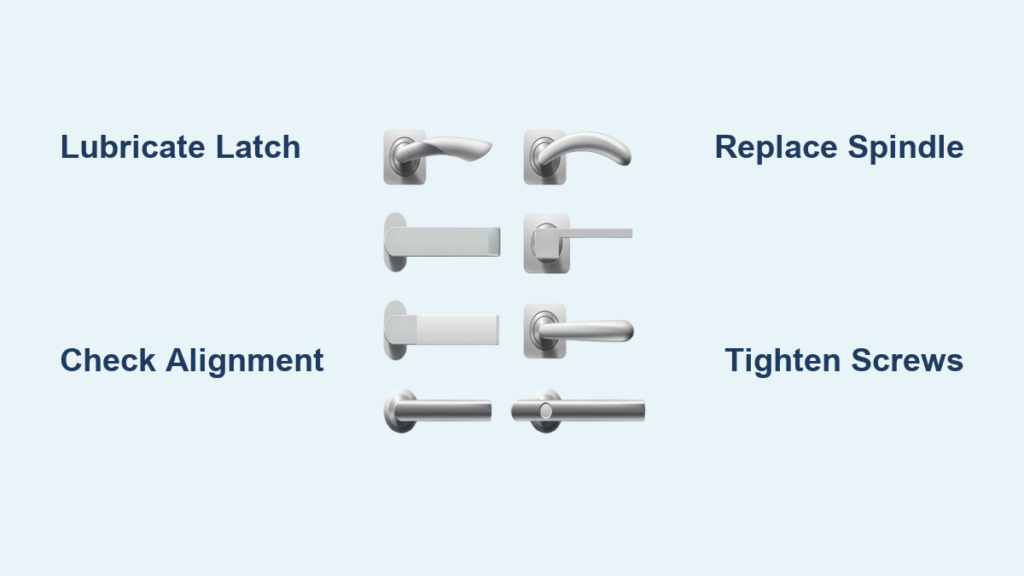
That sinking feeling when your bedroom door handle spins uselessly while you’re locked inside – or worse, when your front door refuses to open as you’re rushing out the house – is universally frustrating. When a door handle turns but the latch won’t retract, you’re facing one of the most common household failures that disrupts daily routines and compromises security. This how to fix door handle that won’t open guide cuts through the confusion with actionable solutions verified by professional locksmiths. You’ll learn to diagnose whether it’s a simple lubrication issue or requires part replacement, saving you unnecessary service calls and restoring reliable access within 30 minutes or less.
Why Your Door Handle Spins But the Latch Won’t Release
When your handle turns freely yet the door remains stubbornly shut, the failure point almost always lies in the internal connection between the handle spindle and latch mechanism – not the handle itself. This critical square or rectangular metal rod transmits your turning motion to retract the latch bolt. Over time, repeated use wears down the spindle corners or the square hole it inserts into, creating slippage that prevents torque transfer. You’ll notice this as a “hollow” spinning sensation without resistance. In older mechanisms, stripped internal gears or a broken return spring can cause identical symptoms. Crucially, if the latch moves sluggishly when you operate the handle, the problem shifts to binding rather than mechanical failure – often caused by misalignment or debris buildup.
Diagnose Your Handle Problem in 60 Seconds
Before grabbing tools, perform this rapid assessment:
– Listen closely: Operate the handle slowly while pressing your ear near the latch plate. A grinding or clicking sound indicates internal component failure, while complete silence suggests disconnection.
– Check for play: Grasp both handles and wiggle horizontally. More than 1/8 inch of movement means loose mounting screws or a failed spindle connection.
– Inspect alignment: With the door open, close it slowly while watching the latch bolt. If it scrapes the strike plate edge or fails to fully extend, misalignment is your culprit. Look for fresh rub marks on the frame as evidence.
Emergency Fixes When You’re Locked Out of a Room
When immediate access is critical, skip disassembly and try these proven methods first:
Credit card bypass for spring latches
1. Insert a rigid plastic card (old gift card or hotel key works best) at the top corner of the latch where the door meets the frame
2. Angle the card toward the strike plate while applying firm inward pressure
3. Wiggle downward while maintaining pressure until the angled latch face slides back into the door edge
Pro Tip: This ONLY works on standard spring latches – not deadbolts or security locks
Screwdriver latch retraction method
1. Insert a thin flathead screwdriver into the gap between latch bolt and strike plate
2. Gently twist the screwdriver like a lever while simultaneously pulling the door handle
3. Apply steady pressure toward the door edge until the latch retracts
Warning: Use plastic tools on painted doors to avoid scratches
Lubricating a Sticky Latch Without Disassembly
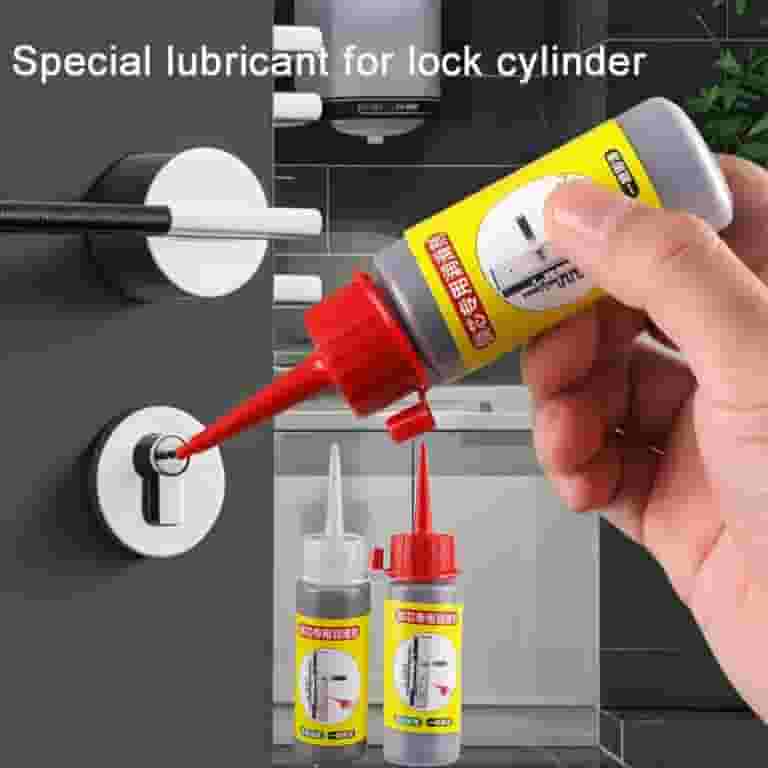
90% of “won’t open” issues stem from dirt, paint buildup, or dried lubricant gumming the mechanism. Before disassembling anything, apply this targeted treatment:
- Identify the entry point: Locate the small gap around the latch bolt on the door edge – this is your lubrication access point
- Choose the right lubricant: Spray dry graphite powder (not WD-40 long-term) directly into the latch mechanism. Oil-based lubricants attract more dirt over time
- Work it in: Operate the handle 20-30 times while spraying to distribute the lubricant through internal channels
- Clear debris: Use an old toothbrush to scrub around the latch face, removing hardened paint or grime
Time Saver: For stubborn rust, apply penetrating oil first, wait 15 minutes, then follow with graphite. You’ll regain smooth operation 70% of the time without removing a single screw.
Correcting Door Misalignment Causing Latch Binding
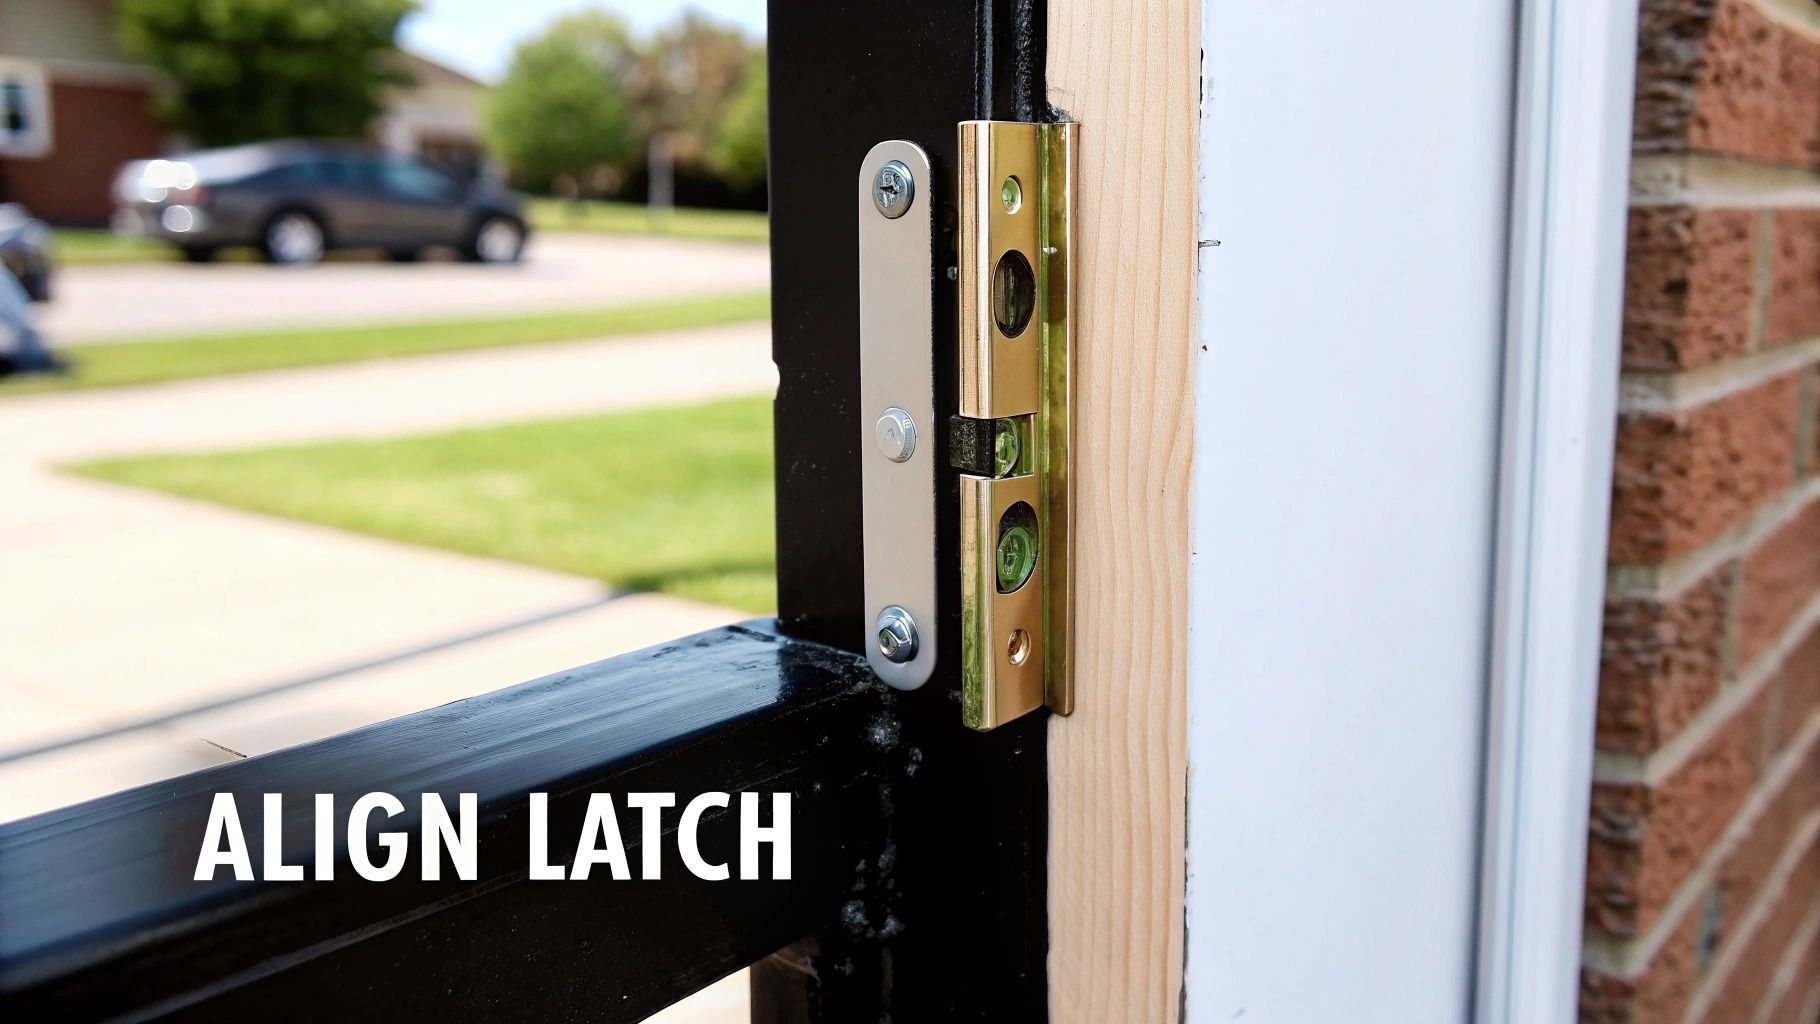
A sagging door is the silent culprit behind most “sticky latch” complaints. When hinges loosen over time, the latch bolt scrapes against the strike plate instead of sliding cleanly into its receptacle. Fix this in 10 minutes:
Adjusting Loose Hinge Screws
- Tighten all hinge screws on both door and frame using a #2 Phillips driver
- If screws spin freely in stripped holes:
– Remove screw and fill hole with wooden matchsticks coated in wood glue
– Reinsert screw after 2 hours of drying time - Test operation before final tightening
Repositioning the Strike Plate
- Remove the two strike plate screws using a 1/8″ drill bit as leverage if stripped
- Place cardboard shims behind the plate where rub marks appear
- Reattach plate with longer 2.5″ screws for better grip in the jamb
Pro Tip: Chisel the strike plate recess 1/16″ deeper if the latch binds when closing – but never widen the latch hole itself.
Step-by-Step: Removing a Loose Door Handle
When your handle wobbles excessively or spins without resistance, the spindle connection has failed. Here’s how to access it:
Locating Hidden Set Screws
- Examine the handle base for a small pinhole or decorative cap (common on interior doors)
- Pop off covers with a flathead screwdriver wrapped in tape to prevent scratches
- Tighten the exposed hex screw clockwise using a 3/32″ Allen wrench
Critical Check: If tightening doesn’t eliminate play, the spindle is worn and must be replaced
Removing the Handle Assembly
- Tighten set screws fully to prevent damage during removal
- Pull outward firmly on both handles simultaneously – they should slide off the spindle
- If stuck, tap the spindle end gently with a rubber mallet while pulling
Warning: Never use metal hammers directly on hardware – this damages spindle shoulders
Replacing a Worn Spindle or Broken Latch Mechanism
When lubrication and alignment fixes fail, internal component replacement becomes necessary. This 15-minute repair costs under $10:
Spindle Replacement Guide
- Slide out the square metal spindle rod after removing handles
- Take the old spindle to a hardware store for exact matching (measure width and length)
- Insert new spindle through both handle mounting holes
- Reattach handles and tighten set screws while holding handles in correct orientation
Full Latch Mechanism Swap
- Remove the two long screws securing the latch plate on the door edge
- Slide out the entire rectangular housing (keep track of orientation)
- Insert new latch with angled face toward door jamb for smooth closing
- Test operation with handles off before final assembly
Pro Tip: Apply graphite powder to the new latch’s moving parts before installation – this prevents future sticking.
When to Skip Repairs and Install a New Lockset
Don’t waste hours repairing hardware that’s beyond economical repair. Replace the entire assembly when you see:
– Rust bleeding through paint on exterior door handles
– Repeated spindle failures within 6 months (indicates cheap internal components)
– Stripped screw holes in the latch plate that won’t hold
– Security upgrades needed (e.g., replacing a basic latch with a Grade 2 deadbolt)
Cost Reality: A complete interior lockset costs $15-25 at home centers. For exterior doors, a quality Schlage or Kwikset unit ($40-60) provides better security than multiple repairs to old hardware.
Preventing Future Handle Failures With Quarterly Maintenance
Avoid emergency lockouts with this 5-minute maintenance routine:
- Lubricate every 3 months: Spray graphite into latch mechanism and handle mounting holes
- Tighten screws biannually: Check hinge screws, handle set screws, and strike plate screws
- Inspect annually: Close door slowly to watch latch alignment – correct before problems start
Pro Tip: Keep spare spindles and latch sets labeled by door location in your toolbox. When failure strikes, you’ll have the exact replacement without a hardware store run.
Critical Warning Signs You Need a Locksmith
Call a professional immediately if you encounter:
– Electronic lock failures on smart door handles (disassembly risks circuit damage)
– Structural gaps between door and frame exceeding 1/4 inch (indicates shifting foundation)
– Repeated latch failures after multiple repairs (sign of underlying frame damage)
Attempting DIY fixes on these issues often worsens problems and creates security vulnerabilities you might not notice.
When your door handle won’t open despite turning freely, remember that 80% of these failures stem from three fixable issues: dried lubricant, misalignment, or worn spindles. Start with the emergency access methods when locked out, then progress to lubrication and alignment checks before disassembling hardware. Most repairs take under 30 minutes with basic tools and prevent costly locksmith calls. For persistent problems, replacing the entire latch mechanism costs less than $20 and guarantees reliable operation. Implement the quarterly maintenance routine to avoid future frustrations – your future self will thank you when that handle turns smoothly during your next early-morning rush. Keep this guide handy, and you’ll never be trapped by a stubborn door again.


