
That annoying rattle from your glass door handle isn’t just irritating—it’s a warning sign your vintage hardware is failing. When your glass doorknob wobbles or spins freely, the problem almost always lies in the deteriorating connection between glass and metal components. For homeowners with period properties or modern glass hardware, this common issue stems from adhesive failure in the glass-to-metal junction, especially in 1930s-era vintage knobs where thermal expansion has compromised the original compression fit. Left unaddressed, a loose glass door handle will eventually separate completely, potentially causing irreversible damage to your valuable hardware. This guide delivers professional repair techniques to permanently fix your glass door handle, whether you’re dealing with a crystal knob in a historic home or a contemporary glass lever that’s lost its grip.
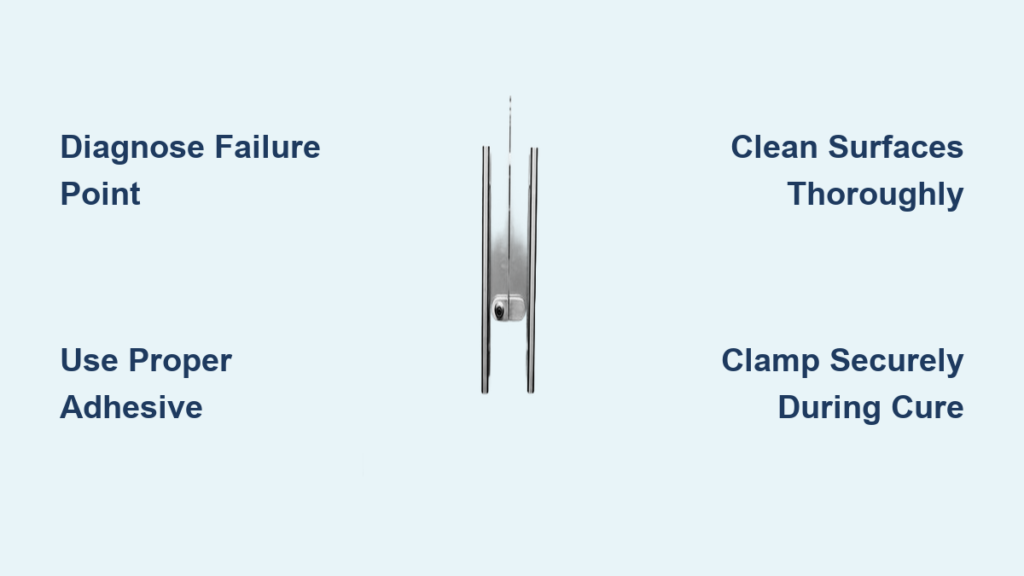
Diagnose Your Glass Handle’s Specific Failure Point
Before grabbing any tools, you must pinpoint exactly where your glass door handle is failing. Gently grasp the knob and test for movement—does the entire assembly shake in the door, or is the glass component loose within its metal collar? For vintage glass doorknobs, the most common failure occurs precisely where the glass meets the brass ferrule, a connection that weakens over decades of temperature fluctuations. Look for telltale signs: visible gaps between glass and metal, brittle yellowed adhesive residue, or hairline cracks radiating from the metal collar.
Pay special attention to whether your glass knob spins freely on its spindle (indicating internal mechanism issues) or if the glass itself moves within its housing (requiring adhesive repair). For modern glass handles, check set screws on lever mechanisms—many contemporary designs use small hex screws that simply need tightening. If you spot cracks in the glass itself, stop immediately and consult a professional, as DIY repair could cause further damage.
Critical Safety Steps Before Fixing Your Glass Handle
Working with glass and adhesives demands serious precautions to prevent injury or damage. Always wear ANSI-approved safety glasses to shield your eyes from potential glass fragments, and use nitrile gloves when handling chemicals—cyanoacrylate (super glue) bonds skin instantly, while polyurethane adhesives require chemical-resistant protection. Ensure your workspace has cross-ventilation, especially when working with heated Gorilla Glue, which releases toxic MDI fumes. Never microwave adhesives—use only a warm water bath below 120°F (49°C) for thinning.
Prepare your work area by covering surfaces with cardboard to catch drips, and keep acetone and isopropyl alcohol within reach for emergency cleanup. Most importantly, disassemble your glass door handle completely from the door before starting repairs—working on hardware still mounted in the door increases the risk of slippage and damage. For valuable antique knobs, photograph each component in its original position before disassembly to ensure correct reassembly.
Select the Perfect Adhesive for Your Glass-to-Metal Repair

The adhesive you choose makes or breaks your glass door handle repair. For most DIYers, three options deliver professional results depending on your specific hardware.
Industrial Cyanoacrylate for Precision Repairs: When learning how to fix glass door handle connections with minimal gaps, ultra-thin super glue creates instantaneous bonds through capillary action. This method works best when the glass still fits snugly in its collar with only slight movement. Apply sparingly using a precision tip applicator—too much creates messy squeeze-out that’s difficult to clean from glass surfaces. Industrial-grade formulations cure in minutes but require 24 hours for full strength. Warning: Never use standard hardware store super glue on crystal glass, as it can cause clouding.
Heated Polyurethane for Loose-Fitting Knobs: For significantly loose vintage glass doorknobs, thin Gorilla Glue by submerging the bottle in 120°F water until it flows like water. Pre-heat your glass knob in warm water, then fill the threads with adhesive before reassembling. The expansion during curing fills gaps effectively, creating a flexible bond that withstands thermal cycling. This method requires meticulous clamping for 24 hours but delivers exceptional durability for exterior doors exposed to temperature swings.
Two-Part Epoxy for Permanent Restoration: For valuable antiques or high-stress applications, mix equal parts of glass-specific epoxy like J-B Clear. This creates crystal-clear, waterproof bonds that cure rock-hard in 24 hours. Unlike super glue, epoxy fills larger gaps without becoming brittle, making it ideal for vintage hardware with significant wear. Mix thoroughly for at least 60 seconds in a disposable container before applying a thin, even layer to both surfaces.
Execute Your Glass Handle Repair in 5 Critical Steps
Disassemble and Deep Clean Both Components
Carefully remove your glass door handle from the door mechanism, noting the assembly sequence. Soak both glass and metal components in 90% isopropyl alcohol for 15 minutes to dissolve old adhesive residue—never use acetone on glass as it causes microfractures. Use dental picks to remove stubborn debris from threads, then dry thoroughly with lint-free cloths. For tarnished brass collars, gently polish with 0000 steel wool followed by clear lacquer to prevent future corrosion that could compromise your repair.
Prepare Surfaces for Maximum Adhesion
Lightly scuff the glass-to-metal contact area with 400-grit sandpaper to create microscopic “tooth” for better bonding. Wipe away all dust with a tack cloth—any particulate matter creates weak points in your adhesive bond. For metal components, apply a glass-to-metal primer if your adhesive manufacturer recommends it. Pro Tip: Warm both surfaces to approximately 80°F before applying adhesive—this improves flow and penetration into microscopic gaps.
Apply Adhesive with Surgical Precision
For cyanoacrylate repairs, apply a single drop to the glass surface only and let capillary action draw it into the joint. With polyurethane or epoxy, use a toothpick to apply a thin, even layer covering 100% of both contact surfaces. Avoid excess adhesive that will squeeze out—less is more when learning how to fix glass door handle connections. For frosted or etched glass, apply optical-grade epoxy specifically formulated for porous surfaces.
Secure with Proper Clamping Technique
Reassemble the knob while maintaining perfect alignment, then apply even pressure using specialized glass clamps or rubber bands wrapped crosswise. Place cork pads between clamps and glass to prevent surface damage. For lever handles, secure in the neutral position to avoid stress on the latch mechanism during curing. Never overtighten—glass fractures under uneven pressure.
Allow Proper Curing Time and Conditions
Keep your repaired glass door handle undisturbed in a dust-free environment at stable room temperature (65-75°F). Most adhesives reach handling strength in 2-4 hours but require 24 hours for full structural integrity. Polyurethane benefits from a light mist of water during curing to accelerate the reaction. Critical: Never test your repair by operating the door before full cure time—this creates micro-shifts that weaken the bond permanently.
Handle Special Glass Types with Custom Techniques

For frosted or etched glass door handles, standard adhesives won’t penetrate the porous surface properly. Instead, use optical-grade epoxy designed for textured glass, applying it in thin layers with UV curing between applications. Crystal and cut glass require even more specialized treatment—UV-cure resin applied with a jeweler’s loupe creates invisible bonds that won’t cloud the material. After curing, polish with cerium oxide compound to restore optical clarity.
Antique glass with historical value demands reversible repair methods. Conservators use hide glue or fish glue that creates strong temporary bonds dissolving with heat application. This preserves the piece for future restoration while providing adequate short-term stability. Always document your repair method with photographs for future conservators.
Prevent Future Failures with Strategic Maintenance
After successfully learning how to fix glass door handle connections, implement these preventive measures. Quarterly, check for movement by grasping the knob firmly and testing for play—address minor loosening immediately before it becomes severe. Apply silicone grease to spindle threads annually during your maintenance routine to reduce mechanical stress on the glass-to-metal joint.
For exterior doors, install UV-protective window film on nearby glass to minimize thermal cycling that accelerates adhesive failure. Maintain indoor humidity between 40-50% year-round—excessive dryness causes wood doors to shrink, increasing stress on hardware. Never hang items on glass door handles, as even light weight creates leverage that breaks adhesive bonds over time.
Know When to Call a Professional Glass Conservator
While most how to fix glass door handle projects are DIY-friendly, seek professional help for valuable antiques with provenance, stained glass components, or significant cracks in the glass. Professional conservators possess specialized adhesives like Paraloid B-72 that create reversible bonds without altering original materials. For leaded glass assemblies or historically significant hardware, the investment in professional restoration preserves both functionality and value.
If your initial repair fails after 2-3 uses, the problem likely involves structural issues beyond simple adhesive failure. A professional can diagnose hidden problems like worn spindle mechanisms or compromised door hardware that DIY methods can’t address. For $75-150, a consultation could save you from causing irreversible damage to irreplaceable vintage hardware.
Glass door handles blend functional hardware with artistic craftsmanship—proper repair preserves both. By following these precise techniques for how to fix glass door handle failures, you’ll restore smooth operation while safeguarding a piece of design history. The key to lasting results lies in matching your repair method to the specific failure mechanism, using the right adhesive for your glass type, and implementing strategic maintenance to prevent future issues. With careful execution, your restored glass hardware will provide decades of reliable service while maintaining its aesthetic charm.


