
That frustrating interior door that sticks, wobbles, or won’t latch properly? It’s likely time for a handle replacement—a DIY project that takes under an hour and costs less than $50. Whether you’re fixing a broken knob after years of wear or upgrading builder-grade hardware during a home refresh, installing a new interior door handle instantly improves functionality and aesthetics. I’ve replaced dozens of these during home renovations, and the secret lies in precise measurements and avoiding common alignment mistakes. By the end of this guide, you’ll know exactly how to install interior door handle hardware that operates smoothly for years, with no professional help required.
Don’t risk damaging your door with misaligned holes or a wobbly latch. Many homeowners rush the prep work, only to end up with a handle that binds or won’t retract fully. This happens when the latch plate isn’t mortised correctly or the strike plate position is off by even 1/16 of an inch. You’ll learn industry tricks like using lipstick to pinpoint strike plate placement and drilling techniques that prevent splintered wood. Let’s transform that annoying door into one that glides shut with a satisfying click.
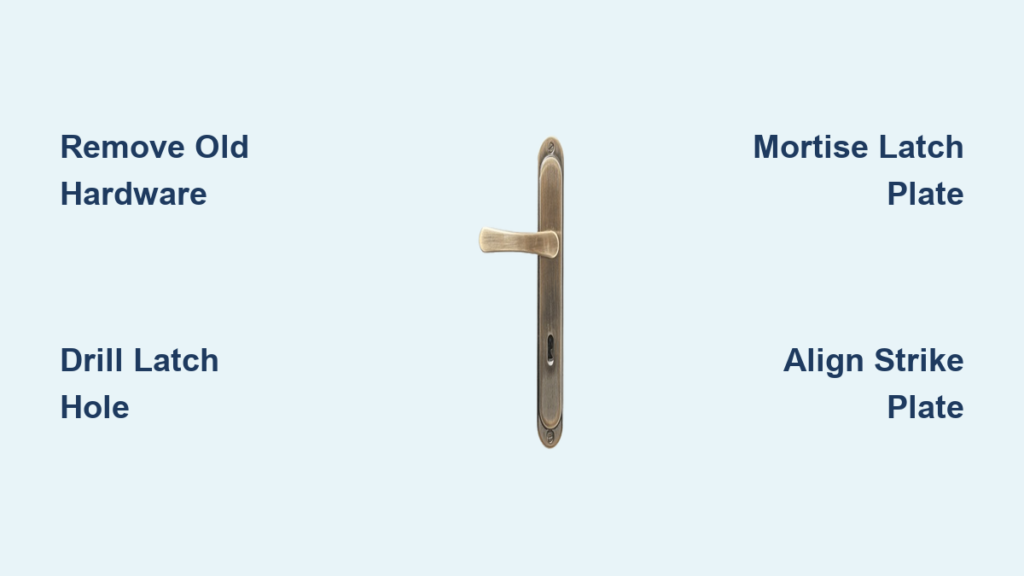
Remove Old Hardware Without Damaging Your Door
Start by stripping the existing hardware to expose clean wood for precise measurements. Locate the small release pin on the interior side of the knob or lever—usually a 1/8-inch hole near the base. Insert a thin nail or paperclip to depress the pin while pulling the knob straight off. For handles without visible pins, remove the decorative rose plate with a flathead screwdriver to access mounting screws.
Why You Must Preserve the Door Edge During Removal
The latch assembly on the door edge is often secured by two screws hidden when the door is closed. Carefully open the door and unscrew these from the edge. Never pry the latch plate off with a screwdriver—that leaves gouges that compromise your new installation. If the old hardware is corroded, apply penetrating oil and let it sit for 10 minutes before loosening screws. For stubborn handles, wrap pliers in a cloth to avoid marring the finish while twisting.
Fixing Common Removal Mistakes Before Proceeding
If you accidentally strip a screw head, switch to a rubber-band trick: place a wide rubber band over the stripped screw, then press your screwdriver firmly into it for extra grip. Should the latch mechanism break inside the door, use needle-nose pliers to extract fragments through the edge hole. Always inspect the existing bore holes after removal—measure their depth and diameter with a tape measure. If they’re larger than 2-1/8 inches, you’ll need wood filler later to reset the anchor point.
Drill the 1″ Latch Hole and 2-1/8″ Handle Bore Perfectly

Accurate drilling separates DIY success from costly errors. The latch hole must be perfectly perpendicular to the door edge to prevent binding. Position your 1-inch hole saw (spade or Forstner bit) with the pilot bit centered 2-3/8 inches from the door’s edge—the standard backset for interior doors. Apply steady pressure while drilling only 1 inch deep; going deeper weakens the door structure.
Avoiding Blowout When Drilling Through Solid Core Doors
Solid core doors splinter easily when the drill exits. Place painter’s tape over the exit point and drill until the pilot bit just breaks through. Then flip the door and complete the hole from the opposite side. For hollow core doors, reduce drill speed to prevent collapsing the interior cardboard honeycomb. Use a scrap wood block clamped behind the drill exit point for extra support.
Why Standard 36-Inch Height Isn’t Always Correct
While 36 inches from the floor is standard handle height, always verify with your new hardware’s template. Antique doors or custom installations may require 34–38 inches. Measure from the finished floor—not the subfloor—to your mark, and double-check with a combination square. Misalignment here causes visible gaps between the handle and door surface after installation.
Mortise the Latch Plate for a Flush Fit on Your Door Edge
A protruding latch plate creates uneven pressure that jams the mechanism. Place the new latch into the 1-inch edge hole and hold the metal plate against the door. Trace its outline with a sharp pencil, then score the perimeter with a utility knife to prevent wood tear-out during chiseling.
Chiseling Depth That Prevents Handle Drag
Set your chisel bevel-side down and tap gently with a hammer to remove wood in 1/16-inch increments. Test-fit the plate frequently—it should sit 1/32 inch below the door surface so the wood fibers compress against it when screwed down. Never chisel deeper than the plate’s thickness; shallow mortises cause rattling, while deep ones weaken the door edge. For hardwood doors, make angled relief cuts at the corners first to avoid splitting.
Fixing an Oversized Mortise in 60 Seconds
If you accidentally chisel too deep, don’t panic. Mix wood glue with fine sawdust into a putty, press it into the mortise, and let it dry overnight. Sand flush once cured. For immediate fixes, stack thin cardboard shims behind the plate before screwing—it’s invisible once installed.
Connect Interior and Exterior Handles Without Misalignment
Modern handles use threaded posts that pull both sides together. Insert the square spindle through the latch mechanism from the exterior side first—it must rotate freely when you turn the knob. Slide the interior handle onto the spindle, ensuring the mounting plate sits flat against the door.
Why Alternating Screw Tightening Prevents Handle Wobble
Thread the long mounting screws through the interior plate, but don’t fully tighten yet. Start both screws finger-tight, then alternate quarter-turns with a screwdriver. This draws the assembly evenly across the door thickness. Over-tightening cracks veneers or distorts the spindle—stop when resistance increases noticeably. Test operation before final tightening; if the handle feels stiff, back off screws 1/8 turn.
Fixing Spindle Binding During Assembly
If the handle won’t retract the latch, the spindle is misaligned. Loosen screws slightly and rotate the interior handle 5 degrees toward the door’s closing direction. Re-tighten while holding this slight tension—it compensates for minor manufacturing tolerances in the latch mechanism.
Position the Strike Plate for Silent Door Closing

This step makes the difference between a door that slams and one that latches softly. Close the door gently and observe where the latch bolt contacts the jamb. Smear lipstick on the bolt tip, then reopen the door—the mark shows exact strike plate placement.
Mortising the Jamb Without Splintering Paint
Trace the strike plate over the lipstick mark, then score the outline with a utility knife. Use a 3/4-inch chisel to remove wood in thin layers, starting from the center outward. For painted jambs, score deeply along the outline first to prevent paint chipping. The plate should sit 1/16 inch proud of the jamb surface—you’ll sand it flush later.
Quick-Adjust Solutions for Misaligned Strike Plates
If the latch doesn’t catch, don’t redrill. Loosen strike plate screws and insert a thin cardboard shim behind the top or bottom edge to shift its position. For stubborn misses, file the strike plate’s throat opening upward with a metal file—this takes seconds and avoids jamb damage.
Troubleshoot Sticky or Loose Handles in 5 Minutes
Operate the handle 10 times before declaring installation complete. A smooth action requires the latch bolt to fully extend when released and retract fully when pressed. If it sticks halfway, the spindle is binding in the latch mechanism—disassemble and check for wood debris in the spindle hole.
Fixing a Handle That Won’t Stay Tight
Loose handles usually mean stripped screw holes. Remove screws and fill holes with toothpicks dipped in wood glue. Reinsert screws once dry—they’ll grip like new. For hollow core doors, replace original screws with 2-inch drywall screws that anchor into the door’s internal frame.
Why Your Door Won’t Latch Without Slamming
This almost always traces to strike plate misalignment. Close the door and observe the gap between latch and plate. If light shows through, deepen the strike plate mortise with light chisel taps. If the latch scrapes the top of the plate, file the plate’s upper lip downward. Never force alignment by bending the plate—it weakens the metal.
Conceal Old Holes and Final Quality Check
Fill unused screw holes with matching wood putty pressed deep into the cavity. Let dry completely, then sand smooth with 220-grit paper. Wipe away dust with a tack cloth before painting to avoid bumps under new finish. For visible bore holes, use a plug cutter to create a wood patch—glue it in, clamp overnight, and sand flush.
Test your work like a pro: Close the door from 6 inches away—it should latch silently without bouncing. Operate the handle 20 times; resistance should feel consistent. Finally, check for light gaps around the strike plate; a properly mortised plate leaves no visible seam. With these steps, your new interior door handle will operate smoothly for decades. If you hit snags, revisit the strike plate alignment—it solves 90% of installation issues. Now move to the next door and enjoy your upgraded home!


