
That irritating wobble in your door handle isn’t just annoying—it’s a ticking time bomb. Within weeks, a loose handle can escalate from a minor annoyance to a door that won’t latch properly or a knob that detaches completely in your hand. This common hardware failure affects 9 out of 10 homes at some point, often due to daily stress on mounting hardware. The good news? How to fix a loose door handle is usually a 10-minute DIY fix costing nothing more than the time it takes to grab your screwdriver. In this guide, you’ll learn to diagnose the exact cause, apply the correct repair for your handle type, and implement professional tricks to prevent recurrence—saving you $150+ in locksmith fees.
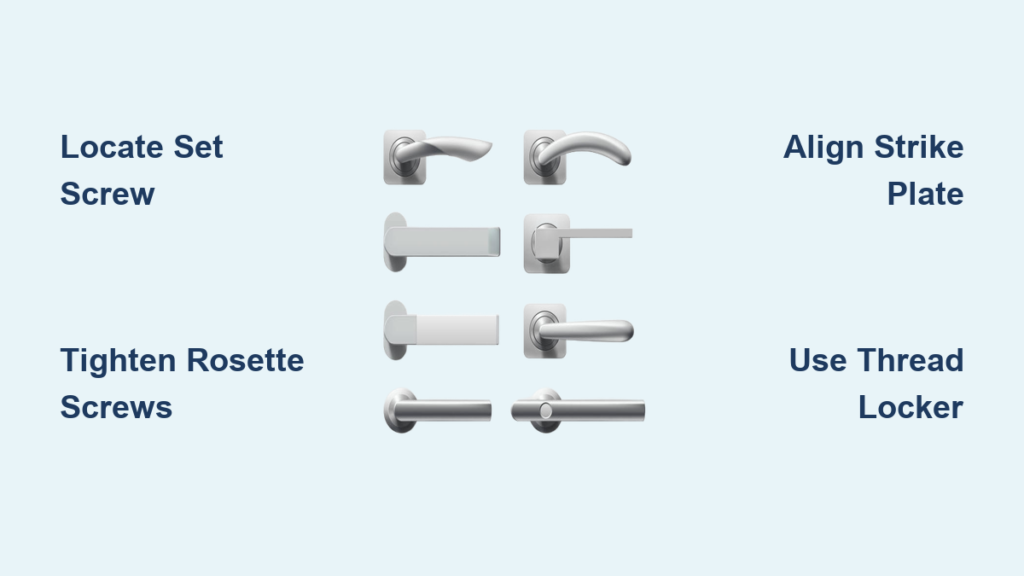
Identify Your Handle Type Before Grabbing Tools
Misdiagnosing your handle type is the #1 reason DIY repairs fail. Before touching a single tool, determine which mechanism secures your hardware. Most residential doors use one of three systems: set-screw handles (common on knobs), hidden-release levers (modern interior doors), or through-bolted assemblies (heavy exterior doors). For set-screw types, inspect the base of the knob for a tiny hex hole—often concealed under a decorative cap that pops off with a flathead screwdriver. Lever handles typically have a pinhole release on the neck; insert a paperclip to disengage the clip holding the lever to its spindle. Through-bolted handles (frequent on commercial-grade entry doors) feature long bolts visible through the edge of the door. Skipping this identification step risks stripping screws or damaging internal mechanisms.
How to Spot Concealed Mounting Hardware
Look for these telltale signs:
– Rosette covers: Press-fit plates that twist off or pull straight off the door surface
– Set-screw caps: Small plastic plugs on knob collars (common in Schlage)
– Release pinholes: Barely visible dots on lever necks (standard in Kwikset)
If your handle spins freely when you try to tighten visible screws, you’ve missed hidden fasteners—likely under decorative elements. Never force screws; this strips threads and requires advanced repairs.
Essential Tools: Skip These and Risk Stripped Screws
Gathering the correct tools prevents 80% of repair disasters. Use this non-negotiable checklist before starting how to fix a loose door handle:
- Precision hex keys (2mm, 2.5mm, 3mm): Standard Allen wrenches strip set screws. Metric sizes fit most modern handles.
- Magnetic parts tray: Captures tiny screws that fall into door cavities.
- #1 and #2 Phillips screwdrivers: Worn tips cause cam-out damage.
- Thread-locking compound (Loctite Blue): Critical for high-traffic doors—prevents vibration loosening.
- Flashlight: Reveals hidden screws inside latch bores.
Critical mistake to avoid: Using a flathead screwdriver on hex set screws. This instantly ruins the socket, forcing you into stripped-screw repairs. Always match tool size exactly—test keys against the screw before applying pressure. For stripped screw heads, needle-nose pliers can grip the protruding shaft while you back it out slowly.
Fix Round Rosette Knobs With Set Screws in 3 Steps

This is the most common interior door failure (70% of cases). When your knob wobbles but the latch works, the set screw has vibrated loose. Here’s the exact sequence:
- Locate the set screw: Rotate the knob until you see a 2-3mm hex hole on the shank or base. On older knobs, it may be under a brass plug—gently pry it off with a utility knife.
- Tighten correctly: Insert the snug-fitting hex key and turn clockwise just until resistance increases. Over-tightening cracks plastic collars or strips metal threads—stop at 15 inch-pounds (about as tight as you’d screw in a lightbulb).
- Test and secure: Operate the handle 5 times. If wobble returns, apply one drop of Loctite Blue to the screw threads before final tightening. This creates a vibration-proof bond that still allows future removal.
Pro tip: If the knob spins freely after tightening, the square spindle hole is stripped. Wrap the spindle with Teflon tape for a temporary fix, but replace the knob within a week—worn spindles accelerate latch mechanism failure.
Repair Wobbly Lever Handles With Hidden Rosettes
Modern lever handles (like those on bathroom doors) hide mounting hardware under rosettes. Forcing repairs here often breaks plastic clips. Follow this lever-specific protocol:
- Release the lever: Find the pinhole on the lever’s neck (usually facing downward). Insert a straightened paperclip until you feel resistance, then pull the lever straight off the spindle—don’t twist.
- Expose mounting screws: Remove the rosette by twisting it counterclockwise (some pop off with upward pressure). Underneath, you’ll see two long screws spanning the door thickness.
- Tighten the critical bolts: Using a #2 Phillips, tighten these screws just until snug. Check alignment by closing the door—if it sticks, back off 1/8 turn. Over-tightening warps the latch assembly.
Visual cue: If the rosette wobbles independently of the lever, the mounting plate screws are loose. Tighten these before reattaching the lever. For handles that feel “springy,” replace the internal return spring—a $3 part available at hardware stores.
Secure Through-Bolted Handles on Exterior Doors

Entry doors with heavy levers require through-bolt tightening—a step most DIYers skip, causing recurring looseness. Here’s the commercial-grade fix:
- Remove the lever: Locate the set screw under the rosette cap. Loosen it slightly, then slide the lever straight off the spindle.
- Access the through-bolt: Behind the rosette, find the large hex nut (typically 7/16” or 1/2”). Use a socket wrench—not pliers—to tighten it clockwise. Stop when the rosette sits flush against the door.
- Reassemble strategically: Slide the lever back on, then lightly tighten the set screw. Test operation before final tightening—if stiff, back off the set screw slightly.
Critical warning: Never overtighten through-bolts on hollow-core doors. This cracks the door edge, requiring costly reinforcement plates. If the nut spins freely, use vise-grips on the bolt’s interior end while tightening.
Diagnose and Fix Latch Mechanism Failures
When handle tightening doesn’t stop wobble, the problem lives inside the door. Misaligned latches cause 40% of “unfixable” handle issues. Here’s how to correct them:
- Remove the handle: Fully detach both sides to access the latch assembly inside the door edge.
- Tighten latch plate screws: Two screws secure the metal latch plate to the door edge. Back them out slightly, apply Loctite Blue, and retighten—but don’t overtighten. Stripped edge holes require toothpicks dipped in wood glue inserted as temporary anchors.
- Align the strike plate: Close the door and mark where the latch bolt hits the strike plate. Loosen its screws, shift the plate 1/16” toward the misalignment, and retest. Repeat until the bolt slides in smoothly.
Pro insight: If the door slams shut but won’t latch, the strike plate is too far inward. Move it toward the door frame’s edge by 1/32” increments—this subtle adjustment eliminates handle strain.
When to Call a Locksmith: 3 Non-DIY Scenarios
Most loose handles are DIY-friendly, but these situations require professional help:
- Fire-rated doors: Tampering voids safety certifications. Look for “UL” or “FD30” labels on the door edge.
- Solid core or glass doors: Specialized tools prevent shattering. Hollow-core repairs won’t work here.
- Stripped spindle holes: If Teflon tape doesn’t stop knob wobble, the internal spindle is damaged—replacing it requires disassembling the entire lock mechanism.
Attempting repairs in these cases risks $200+ damage. A locksmith charges $75–120 for handle replacement—worth it for critical entry points.
Prevent Future Looseness With Pro Maintenance
The secret to hardware that lasts 10+ years? Two annual rituals:
- Quarterly screw checks: Tighten all visible handle screws during daylight saving time changes. Use Loctite Blue on exterior doors exposed to weather.
- Lubricate latches: Apply powdered graphite (not WD-40!) to the latch bolt every 6 months. Silicone spray attracts dust, causing premature wear.
Pro tip: For high-traffic doors (like kitchens), install star washers under rosettes. These lock against rotation while allowing normal handle movement—stopping 90% of vibration-related loosening.
By mastering these targeted repairs, you’ll eliminate handle wobble permanently—no more embarrassing handle detachments when guests visit. Remember: 95% of loose handles stem from overlooked hidden screws or skipped alignment checks. Implement the latch plate adjustment trick for stubborn cases, and always use thread-locker on exterior hardware. In just minutes, you’ve transformed a frustrating defect into smooth, silent operation. For persistent issues, consult our guide on replacing worn door latches—your next step toward door hardware that performs like new for years.


