
You’re staring at your Kwikset door handle, twisting it, poking at it, and wondering where the heck the screws are hiding. Unlike cheap hardware, Kwikset’s sleek designs conceal fasteners to maintain that clean look—but this “hidden screw” trick leaves most homeowners stranded with a wobbly handle and zero tools. The good news? How to remove Kwikset door handle assemblies is a 5-minute DIY task once you know the secret: a tiny 2mm hex key and one hidden release point. No special skills needed. In this guide, you’ll learn precisely where to find that sneaky set screw, how to free stuck handles without damaging your door, and why forcing it with a screwdriver is the #1 mistake that turns a simple fix into a repair nightmare. Let’s cut through the confusion and get your handle off—safely and permanently.
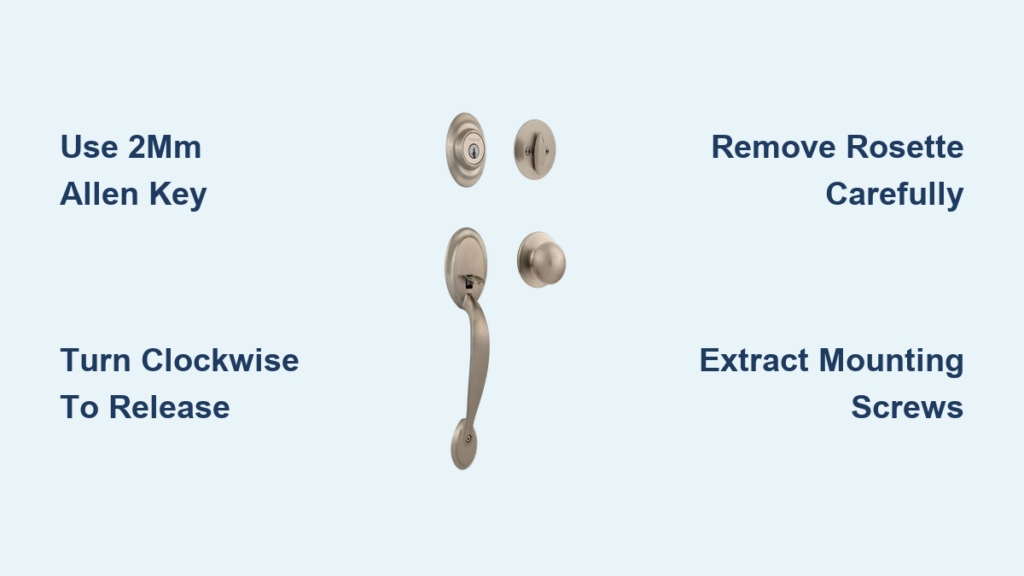
Forget scouring YouTube for “Kwikset removal hacks” involving butter knives or duct tape. Kwikset engineered these handles to come apart cleanly using only the 2mm Allen key included with your lockset (or easily bought for $2 at any hardware store). Most people waste hours searching for visible screws that don’t exist, not realizing the release mechanism is hidden on the interior side of the handle. By the time you finish this guide, you’ll have the handle off, understand why clockwise rotation releases it (yes, it’s counterintuitive!), and avoid the three critical errors that strip screws or crack rosettes. Ready to stop wrestling with your door? Let’s dive in.
Finding Your Kwikset Handle’s Hidden Release Point
Before grabbing tools, identify your handle type. Kwikset’s no-screw designs (like the Halo, Juno, or Kevo lines) always hide the release on the interior side—the side facing your room, not the hallway. This isn’t random; it’s a security feature to prevent tampering from outside. The release pinhole is tiny (about 1/16-inch wide) and disguised as part of the handle’s decorative base.
Where to Look Based on Handle Style
- Lever Handles: Check the underside of the lever’s shank (the neck where it meets the door). The hole is often recessed near the pivot point.
- Round Knobs: Feel along the knob’s collar for a smooth, circular indentation—usually at 3 o’clock or 9 o’clock position.
- Privacy/Keyed Models: The interior handle always has the release. Exterior handles lack it since they’re secured by the interior mechanism.
If you spot a small rubber plug or decorative cap covering the hole (common on newer models), gently pry it off with a fingernail. Never force it—this cap snaps back into place during reassembly.
Why a Paperclip Won’t Cut It
Many blogs suggest using a straightened paperclip to depress the release. Skip this. Paperclips bend under pressure, scratch finishes, and rarely engage the set screw deeply enough. The 2mm Allen key (or 3/32-inch equivalent) is non-negotiable—it’s the only tool that fits Kwikset’s 2.5mm hex socket. Buy one if you don’t have it; hardware stores stock them in “small hardware” bins.
Correct Technique to Release the Hidden Set Screw

Here’s where 90% of DIYers fail: how you turn the set screw. Unlike standard screws, Kwikset’s hidden fastener requires clockwise rotation to loosen—yes, “righty-tighty” actually releases it. Why? The screw sits upside-down inside the handle. Turning it clockwise pushes it outward, disengaging the clutch that holds the handle to the square spindle.
Step-by-Step Set Screw Release
- Insert the 2mm key fully until you feel it “click” against the screw head. Push firmly—it needs to seat all the way in.
- Turn clockwise (to the right) with steady pressure. You’ll feel resistance for the first 1/4 turn, then sudden looseness.
- Stop immediately once the handle wiggles. Over-rotating can eject the screw into your door!
- Pull the handle straight off the spindle. If stuck, tap the handle’s base gently with a rubber mallet—not a hammer.
⚠️ Critical Warning: If the handle won’t budge after 1/2 turn, stop. Forcing it strips the screw. Apply 1 drop of WD-40 into the pinhole, wait 5 minutes, then retry. Never use pliers—they mar the finish.
Removing the Rosette Plate Without Scratches
With the handle off, you’ll see the rosette (the circular decorative plate against the door). This isn’t screwed down—it’s held by spring clips. Many people pry it off with screwdrivers, scratching wood or paint. Don’t.
Safe Rosette Removal Method
- For wood doors: Slide a guitar pick or plastic spudger between the rosette and door. Work it around the edge to release clips evenly.
- For painted doors: If paint seals the rosette, score the perimeter with a utility knife first. Lift from the bottom (where gravity helps).
- Never use metal tools directly on the rosette—Kwikset’s finish is thin and scratches easily.
If clips resist, press the rosette inward firmly while twisting counterclockwise. This re-engages the clips for a cleaner release.
Extracting Long Mounting Screws Through the Door

Behind the rosette, two long screws (2–3 inches) run through the door, connecting interior and exterior assemblies. These are machine screws—not wood screws—so they won’t strip if handled correctly.
Screw Removal Pro Tips
- Use a magnetic nut driver (not a standard screwdriver). It catches screws as they disengage, preventing drops into the door cavity.
- Loosen screws alternately: Turn each 1/4 turn before switching sides. This prevents binding.
- Mark screw positions with tape if they’re different lengths (common on entry sets). Top screws often anchor the latch mechanism.
💡 Pro Tip: Place a shop towel inside the door edge. If a screw falls, it won’t vanish into your wall cavity.
Pulling Out the Entire Lockset Assembly
Once mounting screws are out, the entire mechanism (latch, faceplates, and spindle) should slide out from the door edge. But if your latch is stuck:
Freeing a Jammed Latch Mechanism
- Lubricate first: Spray graphite powder (not WD-40!) into the latch bolt slot. Work the bolt manually with pliers.
- Check for paint buildup: If the door was recently painted, scrape dried paint from the latch mortise with a chisel.
- Never pull sideways—yank straight back. Angled force cracks the latch housing.
The latch should slide out smoothly. If not, remove the strike plate from the door jamb first—it relieves tension on the bolt.
Removing the Latch Bolt and Strike Plate
This final disassembly step is often overlooked but critical for full access:
- Unscrew the latch plate (the metal rectangle on the door edge) using a #2 Phillips head.
- Pull the latch assembly straight out. If stiff, twist it slightly while pulling—this breaks adhesion from humidity.
- Remove the strike plate from the door jamb by unscrewing its two faceplate screws.
⚠️ Never drill out strike plate screws—they’re soft brass and strip easily. If corroded, apply penetrating oil and wait 10 minutes.
Troubleshooting Stuck Kwikset Handles

When the Handle Won’t Release After Set Screw Loosening
- Cause: Set screw is stripped or misaligned.
- Fix: Insert a #8 Torx bit into the hole. The star shape grips damaged sockets better than hex keys. Turn clockwise firmly.
When the Rosette is Frozen to the Door
- Cause: Paint or humidity sealed the clips.
- Fix: Heat the rosette’s edge with a hairdryer for 30 seconds. The thermal expansion breaks the bond.
When the Latch Bolt Won’t Retract
- Cause: Broken spring or debris in the mechanism.
- Fix: Remove the latch assembly, then tap the bolt with a screwdriver to free it. Clean with compressed air.
Safety Checks Before Reassembly
Skipping these invites future failures:
- Inspect the square spindle for bends or corrosion. A warped spindle causes handle wobble. Replace if pitted.
- Test the latch spring by pressing the bolt in/out. It should snap back instantly. Slow return? Lubricate with lock-specific graphite.
- Check door alignment. If the latch scrapes the strike plate, the door frame may be shifting—a sign of larger structural issues.
Expert Tips for Flawless Reinstallation
Avoiding the #1 Reassembly Mistake
Over-tightening mounting screws cracks Kwikset’s plastic housings. Hand-tighten only—snug is sufficient. If the handle wobbles later, tighten 1/8 turn max.
The Photo Trick That Saves Hours
Snap pictures at every step during disassembly. Lay parts on numbered paper towels (e.g., “Step 3: Rosette Clips”). This prevents misalignment during reassembly—a common cause of “why won’t my handle work now?!”
When to Call a Locksmith
If the set screw is completely stripped or the latch mortise is damaged, DIY fixes risk security compromises. Call a pro if:
– You see metal shavings in the screw hole
– The latch won’t stay retracted
– The door feels loose in its frame
Final Note: You now know exactly how to remove Kwikset door handle assemblies without visible screws—no guesswork, no damage. Remember: clockwise rotation on the set screw, a 2mm Allen key is mandatory, and patience beats force every time. Before reinstalling, wipe all components with a dry cloth to prevent grit buildup. For ongoing smooth operation, apply graphite lubricant to the latch every 6 months. If you hit a snag, revisit the troubleshooting section—most “stuck handle” emergencies are solved with 5 minutes of targeted lubrication. Now go fix that handle; your door (and sanity) will thank you.


