
You’re walking down the hall when clatter—your door handle hits the floor. Now you’re staring at a bare spindle sticking out of the door, juggling a loose knob and a tiny screw you’ll never find again. This frustrating scenario happens millions of times a year because door handles that fall off are almost always caused by one overlooked component: the set screw. The good news? 95% of these failures can be fixed with a single tool you likely already own. In this guide, you’ll learn exactly how to diagnose why your handle detached, reattach it securely, and prevent it from happening again—no locksmith required. You’ll be back in business before your coffee gets cold.
Why Your Door Handle Suddenly Dropped Off the Door
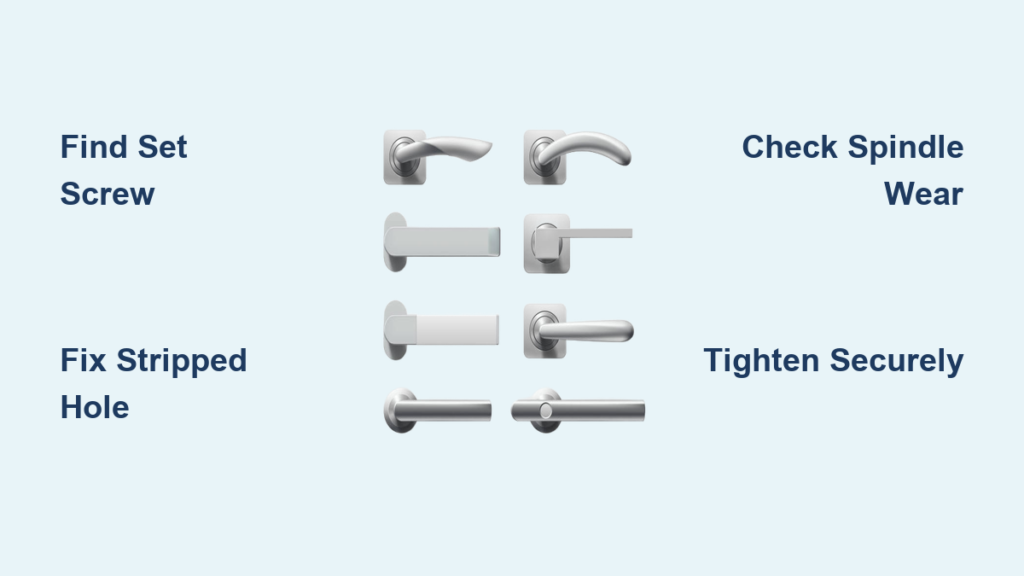
That fallen handle isn’t random—it’s screaming about a specific mechanical failure. When a door handle falls off, it’s nearly always because the set screw (a tiny grub screw hidden on the handle’s collar) failed to grip the square spindle. This screw is the unsung hero holding everything together, and its failure follows predictable patterns. Most homeowners waste time tightening visible faceplate screws while the real culprit—a stripped set screw hole or worn spindle—goes ignored. Ignoring this leads to recurring failures and potential lockout emergencies. The fix starts with identifying exactly why that screw lost its grip, which requires inspecting three critical components: the screw itself, the handle’s threaded hole, and the spindle’s condition.
How to Locate the Missing Set Screw Before You Step on It
Before you panic, remember: that tiny set screw is still in your vicinity. Since it’s usually only 3-5mm long, it rolls far but rarely vanishes. Immediately crouch and scan the floor within a 3-foot radius of the door, focusing on baseboard gaps and under furniture. Use your phone flashlight at a low angle to catch the metallic glint. If you spot it, note the head type—it’s most likely a hex (Allen) drive (requiring a 2.5mm or 3mm key), but some older models use flathead or Phillips. Critical mistake to avoid: Don’t assume it’s the same size as other screws on the handle. Set screws are uniquely short and coarse-threaded. If you can’t find it, check the opposite handle on the same door—many manufacturers use identical screws for both sides.
Why Your Set Screw Won’t Tighten (Even When It’s Present)
Finding the screw doesn’t solve the problem if it spins uselessly. This happens when either the screw’s threads are damaged or the handle’s internal threads are stripped. Test it by inserting the screw into the handle’s hole and turning clockwise. If it won’t catch at all, the handle’s threads are likely destroyed. If it tightens slightly then slips, the screw itself is stripped. Pro tip: Compare it to the set screw from the other side of the door. A healthy screw will have sharp, uniform threads along its entire length, while a stripped one shows flattened or jagged edges. Never force a stripped screw—you’ll wreck the handle beyond repair.
How to Fix a Stripped Set Screw Hole Without Replacing the Handle
A stripped handle hole is the #1 reason DIY repairs fail long-term. Many homeowners overtighten the screw, worsening the damage until the handle spins freely again within days. But replacement isn’t always necessary—you can often salvage the handle with these field-tested methods.
The Teflon Tape Trick for Immediate Grip
For a quick fix that lasts weeks (not months), wrap the set screw threads with plumber’s Teflon tape before insertion. This fills thread gaps and creates friction. Here’s how:
1. Cut a 2-inch strip of standard white Teflon tape
2. Wrap it clockwise around the screw threads (3-4 layers)
3. Insert and tighten firmly with the correct hex key
Why this works: The tape compresses into stripped grooves, acting like microscopic shims. It’s ideal for hollow-core doors where vibration loosens screws faster. But don’t rely on this for exterior doors—tape degrades with temperature swings.
When to Use a Thread Repair Kit (and How It Saves $40)
For permanent fixes on solid doors, a $8 thread repair kit (like a Helicoil) rebuilds the handle’s internal threads. This is crucial for high-traffic doors like bathrooms or front entries. The process takes 8 minutes:
1. Drill out the stripped hole with the kit’s specified bit
2. Tap new threads using the provided tool
3. Insert the stainless steel coil with installation tang
4. Break off the tang and reinstall the set screw
Visual cue: The repaired hole will have a faint metallic ring inside—don’t mistake it for damage. This method actually creates stronger threads than the original handle. Skip this for interior closet doors but always use it for exterior or security-critical doors.
How to Repair a Worn Spindle Causing Handle Slippage

Even with a perfect set screw, a rounded spindle guarantees handle failure. This hidden culprit fools most DIYers because the spindle looks intact. But when its square edges wear smooth from years of pressure, the handle slips no matter how tight the screw is.
The Soda Can Shim Hack That Actually Works
Forget cardboard or paper—they compress instantly. A soda can aluminum shim is the only temporary fix worth trying:
1. Cut a 1″x2″ strip from an empty can
2. Sand sharp edges with sandpaper (safety first!)
3. Wrap tightly around the spindle where the set screw contacts
4. Reinstall handle and tighten screw
Why aluminum? It’s stiff enough to prevent slippage but thin (0.1mm) so it doesn’t misalign the handle. Test the handle immediately—if it still slips, the spindle wear is too severe for shimming. This is strictly a 2-week stopgap until you replace parts.
How to Identify Irreparable Spindle Damage in 30 Seconds
Remove the handle and inspect the spindle’s square profile under bright light. Healthy spindles have sharp 90-degree corners on all four sides. If any corner looks rounded, flattened, or shows deep grooves (like a worn key), replacement is mandatory. Warning sign: If the handle slips only when turning the latch (not when wiggling), the spindle is failing internally where it connects to the latch mechanism. No shim will fix this—order a new spindle assembly immediately.
Reattaching Your Door Handle in 6 Minutes (Step-by-Step)
Now that you’ve diagnosed the issue, follow this proven sequence. Skipping even one step causes premature failure. Total time: 6 minutes with the right tools.
Aligning the Handle to Prevent Latch Binding
Forcing the handle onto the spindle crooked is the #1 cause of “fixed but sticky” handles. Here’s the pro method:
1. Hold the handle vertically with the lever/thumbpiece facing down
2. Slide it onto the spindle until it seats fully against the door
3. Rotate the handle slowly upward while applying light inward pressure
Key visual: The handle should sit perfectly flush against the door’s rosette plate with no gaps. If it binds before reaching horizontal position, the spindle is misaligned—loosen the latch faceplate screws slightly to adjust.
Tightening the Set Screw Without Stripping Threads
Most DIYers destroy handles here by using the wrong technique. Do this instead:
1. Insert the set screw by hand until it just catches threads (no force!)
2. Use the smallest hex key that fits—never a screwdriver on hex screws
3. Tighten in two stages:
– First turn: Firm pressure until resistance increases
– Final turn: Quarter-turn only with light pressure
Why quarter-turns? Set screws only need 15-20 inch-pounds of torque. Over-tightening cracks brass handles or strips threads instantly. If you hear a “squeak,” you’re overtightening.
When to Replace the Entire Handle Assembly (Not Just the Screw)
Some damage makes repair pointless. Replace the full assembly if you see any of these red flags:
– Cracks radiating from the spindle hole (common in cheap zinc handles)
– Rusted or pitted spindle (especially on exterior doors)
– Worn latch mechanism (handle turns but won’t retract bolt)
– Mismatched components (e.g., mixing Schlage and Kwikset parts)
Cost-saving tip: Buy “universal” replacement sets ($15-$25) rather than brand-specific. Measure your spindle length and cross-bore diameter first—most interiors use 2.75″ spindles with 1″ cross-bores. Hardware store staff can match this in seconds.
How to Prevent Future Door Handle Failures Forever
Most handle failures happen because homeowners miss this one maintenance step. Do this quarterly to avoid emergencies:
1. Close the door and grasp the handle firmly
2. Apply downward pressure while turning (simulates stress)
3. If you feel any wiggle, tighten the set screw immediately
Pro move: Apply a drop of medium-strength thread locker (Loctite 243) to the set screw after final tightening. It prevents vibration loosening but allows future removal with standard tools. Never use high-strength thread locker—it will weld the screw permanently.
Final Test: Is Your Repair Truly Secure?
Don’t just turn the handle—validate your fix like a pro:
1. Close the door and operate the handle 10 times rapidly
2. Pull downward on the handle with 5 lbs of force while turning
3. Check for play by wiggling handle side-to-side
Pass criteria: Zero movement at the spindle connection point. If it passes, you’ve achieved a repair that will last years, not days. If not, revisit the spindle inspection—you likely missed wear on the non-visible side.
Final Note: A door handle that falls off is rarely a “broken handle” issue—it’s almost always a set screw or spindle problem you can fix in 10 minutes with basic tools. By diagnosing whether your failure stems from a missing screw, stripped threads, or worn spindle, you’ll apply the precise solution instead of guessing. Remember the soda can shim trick for emergencies, but invest in thread repair kits for permanent fixes on high-use doors. Most importantly: quarterly handle wiggle tests prevent 80% of future failures. With these steps, you’ll never pay for a $150 locksmith call over a $0.50 screw again. For stubborn latch issues beyond handle attachment, consult our guide on diagnosing door latch mechanism failures.


