
That familiar click when your front door handle fails can send a chill down your spine—especially when you’re locked out in the rain or trying to secure your home at night. Replacing or installing a new door handle with lock isn’t just about convenience; it’s a critical security upgrade that takes far less time than you might think. Whether you’re upgrading outdated hardware or replacing a broken mechanism, this guide shows you exactly how to install a door handle with lock properly, avoiding common pitfalls that lead to misaligned latches and frustrating operation. You’ll gain professional-looking results with basic tools and careful attention to detail—no need to call a locksmith or carpenter for this essential home maintenance task.
Most homeowners can complete a door handle installation in 30-60 minutes once they understand the process, saving $100-$200 compared to professional installation fees. The key to success lies in precise measurements and proper alignment—rushing through these steps causes 90% of installation problems. By following this detailed walkthrough, you’ll ensure your new handle operates smoothly, enhances your home’s security, and withstands years of daily use without needing adjustment.
Essential Tools Checklist for Flawless Door Handle Installation

Gather these specific tools before starting to avoid mid-project frustration. You’ll need a Phillips #2 screwdriver (not a flathead), a 2-1/8″ hole saw bit with pilot drill, a 1″ spade bit, a sharp 3/4″ wood chisel, a rubber mallet, masking tape, and a pencil with a sharp point. While some kits include basic tools, investing in quality drill bits prevents splintered wood and misaligned holes—cheap bits wander and create oval-shaped openings that compromise security.
Critical Warning: Never skip the masking tape step when drilling door edges. Place tape over drilling points to prevent wood splintering as the bit exits—this simple trick creates clean, professional holes even on hollow-core doors. Keep a shop vacuum nearby to immediately clean wood dust from your work area; accumulated debris makes precise marking impossible and can jam your new lock mechanism during installation.
Selecting the Right Replacement Hardware
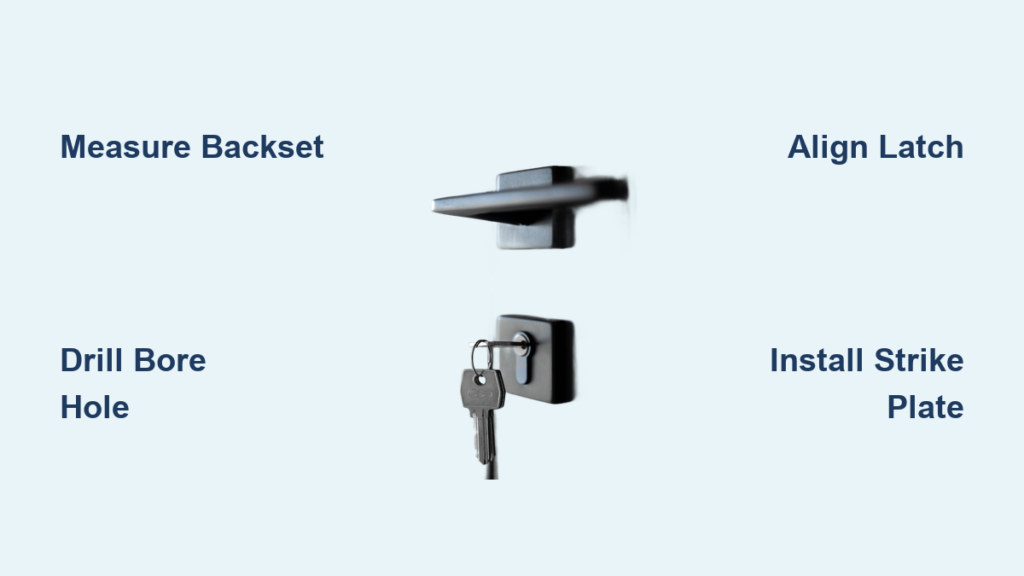
Confirm your door’s backset measurement before purchasing new hardware—this single dimension determines everything. Measure from the door edge to the center of your existing handle hole: 2-3/8″ is standard for interior doors while exterior doors typically use 2-3/4″. Check your new lockset packaging for “adjustable backset” features if you’re unsure. For exterior doors, always choose Grade 2 or higher security hardware with reinforced strike plates—cheap Grade 3 locks can be kicked in within seconds during a break-in attempt.
Measuring and Marking: Avoid Costly Alignment Mistakes
Your installation’s success depends entirely on precise initial measurements. Stand directly in front of your door and determine handing—this affects handle orientation. If hinges are on the left and you pull the door toward you, you need a left-handed set. Mark the door’s centerline with a pencil using a level, then measure 36″ up from the bottom for standard handle height (adjust for accessibility needs).
Creating Perfect Hole Templates
Trace your new hardware’s paper template onto painter’s tape, then apply the tape directly to your door at marked height. This prevents template slippage during drilling. For doors with existing hardware, remove the old handle and use its holes as reference points—line up the new template so its bore hole aligns with your existing 2-1/8″ hole. Mark all drilling points with a center punch to prevent drill bit wandering, especially crucial for metal-clad exterior doors.
Step-by-Step: Drilling the Main Bore Hole Without Splintering
Begin drilling from the door’s interior side using a scrap wood backing board against the exit point. Set your drill to low speed with high torque—rushing causes tear-out. Apply steady pressure while keeping the drill perfectly perpendicular to the door surface. Stop drilling when the pilot bit just penetrates the opposite side, then flip the door and complete the hole from the other side to prevent splintering.
Pro Tip: For solid wood doors, make two shallow passes with your hole saw instead of one deep cut. This technique creates cleaner edges and reduces strain on your drill motor. If drilling a metal-clad exterior door, use cutting fluid on the hole saw bit and pause frequently to let the metal cool—overheating dulls bits instantly and can warp thin metal skins.
Installing the Latch Mechanism for Smooth Operation
Position the latch so its beveled edge faces the door jamb—the angled side should point downward when installed. Trace the latch faceplate outline with a sharp knife for precise chiseling. Remove wood in thin layers (1/16″ at a time) using your chisel bevel-down for controlled cuts. Test-fit frequently; the faceplate should sit perfectly flush with no gaps where dust can accumulate.
When securing the latch, hand-tighten screws first to verify alignment, then give a final quarter-turn with your screwdriver. Overtightening strips wood fibers, causing the latch to shift during use. For hollow-core doors, insert wooden matchsticks or plastic anchors into screw holes for a secure hold—this simple trick prevents handle wobble that develops within weeks on flimsy doors.
Mounting Handles: Achieving Perfect Alignment Every Time
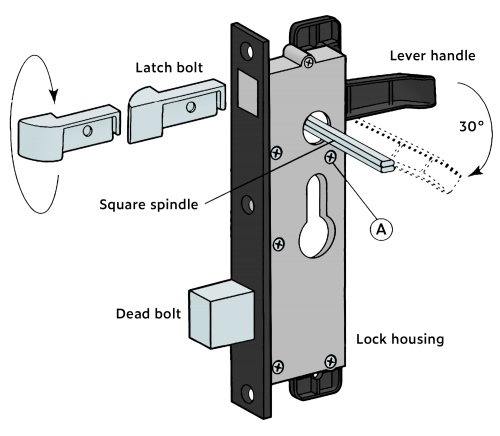
Insert the spindle through the latch mechanism before attaching handles. For lever handles, ensure the lever angle matches your door handing—most sets include reversible components. Slide the interior assembly onto the spindle first, then position the exterior handle while gently wiggling the spindle to engage internal mechanisms. Listen for a distinct “click” indicating proper engagement.
Tighten interior mounting screws in a crisscross pattern like lug nuts on a car wheel—this distributes pressure evenly and prevents faceplate warping. Test handle movement before final tightening; it should operate smoothly without binding. If resistance occurs, loosen screws slightly and reposition the assembly—forcing it creates premature wear on internal components.
Strike Plate Installation: The Secret to Silent, Secure Latching
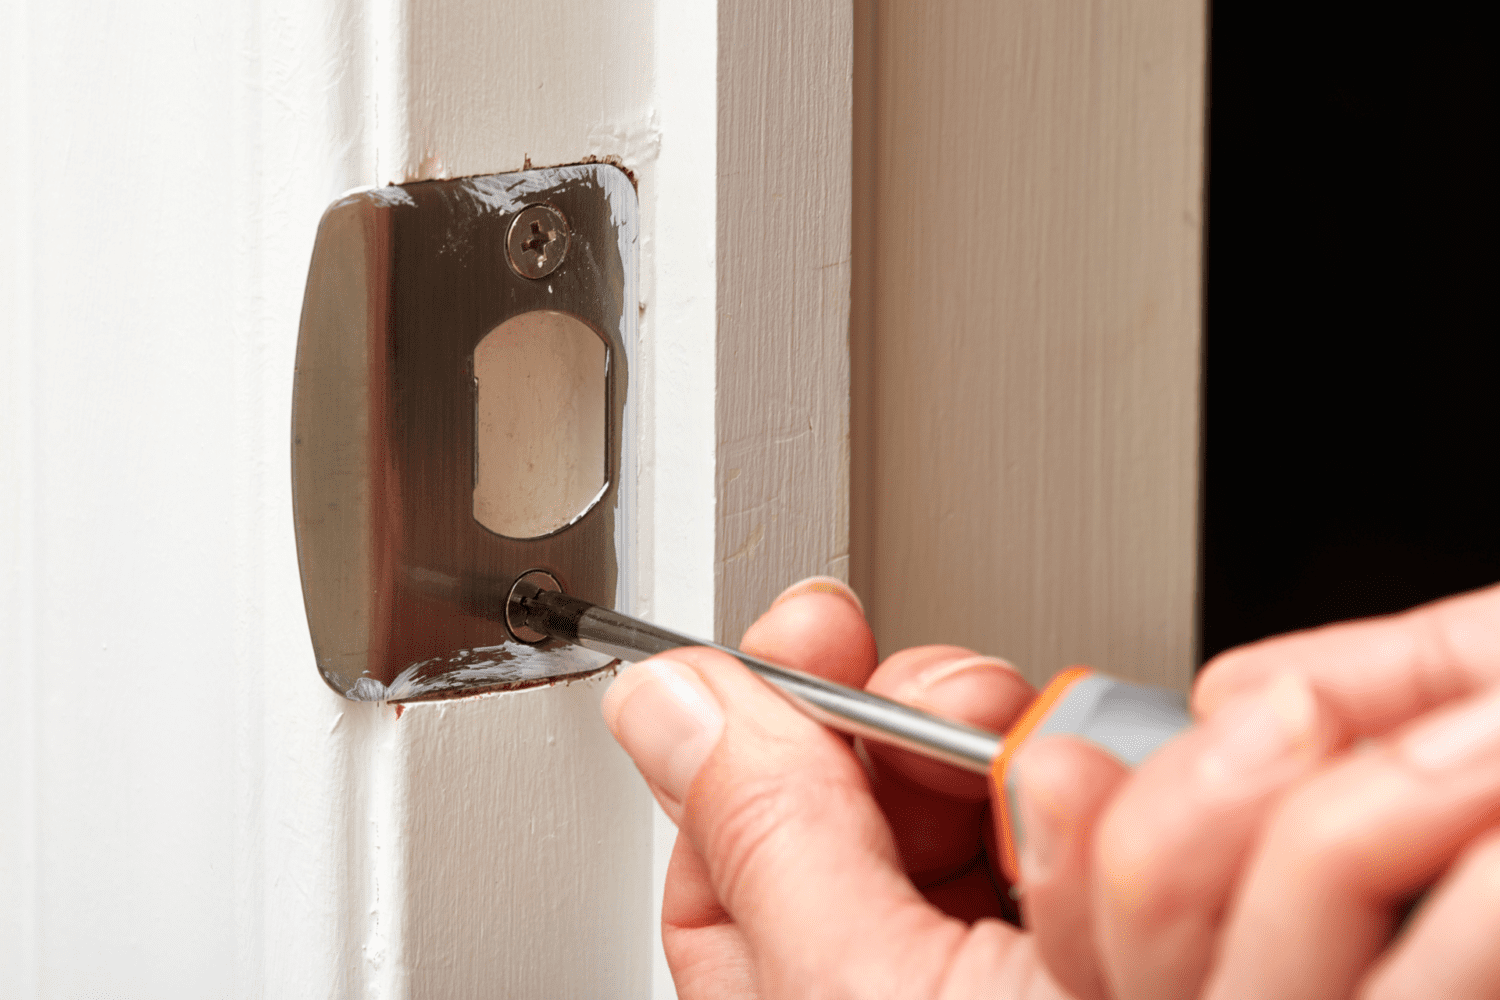
Close the door gently and observe where the latch bolt strikes the jamb—mark this point with a pencil. Remove the strike plate and trace its outline, then mark a deeper recess for the bolt itself using the latch as a template. Chisel the strike plate recess to match the faceplate thickness, then create a separate 1/2″ deep pocket for the bolt using your chisel’s edge.
Critical Adjustment: If the door binds when closing, don’t force it—this wears both latch and strike plate. Loosen strike plate screws slightly and tap the plate upward or downward with a small hammer until smooth operation returns. For exterior doors, replace factory screws with 3″ security screws that anchor into the framing—this simple upgrade deters forced entry by making the jamb less likely to split.
Troubleshooting Common Installation Problems
If your new handle feels stiff or requires excessive force to operate, check spindle length—many universal sets require trimming. Mark excess spindle protrusion with tape, remove the handle, and carefully cut with a hacksaw. For doors with thick molding, you may need extended mounting screws to reach through the trim.
When the latch won’t retract fully, inspect for misaligned faceplates—loosen screws and realign while testing operation. Persistent issues often stem from an improperly beveled strike plate pocket; use your chisel to slightly widen the entry angle. Never lubricate the entire mechanism—just apply a tiny drop of graphite powder to the latch bolt for smooth movement without attracting dust.
Professional Finishing Touches for Long-Lasting Results
After final tightening, wipe all hardware with a microfiber cloth to remove fingerprints that cause premature tarnishing. Apply a thin coat of paste wax to the latch bolt for silent operation that lasts years. For exterior handles, use silicone-based lubricant on moving parts twice yearly to combat weather-related stiffness.
Test your installation under real-world conditions: close the door with normal force, then try operating the handle from both sides. The latch should engage silently without requiring you to lift or pull the handle to lock. Verify deadbolt alignment separately—many security issues stem from improperly installed deadbolts that don’t fully extend into the frame.
Final Note: A properly installed door handle with lock should operate smoothly for decades with minimal maintenance. By taking time to measure accurately and drill precisely, you’ve upgraded both your home’s security and daily convenience. Remember to periodically check handle tightness and lubricate mechanisms—these small efforts prevent future installation headaches. Now that you’ve mastered this essential home skill, consider upgrading other entry points for comprehensive security coverage.


