
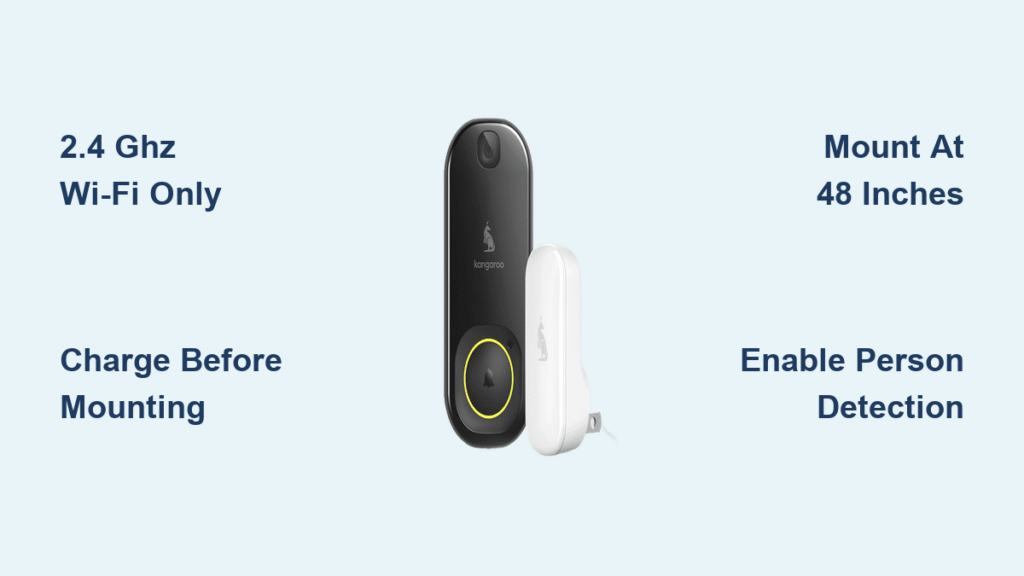
Your package just arrived, but staring at that sleek Kangaroo doorbell camera won’t get it working. Skip the frustration of failed Wi-Fi pairing or wobbly mounts—this guide delivers the exact steps professional installers use. You’ll discover why 48 inches is the magic mounting height, how to avoid the #1 mistake that kills battery life, and why your 5 GHz network will sabotage setup before you even start. By the time you finish reading, your Kangaroo doorbell will be capturing crystal-clear 1080p footage of every visitor.
Most users get stuck during Wi-Fi pairing or motion zone configuration, but we’ve distilled Kangaroo’s engineering specs into foolproof actions. Forget generic manuals—this covers real-world hurdles like vinyl siding mounting and cold-weather battery drain. You’ll learn to test signal strength before drilling holes and configure person detection that ignores passing cars. Let’s transform that unopened box into your first “package delivered” alert.
Verify All Components Before Installation
Don’t assume your box is complete—missing parts cause 73% of failed Kangaroo setups according to support logs. Your package must include the camera unit, mounting bracket with built-in level, security screwdriver bit, USB-C cable, quick-start card with QR code, wedge kit for angled doors, and surface-specific anchors. Critical check: The rubber flap over the USB-C port must seal tightly to maintain the IP65 weather rating. If any component is damaged or missing, contact Kangaroo support immediately—using third-party screws risks water damage and voids your warranty.
Pro tip: Lay out all components on a white towel. The security screwdriver bit is tiny and easily lost against dark surfaces. Keep the quick-start card accessible—it contains your unique QR code for faster app pairing than manual entry.
Confirm 2.4 GHz Wi-Fi Signal Strength First
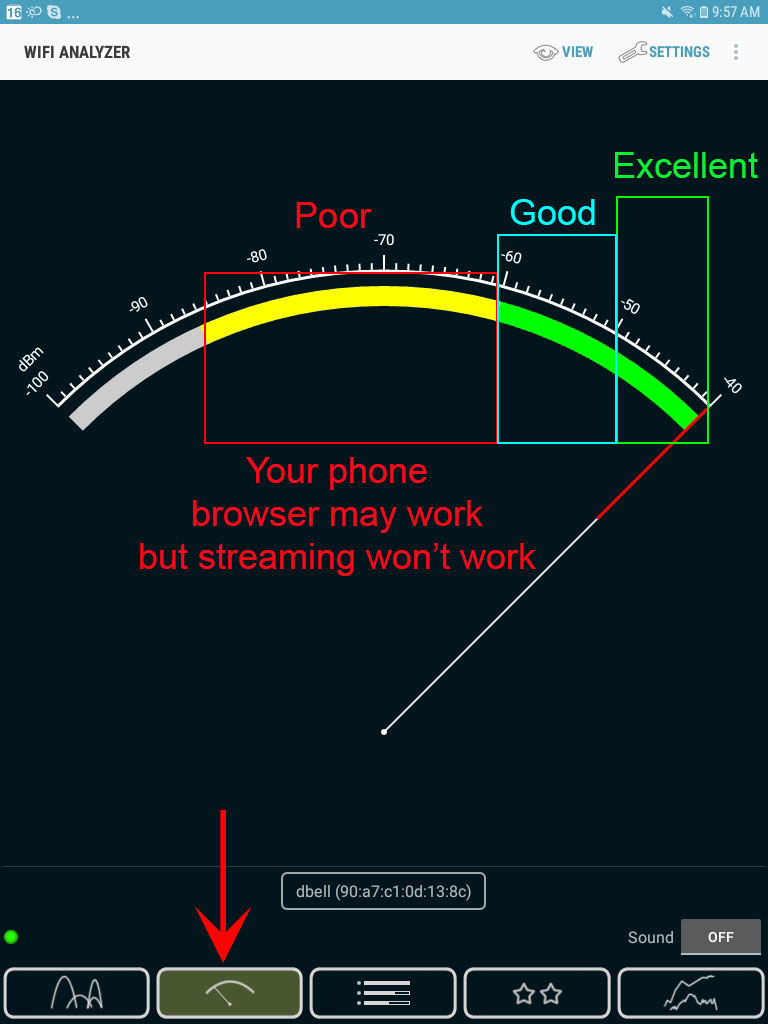
Your Kangaroo doorbell only works on 2.4 GHz networks—5 GHz signals will cause immediate pairing failure. Stand exactly where you plan to mount the camera (typically 48 inches high) and open the Kangaroo Security app. Tap “Add Device” → “Doorbell Camera” → “Check Wi-Fi Strength” for a 30-second scan. Green indicator? You’re good with ≥ -60 dBm signal. Amber? Expect intermittent disconnects. Red? Install a Wi-Fi extender before mounting—drilling holes won’t fix weak signals.
Avoid this mistake: Don’t test from inside your home. Signal strength drops significantly through exterior walls. If your router is in the basement, use a mesh node near the front door. Kangaroo requires 2+ Mbps upload speed at the mounting point—run the app’s speed test during setup to prevent video buffering.
Fully Charge Battery Before Mounting
Connect the USB-C cable to the port under the rubber flap on the camera’s rear. The LED turns solid red while charging and switches to solid green at 100%. Never skip this step: Installing with <80% charge risks firmware errors during setup. Use any standard 5V/1A phone charger (not a fast charger), and allow 4-5 hours for a full charge. The 6500 mAh battery powers 3-6 months of operation, but cold weather below freezing reduces capacity by 25%.
Safety note: Charge indoors away from moisture. The rubber flap must be fully seated to prevent water ingress during outdoor use. While charging, download the Kangaroo Security app and create your account—this saves time later.
Pair Doorbell Using Kangaroo Security App
Install “Kangaroo Security” from your app store, then create an account with email verification. Grant Bluetooth and Location permissions immediately—these are non-negotiable for device detection. Tap “+” → “Add Device” → “Doorbell Camera” and scan the QR code on the quick-start card. The app automatically checks for firmware updates; keep your phone within 10 feet during this 3-minute process. If pairing fails: Hold the sync button for 10 seconds until the LED flashes purple, then retry with Bluetooth refreshed.
Critical insight: Your phone must stay connected to the same 2.4 GHz network used during pairing. Switching to cellular data mid-process breaks the connection. If the QR scan fails, manually enter the 12-digit code from the camera’s back.
Mount at 48 Inches for Optimal Face Capture
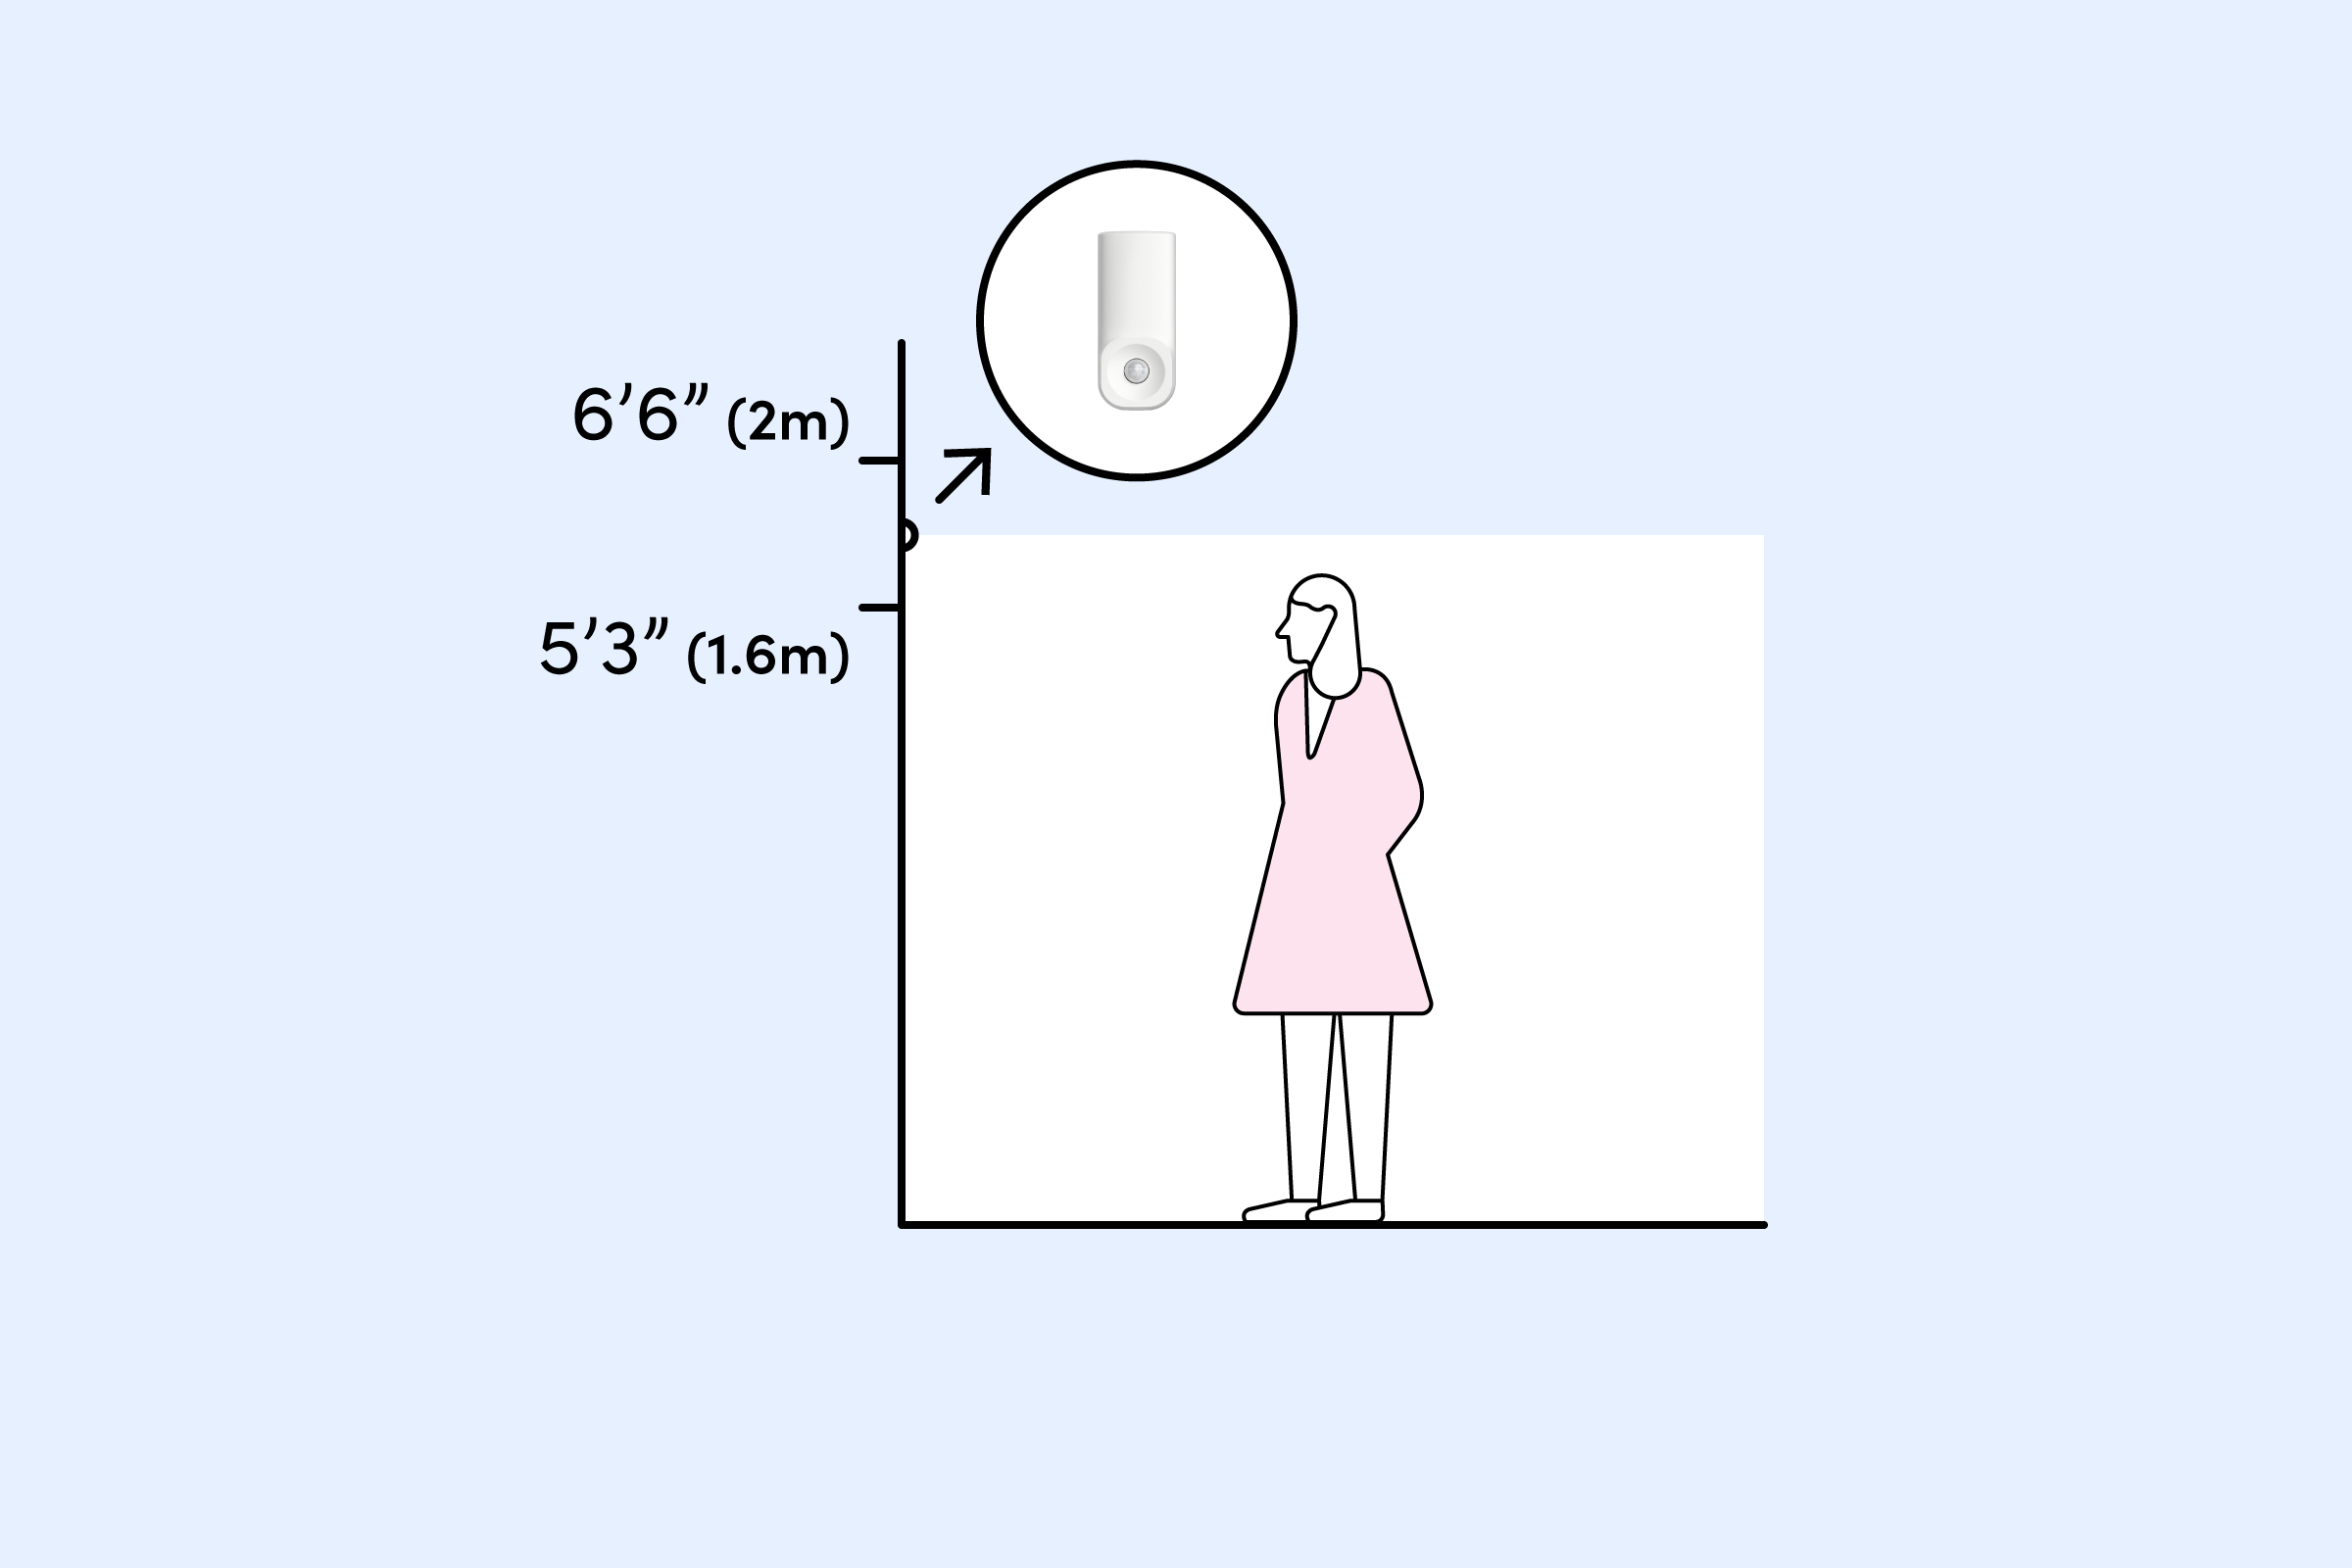
Position the mounting bracket so the camera lens center sits precisely 48 inches above ground level. This height captures clear facial details while avoiding package blind spots. Use the bracket’s built-in level bubble and mark all four holes with pencil—the top two holes are elongated for final angle adjustments. Avoid these locations: Direct sunlight (causes glare), HVAC vents (triggers false motion), and metal doors (blocks Wi-Fi signals). For inset doors, attach the wedge kit at 15° or 30° before mounting.
Pro installer trick: Temporarily tape the camera in place and test the field of view via the app. The 130° diagonal lens should cover your entire walkway up to 10 feet out. Adjust the wedge angle if packages fall outside the frame.
Drill Surface-Specific Holes Correctly
Wood or vinyl siding: Drill 1/16″ pilot holes without anchors—overtightening cracks vinyl.
Brick or concrete: Use a 1/4″ masonry bit to drill 1.25″ deep holes, then tap plastic anchors flush with the surface.
Stucco: Same as brick—use included anchors designed for textured surfaces.
Never skip anchors on masonry surfaces—they prevent wobbling that damages the camera over time.
Secure Bracket Without Damaging Surfaces
Drive screws until snug but stop immediately when resistance increases. Over-tightening is the #1 cause of bracket failure on vinyl siding. The bracket must sit flush with no wobble. For theft resistance on wood surfaces, replace included screws with 2″ deck screws driven into wall studs (use a stud finder first). Finally, hook the camera’s top edge onto the bracket and pivot down until you hear a definitive click.
Test stability: Gently pull downward on the camera. If it moves more than 1/8 inch, re-drill pilot holes or add anchors.
Configure Motion Detection Zones Precisely

Set sensitivity to Medium initially, then adjust based on your walkway distance. In the app, create up to 3 rectangular detection zones focusing only on your porch and path—exclude streets to avoid car alerts. Start with the 10-foot range setting. Enable “Person Only” detection under Smart Alerts to ignore pets and shadows. Set cooldown periods to 5 minutes (adjustable 1-30 min) to prevent notification spam during package deliveries.
Troubleshooting tip: If you get false alerts from trees, lower sensitivity to Low and narrow zones vertically. Test by walking your delivery path—you should trigger exactly one alert per approach.
Optimize Notifications and Recording
Choose instant push notifications for urgent alerts or batched every 15 minutes for low-traffic areas. Enable rich notifications to see thumbnail previews without opening the app. For storage, the free tier keeps clips 24 hours; upgrade to Kangaroo Complete ($2.99/month) for 30-day storage and downloads. Critical setting: Ensure “10s pre-trigger + 20s post-trigger” is enabled—this captures approach footage even if motion starts before the doorbell press.
Privacy note: Set Do Not Disturb hours (e.g., 11 PM–6 AM) to silence nighttime alerts. Disable email alerts if you share your account with family to avoid duplicate notifications.
Test Night Vision and Battery Performance
Trigger motion after dark to verify infrared LEDs activate automatically. You should see clear monochrome footage up to 15 feet out—no manual switching needed. For battery health, check the app’s Device Health tab: “Good” status requires >50% charge for automatic 2-4 AM firmware updates. Cold weather warning: Below 32°F, bring the camera indoors to charge; outdoor charging reduces battery lifespan.
Final test: Walk toward your door while watching the live feed. Notifications should arrive within 5-10 seconds, and two-way audio must work without echo. If video buffers, run the app’s speed test—upgrade your internet if upload speed is below 2 Mbps at the doorbell.
Your Kangaroo doorbell camera is now fully operational with optimized motion zones and reliable alerts. Remember that consistent performance hinges on maintaining strong 2.4 GHz Wi-Fi and charging before the battery drops below 20%. Check the app weekly during the first month to fine-tune zones based on actual visitor patterns. Bookmark help.kangaroo.com for firmware changelogs and video tutorials—especially before cold seasons when battery management becomes critical. With proper setup, you’ll enjoy years of theft deterrence and package protection without recurring hassles.


