
A door that rubs at the top corner on the latch side makes closing difficult, creates annoying scraping sounds, and can damage both the door and frame over time. This common problem usually stems from loose hinges, seasonal humidity changes, or minor frame settling—all fixable with basic tools and the right approach. This guide covers every effective solution, from quick fixes you can complete in minutes to more involved repairs for stubborn cases.
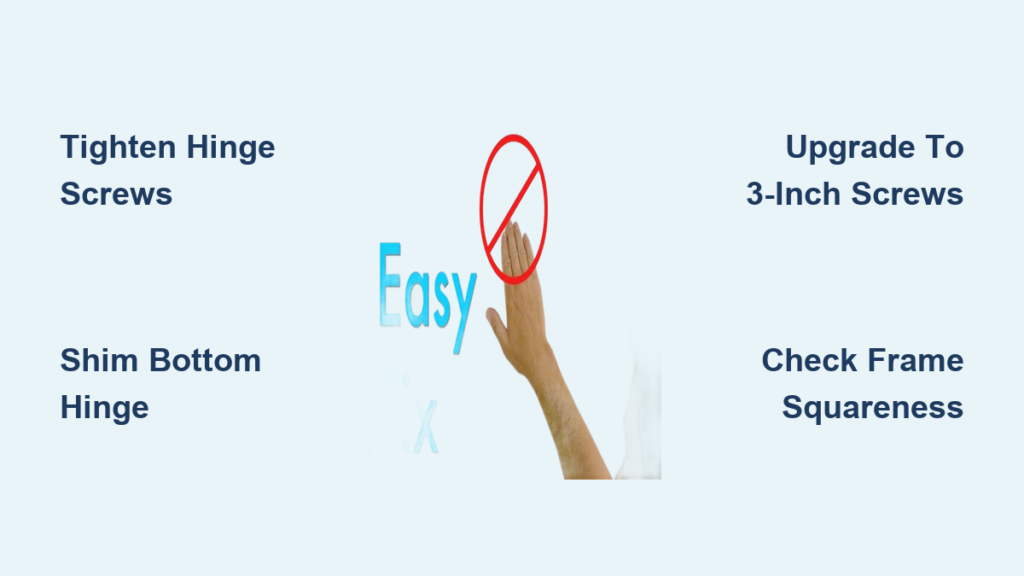
Tighten Loose Hinge Screws
Loose hinge screws are the number one cause of door rubbing at the top corner. When the top hinge loosens, the door sags slightly and the latch-side corner contacts the frame.
Check All Three Hinges
Open the door fully and test each screw on the top, middle, and bottom hinges. Use a screwdriver or drill to feel if any spin freely or move. Focus especially on the center screw in the top hinge, which anchors into the wall stud for the most support.
Fix Stripped Screw Holes
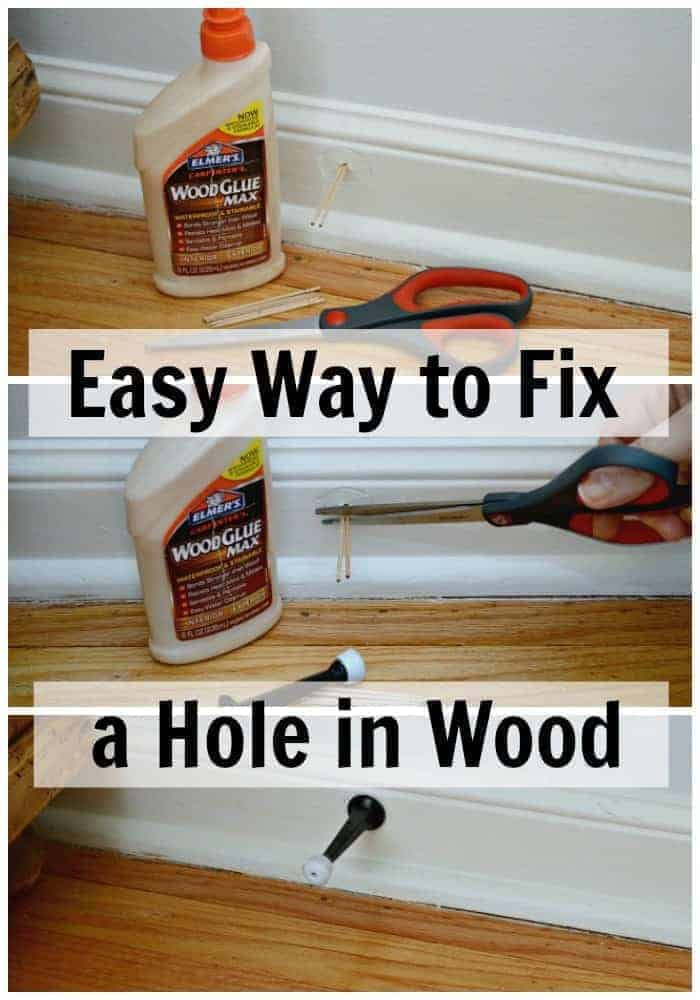
If screws won’t grip, the holes are stripped and need repair.
• Remove the loose screw
• Fill the hole with wood glue
• Pack in toothpicks, matchsticks, or a wooden dowel until snug
• Break off excess material flush with the surface
• Let dry for 2 to 4 hours
• Reinstall the screw and tighten securely
Upgrade to Longer Hinge Screws
Factory screws are often too short to reach the wall stud, leaving hinges prone to loosening over time.
Replace Top and Bottom Center Screws
• Remove the center screw from the top hinge
• Insert a 3-inch structural screw and drive it in until it engages the stud
• Repeat with the bottom hinge center screw, which can actually lift the door slightly
• Tighten firmly but avoid overtightening, which can crack thin jambs
Pro Tip: Use 3-inch to 3.5-inch deck screws or structural screws instead of standard hinge screws for maximum holding power.
Shim the Bottom Hinge to Tilt the Door

If tightening screws doesn’t resolve the rub, shimming the bottom hinge rotates the door to clear the rubbing corner.
Insert Shim Behind the Hinge
• Remove the screws holding the bottom hinge to the jamb
• Slide a thin wood or plastic shim behind the hinge plate, positioning it toward the knuckle side
• Reattach the hinge screws
• Close the door to test clearance
Add a second shim or trim excess with a utility knife if the door binds elsewhere after adjustment.
Adjust the Strike-Side Jamb
When frame settling causes the strike-side jamb to drop, the head jamb tilts and creates rubbing at the top corner.
Lift the Jamb with Shims
• Open the door fully
• Place two opposing wood shims at the bottom of the strike-side jamb
• Tap gently with a hammer until the rubbing stops
• Secure with a finish nail or reattach trim
Warning: Never pry up the head jamb directly, as this can crack drywall or split joints.
Fix Humidity-Related Swelling
Wood doors expand during humid summer months, causing seasonal rubbing that resolves when conditions dry out.
Control Indoor Humidity
• Use a dehumidifier or air conditioner
• Maintain 30 to 50 percent relative humidity
• Run bathroom and kitchen exhaust fans
Lubricate the Rubbing Spot Temporarily
Rub candle wax, bar soap, or paraffin on the contact point to reduce friction. Reapply every few weeks during humid seasons.
Remove Paint or Finish Buildup
Multiple paint layers accumulate over years, reducing clearance and causing rubbing.
Scrape Excess Paint
• Use a paint scraper or utility knife on the top door edge and head jamb corner
• Sand lightly with 120-grit paper
• Wipe clean and apply a thin, even coat
Safety Note: Homes built before 1978 may have lead-based paint. Wear an N95 mask, goggles, and gloves, and use wet sanding methods.
Plane or Sand the Rubbing Area
When structural fixes fall short, removing a small amount of material from the door edge provides a permanent solution.
Mark the Contact Point with Chalk Test
• Rub chalk, crayon, or lipstick on the top latch-side corner
• Close the door gently
• Open it and examine the transferred mark to identify exactly where rubbing occurs
Remove and Reshape the Door
• Tap hinge pins out with a hammer and nail
• Lift the door off and set it flat on sawhorses
• Use a hand plane or orbital sander to remove no more than 1/8 inch of material
• Chamfer the edge slightly to prevent future catching
• Rehang and test by opening and closing 10 or more times
Replace or Upgrade Hinges
Weak, bent, or thin hinges cannot support heavy doors and contribute to ongoing sagging.
Install Heavy-Duty Hinges
• Remove old hinges
• Install ball-bearing or mortised hinges for improved durability
• Use 3-inch screws in top and bottom hinges to reach wall studs
Diagnose Frame Misalignment
If simple fixes fail, the frame itself may be out of square or plumb.
Check Frame Squareness
• Measure diagonally from top-left to bottom-right and top-right to bottom-left
• If measurements differ by more than 1/8 inch, the frame is out of square
• A difference over 1/4 inch typically requires professional repair
Test for Plumb and Level
• Place a 4-foot level against the hinge-side jamb to check vertical plumb
• Place the level on the head jamb to verify horizontal level
When to Call a Professional
Some issues exceed DIY capabilities and require expert help.
Seek Expert Help If:
• Frame diagonals differ by more than 1/4 inch
• Cracks appear in walls or trim around the door
• The door shows signs of water damage or warping
• Foundation settling is suspected
• Multiple doors throughout the house stick or rub
Prevent Future Door Rubbing
Regular maintenance prevents recurrence and keeps doors operating smoothly.
Maintenance Checklist
• Inspect and tighten hinge screws twice yearly
• Replace short screws with 3-inch structural screws in top and bottom hinges
• Control humidity with dehumidifiers in basements and bathrooms
• Lubricate hinges annually with silicone spray or paraffin wax
• Avoid WD-40, which attracts dust and gums up over time
• Monitor for paint buildup during routine cleaning
Frequently Asked Questions About Door Rubbing
Why does my door only rub at the top corner?
The top corner on the latch side contacts first because the door sags slightly due to gravity and hinge loosening. This area bears the most weight and shows misalignment most clearly.
Can I fix a rubbing door without removing it?
Yes. Start by tightening all hinge screws, then upgrade to longer screws. If that fails, you can shim the bottom hinge or lubricate the rubbing spot without removing the door.
How do I know if humidity is causing the problem?
If the door sticks only during summer months or in damp weather and operates freely during dry periods, humidity swelling is likely the culprit. Using a dehumidifier confirms the diagnosis.
What is the chalk test for door rubbing?
The chalk test involves coloring the suspected contact area with chalk, crayon, or lipstick, then closing the door gently. The transferred mark shows exactly where rubbing occurs.
How much material can I remove when planing a door?
Remove no more than 1/8 inch (3 mm) total. Work in light passes and test frequently to avoid over-removal, which can ruin door seals or create gaps.
When should I call a carpenter for a rubbing door?
Call a professional if frame diagonals differ by more than 1/4 inch, if walls show cracks near the door, or if multiple doors throughout your home stick simultaneously, indicating potential foundation issues.
Key Takeaways for Fixing Door Rubbing
Most door rubbing at the top corner stems from loose hinge screws or minor settling, both easily fixed with basic tools. Start by tightening all hinge screws and filling any stripped holes with glued toothpicks or dowels. Upgrade to 3-inch structural screws in the top and bottom hinges to anchor into wall studs and lift the door. If those fixes don’t work, progress to shimming the bottom hinge or adjusting the strike-side jamb. Only resort to planing or sanding the door edge when structural solutions prove insufficient. Monitor humidity levels and perform annual hinge maintenance to prevent the problem from returning. With a systematic approach, you can resolve most cases in under an hour without professional help.


