
You’ve just moved into a new home, lost your keys, or had a tenant move out, and now you’re worried about who might still have access. The good news is that you do not need to replace every lock to regain control. Rekeying a door lock lets you change which key operates the lock while keeping the existing hardware intact. It is a fast, affordable, and effective way to boost security, consolidate keys, or prepare your home after access changes.
This guide walks you through every step, from identifying your lock type and keyway to installing new pins and testing the result. Whether you are handling a Kwikset, Schlage, or generic lock, most residential pin tumbler locks can be rekeyed in 10 to 20 minutes with a $10 to $25 kit. By the end, you will know how to rekey a door lock confidently and correctly.
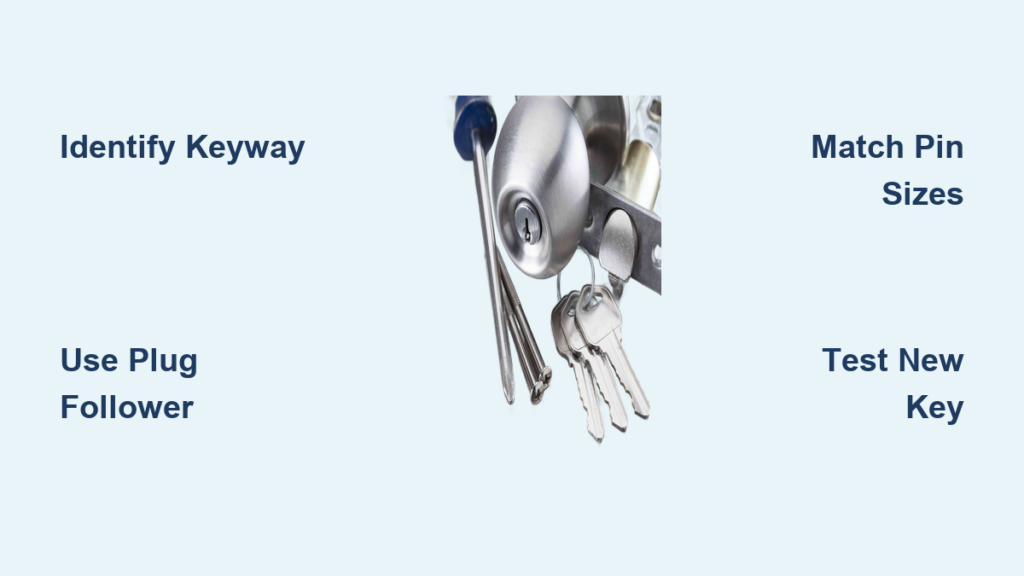
Identify Your Lock Type and Keyway

Before buying tools or disassembling anything, confirm what kind of lock you have. Using the wrong rekey kit can damage the mechanism or render it inoperable. Taking a moment to identify your keyway now saves frustration later.
Check for KW1 or SC1 Keyway
Most residential locks use one of two keyways. These are not interchangeable, so knowing which one you have is critical.
• KW1 (Kwikset): Octagonal key head, often stamped “KW1” on the bow.
• SC1 (Schlage): Rectangular with rounded corners, usually marked “SC1.”
A KW1 key will not fit an SC1 lock, and vice versa. This mismatch is the most common error beginners make.
How to Confirm Your Keyway
- Inspect the key bow for stamped markings like “KW1” or “SC1.”
- Observe the head shape: eight-sided indicates KW1, rectangular with rounded edges indicates SC1.
- Bring your key to a hardware store and test it in sample locks labeled with keyway types.
- Check the original packaging or online product specs if you still have them.
Pro Tip: Buy a rekey kit labeled for your exact keyway. Universal kits exist but increase the risk of mismatched pins.
Gather Essential Rekeying Tools
Having the right tools prevents frustration and part loss. A standard rekeying kit covers most jobs, and most items are inexpensive.
Required Tools and Supplies
• Rekeying (pinning) kit for your keyway (KW1 or SC1)
• Plug follower (or AA battery or dowel as a substitute)
• Small flathead screwdriver
• Tweezers or pin tool for precise placement
• New key (the one you want the lock to operate with)
• Needle-nose pliers for deadbolts
• Tray or magnetic mat to catch small parts
Cost Note: A full rekey kit costs $8 to $25 and works on multiple locks. Professional rekeying averages $50 to $150 for a house.
Remove the Lock Cylinder Safely
Each lock type has a different removal method. Work slowly to avoid damaging internal parts. The goal is to access the cylinder without forcing anything.
Schlage-Style Doorknob: Remove C-Clip
- Insert the key and turn it 90 degrees clockwise.
- Use a small screwdriver to press the clip inside the shank hole.
- Pull the outer knob off the spindle.
- Turn the key another 90 degrees back (total 180 degrees).
- Slide the cylinder out of the housing.
Tulip-Style Knob: Use Side Release Tab
- Turn the knob until a small hole appears on the neck.
- Insert a paperclip or tool to depress the internal tab.
- Pull the knob straight off.
- Remove the faceplate and pull out the cylinder.
Deadbolt: Unscrew Side Machine Screw
- Remove interior mounting screws to take the lock off the door.
- Unscrew the small side screw on the cylinder housing.
- Pull off the metal cap with pliers if needed.
- Extract the retaining pin and spring.
- Insert the key, turn 90 degrees, and push the core out using a plug follower.
Warning: Always work over a tray. Losing a spring or pin means starting over.
Extract the Plug With a Follower
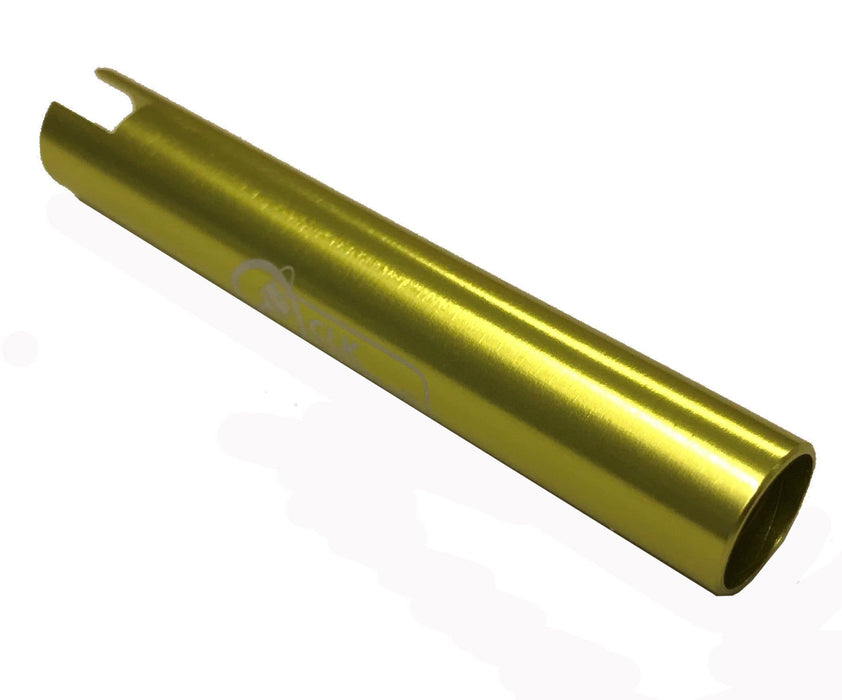
This is the most critical safety step. Removing the plug without a follower risks ejecting all top pins and springs, creating a messy cleanup.
Why Use a Plug Follower
The plug follower keeps top pins and springs in place during disassembly. It prevents jamming when reinserting the plug and avoids time-consuming cleanup of scattered parts. Using this tool is the difference between a 10-minute job and a 30-minute frustration session.
Steps to Remove the Plug
- Insert the key and turn the plug 45 degrees.
- Slide off the C-clip at the rear of the cylinder.
- Place the plug follower behind the plug.
- Gently push the plug into the follower until it clears the housing.
Now the plug is free, and the top pins remain secured in the cylinder.
Dump Old Pins and Prepare for New Key
With the plug out, you can access the bottom pins that determine key compatibility. This is where the actual rekeying happens.
Clear the Plug
- Remove the old key from the plug.
- Shake or tap the plug to dump all bottom pins.
- Set aside old pins in case you need to revert later.
Do not remove top pins or springs. They stay in the housing where they are.
Insert the New Key
Place your new key into the empty plug. This allows you to test each new pin size against the actual key cuts. Keep the key inserted throughout the pin-matching process.
Match Pin Sizes to Your New Key

The goal is simple: every bottom pin must sit flush with the top edge of the plug when the new key is inserted. This alignment is called the shear line.
Method 1: Use Key Code (If Stamped)
Some keys have a bitting code like “15525” stamped on the head. Each number corresponds to a pin size. Number 1 is the shortest cut (uses #1 pin), while number 5 is the deepest cut (uses #5 pin). The code “15525” means use pin sizes #1, #5, #5, #2, and #5 for the five chambers.
Match these numbers to the pins in your kit.
Method 2: Manual Fitting (No Code)
- Insert the new key into the plug.
- Drop a test pin into the first chamber.
- Observe the position relative to the plug edge:
• Below the edge: too short, try a taller pin.
• Above the edge: too tall, try a shorter pin.
• Flush: correct size. - Repeat for all five chambers.
Pro Tip: Work under bright light. Use tweezers to avoid dropping pins into hard-to-reach places.
Install New Bottom Pins
Once you have determined the correct sizes for each chamber, install them one at a time. Patience here prevents mistakes later.
Step-by-Step Installation
- Keep the new key inserted in the plug.
- Place the correct bottom pin into each chamber using tweezers.
- Ensure all pins sit flush with the plug top edge.
- Double-check each chamber before proceeding.
Warning: Never remove the key yet. Doing so may cause pins to shift or fall out, requiring you to start over.
Reinsert the Plug and Reassemble
Now it is time to put everything back together. Take care to align components correctly.
Reinstall the Plug
- With the key still in and turned 45 degrees, align the plug with the housing.
- Use the plug follower to push the plug back into the cylinder.
- Stop when the plug is fully seated and the follower clears the housing.
Secure the Cylinder
- Slide the C-clip back onto the rear of the cylinder.
- For deadbolts, reinstall the retaining pin, spring, and cap.
- Slide the cylinder back into the knob or deadbolt housing.
Reattach the Knob
For Schlage knobs, slide the cylinder in, rotate to lock position, and snap the knob back on. For tulip knobs, align the spindle and press the knob until it clicks into place.
Test the Lock Before Finalizing
Never reattach the lock to the door without testing first. This step catches problems before they become permanent installations.
What to Check
• Does the new key insert smoothly?
• Does it turn freely in both directions?
• Does the old key no longer work?
If the key binds or will not turn, disassemble and check for misaligned pins. Verify all bottom pins are flush. Ensure top pins did not drop into the plug during reinsertion.
Pro Tip: Apply graphite powder or silicone lubricant to the keyway after testing to ensure smooth operation.
Rekey Multiple Locks to One Key
Want all your doors to open with a single key? This is called a keyed-alike system, and you can do it yourself with the right approach.
Steps to Key All Locks Alike
- Choose one master key to use for all locks.
- Repeat the rekeying process on each lock, matching their pins to that key.
- Label each cylinder during work to avoid mix-ups.
Alternative: Bring all locks to a hardware store. Many offer free rekeying if you purchased them there.
Handle SmartKey and Special Locks Differently
Not all locks use traditional pinning. Some require unique methods that deviate from standard pin tumbler rekeying.
Kwikset SmartKey: No Disassembly Needed
- Insert the current key and turn 90 degrees.
- Insert the SmartKey tool (included with the lock).
- Remove the tool. Now the lock accepts the new key.
- Insert and remove the new key to set it.
This process takes less than 30 seconds and requires no pin kits.
Disc and Wafer Tumbler Locks
Disc tumbler locks are high-security and require manufacturer tools. They are not DIY-friendly. Wafer locks are found in older doors. You replace wafers instead of pins. This is simpler but rare in modern entry doors.
Recommendation: Hire a locksmith for non-pin-tumbler systems.
Avoid Common Rekeying Mistakes
Even small errors can ruin the lock. Watch for these frequent issues and know how to fix them.
Top Mistakes and Fixes
| Mistake | Fix |
|---|---|
| Pins fly out during removal | Always use a plug follower or AA battery substitute |
| Key will not turn after reassembly | Check pin heights. Any above or below the shear line will bind |
| Plug will not go back in | Ensure it is turned 45 degrees and top pins are not falling into the plug |
| Old key still works | You may have forgotten to replace all bottom pins. Double-check every chamber |
| Lock feels stiff | Over-tightened screws or debris in cylinder. Loosen slightly and clean |
Pro Tip: Test the plug rotation before snapping the knob back on. This takes seconds and confirms everything works.
When to Call a Professional Locksmith
DIY rekeying works for standard locks, but not all situations call for doing it yourself.
Hire a Locksmith If
• You have multiple brands that do not share a keyway.
• The lock is stiff, corroded, or broken.
• You need a master key system.
• You are unsure of the keyway or model.
• The lock is damaged or will not disassemble.
Cost Note: Most locksmiths charge $75 to $125 to rekey up to six locks. This is worth it for peace of mind.
Maintain Your Rekeyed Locks
A well-rekeyed lock lasts years if maintained properly. Simple care prevents premature wear.
Annual Maintenance Tips
• Lubricate with silicone spray once per year. Never use oil or graphite, which can gum up the mechanism.
• Clean the keyway with compressed air.
• Check alignment seasonally. Wood expands in humidity, affecting latch function.
• Replace worn springs if the key feels loose or sticky.
Bonus: Label spare cylinders and keep old pins in case of emergency reversal.
Key Takeaways for Rekeying Your Door Lock
Rekeying a door lock is a simple, cost-effective security upgrade that takes less than 20 minutes per lock. With the right $10 rekey kit, a plug follower, and attention to pin alignment, you can secure your home after moving in, losing keys, or experiencing tenant turnover, all without replacing hardware.
Key success factors include knowing your keyway (KW1 or SC1), using a plug follower every time, matching pin heights so they are flush with the plug, testing before final assembly, and lubricating and maintaining annually. For mixed brands, master key systems, or damaged locks, hire a professional.
Frequently Asked Questions About Rekeying Door Locks
How long does it take to rekey a door lock?
Most homeowners can rekey a standard pin tumbler lock in 10 to 20 minutes. Professional locksmiths typically complete the job in under 10 minutes per lock after arriving on-site.
Can I rekey my own lock without buying a kit?
You need a rekeying kit that includes the correct bottom pins for your keyway. Without these pins, the lock will not work with your new key. Kits cost $8 to $25 and are available at hardware stores.
Will rekeying make my lock less secure?
No. Rekeying does not affect the security rating of the lock. It simply changes which key operates it. The physical locking mechanism remains unchanged.
What is the difference between rekeying and replacing a lock?
Rekeying changes the internal pin configuration so an existing lock works with a new key. Replacing involves removing the entire hardware and installing a new lockset. Rekeying costs less and takes less time.
Can all door locks be rekeyed?
Most pin tumbler locks (Kwikset, Schlage, and compatible brands) can be rekeyed. Electronic locks, smart locks, and some high-security disc tumbler locks cannot be rekeyed and must be replaced.
How do I know if my lock uses KW1 or SC1 keyway?
Check the key head for stamped markings. KW1 keys have an octagonal (eight-sided) head, while SC1 keys have a rectangular head with rounded corners. Bring the key to a hardware store for verification if uncertain.


