
Repainting a door is one of the fastest and most impactful DIY upgrades you can make. It transforms curb appeal, refreshes interior spaces, and protects against wear. Whether it is a worn bedroom door or a sun-faded front entry, a fresh coat of paint delivers professional-looking results with minimal cost. However, skipping the prep work or using the wrong tools leads to drips, peeling, and a finish that shows every flaw.
This guide walks you through how to repaint a door like a pro, covering every step from lead testing to final rehang. You will learn the exact order to paint, which roller nap eliminates texture, why sanding matters even on pre-primed doors, and how to avoid the most common mistakes like closing the door too soon or missing the bottom edge.
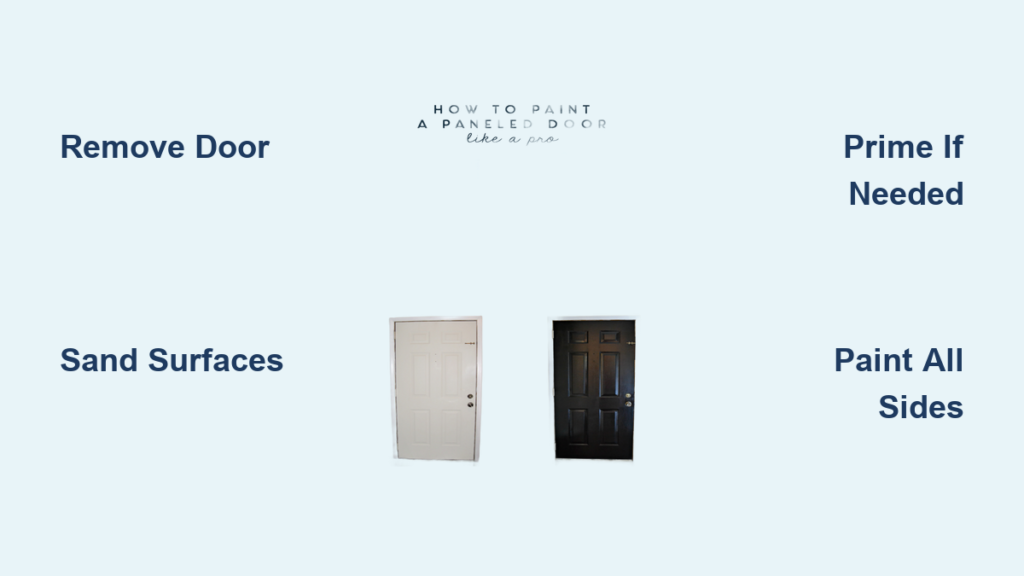
Remove Door for Full Access and Professional Results

Taking the door off its hinges is the best way to ensure total coverage and a flawless finish. This approach lets you paint all six sides completely without worrying about drips on your floors or walls.
Paint All Six Sides Completely
A door has six surfaces that need paint: front, back, top, bottom, hinge edge, and latch edge. Painting all sides seals the wood and prevents moisture absorption that causes warping. Both sides must be painted, even if only one side faces outside. This is especially critical for exterior doors.
Support Door Safely on Sawhorses
Place the door flat on sawhorses with the edges supported. Cover the horses with a smooth cloth or cardboard to prevent sticking or texture transfer. Use two 4-inch screws driven into the top and bottom edges near the ends to grip when flipping. This avoids surface contact and damage. Flip the door only after the first side has dried for 24 hours or more to prevent smudging.
Remove or Protect Hardware Before Painting

Clear access to edges and recesses ensures a clean, professional finish. Removing hardware speeds up painting and prevents paint buildup on moving parts.
Take Off Knobs, Hinges, and Latches
Removing hardware prevents paint from coating knobs and hinges, which would interfere with movement. Store screws and pieces in labeled bags. Take photos before disassembly to remember alignment. This is also the perfect time to replace old or worn hardware with new pieces.
Protect Glass with Masking Liquid
For doors with glass panels, masking liquid outperforms painter is tape. Apply a thick coat around the glass with a small brush, let it dry, then paint over it. Peel off the masking liquid after painting for a crisp, tape-free edge. If masking liquid is unavailable, use high-quality 3M Blue tape and cut along the glass edge with a utility knife.
Test for Lead Paint in Older Homes
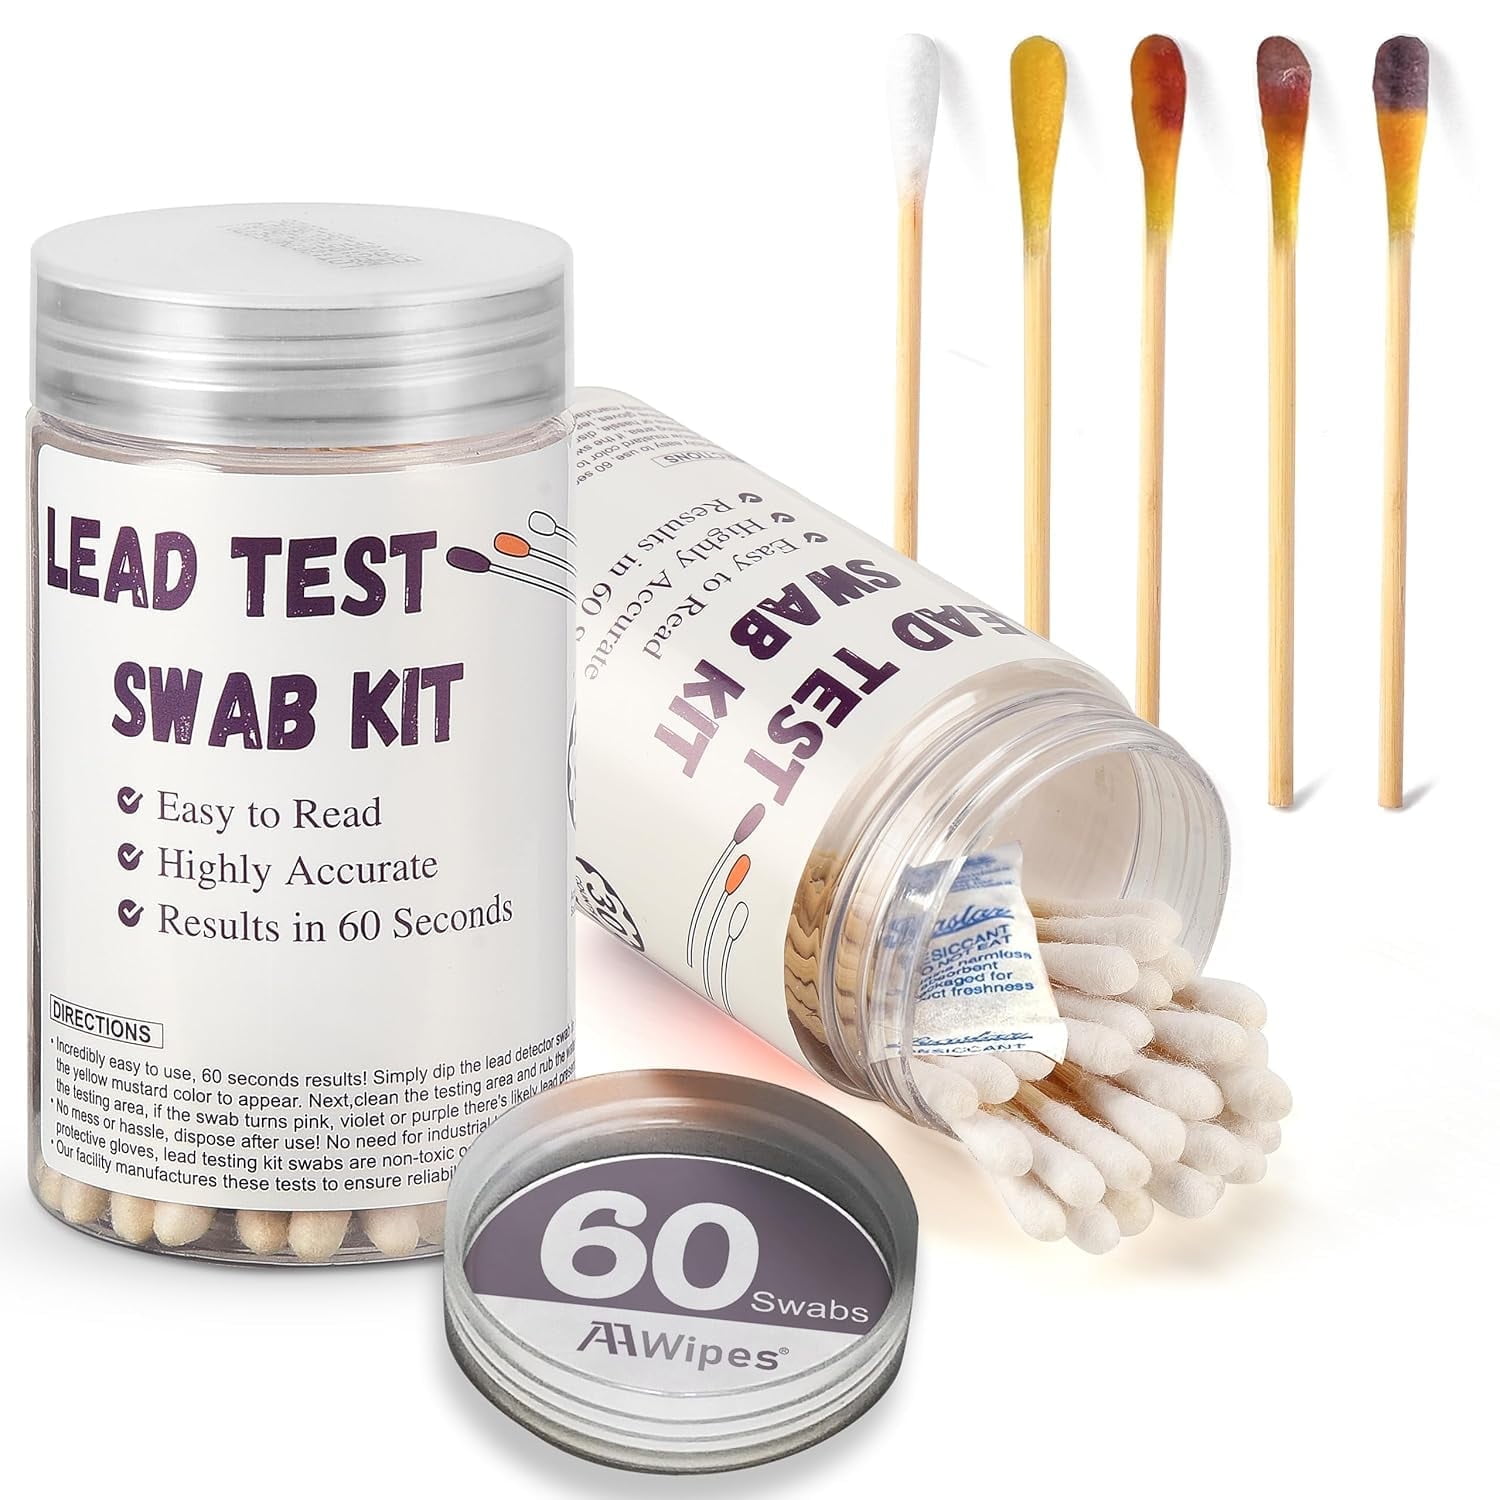
Safety comes before sanding, especially in older homes. Doors made before 1978 may contain lead-based paint.
Check Homes Built Before 1978
Use a lead test kit available at hardware stores. If the swab turns pink, lead is present. Never sand lead paint because it creates toxic dust. Instead, encapsulate it by applying primer and paint over intact surfaces.
Wear Proper Protective Equipment
Use gloves, goggles, and an N95 respirator during preparation. Work in a well-ventilated area, especially when using oil-based primers or cleaners. Proper ventilation protects your health and helps primers and paints cure correctly.
Clean and Repair the Door Surface
A smooth, clean surface is the foundation of a durable finish. Skipping this step guarantees problems later.
Wash With Degreaser
Wipe the entire door with mild soap and water or a degreaser like Krud Kutter. High-touch areas around the knob and bottom third collect oils and grime that prevent paint adhesion. Rinse thoroughly and let dry completely before proceeding.
Fill Dents and Cracks
Use the right filler for each defect type. Small dents respond well to DAP Premium Wood Filler. Cracks need DAP Extreme Stretch, a paintable caulk that resists shrinking. Deep gouges require Bondo auto body filler. Let each filler dry completely, then sand smooth.
Sand Properly for Maximum Paint Adhesion
Even glossy or pre-primed doors need sanding. This step creates the rough surface that paint needs to grip.
Use the Right Grit Sequence
Start with 120 to 150 grit to scuff the surface and remove gloss. Finish with 220 to 320 grit for smooth results before priming or painting. Skip sanding only if lead paint is present.
Sand Panels and Edges Carefully
Use a sanding sponge for recessed panels and molding. Fold sandpaper for better control in tight grooves. Feather filler edges into the surrounding wood to avoid visible bumps.
Wipe With Tack Cloth
After sanding, wipe the entire door with a tack cloth. This removes fine dust better than a rag. Do not skip this step or dust will ruin your finish.
Prime the Door When Required
Primer ensures adhesion, blocks stains, and improves coverage. Not every door needs it, but knowing when to prime saves time and money.
Know When to Prime
Prime bare wood, when switching from oil to latex, for dark-to-light color changes, and when covering stains or knots. Existing latex paint in good condition does not need priming. Test for oil-based paint by rubbing with rubbing alcohol. If it smears, it is latex. If it does not smear, it is oil and needs priming.
Choose the Right Primer
Zinsser Bullseye 123 works as a universal fast-drying option. Oil-based or shellac primer blocks tannin bleed on pine and oak. Bonding primer adheres to glossy or oil-based finishes. Use exterior-grade primer for front doors.
Choose the Right Paint and Sheen
Quality paint makes the difference between a DIY look and a pro finish. The right product eliminates many common problems.
Best Paints for Doors
Benjamin Moore Advance self-levels and offers ultra-durability as a waterborne alkyd. Sherwin-Williams Pro Classic provides a forgiving, smooth finish. Sherwin-Williams Emerald Urethane delivers the hardest, most scratch-resistant surface. SnapDry Door and Trim paint dries fast and works well for exteriors.
Choose the Right Sheen
Semi-gloss offers durability and easy cleaning, making it best for high-traffic and exterior doors. Satin provides a soft look that hides flaws, ideal for interiors. Gloss creates maximum shine but shows every imperfection.
Use Professional-Grade Painting Tools

The right tools prevent texture and brush marks. Cheap supplies guarantee amateur results.
Essential Painting Tools
A 2-inch high-quality angled brush handles cutting in. A quarter-inch nap roller, either microfiber or high-density foam, creates smooth flat surfaces. Use a mini roller tray or paint pail for easy handling. Add Floetrol paint conditioner for smoother latex application. A Pelican paint pail with a magnet holds tools mid-job.
Follow the Correct Painting Order
Paint in sequence to maintain a wet edge and avoid lap marks. This systematic approach prevents visible seams and uneven coverage.
Step-by-Step Painting Sequence
Start with edges using a brush or small roller. Paint the top, bottom, hinge side, and latch side completely to seal against moisture. Next, tackle panel molding and recessed edges with an angled brush. Then work flat panel surfaces, rolling in one direction like vertical strokes. Paint horizontal rails top to bottom. Finish with the center vertical stile, then outer vertical stiles. Paint one full side, wait 24 hours, then flip and repeat.
Apply Thin Coats for a Smooth Finish
Thick paint leads to runs, drips, and uneven sheen. Thin coats cure better and look smoother.
Maintain a Wet Edge
Always work into a wet edge. Do not let paint dry before moving to the next section. Overlap strokes slightly and feather each pass into the previous one.
Roll in One Direction
For consistency, roll all flat areas top to bottom. Let the roller do the work without pressing hard. Excessive pressure creates uneven coverage.
Fix Mistakes Immediately
If you leave a brush mark or cross-grain stroke, repaint the entire section while the paint is still wet.
Sand Lightly Between Coats
Light sanding ensures a smooth, professional final finish. This step removes dust nibs and brush marks.
Sand With 320-Grit Paper
After the first coat dries, lightly sand with 320-grit paper to knock down imperfections. Wipe with a tack cloth before the next coat. Even self-leveling paints benefit from light sanding between coats.
Apply Two to Three Coats
Two coats represent the minimum for coverage. Three coats are recommended for front doors, bold color changes, or maximum smoothness. Follow label instructions for recoat time.
Let the Door Cure Before Rehang
Drying is not curing. Rushing rehang damages the finish and causes sticking.
Wait Before Flipping and Rehanging
Allow the first side to dry fully before flipping. Do not flip a tacky surface. Wait 24 hours or more before rehang. Reinstall hardware after full cure, which takes up to 7 days. Do not close the door until fully dry.
Follow the Exterior Edge Rule
On exterior doors, paint the hinge edge the same as the exterior side since it shows when the door is open. Paint the latch edge the same as the interior side since it is visible from inside.
Avoid Common Door Painting Mistakes
Steer clear of the errors that ruin finishes. These mistakes are easy to make but simple to prevent.
Skipping Sanding on Glossy Paint
Glossy surfaces repel new paint. Always scuff with 120 to 220 grit before painting.
Painting in Direct Sunlight
Heat causes paint to dry too fast and creates lap marks. Work in shade or indirect light.
Using Thick Coats
Thick paint runs and highlights every imperfection. Thin coats cure better and look smoother.
Not Painting All Sides
Moisture enters through untreated edges and causes warping. Seal all six sides.
Using the Wrong Roller Nap
Foam rollers leave a stippled texture. Use quarter-inch microfiber or high-density foam for smooth results.
Frequently Asked Questions About Repainting Doors
How long should I wait between coats of paint on a door?
Wait at least 4 to 6 hours between latex coats, or follow manufacturer instructions. Benjamin Moore Advance requires up to 16 hours. Always ensure the first coat is dry before applying the next.
Do I need to remove the door to paint it?
Removing the door is recommended for the best results. It allows you to paint all six sides and work in a controlled environment. If removal is difficult, tape off hinges and keep the door fully open using wood shims.
What is the best paint finish for interior doors?
Semi-gloss or satin finishes work best for interior doors. Semi-gloss offers durability and easy cleaning. Satin provides a softer look that hides minor imperfections.
Can I paint over a previously painted door without sanding?
Sanding is still necessary even on previously painted doors. Light scuffing with 120 to 220 grit creates adhesion for the new paint. Skip sanding only if testing reveals lead paint.
How do I prevent the door from sticking to the frame after painting?
Wait at least 24 hours before closing the door. Lightly sand the latch edge if sticking occurs. Avoid aggressive cleaning until the paint fully cures, which takes 5 to 30 days.
Key Takeaways for Repainting Your Door
Repainting a door is not about perfection. It is about pride in a job well done. With proper prep, the right tools, and attention to detail, you achieve a smooth, durable finish that boosts your home is look and value. The most important steps are testing for lead paint in older homes, removing hardware for clean edges, sanding all surfaces for adhesion, and painting all six sides to prevent warping. Thin coats applied in the correct order create a professional appearance without brush marks. Remember that patience matters more than expensive paint. Allow proper drying time between coats and wait before rehang to avoid sticking. Whether you brush, roll, or spray, prep, patience, and process are the real secrets behind pro-level results.


