
Imagine your dog confidently slipping through a dog door to relieve themselves, stretch their legs, or enjoy the breeze. No more frantic barking or last-minute dashes to the door. Training your dog to use a dog door unlocks independence, reduces indoor accidents, and eases your daily routine. While some dogs take to it in minutes, others need patient, step-by-step guidance. The key lies in positive reinforcement, proper setup, and respecting your dog’s pace. Whether you’re training a puppy, a shy adult dog, or a senior pet, this guide delivers a proven, stress-free method to ensure success.
Choose the Right Dog Door
Measure for Comfort and Safety
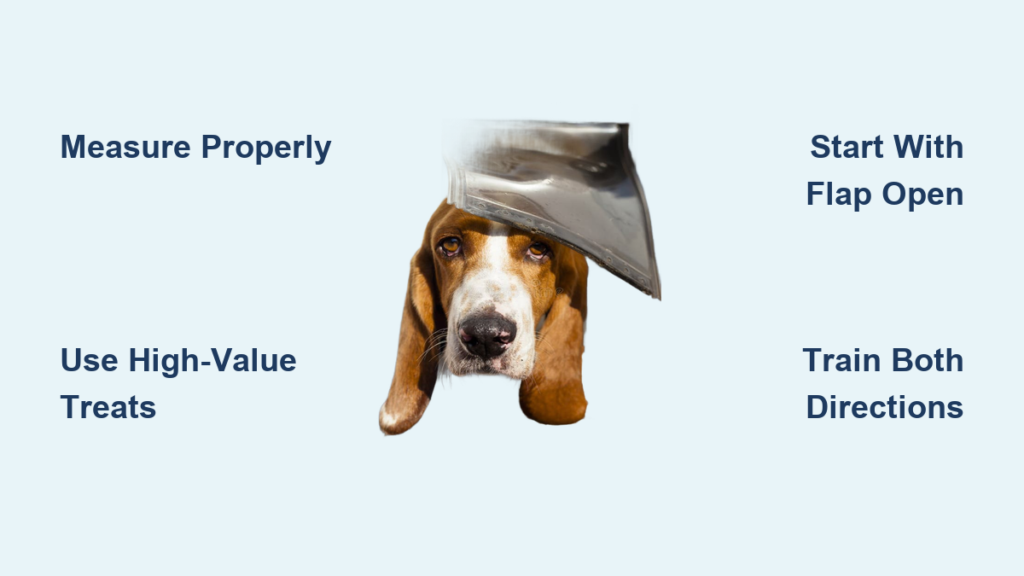
A dog door that’s too small causes stress or potential injury. Measure your dog’s shoulder height from the ground and add 1 to 2 inches for clearance. For width, measure the widest part, usually the shoulders or hips, and add 1 to 2 inches. Use manufacturer sizing charts to match your dog’s dimensions. In multi-dog homes, size the door for the largest pet. A door that’s too tall may force your dog to crouch, and one that’s too narrow can lead to getting stuck.
Pick the Best Type for Your Home
Consider these popular options for different living situations:
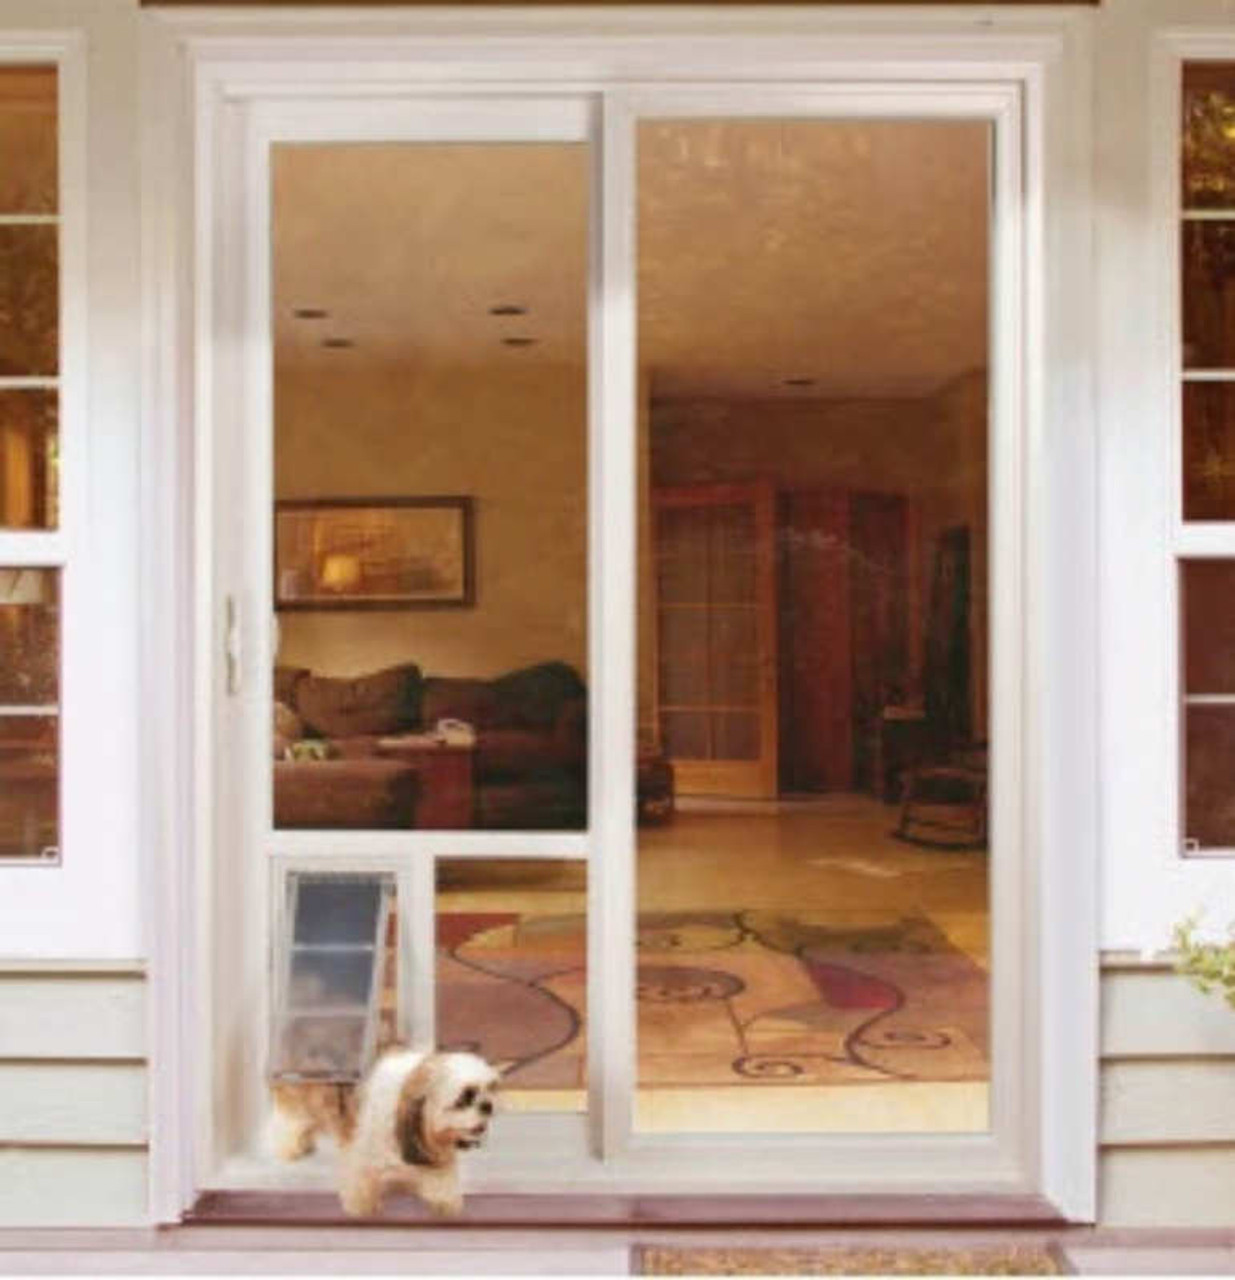
• Wall-mounted doors offer stability and insulation for permanent use
• Door-mounted models install into standard entry doors and are often removable
• Sliding glass pet doors are rental-friendly and portable, ideal for apartments
• Double-flap or aluminum doors provide better weather resistance for extreme climates
Opt for lighter flaps during training, especially for small or hesitant dogs. Upgrade to insulated models later if needed.
Install in a Calm, Safe Location
Mount the door in a quiet area away from heavy foot traffic. Avoid spots near curtains, loud appliances, or shadows that could spook your dog. Ensure both sides are well-lit and obstacle-free. Let your dog explore the new fixture for 2 to 3 days before training begins. Sniffing, pawing, or just watching is progress.
Gather Training Tools
Use High-Value Rewards
Dogs learn fastest with strong motivation. Stock up on high-value treats like small pieces of hot dog, freeze-dried liver, cooked chicken, or cheese for dogs that tolerate it. Pair treats with favorite toys. A flirt pole, tug rope, or squeaky toy can spark curiosity better than food for some dogs.
Prepare Aids for Guidance
Have these tools ready for smooth training sessions:
• Clicker to mark correct behavior instantly
• Target stick or sticky note for nose targeting guidance
• Duct tape to temporarily hold the flap open at different heights
• Leash for gentle guidance when needed
Never force or pull with the leash. Use it only for light direction.
Phase 1: Build Positive Association
Let Your Dog Explore Freely
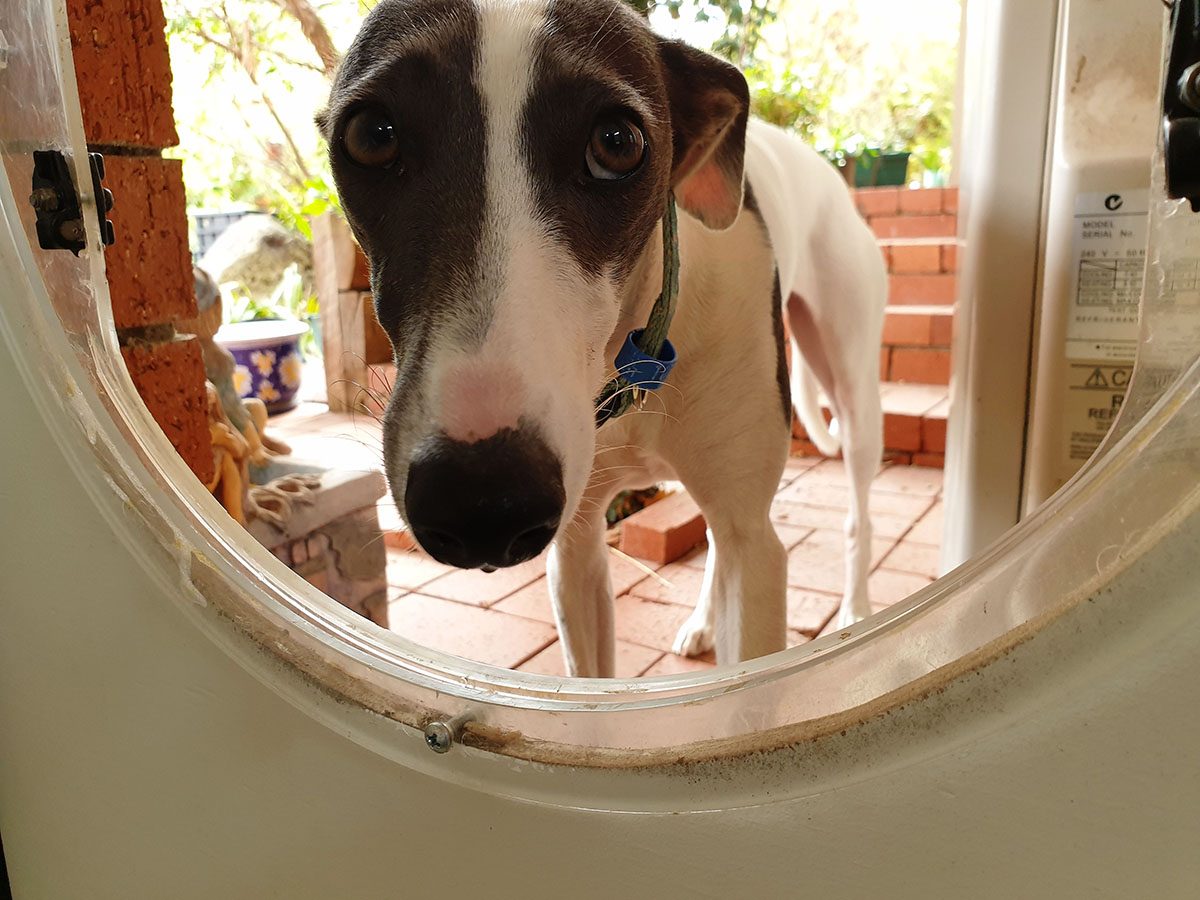
Allow your dog to approach the dog door on their own. Stand nearby and toss treats near or just inside the opening. Say cheerful phrases like good sniff or nice job to create a positive link. Never block or rush them. Curiosity builds confidence.
Encourage Head and Shoulder Entry
Place a treat in the center of the opening so your dog must put their head or shoulders through to reach it. If they hesitate, gently move the flap and reward any movement toward it. For toy-driven dogs, drag a flirt pole through and let them follow. Repeat daily in 5 to 10 minute sessions until they approach eagerly.
Phase 2: Teach Full Passage with Open Flap
Hold the Flap Fully Open
Remove the flap or secure it completely open using tape. Stand on the opposite side, outside if your dog is in, or vice versa. Call them in an upbeat tone and show a treat or toy. When they pass through, reward immediately with multiple small treats, enthusiastic praise, and a quick game or petting.
Repeat 5 to 10 times per session, alternating directions. Train exit and entry equally. Many dogs learn to go out but fear coming back in.
Use Real-Life Potty Breaks
Every time you take your dog out, go through the human door first and call them through the dog door. Reward every successful trip. This ties the door to natural potty habits and fast-tracks real-world use.
Phase 3: Introduce the Flap Gradually
Lower the Flap in Stages
Once your dog passes through confidently, begin shaping behavior by slowly reintroducing the flap. Follow these progression steps:
- Half-open: Tape the flap halfway down. Lure your dog through with treats.
- Three-quarters closed: Reduce the gap slightly. Let them feel the flap on their back but still see through.
- Corner-lift method: Lift one corner so they must push through with their head. This maintains visibility while increasing effort.
Advance only when your dog shows no hesitation. This step may take 3 to 7 days, especially for cautious dogs.
Attach a Treat to the Flap
Tape a treat to the center of the flap so your dog must bump it to get the reward. This teaches them to initiate contact and build confidence in pushing through.
Phase 4: Fix Fear and Hesitation
Identify the Cause of Fear
Dogs may hesitate due to flap texture or sound, poor visibility, past trauma such as a flap slapping them, or nearby moving objects like curtains or wind. Understanding the cause helps you choose the right solution.
Apply Calming Strategies
Try these approaches to help fearful dogs:
• Improve lighting by adding outdoor lights or opening blinds
• Remove distractions by moving curtains or furniture away from the door
• Use nose targeting to train your dog to touch a sticky note, then move it through the door step by step
• Lure with scent by placing a familiar blanket or toy on the other side
• Shorten sessions to 5 minutes to avoid stress
For extremely fearful dogs, consider a temporary lightweight flap or start with a hole covered by fabric they can push through easily. One owner reported success after weeks of using hot dogs on both sides. Patience pays.
Phase 5: Foster Independent Use
Fade Out Lures and Prompts
Once your dog uses the door reliably, begin fading out assistance. Reward every other time, then randomly. Replace treats with praise, play, or access to favorite areas. Call from a window or another room to test independence.
Reinforce Both Directions Equally
Many dogs learn to go out but resist coming back in. To fix this, stay outside and call them through. Place high-value rewards just inside the door. Keep their bed, water, or you nearby to motivate return. Consistent reinforcement ensures full, two-way independence.
Link Door Use to Potty Habits
Only Allow Bathroom Breaks Through the Door
During training, supervise closely and redirect indoor accidents to the dog door. Say go potty as they eliminate outside. Reward immediately after they finish. This strengthens the habit.
Establish a Routine
Take your dog to the door after meals, naps, playtime, and waking up. Consistency turns the behavior into instinct.
Ensure Safety and Security
Secure the Outdoor Area
Before allowing unsupervised access, confirm your yard is fully fenced with no gaps. Bury chicken wire or install an L-footer to prevent digging. Remove climbable objects like benches or sheds. Block access to wildlife such as coyotes or raccoons.
Protect Against Weather
Provide shade, shelter, and fresh water outside. Use double-flap or aluminum doors for insulation. Avoid leaving dogs out in extreme heat or cold. Install a locking cover for nighttime or when you’re away.
Maintain Long-Term Success
Practice Regularly
Even after mastery, supervise occasionally and reward spontaneous use. Puppies grow, so check sizing every few months. Older dogs may need lower doors or softer flaps as mobility declines.
Clean and Inspect the Door
Wipe down tracks and flaps monthly to prevent dirt buildup. Check for wear, warping, or stiff movement. Replace parts as needed.
Use 4-Way Locks Strategically
Many dog doors include lock settings for different situations. Open provides full access. Closed secures when away. In-only prevents escapes. Out-only lets the dog out but controls re-entry. Use these during travel, storms, or safety concerns.
Troubleshoot Common Problems
Dog Won’t Approach the Door
The cause is fear or unfamiliarity. Remove the flap and use high-value lures. Let them explore for days without pressure.
Dog Puts Head Through But Stops
The cause is poor visibility or uncertainty. Hold the flap open and improve lighting. Guide with a leash and treat trail.
Dog Pushes But Won’t Go Through
The cause is a flap that’s too heavy. Use a lighter flap and lower it gradually. Reduce height in stages.
Uses Door to Go Out But Not Come In
The cause is lack of reinforcement. Train return trips and place favorite items like bed or food near the entrance.
Gets Stuck or Scared
The cause is a door too small or flap too stiff. Recheck sizing and switch to a larger or softer model.
Only Uses Door When Held Open
The cause is dependency on help. Phase out hand-holding and reward only independent use.
Avoids Door After a Scare
The cause is negative association. Restart training from the beginning and rebuild positivity with rewards.
Realistic Training Timelines
Fast learners may master the door in 20 to 30 minutes over 1 to 2 sessions. Average dogs typically learn in 1 to 2 days with consistent practice. Fearful dogs may take several days to weeks. Older dogs can learn too. Just go slower and offer extra encouragement.
Frequently Asked Questions About Dog Door Training
How long does it take to train a dog to use a dog door?
Most dogs learn within a few days to a few weeks, depending on temperament and training consistency.
Can older dogs learn to use a dog door?
Yes. With patience and positive reinforcement, senior dogs can successfully learn. Adjust the pace and offer extra encouragement.
What if my dog is scared of the dog door?
Start with the flap removed or fully open. Use treats, toys, and calm encouragement. Consider a temporary lightweight flap.
How can I make the dog door more appealing?
Link it to fun activities like play, walks, or potty rewards. Use high-value treats and favorite toys. Always end sessions positively.
Should I leave the dog door unlocked at night?
Only if your yard is secure and safe. Use a locking cover if predators, weather, or escape risks exist.
My dog uses the door but has indoor accidents. Why?
They may not yet link the door to potty time. Supervise closely, prevent indoor access, and reward only outdoor elimination. Rule out medical issues with a vet.
Key Takeaways for Successfully Training Your Dog
Training your dog to use a dog door is one of the most rewarding investments in your pet’s independence and your peace of mind. Start by choosing the right door with proper sizing and installation. Use positive reinforcement throughout every training phase. Progress at your dog’s pace, never forcing or rushing them. Build positive associations first, then teach full passage with the flap open before gradually introducing resistance. Address fear immediately with calming strategies and shorter sessions. Most importantly, practice both entry and exit equally to ensure full two-way independence.
Whether it takes hours or weeks, stay patient. Every small step counts toward building a confident, self-reliant companion who knows exactly how to come and go. Soon, you’ll both enjoy the freedom and convenience of a dog who uses their door with complete confidence.


