
Your Ring doorbell just flashed that dreaded low-battery warning, but you’re dreading the hassle of unscrewing it from your front door. Removing your security device means missing packages, deliveries, and potential intruders while it recharges. The good news? You don’t need to take down your Ring doorbell to charge it. Every modern Ring model (Video Doorbell 2 through 4, Plus models, and Video Doorbell Pro) features a hidden charging port designed specifically for in-place power-ups. This guide reveals exactly how to charge your Ring doorbell without removing it—keeping your home protected while restoring full battery life. You’ll learn USB charging tricks, permanent solar solutions, and professional hardwiring options that eliminate battery anxiety forever.
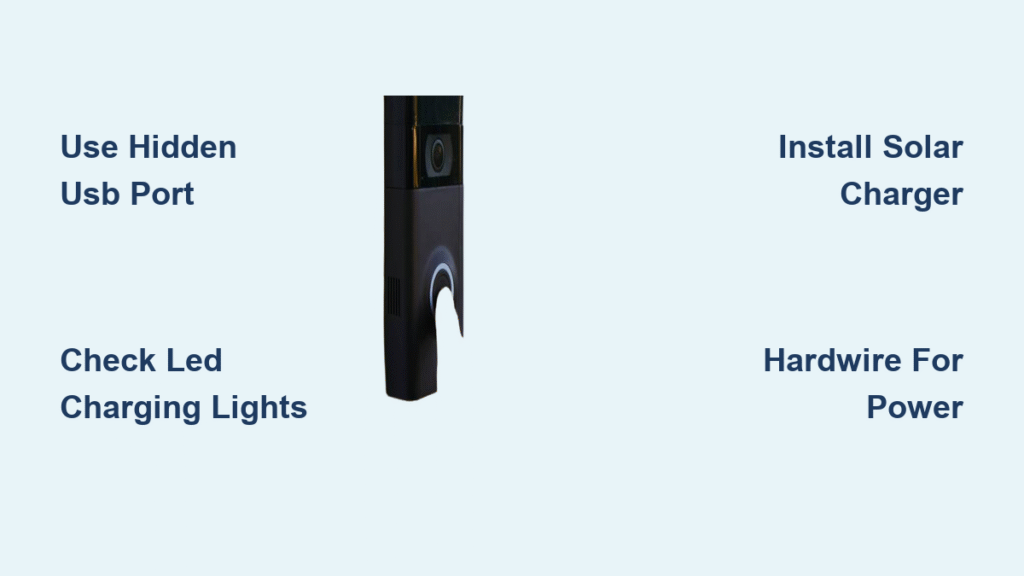
Access and Charge Using the Hidden USB Port

Your Ring doorbell’s micro-USB port is intentionally positioned behind the unit for tool-free charging access. This clever engineering means you never need to detach your security device from its mounting bracket.
Locating and Opening the Charging Port
Stand directly in front of your doorbell and look at the bottom edge of the unit. You’ll spot a small, discreet rubber flap about the size of a pencil eraser. Using your fingernail or a plastic spudger (never metal), gently lift this cover upward. You’ll reveal the micro-USB port beneath—this is where you’ll connect your charging cable without disturbing the doorbell’s position. If the flap feels stuck, warm it slightly with your breath first to prevent tearing.
Step-by-Step Charging Connection
- Position yourself directly behind the doorbell unit (stand on your porch or use a step stool)
- Insert the orange micro-USB cable firmly into the port until it clicks into place
- Connect the USB end to any standard 5V/1A power source (phone charger, laptop, or power bank)
- Verify charging starts by checking for a solid blue LED ring around the button
- Secure the cable using the mounting bracket’s cable channel to prevent strain
Pro Tip: Keep a 6-foot micro-USB extension cable in your garage. This lets you connect to indoor power sources without stretching outdoor cables across your porch. When positioning the cable, leave a slight downward loop below the doorbell to prevent water from running into the port.
Charging Timeframes and Monitoring
Expect these realistic charging durations with a standard 5W USB adapter:
– Full recharge (0-100%): 5-10 hours (overnight charging recommended)
– Emergency boost (20-50%): 2-3 hours for immediate security coverage
– Solar trickle charge: Maintains 70-100% with adequate sunlight
Crucially, you don’t need to stand guard while charging. The Ring app updates battery percentage every 10-15 minutes. Open Device Health > Battery to track progress remotely—no more guessing games about when your security coverage is fully restored.
Decode Ring’s LED Charging Signals
Your doorbell communicates its charging status through specific light patterns—learning these prevents unnecessary troubleshooting.
Critical Light Indicators
- Solid blue ring: Charging actively (appears within 30 seconds of connection)
- Solid green ring: 100% charged and ready (disconnect cable immediately)
- Flashing red ring: Battery critically low (below 10%)—charge now
- No light: Either fully charged OR connection failure (most common issue)
If you see no light after connecting:
– Check both cable ends are fully inserted (micro-USB ports are finicky)
– Try a different USB power adapter (many phone chargers output only 0.5A)
– Clean the port with compressed air—dust bunnies often block connections
– Hold the setup button for 20 seconds to restart the device
Never ignore a flashing red light. At below 10% charge, your Ring may enter emergency shutdown within 48 hours, leaving your home unprotected. Charge immediately using any available method.
Install Ring’s Solar Charger Without Removal
For permanent “set and forget” charging, Ring’s official solar panel solves battery anxiety while keeping your doorbell mounted.
Solar Panel Installation Process
- Confirm compatibility (works with Video Doorbell 2, 3, 3 Plus, 4)
- Position the panel where it gets 3-4 hours of direct sunlight daily
- Connect the 13-foot cable to your doorbell’s micro-USB port
- Mount the panel using included hardware (no doorbell removal needed)
Key installation tip: Angle the panel slightly downward in winter to shed snow. The solar cable plugs directly into your doorbell’s charging port—no modifications required. Under ideal conditions, this maintains your battery between 80-100% indefinitely. During cloudy weeks, supplement with 1-2 hour USB top-offs.
Hardwire Your Battery Doorbell Permanently
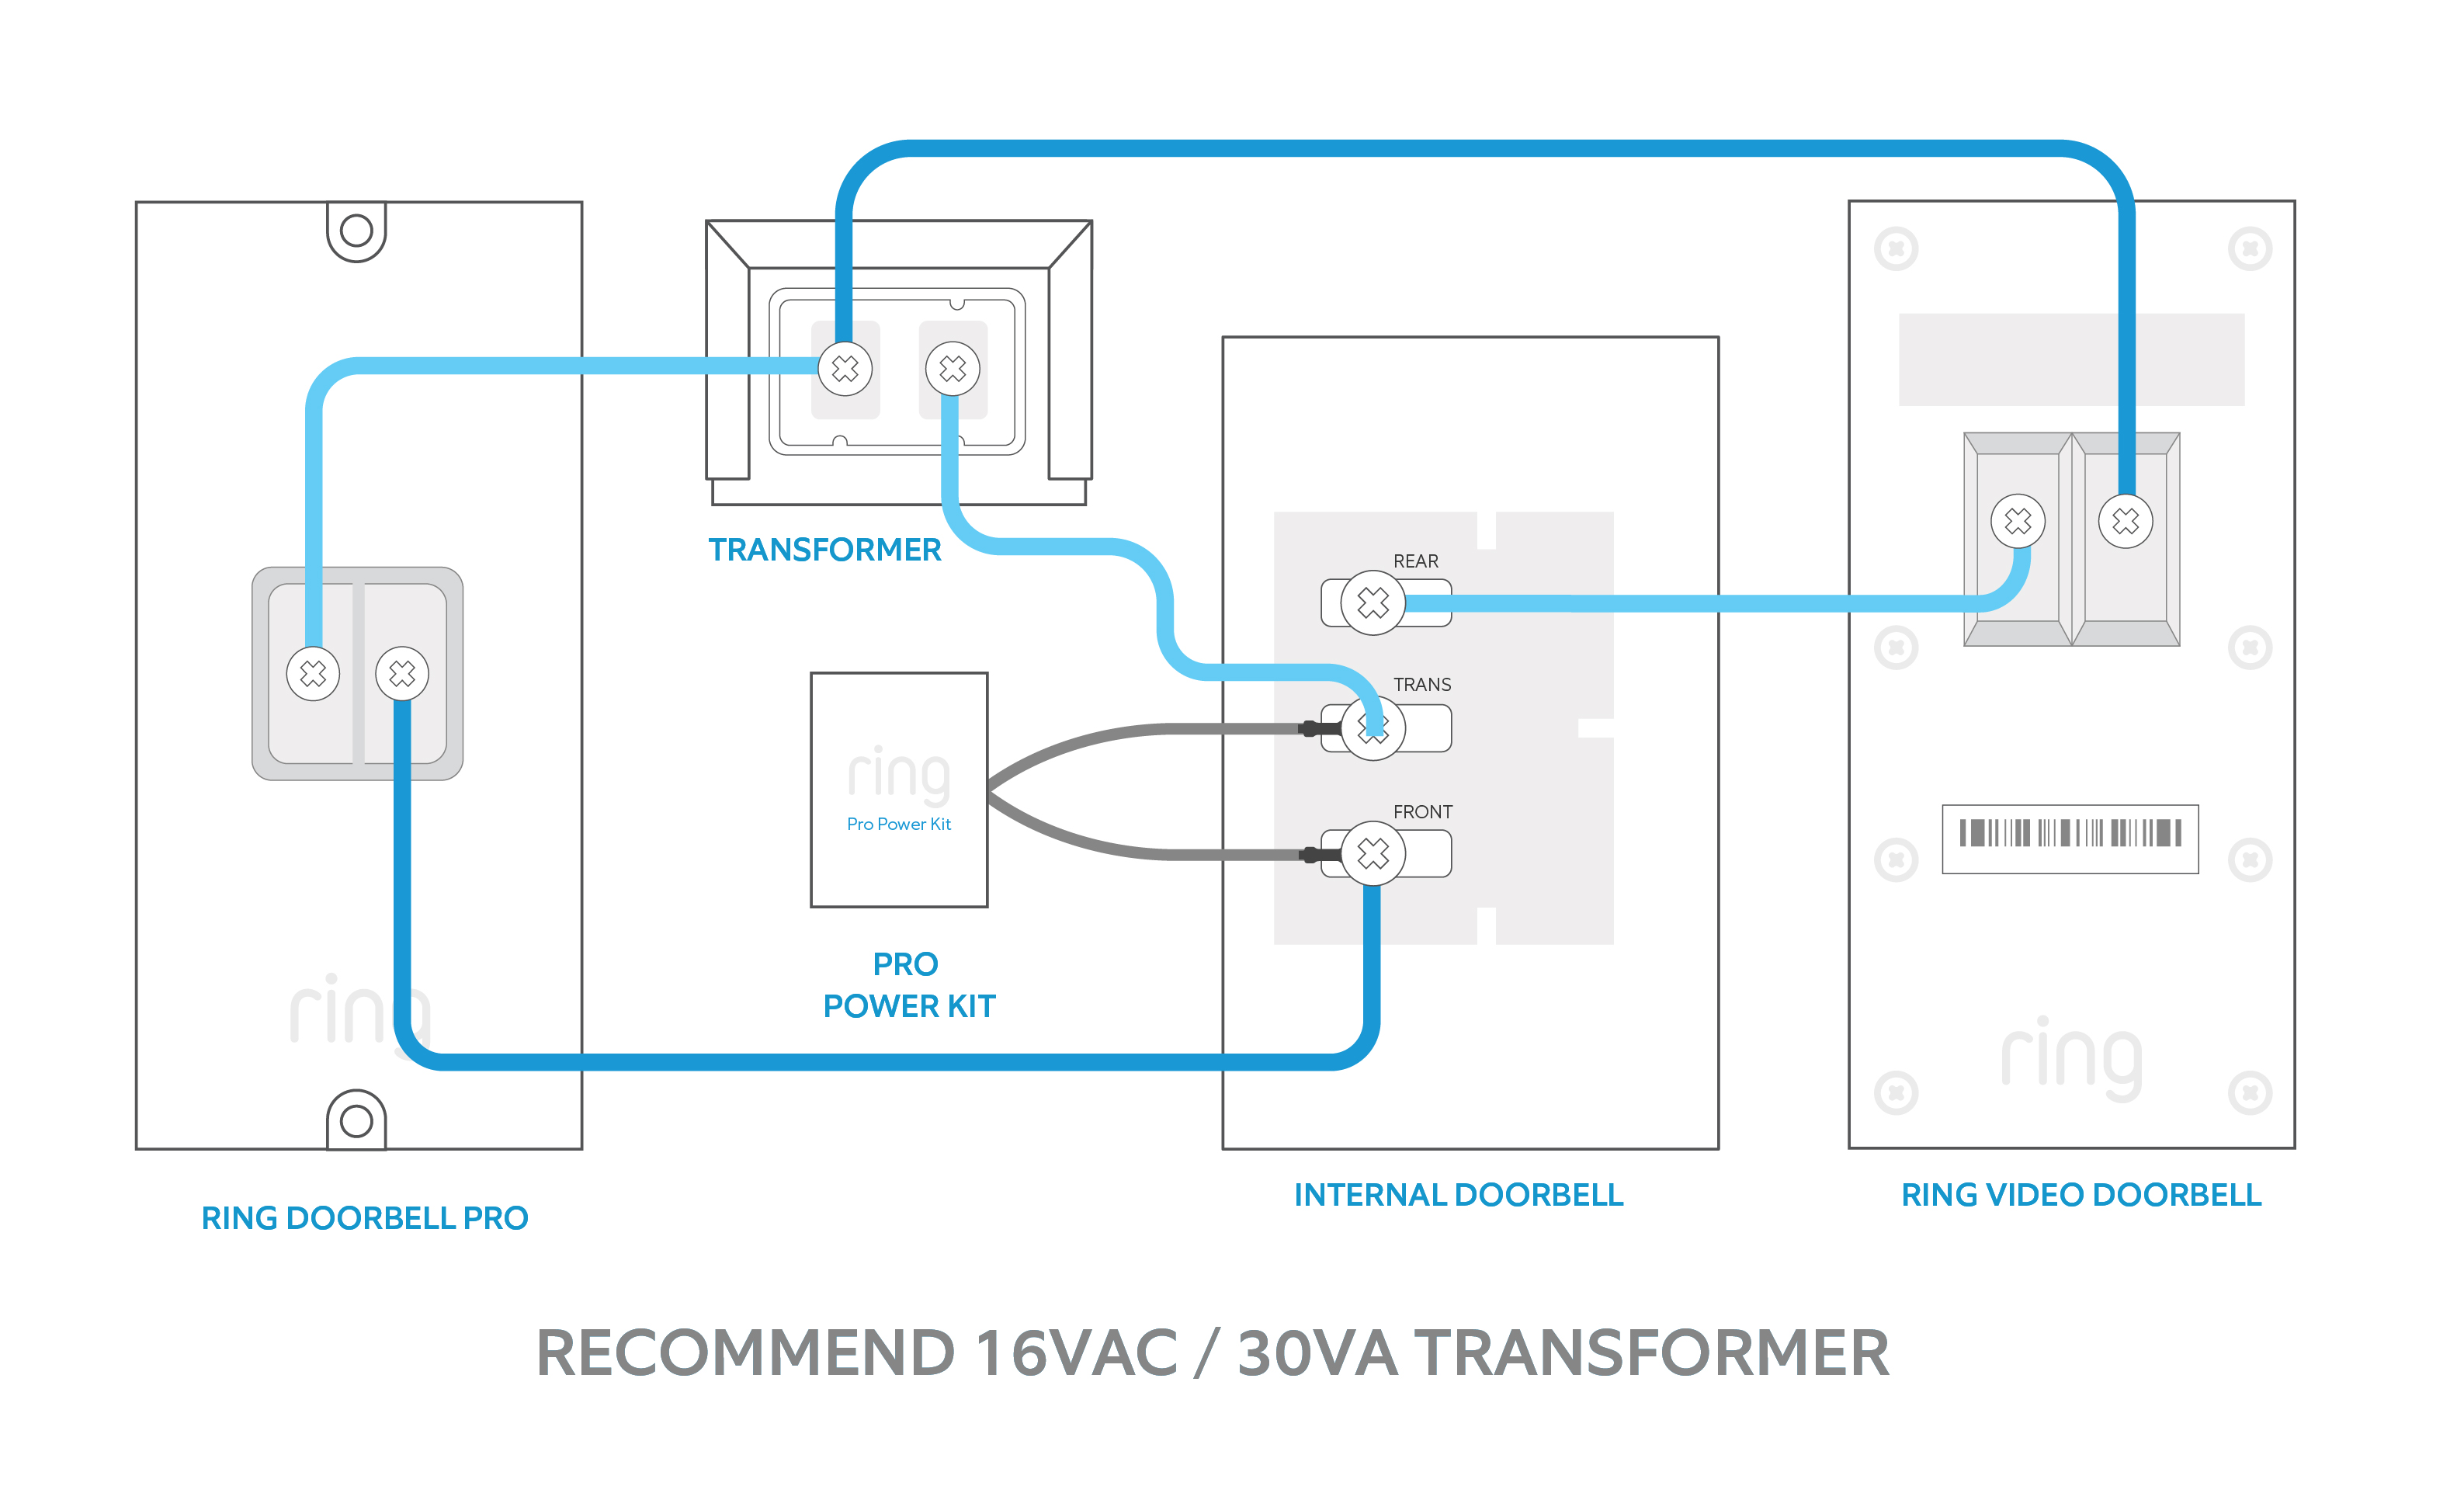
Transform your battery-powered Ring into a hardwired device using existing doorbell wiring—no more charging ever.
Hardwiring Without Removal Steps
- Verify transformer voltage (must be 8-24VAC using a multimeter)
- Connect wires to your existing doorbell terminals (usually labeled “FRONT”)
- Secure connections with wire nuts included in Ring kits
- Leave battery installed as backup for power outages
Warning: If your home lacks pre-existing doorbell wiring, hire an electrician. Incorrect hardwiring can damage your Ring or home electrical system. When done correctly, your doorbell draws primary power from your home’s system while the battery remains as emergency backup—eliminating charging needs entirely.
Fix Common Charging Failures Fast

Even with proper technique, charging issues happen. These field-tested fixes get you back online quickly.
Immediate Troubleshooting Checklist
- Cable won’t stay connected? Clean port with toothpick (non-metallic) then isopropyl alcohol
- Charging extremely slow? Replace with original orange Ring cable (third-party cables often lack proper amperage)
- Blue light flashes then dies? Your USB power source is underpowered—use a minimum 5W (1A) adapter
- Port appears damaged? Contact Ring support immediately—bent pins require professional repair
Critical mistake to avoid: Never force the micro-USB cable. The port is fragile—if it doesn’t slide in smoothly, clean it first. Forcing connections causes 70% of permanent port damage cases according to Ring repair logs.
Maximize Battery Life Between Charges
Extend time between charging sessions with these Ring-verified settings adjustments.
Essential Power-Saving Settings
- Motion sensitivity: Set to “Medium” instead of “High” (cuts battery drain by 30%)
- Motion frequency: Change from “Frequently” to “Regularly” in app settings
- Recording length: Reduce from 60 to 30 seconds per event
- Live View sessions: Limit to under 2 minutes per use
Winter survival tip: Below 32°F (0°C), expect 25-50% reduced battery life. During cold snaps, charge at 30% instead of waiting for low-battery warnings. Position your doorbell away from north-facing walls where cold lingers longest.
Set Up Automatic Battery Monitoring
Prevent surprise low-battery emergencies with these Ring app configurations.
Proactive Alert Setup
- Open Ring app > Select your doorbell
- Tap Device Settings > Notification Settings
- Enable “Low Battery” alerts at 20% (not the default 10%)
- Activate “Battery Fully Charged” notifications
Power Usage Tracking: In Device Health, review the “Power Usage” tab weekly. It shows exactly what drains your battery—motion alerts (45%), live views (30%), or video recording (25%). Adjust settings based on this data to extend time between charges.
Essential Charging Accessories You Need
Equip yourself with these must-have tools for hassle-free charging.
Official Ring Solutions
- Solar Panel ($49.99): Includes weatherproof mounting hardware and 13-foot cable
- Plug-in Adapter ($29.99): 6-meter cable transforms any outlet into continuous power
- Spare Orange Cable ($9.99): Keep one in your car for emergency top-ups
Smart accessory hack: Buy a weatherproof outdoor USB extension cord. Plug it into your porch light outlet, then connect your charging cable—no indoor cable running needed. Look for models rated IP67 for rain/snow resistance.
Emergency Charging Without Ring’s Orange Cable
Caught with a dying battery but no orange cable? Your smartphone accessories can save the day.
Universal Charging Workarounds
- Any micro-USB cable works (Android phone chargers are identical)
- Power sources: Laptop USB ports, car chargers, or portable power banks
- Secure connection: Wrap cable end with electrical tape to prevent dislodging
Pro move: Store a micro-USB cable in your mailbox. When the low-battery alert hits, you’re already equipped to charge without hunting for cables. Always disconnect chargers immediately after reaching 100%—overcharging degrades battery health.
Your Permanent Battery Strategy
Treat your Ring’s battery like critical home infrastructure—not a disposable component.
Long-Term Care Plan
- Replace battery every 2-3 years (after 500-1000 charge cycles)
- Store spares at 50% charge in climate-controlled spaces
- Never drain below 10%—this causes permanent capacity loss
- Consider hardwiring when replacing aging units
Final tip: When your battery eventually fails, skip replacement—upgrade to a hardwired model like Ring Video Doorbell Pro 2. It draws continuous power while maintaining battery backup, giving you the best of both worlds. With these charging methods, your front door security never goes dark. Implement your preferred solution today and stop worrying about dead batteries missing your next package delivery.


