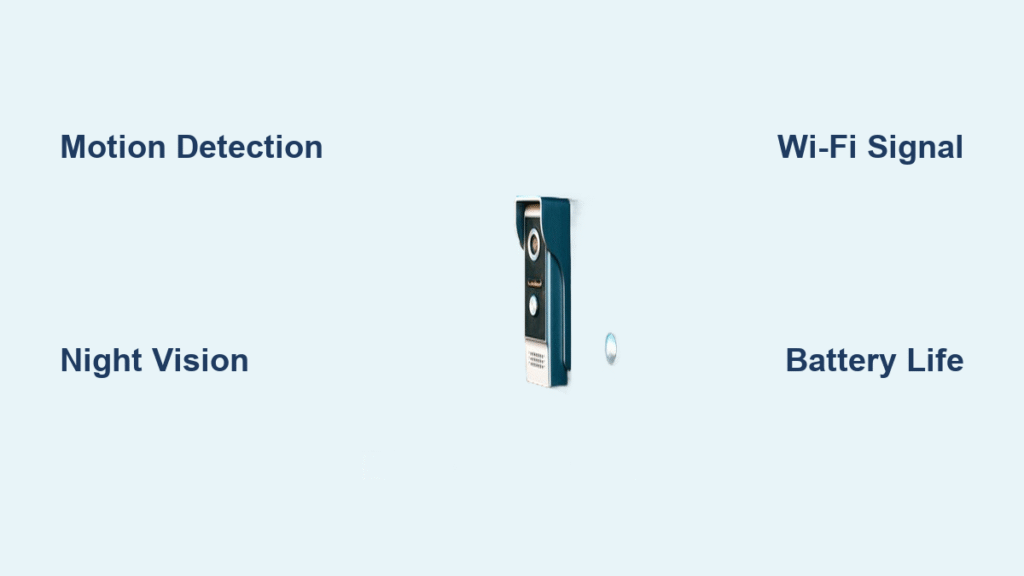
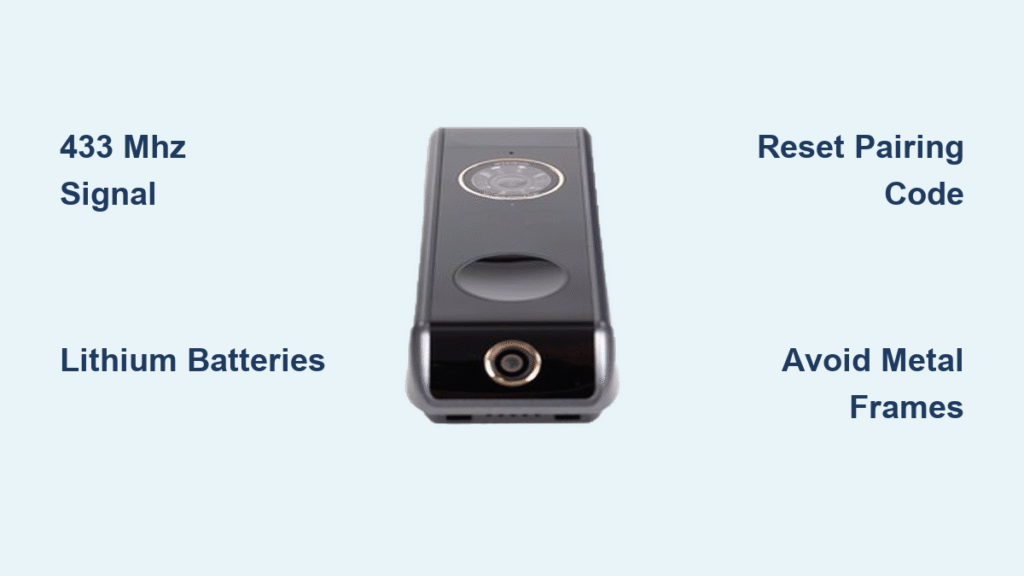
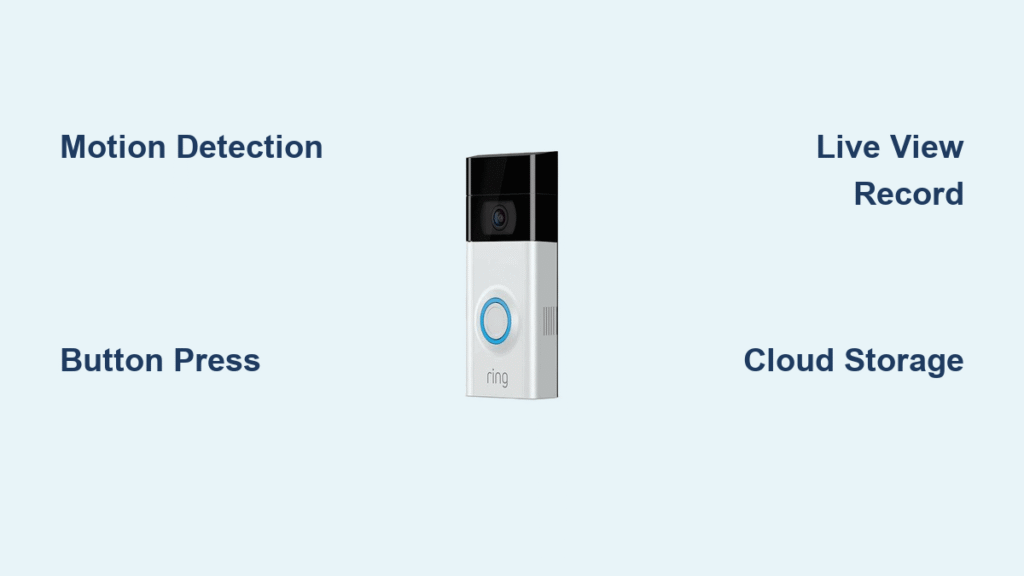
Your Google Nest Doorbell transforms your front entry into an intelligent security checkpoint, but unlocking its full potential demands more than basic installation. Whether you’ve selected the wired model for uninterrupted power or the battery version for flexible placement, mastering this device requires understanding its unique setup process and hidden features. Most users never explore beyond motion alerts, missing powerful tools like customizable activity zones and smart home automation that prevent false alarms and extend battery life. By the end of this guide, you’ll confidently configure notifications, optimize performance for your specific home environment, and integrate your doorbell with other Google devices to create a responsive security ecosystem.
Choose Your Nest Doorbell Model
Wired vs Battery: Key Differences
The wired Nest Doorbell connects directly to your home’s electrical system, eliminating charging cycles through continuous power. However, it demands strict adherence to electrical specifications: a 16–24VAC, 10–40VA rated transformer and compatible chime system. Existing doorbell hardware may require replacement to meet these standards, making this model ideal for homeowners renovating entryways or installing new wiring.
Conversely, the battery-powered Nest Doorbell operates independently without electrical connections—perfect for renters or homes lacking doorbell wiring. While offering complete installation freedom, its runtime varies significantly based on usage patterns and environmental conditions. Both models deliver identical core functionality once configured, including two-way communication and person detection, but your home’s infrastructure should dictate your choice.
Install Your Nest Doorbell Correctly

Wired Installation Requirements
Verify your electrical system meets these non-negotiable specifications before installation:
– Transformer: Must output 16–24VAC with 10–40VA capacity
– Chime compatibility: Existing chime must integrate with Nest’s requirements
– Hardware assessment: Older mechanical chimes often require replacement
Critical warning: Installing with an undersized transformer causes intermittent operation or complete failure. If your transformer reads below 16VAC, upgrade it before proceeding. Google’s video tutorials detail transformer testing procedures for DIYers, but mismatched components remain the top cause of post-installation issues.
Battery Installation Process
Mounting the battery model requires no electrical work:
1. Position the doorbell 4 feet high for optimal facial recognition
2. Secure using included mounting hardware
3. Follow in-app setup prompts for Wi-Fi connection
Google provides scenario-specific video guides covering all installation paths, including connecting the battery model to existing chime systems. Unlike wired setups, this version requires no electrical verification—simply mount, power on, and configure through the companion app.
Professional Installation Option
OnTech Pro technicians handle complete installations for $99, bookable during purchase or post-delivery. This service includes:
– Electrical compatibility verification for wired models
– Hardware replacement if needed
– System testing and chime integration
– 30-day workmanship guarantee
This eliminates guesswork for complex electrical scenarios and ensures your doorbell operates at peak performance from day one.
Set Up Your Google Home App
Initial Configuration Steps
After mounting, launch the Google Home app to complete setup:
– Tap “+” → “Set up device” → Scan doorbell QR code
– Connect to 2.4GHz Wi-Fi network (5GHz incompatible)
– Configure motion detection sensitivity sliders
– Assign notification preferences for visitors and motion
The app guides you through chime setup for wired models and tests doorbell-ring synchronization. Incorrect Wi-Fi selection causes connectivity failures—ensure your phone connects to the same 2.4GHz network used by the doorbell during setup.
Create Activity Zones

Draw custom zones within your camera view to eliminate irrelevant alerts:
– Target porch areas: Draw tight zones around doorsteps to ignore street traffic
– Exclude high-motion zones: Mark off sidewalks or roadways triggering false alerts
– Prioritize delivery spots: Designate zones near package drop-off points
This transforms generic motion alerts into actionable notifications. For example, zone configuration prevents alerts from passing cars while ensuring you’re notified when someone approaches your package mat.
Master Core Features
Two-Way Communication
Answer visitor interactions instantly through three methods:
1. Live talk: Tap “Talk” in real-time notifications
2. Pre-recorded greetings: Play automated responses like “I’ll be right there”
3. Scheduled replies: Set time-based messages for recurring deliveries
Enable “Quick responses” in app settings to store frequent phrases. This feature works even when your phone is locked—simply swipe notifications to respond without unlocking your device.
Smart Home Integration
Connect your doorbell to other Nest devices for unified security:
– Nest speakers: Announce “Someone’s at the front door” through audio systems
– Nest Hub Max: View live feeds automatically on displays when motion is detected
– Nest Thermostat: Trigger “Away” mode when doorbell detects prolonged absence
These integrations create layered security—like having porch lights activate when motion is detected after sunset.
Optimize Battery Performance
Extend Battery Life
Battery-powered models maximize runtime through strategic configuration:
– Enable Quiet Time: Silence alerts during predictable low-traffic hours (e.g., midnight–6 AM)
– Adjust video quality: Use 1080p instead of 2K streaming during routine monitoring
– Limit live views: Reduce manual camera checks which drain 5x more power than alerts
Environmental positioning significantly impacts longevity. Mount under eaves to prevent weather exposure and avoid direct sunlight, which accelerates battery degradation.
Monitor Battery Health
Check real-time status in Google Home → device settings. At 20% capacity, the app triggers charging reminders. Full recharging takes 3–5 hours using the included magnetic cable. During extreme cold (below freezing), temporarily bring the doorbell indoors to charge—cold temperatures temporarily reduce battery capacity.
Troubleshoot Common Issues

Wi-Fi Connection Problems
Fix intermittent connectivity:
– Move router closer to doorbell (max 35 ft recommended)
– Add Wi-Fi extender if signal strength falls below -67dBm
– Confirm 2.4GHz network selection (5GHz unsupported)
Persistent disconnects often trace to weak signal strength. Test connectivity by walking the same path visitors take—your doorbell needs consistent coverage where people approach.
Notification Delays
Eliminate lag with these steps:
1. Restart doorbell by holding setup button 10 seconds
2. Update Google Home app to latest version
3. Verify phone notification permissions are enabled
Delays exceeding 5 seconds typically indicate network congestion. Schedule high-bandwidth activities (like video calls) away from expected delivery windows.
Maximize Security Features
Create Routines
Automate responses using Google Assistant:
– “When doorbell detects person after 10 PM → turn on porch lights”
– “If no motion for 2 hours → switch to battery saver mode”
– “During vacation mode → extend activity zones to driveway”
These routines transform passive monitoring into active security. For instance, pairing motion detection with outdoor lighting deters package thieves without manual intervention.
Share Access Safely
Add household members securely:
1. Google Home → Settings → Household → “Add person”
2. Select camera access level (live view only or recorded history)
3. Set time-limited permissions for guests
Never share your primary account password. This method maintains security while allowing trusted individuals to monitor deliveries.
Maintain Your Doorbell
Monthly Maintenance Checklist
Prevent performance degradation with these quick checks:
– Clean camera lens with microfiber cloth (smudges cause blurry footage)
– Verify mount stability against wind or tampering
– Test chime synchronization (wired models)
– Confirm firmware updates installed automatically
– Check Wi-Fi signal strength indicator in app
Neglecting lens cleaning accounts for 30% of “poor video quality” complaints. A quick wipe monthly maintains crisp 2K resolution.
Seasonal Considerations
Winter: Bring battery indoors to charge if temperatures drop below freezing—cold reduces capacity by up to 50%.
Summer: Ensure mounting location has shade coverage; direct sun exposure triggers overheating shutdowns.
Rain: While IP54-rated for weather resistance, inspect rubber seals annually for cracks that compromise protection.
Next Steps After Setup
Your Nest Doorbell now serves as your home’s intelligent entry monitor. Advance your setup by:
– Linking smart locks: Create unlock routines for recognized family members
– Connecting security systems: Trigger indoor cameras when doorbell detects visitors
– Enabling geofencing: Auto-disable alerts when your phone enters home perimeter
Start with one integration—like syncing porch lights—then layer additional automations as you grow comfortable. Monthly notification reviews ensure your settings adapt to seasonal traffic changes, maintaining the perfect balance between security and peace of mind. Remember: the most powerful protection emerges when your doorbell actively collaborates with your entire Google ecosystem.

