
Your Ring doorbell sits ready for installation, but the existing doorbell wires barely reach the mounting location. This common scenario leaves many homeowners wondering how to bridge the gap without compromising their doorbell’s functionality. Wire extenders offer a simple solution that maintains your Ring’s power requirements while providing the flexibility you need for proper placement.
Using wire extenders for Ring doorbell installation isn’t just about making connections—it’s about understanding voltage requirements, selecting appropriate materials, and ensuring long-term reliability. This guide walks you through every critical step to successfully extend your doorbell wiring without risking device damage or poor performance.
Essential Safety Steps Before Wiring
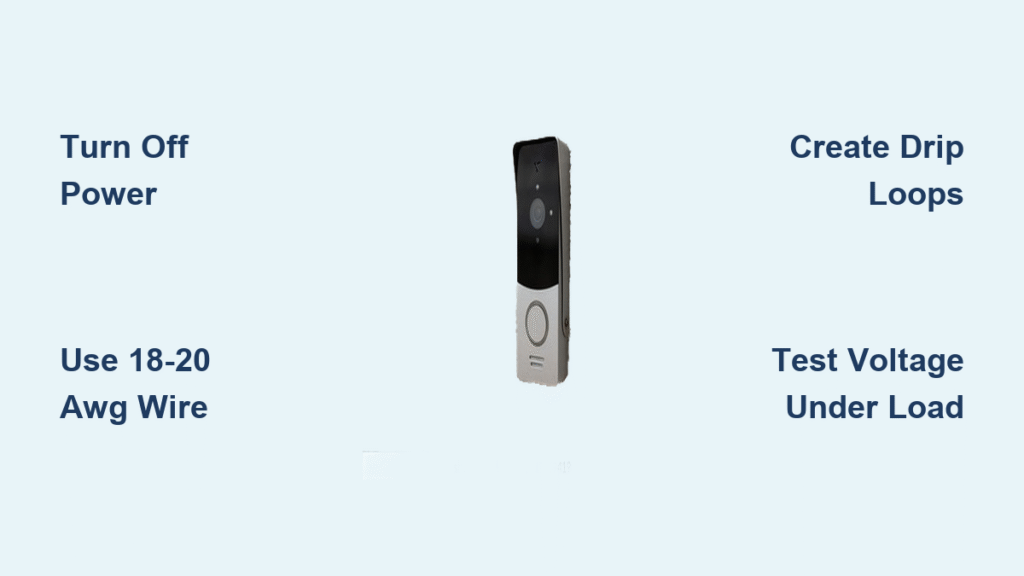
Turn off power at your circuit breaker before touching any wires. Doorbell transformers connect to 120 VAC house current, creating electrical shock hazards even when working with low-voltage doorbell wires. Use a non-contact voltage tester to verify power is completely off at both the transformer and doorbell locations.
Working with low-voltage doorbell wiring still requires caution. Short circuits can damage transformers or your Ring device, potentially creating fire hazards. Treat every wire as if it carries live current until proven otherwise. Keep your work area well-lit and organized with all necessary tools within reach before beginning.
Critical Safety Verification Process
- Locate your doorbell transformer—typically near the electrical panel, garage, or HVAC system
- Turn off the circuit breaker powering the transformer (often labeled “bell” or “misc”)
- Test both transformer output terminals and doorbell wires with a non-contact voltage tester
- Double-check with a multimeter set to AC voltage to confirm zero voltage reading
- Place a piece of tape over the circuit breaker to prevent accidental restoration of power
Choose the Right Wire Extender Type
Selecting the appropriate wire extender method determines your Ring doorbell’s long-term reliability. Pre-made doorbell cables eliminate guesswork with their weatherproof connectors and correct wire gauge. These 18-22 AWG stranded copper cables come in standard lengths from 5 to 50 feet with color-coded insulation (red for positive, white for negative).
Custom wire nut extensions provide maximum flexibility when you need precise lengths. Match your existing wire gauge (usually 18-20 AWG) and use UL-listed wire nuts rated for low-voltage applications. Always protect connections with electrical tape or heat shrink tubing—this prevents corrosion that causes intermittent operation.
Terminal Block Advantages for Future Maintenance
Quick-connect terminal blocks offer the most professional solution for permanent installations. These blocks accommodate 14-22 AWG wire with clear weatherproof covers that allow visual inspection without disassembly. Unlike wire nuts, terminal blocks enable easy disconnection for troubleshooting or future device replacement without cutting wires.
Pro Tip: For outdoor installations, apply dielectric grease to all metal connections before sealing. This grease prevents corrosion while maintaining electrical conductivity—critical for reliable Ring operation through seasonal temperature changes.
Calculate Proper Wire Gauge and Length
Your Ring doorbell requires 8-24 volts AC with minimum 8VA power delivery. Using incorrect wire gauge or excessive length starves your device of power, causing intermittent operation or complete failure. 18-20 AWG wire delivers optimal performance for most Ring doorbell extensions—thinner wire (22-24 AWG) increases resistance and voltage drop.
Maximum Extension Distance Guidelines
Your transformer’s output voltage directly impacts maximum extension length:
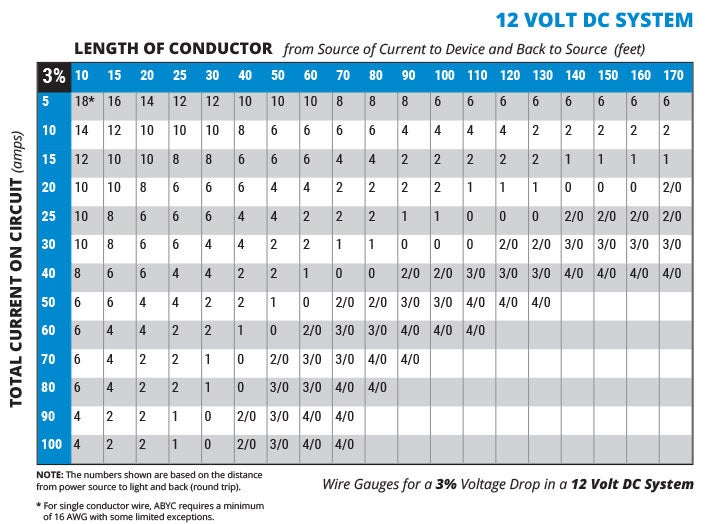
– 8 VAC transformer: maximum 25 feet with 18 AWG wire
– 16 VAC transformer: maximum 50 feet with 18 AWG wire
– 24 VAC transformer: maximum 75 feet with 18 AWG wire
Measure your required extension length carefully before purchasing materials. Always add 20% extra length to account for routing around obstacles and creating proper drip loops. Longer extensions require thicker wire (16 AWG) to maintain adequate power delivery to your Ring device.
Professional-Grade Installation Techniques
Proper wire preparation prevents the most common installation failures. Strip wire ends using strippers sized for 18-22 AWG wire, removing only 1/4 to 3/8 inch of insulation. Twist stranded wire tightly to prevent fraying before making connections—loose strands cause intermittent contact and voltage drop.
Weatherproof Connection Methods That Last
Create drip loops at all connection points—position wires so water runs away from connections rather than toward them. For outdoor installations, use heat shrink tubing over wire nuts instead of electrical tape, which deteriorates quickly in sunlight. Secure exposed wire runs with UV-resistant cable clips spaced every 12-18 inches to prevent wind damage.
Critical Mistake to Avoid: Never pull extension wires too tight. Leave 6-8 inches of slack at both connection points to accommodate thermal expansion and future adjustments. Taut wires eventually pull loose from connections when temperatures change.
Troubleshoot Extension Problems Like a Pro

Symptoms of excessive voltage drop include intermittent Ring operation, delayed response to button presses, and poor WiFi connectivity. Measure voltage at doorbell terminals under load—when Ring is actively recording—to verify adequate power delivery. Voltage should remain above 16 VAC for optimal performance; readings below 14 VAC indicate insufficient power.
Diagnosing Connection Failures Quickly
Check all connection points for these common failure signs:
– Green or white corrosion on copper wires
– Loose wire nuts that twist off with finger pressure
– Frayed strands from improper stripping
– Discoloration from overheating
Test each connection point individually by gently tugging on wires. Any movement indicates a loose connection that will eventually fail. Use your multimeter’s continuity setting to verify unbroken circuit paths through your extension.
Verify Your Installation Works Perfectly
After completing your wire extension, restore power at the breaker and wait 2-3 minutes for your Ring device to boot completely. Check the Ring app for power status—it should indicate “Hardwired” with battery charging (for battery models). Test the doorbell button and verify notification delivery to your phone.
Load Testing Protocol for Reliability
Initiate live view through the Ring app and observe device behavior throughout the test. Voltage should remain stable during active use without significant drops. Record voltage at doorbell terminals during live view—stable readings above 16 VAC indicate adequate power delivery. Test motion detection and recording functionality to ensure all features work properly under full load conditions.
Monitor Ring app for power-related alerts during the first week of operation. Document any intermittent issues with times and conditions. Note environmental factors like temperature extremes or precipitation that might affect performance—this information proves invaluable for future troubleshooting.
Essential Tools for Successful Ring Wire Extensions
Gather these tools before starting your project to avoid mid-installation frustrations:
– Non-contact voltage tester (critical for safety verification)
– Precision wire strippers sized for 18-22 AWG wire
– Needle-nose pliers for tight spaces around doorbell brackets
– Multimeter for voltage and continuity testing
– Fish tape for routing wires through walls
– Heat gun for heat shrink tubing applications
Must-have materials include 18-20 AWG low-voltage wire (calculate length plus 20% extra), outdoor-rated wire nuts or terminal blocks, heat shrink tubing assortment, and UV-resistant cable clips. Skip the electrical tape for outdoor connections—invest in proper weatherproofing materials that last.
Maintain Your Wire Extension for Years of Reliability
Inspect extension connections annually for corrosion, damage, or loose connections. Check wire insulation for UV damage, cracking, or rodent chewing—common failure points in outdoor installations. Test Ring doorbell operation and review power status through app diagnostics to catch developing issues early.
When planning future upgrades, consider running Cat5e/6 cable alongside your doorbell wire. This provides options for potential Power over Ethernet Ring doorbell models. Document your wire routing with photos before closing walls—this saves hours during future troubleshooting or modifications.
Successfully using wire extenders for Ring doorbell installation requires attention to voltage requirements, proper connection techniques, and weatherproofing. By following these guidelines and testing thoroughly, you’ll achieve reliable performance that lasts for years. Remember that when complexity exceeds your comfort level, professional installation ensures safety and code compliance while protecting your investment.


