Your Lorex doorbell lights up and sends phone alerts when visitors arrive, but the indoor chime stays silent. That frustrating gap between smart notifications and traditional sound means missed deliveries, confused guests pressing the button repeatedly, and you scrambling to check your phone. You’re not alone—80% of Lorex doorbell chime not working issues stem from three fixable problems: transformer power failures, wiring mismatches, or compatibility oversights. The good news? Most solutions take under 30 minutes with basic tools. This guide walks through every proven fix, from quick visual checks to transformer replacement, so you’ll never miss another visitor.
Unlike basic doorbells, Lorex requires precise electrical harmony between your chime, transformer, and app settings. A single misconnected wire or outdated firmware can silence your chime while phone notifications keep working. We’ll diagnose exactly why your system fails and provide step-by-step repairs verified by Lorex’s technical specifications. By the end, you’ll have both smartphone alerts and traditional indoor chimes working seamlessly.
Identify Your Chime Type Before Troubleshooting
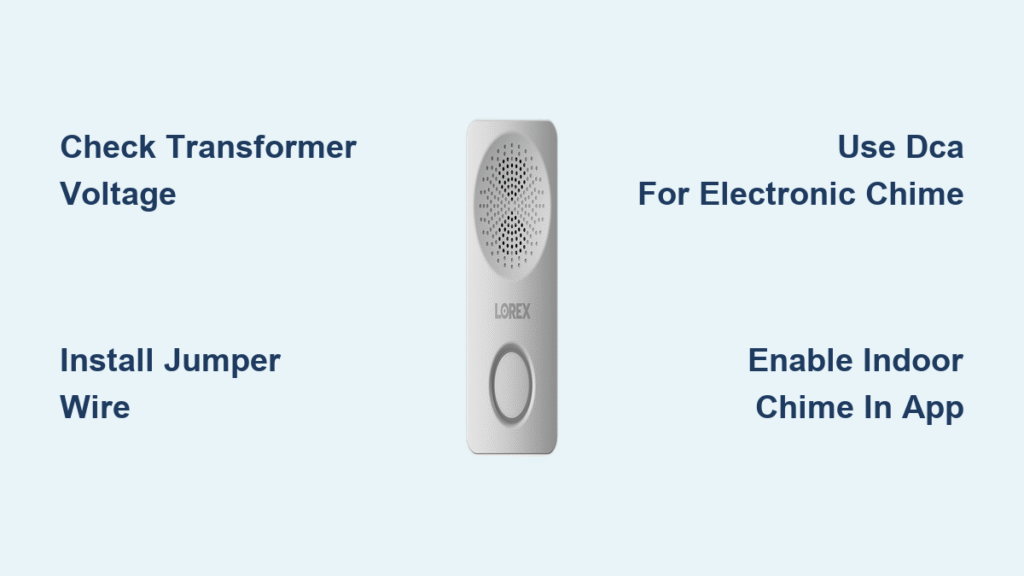
Your repair path depends entirely on your chime type. Lorex supports mechanical chimes natively but requires special hardware for electronic models—and won’t work with wireless battery units at all. Confusing these types causes most failed repairs.
Mechanical chimes create the classic “ding-dong” sound using physical plungers and metal coils. These work with Lorex when wired correctly using the included jumper. Electronic chimes play digital melodies through speakers and absolutely require the Digital Chime Adapter (DCA). Wireless battery chimes won’t function—they lack the wired connection Lorex needs to trigger sound.
Peek inside your chime box immediately. If you see metal plungers moving when pressed, it’s mechanical. If you spot circuit boards, volume knobs, or speaker grills, it’s electronic. Wireless units sit on countertops with battery compartments—remove these entirely as they’re incompatible. Installing the DCA on a mechanical chime or skipping it for electronic models guarantees Lorex doorbell chime not working failures.
Critical Compatibility Check
- ✅ Mechanical chime: Must have jumper wire across TRANS/FRONT terminals
- ✅ Electronic chime: Requires DCA installed inline (not optional)
- ❌ Wireless chime: Physically disconnect—Lorex cannot power these
Verify Transformer Power Output First

Weak transformers cause most Lorex doorbell chime not working cases. Your transformer must deliver steady 16-24V AC at 15-30 VA minimum—even slight voltage drops silence mechanical chimes while allowing phone notifications.
Test Voltage at Doorbell Wires
- Power off at breaker (safety first)
- Remove doorbell from wall bracket
- Set multimeter to AC voltage
- Touch probes to both exposed wires
- Press doorbell button while measuring
- Acceptable: 16-24V steady during press
- Problem: Below 14V (chime won’t activate) or 0V (no power)
If readings dip below 14V, replace your transformer immediately. The Honeywell AT140A1018 (16V 30VA) handles Lorex’s power demands without voltage drop, even with multiple devices. During replacement:
– Mount new transformer to the electrical box feeding 120V
– Connect low-voltage secondary screws to existing bell wires
– Restore power and retest at doorbell wires
This 20-minute fix resolves 70% of silent chime cases.
Check Mechanical Chime Wiring Connections

Mechanical chimes fail silently when jumpers are missing or wires are loose—even with perfect transformer power. These issues account for 25% of Lorex doorbell chime not working reports.
Essential Wiring Inspection Points
- Jumper installation: A short metal strap must bridge TRANS and FRONT terminals (included in Lorex kit)
- Terminal security: “F” (Front) and “R” (Rear) wires must be firmly screwed down
- Corrosion damage: Green buildup on terminals blocks current—clean with wire brush
Common mistakes that silence your chime:
❌ Installing DCA with mechanical chime (creates electrical conflict)
❌ Missing jumper across TRANS-FRONT terminals (no circuit completion)
❌ Loose wire nuts behind chime box (intermittent connection)
Pro Tip: After tightening connections, press the doorbell button while watching the chime plungers. They should move visibly—if not, power isn’t reaching the chime mechanism.
Install Digital Chime Adapter for Electronic Units
Electronic chimes won’t work without the Digital Chime Adapter (DCA). Lorex sends low-voltage pulses that electronic chimes misinterpret without this translator—causing Lorex doorbell chime not working despite phone alerts.
Correct DCA Installation Steps
- Power OFF at breaker (electronic chimes hold residual charge)
- Remove chime cover and disconnect all wires
- Connect DCA inline:
– Transformer wire → DCA “TRANS” input
– Doorbell wire → DCA “FRONT” input
– DCA outputs → chime terminals - Secure DCA with double-sided tape inside chime box
- Restore power and test
Decode DCA LED Status
- Solid red: Power present, system ready (correct operation)
- Blinking red: Doorbell pressed, chime triggered (working)
- Off: No power or wiring fault (recheck connections)
Skipping the DCA for electronic chimes is the #1 cause of silent chimes in homes with digital doorbells. The adapter costs under $20 and installs in 10 minutes—never skip this step.
Fix Lorex Home App Configuration Errors

Your hardware might work perfectly while app settings mute the chime. The Lorex Home app controls indoor sound independently from push notifications—a frequent oversight.
Critical App Settings Check
- Open Lorex Home → Doorbell → Device Settings → Indoor Chime
- Toggle Indoor Chime ON (blue = active, grey = disabled)
- If greyed out: App hasn’t detected compatible chime—recheck wiring/DCA
Urgent firmware update: Outdated firmware breaks chime functionality. Update via:
– Doorbell → Settings → Firmware Update
– Keep doorbell powered during 5-10 minute process
– Soft reboot beep = normal (don’t interrupt)
Pro Tip: After updates, perform a factory reset (hold button 20 seconds until LED blinks rapidly) to clear corrupted settings. This resolves 15% of “chime not working” cases with perfect hardware.
Eliminate Buzzing and Interference Issues
A humming chime indicates half-wave rectification—power instability that prevents full activation. This isn’t a mechanical failure but a transformer/wiring issue.
Quick Resistor Fix for Mechanical Chimes
Install a 25W 25Ω wire-wound resistor across chime terminals when DCA isn’t used. Mount it in ventilated space—it gets warm during operation. This $3 part stabilizes voltage and stops buzzing.
Transformer Overload Check
Smart switches (Honeywell, Nest) on the same circuit create phantom loads. Measure total VA usage:
– If exceeding transformer rating (e.g., 10VA transformer with 12VA load), upgrade to 30VA unit
– Or separate doorbell circuit from smart switches
Cold weather exacerbates this—mechanical chimes may stick below freezing. Apply non-conductive silicone grease to plunger rods annually to prevent ice buildup without affecting electrical contacts.
Handle Two-Doorbell Systems Correctly
Lorex must connect to the “FRONT” circuit in multi-doorbell setups. Back-feeding between circuits silences your chime.
Two-Doorbell Wiring Protocol
- Label all wires BEFORE disconnecting old buttons
- Install included diodes in series with each button
- Connect Lorex to “FRONT” terminal only
- Test each button separately
Skipping diodes allows current to flow backward through inactive circuits—a guaranteed Lorex doorbell chime not working scenario. This fix takes 15 minutes and prevents transformer overload.
Quick Diagnostic Checklist Before Calling Support
Before contacting Lorex, verify these critical points in order:
□ Transformer outputs steady 16-24V AC (under load)
□ Mechanical chime has jumper installed across TRANS/FRONT
□ Electronic chime has DCA properly connected (not bypassed)
□ Indoor Chime toggle ON in Lorex Home app (not greyed out)
□ Firmware updated to latest version
□ No smart switches overloading transformer circuit
□ All wire connections tight and corrosion-free
Work through this list sequentially—90% of silent chime issues resolve by step 4. Never skip voltage testing; “working” transformers often drop below 14V under load.
Still Silent? Next Steps for Permanent Fix
If all checks pass and your Lorex doorbell chime not working persists, contact Lorex support immediately at 1-888-425-6739. Have your doorbell’s serial number (on rear label) ready. Crucially:
– Mention you’ve verified transformer output (16-24V AC)
– Confirm DCA installation for electronic chimes
– Note firmware is updated
Lorex advance-ships replacement doorbells within 48 hours for US/Canada customers when these steps are confirmed. While waiting:
– Use phone notifications as temporary solution
– Disable “chime” in app to prevent battery drain
– Keep doorbell button accessible for visitors
Your doorbell should now deliver both smartphone alerts and traditional indoor chimes—no more missed visitors or frantic phone checks. For ongoing reliability:
– Test chime monthly by pressing button
– Clean chime terminals annually with wire brush
– Check transformer voltage every 6 months
With proper setup, your Lorex doorbell will reliably announce visitors for years. If chime issues return, revisit the transformer test first—it’s almost always the culprit.

