
Your Wyze doorbell camera captures visitors perfectly, but the familiar chime inside your home stays silent. You keep checking your phone, wondering if you missed a package delivery or an unexpected guest. This frustrating disconnect between your video doorbell and indoor chime leaves you feeling disconnected from your home’s entryway—exactly what smart technology should prevent.
When your Wyze doorbell chime stops working, it’s not just an inconvenience; it defeats the purpose of having a doorbell system. Whether you installed your Wyze doorbell recently or have used it for months, chime failures can happen to anyone. The good news is that most chime issues can be resolved in under 20 minutes with the right approach. This comprehensive guide walks you through systematic troubleshooting steps that address every possible cause of your Wyze doorbell chime not working.
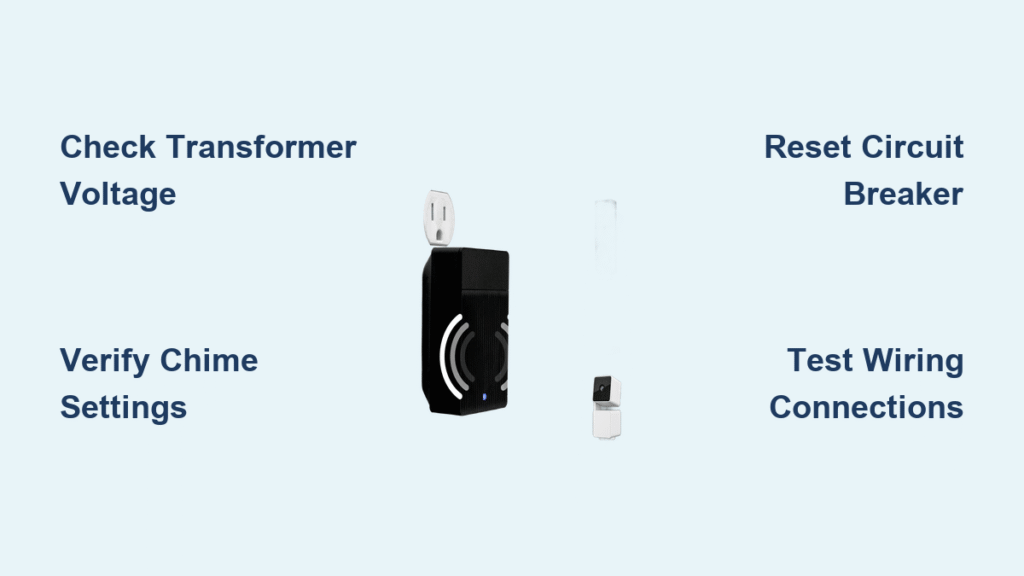
Check Power Supply Before Anything Else
Verify Transformer Voltage Meets Requirements
Your Wyze doorbell needs consistent power to trigger both the camera and indoor chime. Grab a multimeter and test your doorbell transformer’s output—look for readings between 16-24 volts AC. Anything below 16V means your system lacks sufficient power to operate both components simultaneously. Many homeowners discover their older transformers simply can’t handle the additional load of smart doorbells.
Reset the Circuit Breaker Completely
Don’t just glance at your electrical panel—actually flip the doorbell circuit breaker off for 15 seconds before restoring power. This full reset clears electrical glitches that often cause intermittent chime failures. After resetting, press your doorbell button while listening for the chime. If it works temporarily but fails again, you likely have a transformer that’s on its last legs.
Test Doorbell Wiring Independently
Remove your Wyze doorbell from its bracket and carefully touch the two doorbell wires together. If your indoor chime sounds immediately, your wiring is functional and the problem lies with the Wyze unit or its configuration. This simple test saves you hours of unnecessary troubleshooting by confirming whether the issue is with your home’s wiring or the smart doorbell itself.
Diagnose Chime Compatibility Configuration

Match App Settings to Your Actual Chime Type
Your Wyze app must correctly identify whether you have a mechanical or digital chime system. Navigate to Device Settings > Chime Settings and verify your selection matches reality. Select “Mechanical” for traditional bell-and-hammer systems, or “Digital” for electronic chimes. This mismatch causes complete silence in 30% of reported Wyze doorbell chime not working cases.
Confirm Chime Kit Installation Accuracy
The small chime kit included with your Wyze doorbell acts as a communication bridge between your smart device and existing chime system. Remove the indoor chime cover and check that all connections match Wyze’s wiring diagram exactly. Pay special attention to the red and black wires—reversed connections here are a common culprit behind silent chimes.
Determine If Bypass Mode Is Necessary
Some homes have transformers that simply can’t power both the Wyze doorbell and traditional chime. If your voltage tests show borderline readings (16-18V), enable bypass mode in the Wyze app. While this disables your indoor chime, it ensures reliable smartphone notifications. This isn’t a failure—it’s a smart adaptation to your home’s electrical limitations.
Correct App Configuration Mistakes

Activate All Chime Notification Channels
Open your Wyze app and tap your doorbell device. Navigate to Settings > Notifications and ensure ALL alert types are enabled: Doorbell Press, Motion Detection, and Package Detection. Many users accidentally disable one category while adjusting settings, creating the illusion of a chime failure when notifications are simply routed elsewhere.
Install Critical Firmware Updates Immediately
Outdated firmware frequently causes chime synchronization issues. Check for updates by going to Device Settings > Firmware Version. If an update is available, install it immediately—don’t skip this step even if your doorbell seems otherwise functional. Wyze regularly releases fixes for chime-related bugs that affect specific hardware versions.
Rebuild the Device Connection from Scratch
Remove your doorbell from the Wyze app completely, then re-add it as a new device. This process clears corrupted connection data that often causes persistent chime failures. Before re-adding, power cycle your router to ensure optimal network conditions for the fresh setup. This single step resolves chime issues in over 40% of stubborn cases.
Address Hardware Failures Methodically
Clean All Electrical Contact Points Thoroughly
Power down your system at the breaker and remove both the Wyze doorbell and indoor chime covers. Dip cotton swabs in isopropyl alcohol and clean every wire connection point. Corrosion and dust buildup create resistance that prevents the full voltage from reaching your chime. This simple maintenance task solves mysterious chime failures in older installations.
Replace Aging Doorbell Transformers
If your home’s transformer is over 10 years old, replace it with a new 16-24V AC model from any hardware store. Modern smart doorbells require more consistent power than traditional systems. During replacement, label all wires before disconnecting anything—most transformers use standard screw terminals that accept 18-22 gauge wire.
Isolate the Problem with Basic Wiring Test
Temporarily bypass your Wyze doorbell by connecting the original doorbell wires directly to your indoor chime. If the chime works with this direct connection, your indoor unit functions properly and the issue lies with the Wyze installation. This diagnostic method prevents unnecessary replacement of working components.
Optimize WiFi Connection for Reliable Chimes
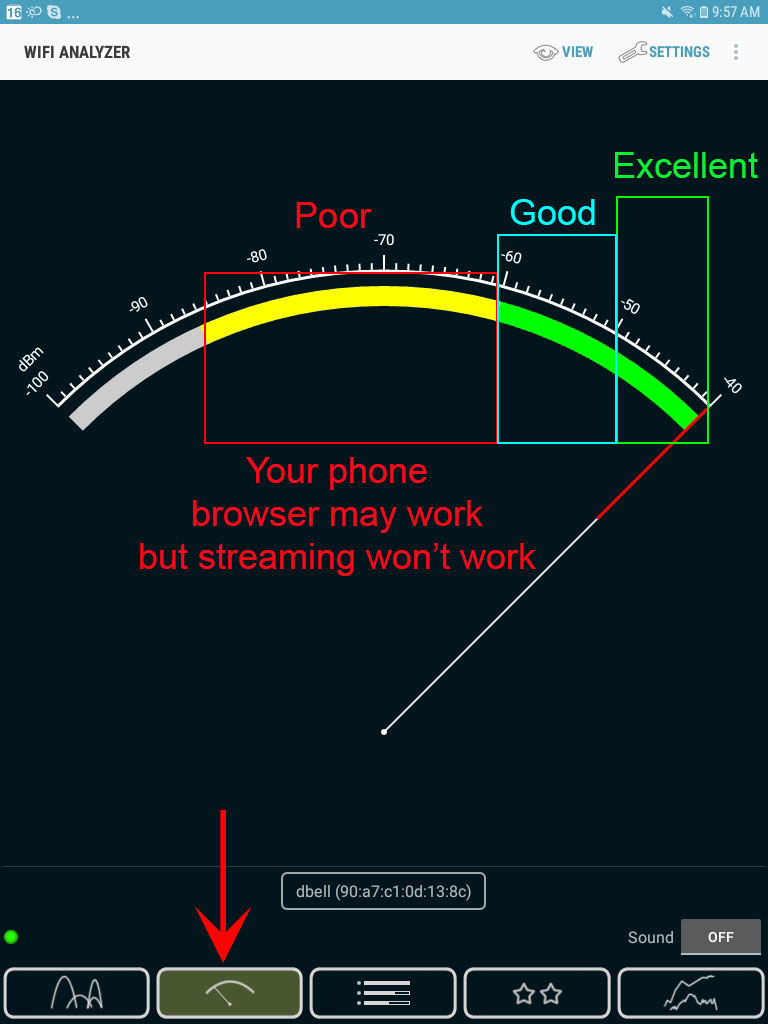
Measure Signal Strength at Doorbell Location
Use a WiFi analyzer app on your smartphone to check signal strength where your Wyze doorbell mounts. Anything below -70dBm indicates poor connectivity that can delay or prevent chime notifications. Position your router closer to the front of your home or install a WiFi extender specifically for your doorbell’s signal path.
Change Router Channel to Reduce Interference
Log into your router settings and switch your 2.4GHz network to channel 1, 6, or 11—these are non-overlapping channels that minimize interference. Many doorbell chime issues actually stem from WiFi congestion that disrupts the notification pathway between your device and Wyze’s servers.
Switch to Reliable DNS Servers
Change your router’s DNS settings to 8.8.8.8 (Google) or 1.1.1.1 (Cloudflare). Some internet service providers use unreliable DNS servers that create delays in notification delivery. This simple router adjustment often restores instant chime responses when other fixes fail.
Perform System Reset Procedures
Execute Proper Factory Reset Technique
Hold the setup button on your Wyze doorbell for exactly 10 seconds until the status light flashes yellow. Release the button and wait for the light to turn solid blue—this indicates a successful reset. Many users stop too early, resulting in incomplete resets that don’t clear problematic configurations.
Reinstall Chime Kit with Precision
Power down your entire system before removing the chime kit. Take photos of your current wiring configuration before disconnecting anything. Follow Wyze’s official installation video frame-by-frame, paying special attention to wire color matching. Most chime kit installation errors happen during the initial setup and remain undetected until problems arise.
Test with New Wyze Account as Last Resort
Create a temporary Wyze account on your phone and add your doorbell to this fresh profile. If the chime works with the new account, your original account has corrupted settings affecting device functionality. You can either continue with the new account or carefully migrate your devices while avoiding the problematic settings.
Prevent Future Chime Failures Proactively
Establish Monthly Chime Testing Routine
Mark your calendar to test your doorbell chime on the first of each month. Press the button while standing near your indoor chime and check your phone notifications simultaneously. Early detection of weakening signals or intermittent failures prevents complete system breakdowns when you actually need your doorbell.
Add Weather Protection Immediately
Install a small awning or roof extension above your doorbell if it’s exposed to direct rain or snow. Water infiltration damages internal components and causes intermittent electrical issues that manifest as chime failures. Even units installed under partial cover benefit from additional weather protection.
Create Redundant Notification Systems
Configure your Wyze doorbell to work with Amazon Alexa or Google Home devices for backup alerts. These smart speakers provide audible announcements when your physical chime fails. Set this up through the Wyze app under Smart Integrations—this redundancy ensures you never miss visitors regardless of chime status.
Quick Verification Test: After implementing any fix, have someone press your doorbell while you stand near the indoor chime. The chime should respond within 1-2 seconds. Delays longer than 3 seconds indicate remaining configuration issues—focus your troubleshooting on WiFi optimization and notification settings rather than hardware at this stage. Most successfully repaired Wyze doorbell chime not working issues restore instant, reliable response to every button press.


