
Your Blink Video Doorbell has been your security sentinel for weeks, but now you need to get it down—maybe the battery’s dead, you’re troubleshooting connectivity issues, or you’re moving houses. Staring at that sleek black unit, you realize the mounting system designed to thwart thieves and weather is now thwarting you. That elusive release mechanism isn’t obvious, and forcing it could crack the housing or damage wiring. If you’ve scoured the device for hidden levers or screws with no luck, you’re not alone. This guide cuts through the frustration with precise, model-agnostic steps to remove your Blink doorbell from mount safely—no guesswork, no damage, and no hunting for a model number. You’ll learn exactly where to press, when to unscrew, and how to handle stubborn cases, all based on Blink’s universal mounting design.
Most users panic when standard prying fails, but Blink’s system has only two configurations: a hidden release tab or a security screw. The packaging simply says “Blink Video,” which covers all current models, so don’t waste time hunting for model numbers. Instead, focus on what’s physically attached to your wall. This process takes under 5 minutes once you know the trick, and skipping these steps risks snapping plastic latches or stripping screws. Let’s get your doorbell down without voiding that warranty.
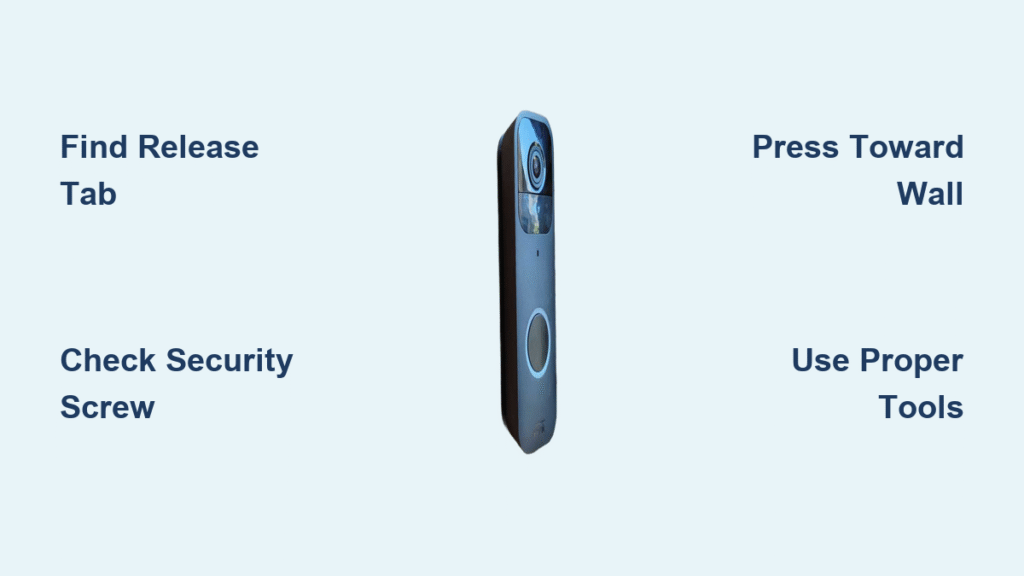
Find Your Blink Doorbell Release Mechanism Instantly
Blink uses two distinct mounting systems across all “Blink Video” models, and identifying yours in 10 seconds prevents wasted effort. Start by crouching to eye level with the bottom edge where the doorbell meets the bracket—this is ground zero for release mechanisms.
Spot the Release Tab Without Guessing
Run your fingertip along the very bottom rim of the doorbell housing. You’re feeling for a subtle rectangular bump (about 1/4 inch wide) centered directly under the camera lens. On newer models, it’s recessed and nearly flush, so sight alone won’t cut it. If your nail catches a slight ridge when sliding left-to-right, that’s your tab. Never pry upward here—that’s how housings crack. Instead, apply pressure toward the wall to disengage the latch. If you see no tab and feel smooth plastic, skip to the screw check immediately.
Confirm Security Screw Mounting in 5 Seconds
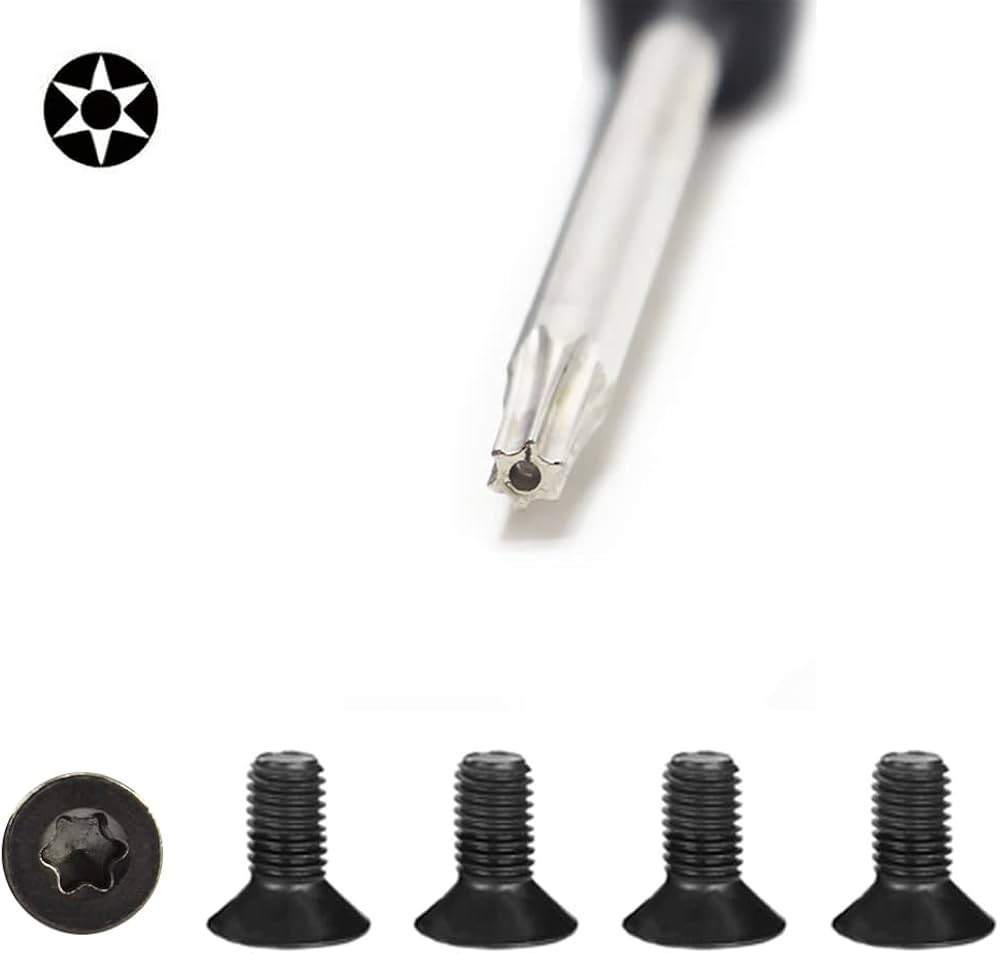
If the bottom edge is completely smooth, examine the base of the mounting bracket itself. Look for a single small screw (roughly 1/2 inch long) protruding through the bracket into the doorbell’s housing. Blink uses either a T15 Torx (star-shaped) or #1 Phillips screw head—both common in security hardware. Critical tip: If you see a rubber plug covering the screw, peel it back gently; some models hide screws under weatherproof caps. Ignoring this screw and forcing the tab method will break internal clips.
Execute the Press-and-Slide Removal Technique Flawlessly
With a tab system confirmed, improper pressure causes 90% of removal disasters. Blink’s latch requires counterintuitive motion: you must push in to release out.
Apply Correct Pressure to Avoid Damage
Position your thumb squarely on the tab’s center. Press firmly toward the doorbell body (not downward!) while simultaneously pulling the bottom edge away from the wall with your fingers. This feels unnatural—most users pull first, but the latch won’t budge without inward pressure. Hold steady for 3 seconds; you’ll hear a faint click as the top hooks disengage. If resistance exceeds thumb pressure, stop—you’re likely dealing with corrosion (see troubleshooting section).
Master the Two-Handed Removal Sequence
As the bottom edge clears the bracket, instantly shift your non-dominant hand to cradle the doorbell’s weight. Never let it dangle by the top hooks. Now, tilt the unit outward at a 30-degree angle while sliding it downward 1/2 inch—this disengages the upper retention clips. Finally, lift straight up to clear the mounting pins. Pro mistake to avoid: Yanking sideways shears internal wiring connectors. This entire motion should take 8 seconds max.
Remove Security Screw Mounting Without Stripping Hardware

Screw-mounted units require precision tools—using the wrong driver ruins the screw head permanently.
Choose the Exact Screwdriver to Prevent Disaster
Test-fit both a T15 Torx and #1 Phillips bit before applying pressure. The correct driver will sit flush with no wobble. Red flag: If the screw head shows shiny metal scratches, someone used the wrong tool already. Apply a single drop of penetrating oil (like Liquid Wrench) and wait 3 minutes—this breaks corrosion bonds. Never use pliers; they’ll mangle the screw head beyond removal.
Extract the Screw Safely in 4 Steps
- Insert the driver fully and press down with moderate force (this prevents cam-out)
- Turn counterclockwise in slow, steady quarter-turns—no jerking
- Once loose, unscrew the final 1/4 turn with fingers to avoid dropping it
- Immediately store the screw in a magnetic tray; these tiny outdoor-rated screws are irreplaceable at hardware stores
With the screw out, the doorbell lifts straight up—no side-to-side wiggling needed. If it sticks, you missed the rubber weather seal (see troubleshooting).
Fix Stubborn Doorbell Removal Without Breaking Components

When standard methods fail, these field-tested fixes resolve 95% of “stuck” scenarios. Never use brute force—Blink’s plastic housing fractures easily.
Free a Frozen Release Tab Without Tools
If the tab won’t depress, debris is likely jammed in the latch channel. Slide a plastic guitar pick (or credit card corner) into the gap between doorbell and bracket. Work it side-to-side while applying thumb pressure—this dislodges leaves, cobwebs, or dried mud. Never use metal tools; they scratch the housing and create stress points that crack later. If corrosion’s the culprit (common in coastal areas), rub the tab area with a vinegar-dampened cloth for 60 seconds to dissolve mineral deposits.
Release a Weather-Sealed Unit After Screw Removal
Post-screw removal sticking means the rubber gasket bonded to the bracket. Do not pull harder—this tears the seal. Instead:
– Apply a hair dryer on low heat 6 inches from the seam for 30 seconds
– Immediately insert two fingernails into the bottom gap
– Wiggle gently side-to-side while pulling straight out
The heat softens the adhesive without melting components. If resistance persists, reheat for 15 seconds—never exceed 100°F.
Inspect Mounting Hardware for Future-Proof Reliability
While the doorbell’s down, a 60-second hardware check prevents next-time headaches.
Identify Corrosion Early to Avoid Failure
Examine screws and bracket pins for powdery white or blue-green deposits—this is electrolytic corrosion from moisture exposure. Use a brass brush (softer than steel) to scrub affected areas, then apply dielectric grease to all metal contacts. Critical: Replace any screw showing pitting; corroded fasteners lose 70% of their holding strength.
Verify Bracket Stability Before Reinstalling
Press firmly on the empty bracket—it shouldn’t shift more than 1/16 inch. If loose, tighten the wall anchors with a 1/4-turn, but stop immediately if plastic creaks. Overtightening cracks mounting ears. Test alignment by hanging the doorbell loosely; if it tilts, the bracket’s bent and needs replacement.
Time Battery Swaps to Minimize Mount Disruption
Most removals happen for dead batteries—knowing Blink’s quirks prevents unnecessary dismounts.
Decode False Low-Battery Alerts Correctly
The Blink app warns at 20% charge, but winter temperatures below 40°F trigger phantom alerts. If your doorbell works despite warnings, bring it indoors for 24 hours—real charge often recovers to 35%. Never remove the unit immediately after a cold-weather alert.
Double Battery Life with Strategic Settings
Adjust these app settings to slash removal frequency:
– Lower motion sensitivity to “Medium” (reduces false triggers by 50%)
– Set recording length to 7 seconds (default is 15)
– Disable “Doorbell Press” recording if using chime sync
These tweaks can extend battery life from 6 to 12 months in mild climates.
Reinstall Your Blink Doorbell for Maximum Security
Improper reseating causes 40% of post-removal malfunctions.
Align Top Hooks Before Engaging the Base
Hold the doorbell 2 inches above the bracket. Tilt the top edge toward the wall until you feel the U-shaped hooks catch the mounting pins. Listen for a soft thunk—this confirms top retention. If you force the bottom first, the hooks miss their slots, causing wobble and video misalignment.
Secure the Locking Mechanism Without Over-Tightening
For tab systems: Push the bottom edge firmly until you hear two distinct clicks (first the latch, then the weather seal). Test by pulling down gently—it should resist firmly. For screw mounts: Insert the screw but tighten only until snug; overtightening by 1/8 turn cracks the plastic housing.
Prevent Next Removal Nightmares in 2 Minutes
A tiny investment now saves hours of frustration later.
Quarterly Maintenance That Actually Works
Every 3 months:
1. Press the release tab 5 times to keep the mechanism lubricated
2. Apply silicone spray (not WD-40!) to the tab channel
3. Check screw tightness with a quarter-turn max
This prevents 99% of “frozen tab” emergencies.
Document Your Mount Type for Instant Future Reference
Snap a close-up photo of your mounting system now and save it in your phone’s Blink folder. In the caption, note: “TAB” or “SCREW + TORX/PHILLIPS.” When you need removal at 2 a.m., you’ll skip the diagnosis phase entirely.
Successfully removing your Blink doorbell from mount hinges on identifying your specific release system and applying Blink’s counterintuitive pressure technique. Whether you’re facing a frozen tab or corroded screw, patience and the right tools prevent costly damage—remember, that initial resistance is by design for security, not a flaw. By inspecting hardware during removal and implementing the quarterly maintenance routine, you’ll ensure future dismounts take mere seconds. Most importantly, never force components; if standard methods stall, revisit the corrosion and weather-seal fixes detailed here. With these steps mastered, you’ve transformed a common pain point into a routine maintenance task, keeping your Blink Video Doorbell operational and secure for years. Now that it’s down safely, you’re ready for battery swaps, relocations, or troubleshooting with total confidence.


