
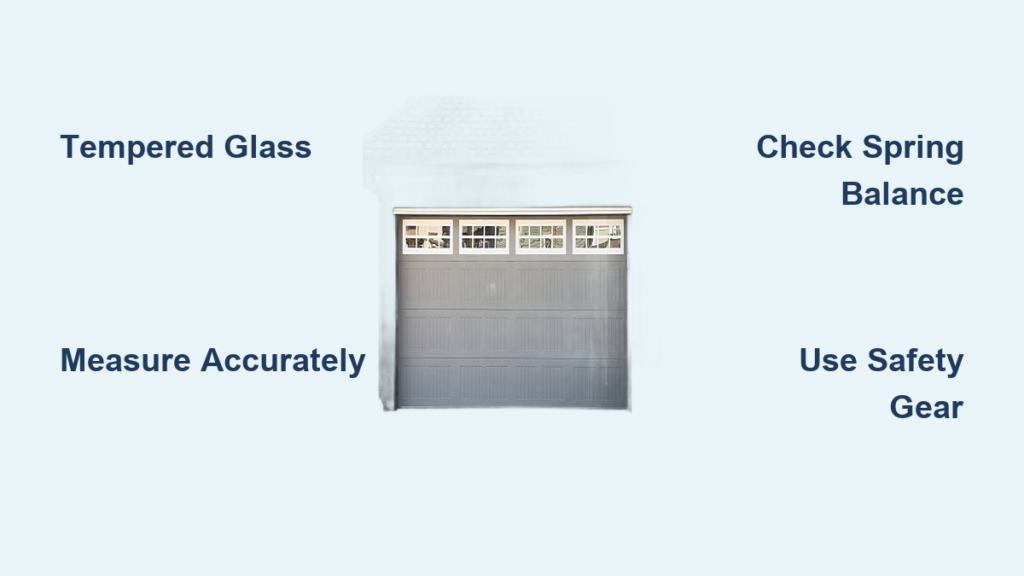
A cracked or foggy garage door window isn’t just an eyesore. It signals declining energy efficiency, weakened security, and potential safety hazards for your household. Whether you’re replacing shattered glass or upgrading to insulated thermal units, knowing how to change garage door windows correctly protects your home’s value and ensures lasting performance.
This comprehensive guide walks you through every stage of the process. You’ll learn how to diagnose failing windows, choose the right glass type, measure accurately, and install panes safely. We’ll also cover critical warnings about spring tension, building code compliance, and when professional help becomes non-negotiable.
Recognize When to Replace Garage Door Windows
Warning Signs of Window Failure
Don’t wait for glass to shatter before taking action. Several key indicators signal it’s time for replacement:
- Cracked or shattered panes: Even hairline cracks spread quickly under door movement stress.
- Fog between panes: Visible condensation inside double-pane units means seal failure and lost insulation.
- Drafts or rattling: Loose glass or degraded seals let outside air infiltrate your garage.
- Outdated appearance: Old window styles drag down curb appeal, especially on newer homes.
Catching these problems early prevents water damage, inflated utility bills, and security vulnerabilities.
Risks of Delaying Replacement
Postponing repairs transforms minor issues into major expenses:
- Energy loss from failed seals can increase heating and cooling costs by up to 20%.
- Moisture infiltration causes rust, mold growth, and damage to stored belongings.
- Broken or weakened glass creates easy entry points for intruders.
- Small cracks spread rapidly, turning a $150 fix into a $1,000+ panel or full door replacement.
Acting promptly saves money and preserves safety.
Choose the Right Glass Type for Your Garage Door

Insulated vs. Single-Pane Options
Insulated Glass Units (IGUs) offer double-pane construction with air or argon gas fill between layers. These units deliver superior thermal performance, reduce heat transfer, and minimize outside noise. Though more expensive upfront, IGUs pay back through energy savings over time.
Single-Pane Glass costs less and simplifies replacement, but provides minimal insulation. This option works best for detached garages or budget-conscious projects on older doors.
Upgrade to IGUs if comfort and efficiency rank as priorities.
Meet Safety Code Requirements
Most building codes mandate tempered safety glass for garage door applications. Unlike standard glass, tempered glass shatters into small, granular pieces rather than dangerous shards, dramatically reducing injury risk. Look for certification labels such as “Tempered” or “ASTM F1036” etched into the glass edge.
Installing non-tempered glass violates local codes and creates personal liability if someone gets hurt.
Explore Decorative and Specialty Upgrades
Functional enhancements worth considering include:
- Low-E coating: Reflects UV rays, protects stored items, and improves insulation.
- Tinted or solar-control glass: Reduces glare and heat gain in sunny climates.
- Impact-resistant glass: Essential for hurricane-prone regions or high-traffic areas.
Aesthetic options let you match your home’s architectural style:
- Frosted, etched, or textured glass for privacy.
- Grid patterns (Simulated Divided Lites) for traditional curb appeal.
- Satin or clear finishes for modern designs.
Balance function and design when selecting your replacement panes.
Measure Accurately for a Perfect Fit
Follow Precision Measurement Steps
Accurate measurements determine whether your installation succeeds or fails. Follow this proven methodology:
- Remove old trim and glass to expose the true frame opening dimensions.
- Gather a tape measure, level, notepad, and pencil.
- Measure width and height at three points (top, middle, bottom) for both dimensions.
- Record the smallest measurement to ensure the new pane fits properly.
- Double-check all numbers before ordering. Errors cause leaks, drafts, or breakage.
Never measure just the old glass piece. It may not match the actual frame dimensions.
Standard vs. Custom Sizes
Off-the-shelf panels offer cost-effective solutions for common installations. Standard sizes include 12″x24″, 16″x32″, and 18″x30″, which fit most raised-panel doors. These panels ship quickly and install easily.
Custom-cut glass becomes necessary for arched openings, unusual shapes, or specialty grid patterns. Expect longer lead times (typically 7–14 business days) and higher costs. Custom orders require exact specifications including thickness, bevel style, and seal type.
When measurements feel uncertain, hire a professional to verify dimensions before ordering.
Gather Door Specifications Before Ordering
Collect this technical data before purchasing replacement glass:
- Year and model of your garage door
- Panel thickness (commonly 1.5″ or 1.75″)
- Frame channel type (metal, vinyl, or composite)
- Desired tint, grid style, and finish
- Color and pattern match requirements
This preparation prevents compatibility issues during installation.
Understand True Replacement Costs
Break Down the Price Components
| Item | Cost Range |
|---|---|
| Single-pane glass | $40 – $70 per window |
| Insulated (thermal) unit | $80 – $150 per window |
| Decorative inserts | $30 – $60 each |
| Glazing beads and seals | $10 – $30 per set |
| Labor (simple swap) | $75 – $200 total |
| Custom cutting and framing | $500 – $900+ |
A typical four-window replacement runs $300–$1,200 depending on glass type and installation complexity.
Know Your Return on Investment
Garage door upgrades return over 100% at resale according to the National Association of Realtors. Energy-efficient windows reduce HVAC costs by improving overall insulation. If repair costs exceed 50% of a new door’s price, consider full door replacement instead.
Look for seasonal promotions or bulk discounts when replacing multiple windows simultaneously.
Replace Glass in an Existing Frame (DIY Method)
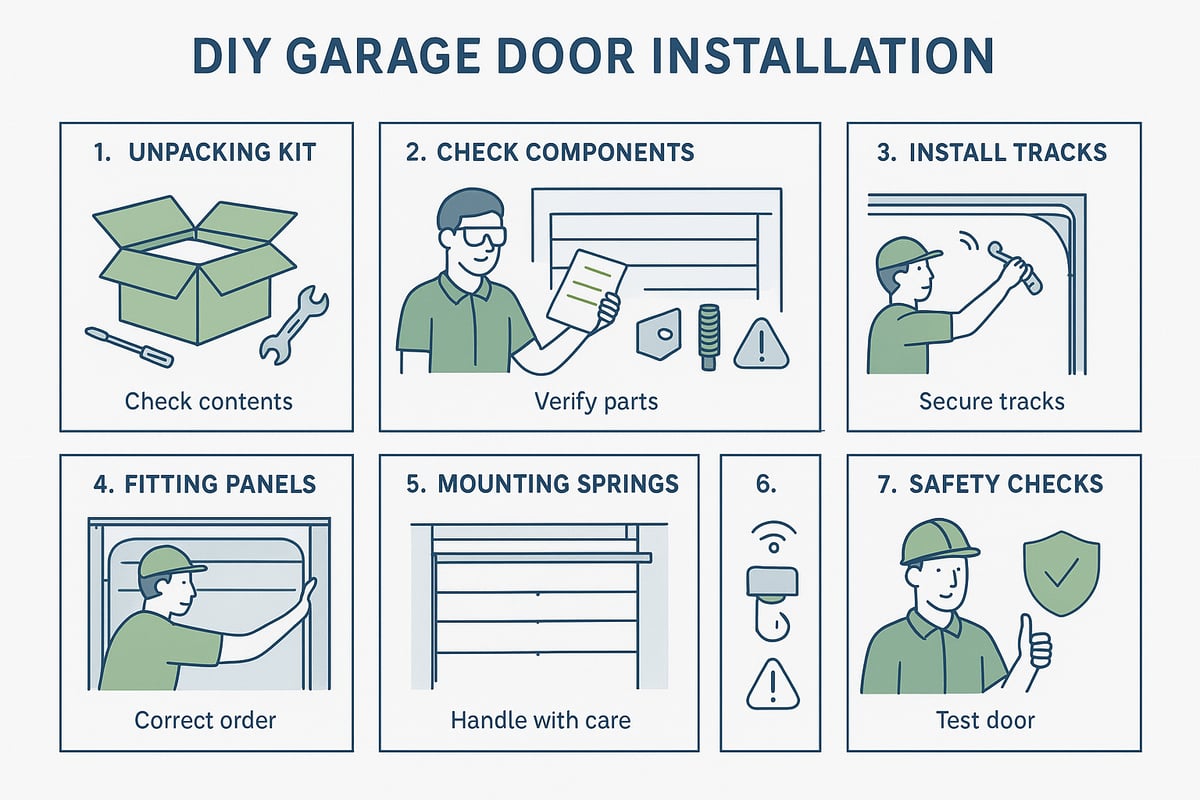
Prepare Tools and Safety Gear
Gather these items before starting:
- Tape measure
- Putty knife
- Screwdriver or drill
- Safety gloves and goggles
- Replacement glass (tempered)
- Glazing compound or silicone sealant
- New glazing beads or trim pieces
- Sturdy ladder rated for your height
Always disconnect the garage door opener before beginning work.
Step-by-Step Replacement Process
Remove Old Glass Safely
- Put on cut-resistant gloves and eye protection.
- Unscrew or pry out the glazing beads using a putty knife.
- Carefully remove broken glass pieces, working from top to bottom.
- Scrape away old sealant and clean the frame thoroughly.
Inspect the frame for rot, warping, or corrosion before proceeding.
Install the New Glass Pane
- Apply a thin, even bead of glazing compound around the frame perimeter.
- Center the new tempered pane in the opening.
- Press gently to seat the glass evenly without forcing it.
- Reinstall glazing beads using nails or screws.
- Seal all edges with silicone caulk to prevent moisture intrusion.
Do not overtighten fasteners. Excessive pressure cracks glass or warps the frame.
Test and Rebalance the Door
- Reconnect the garage door opener.
- Manually lift the door halfway. It should stay in place without drifting.
- If the door drops or rises on its own, the spring tension requires adjustment.
Install Thermal Windows by Cutting New Openings
Remove and Secure the Target Panel
- Install locking pliers on both sides of the target panel to secure it.
- Remove hinge screws from the panel you’re modifying.
- For middle panels (such as Panel 3), lift the panel above (Panel 4) into the rail and clamp it securely.
- Carefully remove the target panel and place it interior-side up on sawhorses.
Clean the surface thoroughly before cutting.
Mark and Cut the Opening
- Apply masking tape around the planned cut area to prevent splintering.
- Mark the outline based on your window frame dimensions.
- Punch pilot holes at each corner of the outline.
- Drill 3/8″ holes at the corners to start your saw blade.
- Cut along the marked lines with a jigsaw, maintaining straight 90-degree cuts.
Clear all debris from the panel before proceeding.
Insert Outer and Inner Frames
- Slide the outer frame (which has no screw holes) under the panel from below.
- Insert it into the opening from the inside of the panel.
- Place the double-pane unit on top of the outer frame.
- Position the inner frame over the glass.
- Align both frames and secure them with provided screws.
Critical: Tighten screws gradually and evenly. Overtightening breaks frames or cracks panes.
Glass Orientation Tip
If using frosted and clear panes together, place the frosted side inward. This orientation maximizes privacy and UV protection for your garage interior.
Reinstall and Rebalance the Door
- Clean the panel and reattach it to the door assembly.
- Reconnect hinges and remove all clamps.
- Trim hinge brackets if they interfere with the new frames.
- Adjust spring tension because adding windows increases total door weight.
⚠️ Spring Warning: Garage door springs are calibrated to the door’s original weight. Adding 10–20 lbs from new windows can throw off balance. A properly balanced door lifts with 7–10 lbs of force. If heavier, hire a professional to adjust or replace springs safely.
Maintain Windows for Long-Term Performance
Follow a Regular Maintenance Schedule
- Monthly: Wipe glass with mild soap and a soft cloth.
- Seasonally: Inspect seals for cracks, gaps, or shrinkage.
- Annually: Check hardware tightness and lubricate hinges.
- After storms: Clear debris from trim to prevent moisture buildup.
Avoid ammonia-based cleaners. They degrade seals over time and cause premature fogging.
Troubleshoot Common Window Issues
Fog inside panes indicates seal failure. Replace the entire IGU unit since no DIY fix exists for broken seals.
Rattling glass suggests loose glazing beads or degraded weatherstripping. Tighten trim pieces and reseal edges with fresh silicone.
Drafts around windows point to improper installation or missing sealant. Reapply caulk and ensure beads sit flush against the frame.
Address minor issues immediately to avoid complete replacements later.
Prioritize Safety and Code Compliance
Follow Local Building Codes
- Tempered glass is mandatory in most jurisdictions. Verify requirements with your local building department.
- Permits may be required for large window additions or structural modifications.
- DIY installations must meet the same standards as professional work.
Non-compliant glass voids insurance claims if injuries occur.
Protect Yourself During Installation
Wear Proper Personal Protective Equipment
- Cut-resistant gloves for handling glass
- Safety goggles, especially when removing broken panes
- Dust mask when sanding or cutting materials
Use Ladders Correctly
- Place on flat, stable ground
- Maintain three-point contact (two feet and one hand)
- Never overreach. Reposition the ladder instead
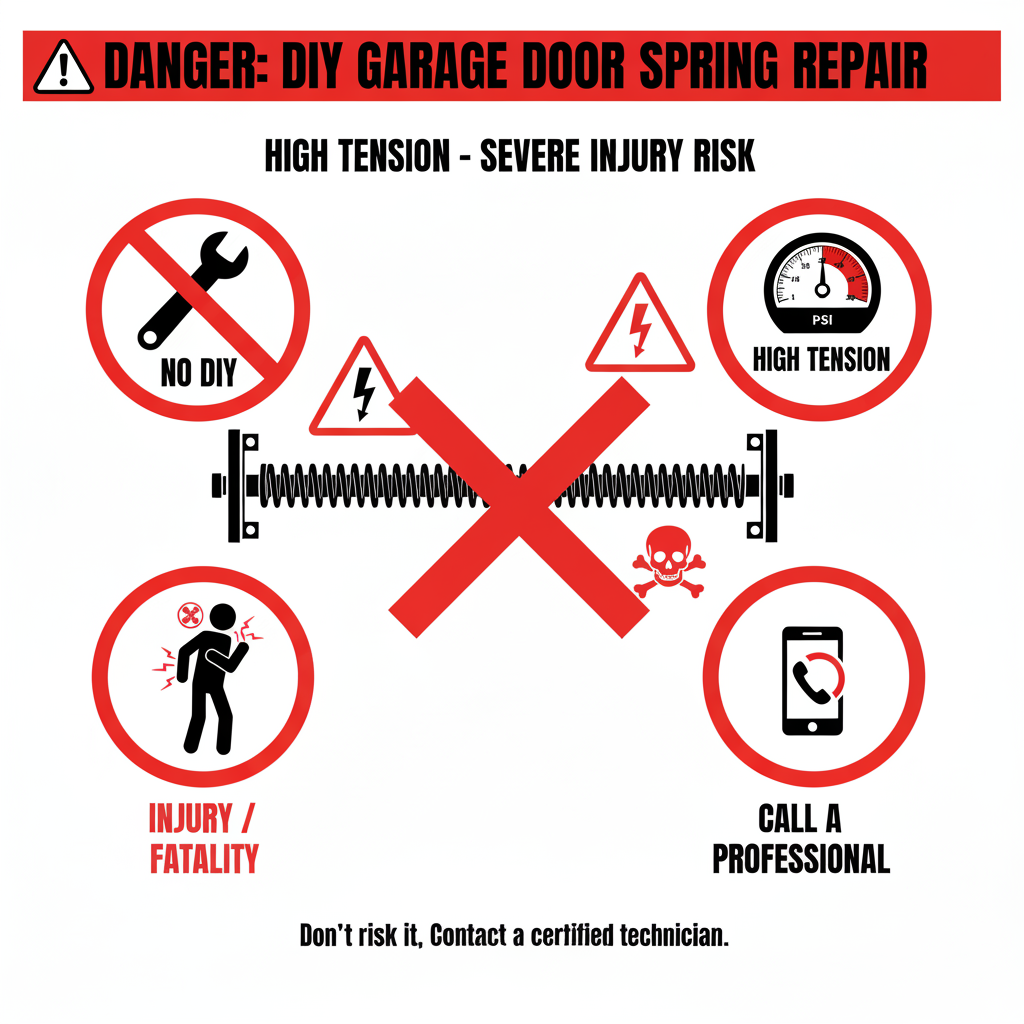
Never Touch Garage Door Springs
Torsion and extension springs hold extreme tension under normal operation. Adjustments should only be performed by trained professionals. One mistake can cause serious injury or death.
DIY vs. Professional Installation: Make the Right Choice

Compare Your Options
| Factor | DIY | Professional | Hybrid |
|---|---|---|---|
| Best For | Simple swaps, standard sizes | New openings, spring work | Demolition only |
| Cost | $75–$200 | $300–$900+ | $150–$400 |
| Time | 2–4 hours per window | Under a day | Split effort |
| Risk | Imbalance, leaks, voided warranty | Minimal | Moderate |
| Warranty | Parts only | Full labor and materials | Partial |
Choose the Hybrid Approach for Best Results
Save money while maintaining safety and precision:
- You handle: Removing trim, clearing old glass, cleaning the frame
- Professional handles: Measuring, cutting, installing, sealing, and balancing springs
This balanced approach works well for most homeowners tackling window replacement.
Buy Smart and Protect Your Investment
Purchase From Authorized Dealers
Brands like Clopay, Amarr, and Garex offer certified parts through authorized dealer networks. These sources ensure compatibility and maintain warranty eligibility. Authorized dealers also provide installation guidance specific to your door model.
Avoid generic hardware store glass. It may not meet required thickness specifications or safety standards.
Review Warranty Terms Carefully
- Most warranties cover glass integrity and manufacturing defects for 1–5 years.
- Labor warranties apply only with professional installation.
- Installing non-OEM parts or incorrect glass voids coverage entirely.
Keep all receipts and installation records for potential warranty claims.
Consider Financing and Lead Times
Large projects involving six or more windows may qualify for manufacturer financing programs. Custom sizes typically require 7–14 business days for delivery. Plan ahead so your garage door isn’t left exposed during production delays.
Frequently Asked Questions About Changing Garage Door Windows
Do I need tempered glass for my garage door windows?
Yes, most building codes require tempered safety glass for garage door applications. Tempered glass shatters into small, granular pieces instead of dangerous shards, significantly reducing injury risk. Check with your local building department for specific requirements in your area.
How much does it cost to replace garage door windows?
Replacement costs vary by glass type and installation complexity. A simple single-pane swap runs $75–$200 for labor, while custom thermal window installations with new openings can exceed $900. A complete four-window replacement typically costs $300–$1,200 depending on options selected.
Can I replace garage door windows myself?
Simple glass swaps in existing frames are DIY-friendly for homeowners with basic tool experience. However, cutting new openings for thermal windows and adjusting spring tension require professional expertise. The hybrid approach (DIY demolition plus professional installation) offers the best balance of cost and safety.
Will adding windows affect my garage door balance?
Yes, adding windows increases total door weight by 10–20 lbs or more. Garage door springs are calibrated to the original door mass and tolerate only about 5% variation. After installing new windows, test the door balance. If it doesn’t lift easily with 7–10 lbs of force, hire a professional to adjust the springs.
How long do garage door windows last?
Quality insulated glass units typically last 15–20 years before seal failure occurs. Single-pane windows can last indefinitely but offer minimal insulation. Regular maintenance, including seal inspection and prompt repairs, extends window lifespan significantly.
What causes fog between garage door window panes?
Fog or condensation between panes indicates seal failure in double-pane units. Once the seal breaks, moisture enters the airspace and insulation value drops to zero. The only solution is complete IGU replacement, as seal repair isn’t possible for insulated glass units.
Key Takeaways for Changing Garage Door Windows Successfully
Changing garage door windows delivers meaningful improvements in curb appeal, energy efficiency, and home security. Simple glass swaps in existing frames are achievable for DIYers with basic experience and the right tools. However, cutting new openings for thermal windows and adjusting spring tension demand professional expertise for safety and proper door function.
Always use tempered glass that meets local building codes. Measure twice and order once to avoid costly mistakes. Seal all edges thoroughly to prevent drafts and moisture intrusion. Never skip spring balancing after adding weight to your door system.
Your garage door represents one of the largest moving components on your home. Treat it with appropriate care, respect the spring tension warnings, and invest in quality materials from authorized dealers. When uncertainty arises about measurements, structural modifications, or spring adjustments, professional installation protects both your safety and your warranty coverage.



