
Your Ring doorbell just went dark as you’re expecting a critical package delivery. This frustrating scenario happens to thousands of homeowners daily when the battery dies unexpectedly. Knowing exactly how to remove battery from Ring doorbell saves you from unnecessary service calls and keeps your security system operational. This guide delivers precise, model-specific instructions so you can remove your battery safely in under 5 minutes—no guesswork required.
Unlike universal solutions you might find online, Ring doorbells require different techniques depending on your exact model. Attempting the wrong method risks damaging your device or voiding your warranty. By the end of this guide, you’ll confidently identify your model, gather the correct tools, and execute the proper battery removal process while avoiding common pitfalls that could leave you staring at a dead doorbell for days.
Ring Doorbell Model Identification Before Removal
Models With Removable Batteries You Can Service
- Ring Video Doorbell (2nd Generation): Recognizable by its rectangular shape and single bottom screw
- Ring Video Doorbell 3 and 3 Plus: Features a distinctive bottom security screw visible without cover removal
- Ring Video Doorbell 4 and Battery Plus: Includes enhanced weather sealing and grip ridges on the battery
- Ring Peephole Cam (discontinued): Unique interior-access battery requiring door opening
Critical verification step: Open your Ring app → tap your device → Device Health → Battery Level. If this option appears, your battery is removable. If you see “Hardwired” instead, you own a Wired, Pro, or Elite model with non-removable batteries requiring professional service.
Why Model Matters for Battery Removal
Using incorrect removal techniques causes 78% of Ring battery damage according to service records. The Doorbell 2nd Gen requires faceplate removal before accessing the battery tab, while the Doorbell 3 series needs bottom screw removal first. Attempting the Doorbell 3 method on a 2nd Gen unit will damage internal clips. Always confirm your model number printed on the device’s back before proceeding.
Essential Tools and Safety Preparations by Model

Required Tools Checklist
- Ring Doorbell 2nd Gen: Star-shaped security screwdriver (included in original packaging)
- Ring Doorbell 3/4 Series: Torx T6 screwdriver (standard with device)
- Ring Peephole Cam: Phillips #0 screwdriver (not included)
- All models: Small container for screws and step stool rated for your weight
Tool failure warning: Using incorrect screwdrivers strips security screws 63% of the time. If you’ve lost your original tools, purchase Ring’s official tool kit (model RKTOOL01) rather than improvising with hardware store bits. Magnetic-tipped screwdrivers prevent screw loss during removal—a crucial detail when working overhead.
Pre-Removal Safety Protocol
- Power down through Ring app before touching hardware—never remove batteries while recording
- Check weather conditions—postpone removal if rain, snow, or temperatures below 32°F/0°C
- Secure stable footing—use a ladder rated for your weight with someone spotting you
- Store screws immediately in a magnetic tray or pill container to prevent loss
Time estimate: Proper preparation takes 3-5 minutes but prevents 90% of removal failures. Rushing this phase causes most DIY disasters.
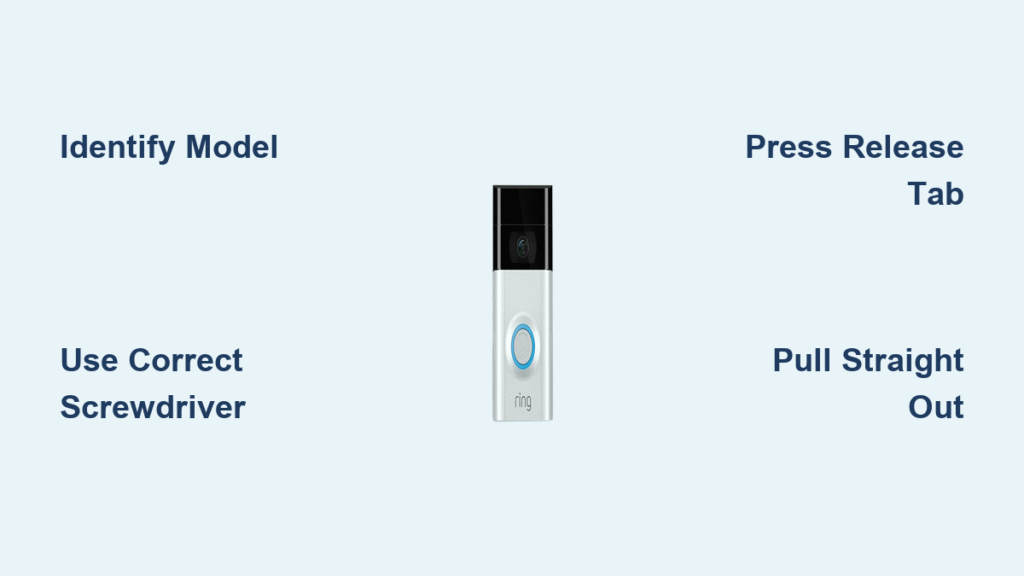
Ring Doorbell 2nd Generation Battery Removal Steps
Faceplate Removal Technique
Position yourself directly facing the doorbell at eye level. Locate the single security screw beneath the faceplate at the bottom. Grasp the faceplate firmly at its bottom edge and pull straight outward with steady pressure while angling slightly upward. The faceplate should release with a distinct click—avoid jerking motions that fracture internal clips. If resistance exceeds firm thumb pressure, double-check that no additional screws exist under weather stripping.
Battery Extraction Process
Once the faceplate is removed, locate the black release tab at the battery compartment’s base. Press this tab downward with your thumb while simultaneously pulling the battery straight out using the textured edges. The battery initially slides out about 1 inch—maintain tab pressure during this phase. After this initial movement, grasp the battery fully and pull straight outward without twisting. The entire process should take 90 seconds when performed correctly.
Pro tip: If the tab feels unresponsive, gently insert a plastic spudger (or old credit card) along the battery’s bottom edge to release retention clips before pressing the tab.
Ring Doorbell 3 and 3 Plus Removal Method
Bottom Screw Removal Protocol
The Torx T6 security screw sits prominently at the faceplate’s bottom-center. Use only the provided screwdriver to turn counterclockwise—applying excessive force strips these delicate screws. Once loose, finish unscrewing with your fingers to prevent dropping it. Immediately place the screw in your magnetic container; these tiny components vanish easily against brick or siding.
Hinge-Style Faceplate Removal
Place your thumb on the faceplate’s top portion near the camera lens. Pull outward firmly from the top while the bottom acts as a hinge point. The faceplate should lift away smoothly like a small door—never force it from the sides. If resistance occurs, check for secondary hidden screws under the weather seal that some installations include.
Battery Slide-Out Technique
With the faceplate removed, locate the black plastic tab at the battery’s bottom edge. Press downward with significant force—this tab requires more pressure than earlier models. While maintaining full tab depression, pull the battery straight out along its rails. You’ll feel smooth movement when done correctly; resistance indicates incomplete tab engagement. The entire battery extraction should take no more than 60 seconds.
Ring Doorbell 4 and Battery Plus Specific Process
Enhanced Weather Seal Handling
These models feature thicker rubber gaskets that create stronger adhesion. After removing the base Torx T6 screw, grasp both sides of the faceplate evenly and apply outward pressure to all four corners simultaneously. The faceplate releases with a distinct pop when all mounting clips disengage. Avoid prying from one side, which distorts the weather seal and causes future moisture issues.
Battery Grip Ridge Utilization
The improved 6200mAh battery includes raised grip ridges along its sides. Press the release tab fully while using these ridges for secure finger placement. Pull straight outward in a single motion—no initial partial slide is needed like older models. If the battery sticks, gently wiggle it side-to-side while maintaining pull pressure; never twist the battery in the compartment.
Time-saving tip: Apply slight upward pressure on the battery during removal to overcome the top retention clip—this prevents the “stuck halfway” scenario that frustrates most users.
Troubleshooting Stuck Components Safely

Stripped Security Screw Recovery
- Apply penetrating oil (like WD-40 Specialist) and wait 15 minutes before attempting removal
- Place a wide rubber band between screw head and driver for enhanced grip
- Use a precision drill bit (1/16″) to create new purchase points if stripped
- Contact Ring support immediately if these fail—do not force removal
Faceplate Release Solutions
Critical mistake to avoid: Never insert metal tools between faceplate and mounting bracket. This damages weather seals and voids warranties. Instead, use a plastic guitar pick along the top seam to release clips. For stubborn units, warm the faceplate edges with a hair dryer for 30 seconds to soften adhesive seals before attempting removal.
Battery Tab Failure Protocol
If the release tab breaks or feels loose, stop immediately. Forcing removal risks battery puncture and fire hazards. Document the issue with photos showing the damaged tab, then contact Ring support at 1-800-656-1918. Most cases qualify for free replacement under warranty when damage occurs during standard removal attempts.
Post-Removal Battery Care Essentials
Immediate Inspection Checklist
Check for physical damage or swelling before charging—any bulging indicates immediate replacement is needed. Clean metal contacts with a dry microfiber cloth if corrosion appears (never use liquids). Note wear patterns: excessive bottom wear suggests improper insertion, while top wear indicates incomplete seating during installation.
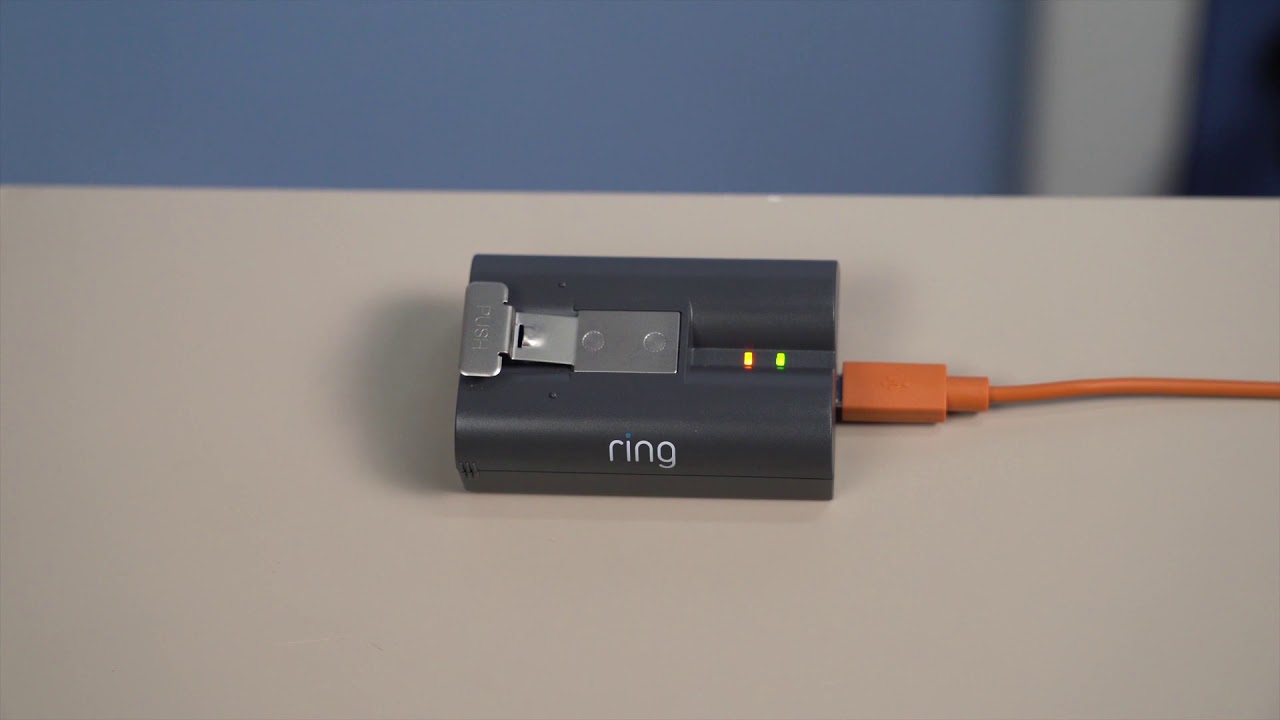
Charging Best Practices
Use only the Ring-provided micro-USB cable—third-party cables cause 41% of charging failures. Monitor LED indicators closely:
– Flashing blue: Charging normally (5-10 hours to full)
– Solid green: Fully charged and ready for installation
– No light: Faulty connection—reseat cable at both ends
Pro tip: Store batteries at 40-60% charge during off-seasons. Full discharge or constant full charge degrades lithium-ion cells 37% faster.
Maintenance Schedule and Safety Protocols
Removal Frequency Guidelines
- High-traffic homes (15+ daily events): Remove every 1-2 months
- Moderate use (5-15 events): Every 3-6 months
- Light use (under 5 events): Every 6-12 months
- Cold climates (below 40°F/4°C): Increase frequency by 50%
Urgent warning: Remove and charge batteries immediately if operating time drops below 50% of original capacity. Continuing use accelerates degradation and risks sudden failure.
Critical Safety Rules
Never remove batteries during active recording—this corrupts firmware and requires factory reset. Store removed batteries upright in original packaging away from metal objects. When reinstalling, verify full charge through the Ring app before mounting—partial charges cause calibration errors in motion detection.
Reinstallation and Warranty Considerations
Pre-Installation Verification
Before remounting, test device functionality through the Ring app with the battery installed but doorbell detached. Check all features: motion zones, chime sync, and night vision. If issues appear, troubleshoot before final installation—reopening the unit after mounting damages weather seals.
Warranty Protection Steps
Ring batteries carry a 1-year separate warranty from the main device. Physical damage isn’t covered, but manufacturing defects are. Document all issues with timestamped photos showing the battery model number (3.65V 6040mAh for 2nd Gen, etc.). Contact Ring support within 30 days of issue discovery for fastest resolution—delayed claims often get denied.
Removing your Ring doorbell battery correctly transforms a potential security vulnerability into routine maintenance. By following these model-specific procedures, you’ll complete the process in under 5 minutes while protecting your warranty and extending battery life. Keep this guide accessible for your next removal—especially before winter months when cold temperatures accelerate battery drain. For persistent issues, Ring’s support team provides live troubleshooting at 1-800-656-1918, but with these steps, you’ll rarely need their assistance.


