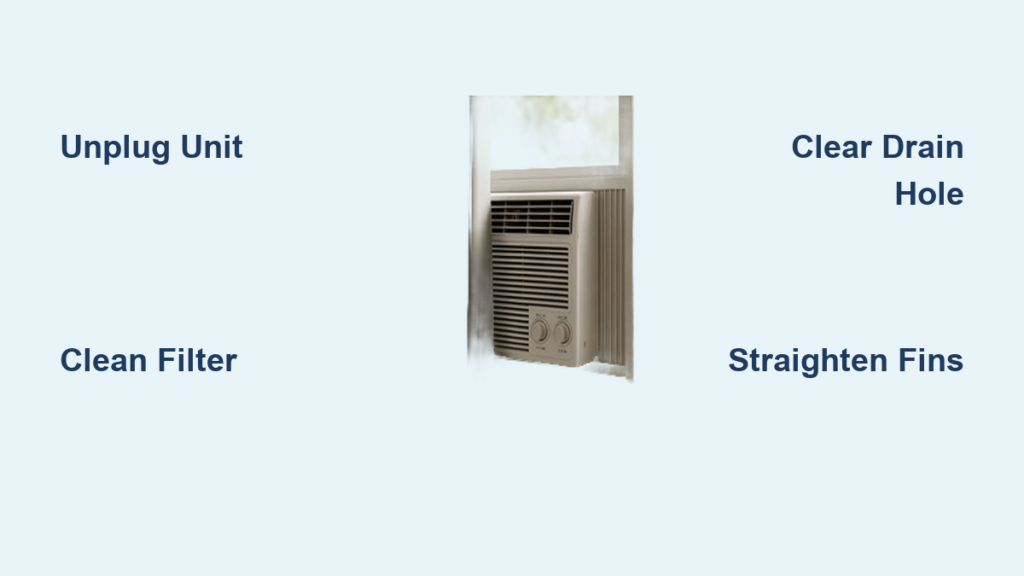
Is your window air conditioner blowing weak, dusty air or giving off a musty smell? You’re not alone. A clogged unit can lose up to 15% of its cooling efficiency, making your room harder to cool and driving up energy bills. The culprit is usually dirt, dust, and mold buildup in the vents, filters, and internal components, especially the evaporator and condenser coils.
Cleaning your window AC vents restores airflow, eliminates mold spores, prevents water leaks, and reduces strain on the motor. Best of all, it’s a beginner-friendly task that takes 30 minutes to 2 hours of active work and costs as little as $5 in supplies. This guide walks you through every step, from unplugging the unit to testing airflow, using only safe, effective methods.
Prepare the Unit and Work Area
Before touching any part of your air conditioner, safety comes first. Water and electricity don’t mix, and sharp internal parts can cause injury. A few minutes of preparation prevents accidents and makes cleaning faster.
Disconnect Power Completely
Unplug the unit from the wall outlet. For added safety, especially if the outlet is hard to reach, turn off the circuit breaker that powers the AC. This eliminates the risk of electric shock during cleaning, even if water is used.
Protect the Floor and Surroundings
Lay down a drop cloth, old towels, or cardboard under the unit to catch dust, water, and debris. Window ACs hold surprising amounts of sludge in the drain pan, and rinsing coils can create drips. A protected floor saves cleanup time and prevents water damage to wood or carpet.
Ensure Proper Ventilation
Open a nearby window or run a fan, especially if you suspect mold. Disturbing moldy coils or a dirty drain pan can release spores into the air. Good airflow helps disperse particles and reduces inhalation risk.
Remove and Clean the Filter
The air filter is your first line of defense against dust and allergens. A dirty filter restricts airflow, forces the unit to work harder, and lets grime reach the sensitive coils. Cleaning it monthly during use keeps your AC running efficiently.
Take Out the Filter Safely
Locate the front grille (face panel) of the unit. Depending on the model, it may clip open, slide up, or be secured with screws. Gently remove it to expose the filter. Slide the filter out; some models have it behind the grille, others inside a pull-out tray.
Pro Tip: Take a photo of the filter’s orientation before removal. This ensures correct reinstallation.
Vacuum and Wash Thoroughly
Use a vacuum with a soft brush attachment to remove loose dust and lint from the filter. Then, wash it in a sink or bucket with warm water and a few drops of mild dish soap. Scrub gently with a soft cloth or sponge, and avoid harsh brushes that can damage the mesh.
Rinse under running water until all soap and dirt are gone. Never use bleach or strong chemicals, as they degrade filter material and can release fumes when the AC runs.
Dry Completely Before Reinstalling
Set the filter on a towel in a well-ventilated area. Let it air dry for at least 2 hours, flipping it halfway through. Never reinstall a wet filter, because moisture breeds mold and defeats the purpose of cleaning.
Warning: Skipping the drying step is a top cause of musty odors after cleaning.
Clean the Front Vents and Face Panel

The front vents and grille collect dust, pet hair, and grime that block airflow and make your AC look dirty. Cleaning them improves air delivery and prevents debris from being blown into the room.
Wipe Down the Vents and Grille
Spray the removed face panel with a mix of 3% hydrogen peroxide or soapy water. Let it sit for a few minutes to loosen buildup. Use a microfiber cloth or soft brush to wipe between the slats. For tight spots, an old toothbrush works perfectly.
Rinse with water if needed, then dry completely before reassembly.
Sanitize for Mold and Odors
If you notice a musty smell, spray the grille and vent areas with hydrogen peroxide, a safe, effective disinfectant that kills mold without corroding metal. Let it sit for 10 minutes, then wipe clean.
Avoid: Never use bleach. It damages plastic and metal components and can produce harmful fumes when the unit heats up.
Vacuum the Interior Components
With the filter and panel removed, you now have access to the inner workings of the AC. This is where deep cleaning begins. Dust on the coils, fan, and drain pan reduces efficiency and can lead to breakdowns.
Target Key Areas with a Brush Attachment
Use your vacuum’s soft brush tool to clean:
– Evaporator coils (front interior fins)
– Blower fan blades
– Drain pan (bottom of the unit)
– Interior housing walls
Move the vacuum vertically, up and down, to match the direction of the fins. Horizontal motion can bend them, restricting airflow.
Safety Note: Wear gloves. Aluminum fins are razor-sharp and can cut skin easily.
Use Compressed Air for Stubborn Debris
For dust packed deep in the fins, use a can of compressed air. Blow in the same vertical direction to push out trapped particles. This step isn’t mandatory but improves cleaning depth, especially on older units.
Clean and Straighten the Coils
The evaporator and condenser coils are the heart of your AC’s cooling system. When coated in dust, they can’t absorb or release heat properly, leading to poor cooling and higher energy use.
Apply a Safe Cleaning Solution
Spray 3% hydrogen peroxide or an AC-safe coil cleaner onto the evaporator coils (front) and condenser coils (back). These foaming or liquid cleaners break down grease, dirt, and mold without harming metal.
Alternative: A mix of mild dish soap and water works for light buildup.
Gently Scrub in Fin Direction
Use a soft-bristled brush or toothbrush to loosen caked-on grime. Always brush parallel to the fins, never side to side. Bent fins reduce airflow and efficiency.
Let the cleaner sit for 10–20 minutes if the manual recommends it, or if dirt is heavy.
Rinse or Air Dry Based on Cleaner Type
- If the cleaner requires rinsing, use a gentle spray from a bottle or hose.
- If it’s no-rinse, let the unit air dry completely.
- Never power on a wet unit. Wait at least 30 minutes, longer if water was used.
Clear the Drain Pan and Hole

The drain pan collects condensation during cooling. If clogged, water can leak into your room, damaging floors and walls. A clear drain also prevents stagnant water where mold and bacteria grow.
Remove Sludge from the Pan
Wipe out the pan with a cloth to remove algae, slime, or debris. Use soapy water or vinegar to dissolve buildup. Avoid metal scrapers, as they can scratch the pan.
Unclog the Drain Hole
Locate the small drain hole (usually at the back of the pan). Insert a pipe cleaner or zip tie to clear blockages. Push gently to avoid damaging internal tubing.
Pro Tip: Pour white vinegar into the pan and let it sit for 10 minutes. It kills bacteria and dissolves mineral deposits.
Straighten Bent Fins for Better Airflow

Aluminum fins on the coils are delicate. If bent by cleaning or handling, they block airflow and reduce cooling. Straightening them restores performance.
Inspect for Damage
Look at the evaporator and condenser fins. If rows are dented or folded, airflow is restricted.
Use a Fin Comb or Knife Blade
Slide a fin comb (available at hardware stores) or a thin-blade knife between the fins. Gently pull it straight down, aligning bent fins with the rest.
Do not force. Apply light pressure to avoid tearing the metal.
Wipe Fan Blades and Reassemble
A dirty fan wobbles, creates noise, and moves less air. Cleaning it balances the blower and improves airflow.
Clean Blades by Hand
Wipe each visible fan blade with a damp cloth. For sticky buildup, use a cloth dampened with soapy water. Dry immediately.
Reassemble with Dry Parts
Ensure the filter and face panel are completely dry. Reinsert the filter, then snap or screw the grille back into place. Follow your model’s manual for secure closure.
Test the Unit After Cleaning
Now it’s time to see if your work paid off. A quick test confirms everything works and catches issues early.
Power On and Run a Cool Cycle
Plug in the unit or restore the circuit breaker. Set it to “Cool” mode at a low temperature.
Check for Improvements
- Airflow: Should feel strong and steady.
- Temperature: Air should be noticeably cooler within minutes.
- Noise: No rattling or grinding sounds.
- Odors: No musty or chemical smells.
If problems persist, refer to the troubleshooting table below.
Troubleshoot Common Post-Cleaning Issues
| Symptom | Likely Cause | Quick Fix |
|---|---|---|
| Weak airflow | Clogged filter, bent fins, or dirty coils | Recheck cleaning steps; straighten fins |
| Musty smell remains | Mold in drain pan or housing | Respray with hydrogen peroxide; clear drain |
| Water leaking inside | Clogged drain hole or unit not tilted | Clear hole; ensure back is slightly higher |
| Rattling noise | Loose panel or debris in fan | Tighten screws; inspect fan area |
| No cooling | Low refrigerant or electrical issue | Contact HVAC professional |
When to replace: If your unit is 10+ years old, rusted, or still underperforms after cleaning, consider a new model.
Maintain Clean Vents Year-Round
Cleaning once a year isn’t enough. Regular care keeps your AC efficient and extends its life.
Follow a Simple Maintenance Schedule
- Monthly: Clean or rinse the filter.
- Weekly: Dust the exterior vents.
- End of season: Run “Fan Only” for 30 minutes to dry internal moisture.
- Storage: Remove the unit in winter. Store in a dry place, covered.
Prevent Mold with Smart Habits
After heavy use, run the fan without cooling to dry the coils and pan. This simple step reduces mold risk more than any chemical.
Pro Tip: Replace disposable filters every 3 months for best results.
Frequently Asked Questions About Cleaning Window AC Vents
Why does my window AC smell musty even after cleaning?
Lingering musty odors usually mean mold remains in the drain pan or on coils. Respray these areas with 3% hydrogen peroxide and let it sit for 10 minutes before wiping. Also, confirm the drain hole is fully clear so stagnant water doesn’t feed new mold growth.
Can I use bleach to clean my window air conditioner?
No. Bleach is corrosive and damages aluminum coils, metal parts, and plastic housing. It can also release harmful fumes when the unit heats up. Use 3% hydrogen peroxide or white vinegar instead for safe, effective sanitizing.
How often should I clean the vents on my window AC?
Clean the front vents and grille weekly by dusting, and perform a full deep clean of all internal components at least once per year. During heavy use, clean the filter monthly and replace disposable filters every 3 months.
What causes water to leak from my window AC into the room?
Water leaks almost always trace back to a clogged drain hole or a unit that isn’t tilted slightly backward. Clear the drain hole with a pipe cleaner or zip tie, then check that the back of the unit sits slightly higher than the front so condensation flows outward.
Is it safe to spray water directly on AC coils?
Yes, but only when the unit is unplugged. Use a gentle spray from a bottle or hose to rinse off foaming coil cleaners, then let the unit air dry for at least 30 minutes before restoring power. Never power on a wet unit.
When should I replace my window AC instead of cleaning it?
Consider replacement if your unit is over 10 years old, shows extensive rust, leaks refrigerant, or still underperforms after a thorough cleaning. At that point, cleaning costs more time than the efficiency gains justify.
Key Takeaways for Clean Window AC Vents
A clean window air conditioner cools faster, uses less energy, and keeps your air healthier. Start by unplugging the unit and removing the filter, then work inward through the vents, coils, and drain pan using safe cleaners like hydrogen peroxide and vinegar. Avoid bleach, never reinstall a wet filter, and straighten bent fins to restore full airflow.
Your next step: set a monthly reminder to rinse the filter and dust the vents. This 10-minute habit prevents most of the buildup that turns into a half-day deep cleaning project.