
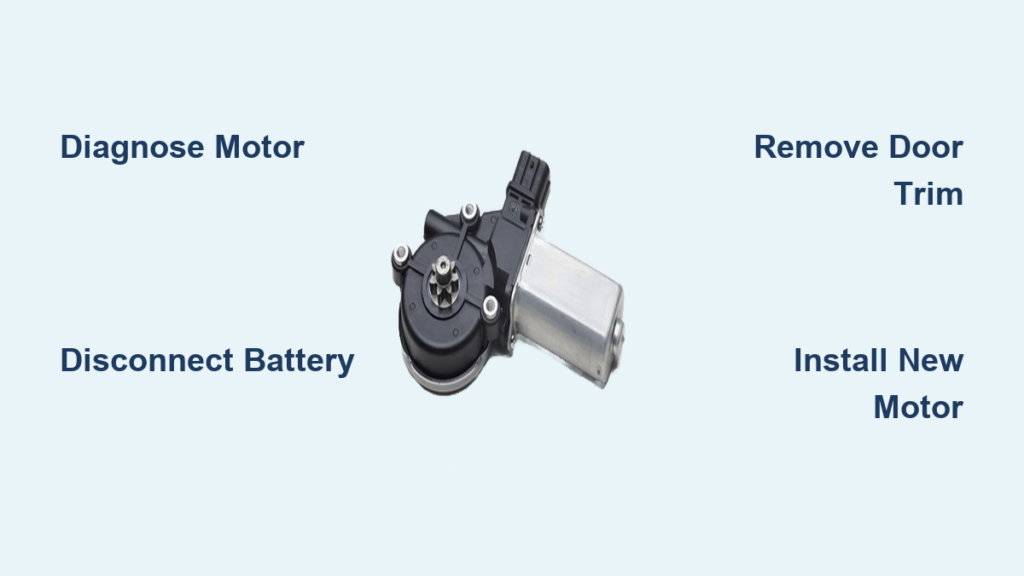
A failing window motor can turn a simple drive into a frustrating experience, especially when you’re stuck with a window that won’t roll up in the rain. The window motor powers the lift mechanism that raises and lowers your car’s side glass, and when it fails, it impacts both comfort and safety. Whether your window moves slowly, stops midway, or doesn’t respond at all, replacing the motor is often the most reliable fix.
This guide walks you through how to replace a window motor efficiently and safely. You’ll learn how to diagnose the problem, remove the door panel, swap out the faulty motor, and test the system without damaging interior trim or causing electrical shorts. With basic tools, about an hour of time, and this step-by-step walkthrough, you can restore full function to your power window and avoid costly mechanic fees.
Diagnose the Window Motor First

Before removing the door panel, confirm the motor, not the switch or wiring, is the culprit.
Test the Window Switch
Remove the switch from the console or armrest. Use a PowerProbe or 12V battery to send power directly to the motor wires:
– Connect positive to one terminal, ground to the other.
– Reverse polarity to test both up and down directions.
If the motor doesn’t respond, it’s likely dead. If it works, the issue may be the switch or wiring.
Check Fuses and Wiring
A blown fuse can mimic motor failure. Check the fuse box (driver’s side or under the hood) for the window circuit. If other electrical components fail simultaneously, suspect a short. Also inspect the electrical connector inside the door for corrosion or exposed wires that could cause a short.
Gather Required Tools and Parts
Use the right tools to avoid stripped screws and damaged trim.
Essential Tools
- Socket wrench set (metric)
- 10mm socket with wobble extension (key for grab handle bolts)
- Flex-head wrench (to hold nuts behind mounting posts)
- Trim removal tools (plastic pry bars)
- Phillips and flathead screwdrivers
- Pliers (for removing rod clips)
- Masking tape (to secure window glass)
Materials and Upgrades
- New window motor or motor/regulator assembly (recommended)
- Dielectric grease (for electrical connectors)
- 3M silicone paste (lubricates tracks)
- Electrical tape (insulates blade connectors)
- Hot glue gun (holds spacers during install)
- Butyl sealing tape (reseals moisture barrier)
Pro Tip: Replace the entire regulator/motor assembly. It’s often cheaper than OEM motors alone and ensures all worn parts (cables, gears) are renewed.
Disconnect Battery and Secure the Window
Safety comes first. Always disconnect power before starting.
Remove Negative Battery Terminal
This prevents accidental activation, electrical shorts, and potential injury. Use a wrench to loosen the terminal bolt and tuck the cable away from the battery post.
Lock the Window in Place
If the window still moves, roll it all the way up. Apply masking tape across the top edge of the glass to hold it against the door frame.
If the window is stuck down, use a wooden dowel or support rod placed vertically between the glass and door bottom to prevent it from falling when the motor is disconnected.
Remove Door Interior Trim
Accessing the motor requires careful disassembly of the door panel.
Take Off Upper Trim
Locate the fir tree clips along the top edge of the door. Insert a trim tool under the edge and pop the first clip. Slide the tool along to release others.
Watch for a curved metal clip extending into a cavity. Pull it straight out. Once free, tilt the trim upward and unseat it from the armrest slot.
Remove Crossmember and Wiring
Unscrew the black metal crossmember (covers window posts) using a Phillips driver.
– Remove end screws first, then center screws to prevent bending.
– Unclip the wiring harness from its guides (usually 3 points) before pulling the bracket free.
Detach Escutcheon and Grab Handle
Pull the latch release handle as if opening the door, then slide the escutcheon (plastic tray) forward and up. Lift it out.
For the grab handle:
– Remove bolts through the switch opening (front) and latch hole (rear).
– Use a 10mm socket with thin 1/4″ wobble extension. Standard tools won’t fit.
Unfasten Lower Trim Panel
Remove 5–6 perimeter screws (avoid those on the lock switch). Pull the panel outward to release all plastic clips. Gently lift and disconnect any wiring harnesses (e.g., for power mirrors).
Peel Back Moisture Barrier
The plastic moisture barrier protects against water intrusion.
Carefully Remove the Plastic Liner
Peel back the barrier from the door skin. It’s held with adhesive strips. Press firmly when reinstalling. If the glue fails, use butyl sealing tape for a waterproof seal.
Optional: Remove Latch Rods
To gain full access, unclip the lock and latch rods using pliers. Pull the clips upward, then slide rods out of the handle/switch. Remove two bolts on the latch bracket only if full removal is needed.
Remove the Old Window Motor
Now you can access the motor and regulator assembly.
Lower Window Slightly (If Possible)
If the motor still works, lower the glass 1–2 inches to expose the top mounting nuts on the regulator arms.
Disconnect Electrical Connector
Locate the motor’s plug inside the door cavity. Unclip and disconnect it. If wires are exposed, insulate them with electrical tape.
Remove Mounting Bolts
- Bottom Motor Bolts: Two 10mm bolts secure the motor to the door.
- Challenge: Nuts are on the backside, inside the door cavity.
- Solution: Use a flex-head wrench to hold the nut while loosening the bolt with a socket.
- Top Regulator Nuts: Remove nuts connecting regulator arms to glass posts (accessible through holes in the door skin).
Extract the Assembly
If the motor and regulator are integrated, maneuver the unit out through the large access hole.
Stuck? Unbolt the motor from its frame (usually 3 bolts with spacers). Remove the motor separately, then extract the regulator.
Warning: Never let the window drop. Always support it with tape or a dowel.
Install the New Window Motor

Proper installation prevents misalignment and future failure.
Prepare the New Motor
Compare the new unit to the old one. Transfer any hardware not included, such as:
– Central guide rail bolt
– Long bolts for stacked arms
– Spacers
Secure Spacers with Hot Glue
Spacers often shift during install. Use a hot glue gun to temporarily hold them in place on the motor mount. Avoid getting glue in threaded holes.
Feed in the New Motor
Insert the motor through the access hole. If you separated the motor and frame, reattach them inside the door. Slide the assembly toward the grab handle opening to align the central bolt.
Reattach Regulator to Window
Align the regulator arms with the glass mounting posts. You may need a helper or a pry bar to line up the holes.
– Start all nuts and bolts loosely.
– Tighten the glass post nuts first, then the motor mounting bolts.
– Secure the central guide rail bolt to the grab handle bracket.
Reconnect Electrical Wiring
- Plug in the connector securely.
- If the new motor uses blade connectors, crimp them onto the harness.
- Critical: Wrap blade connectors in electrical tape before testing. Exposed metal touching the door skin causes shorts and blown fuses.
- Apply dielectric grease to prevent future corrosion.
Test Before Reassembly
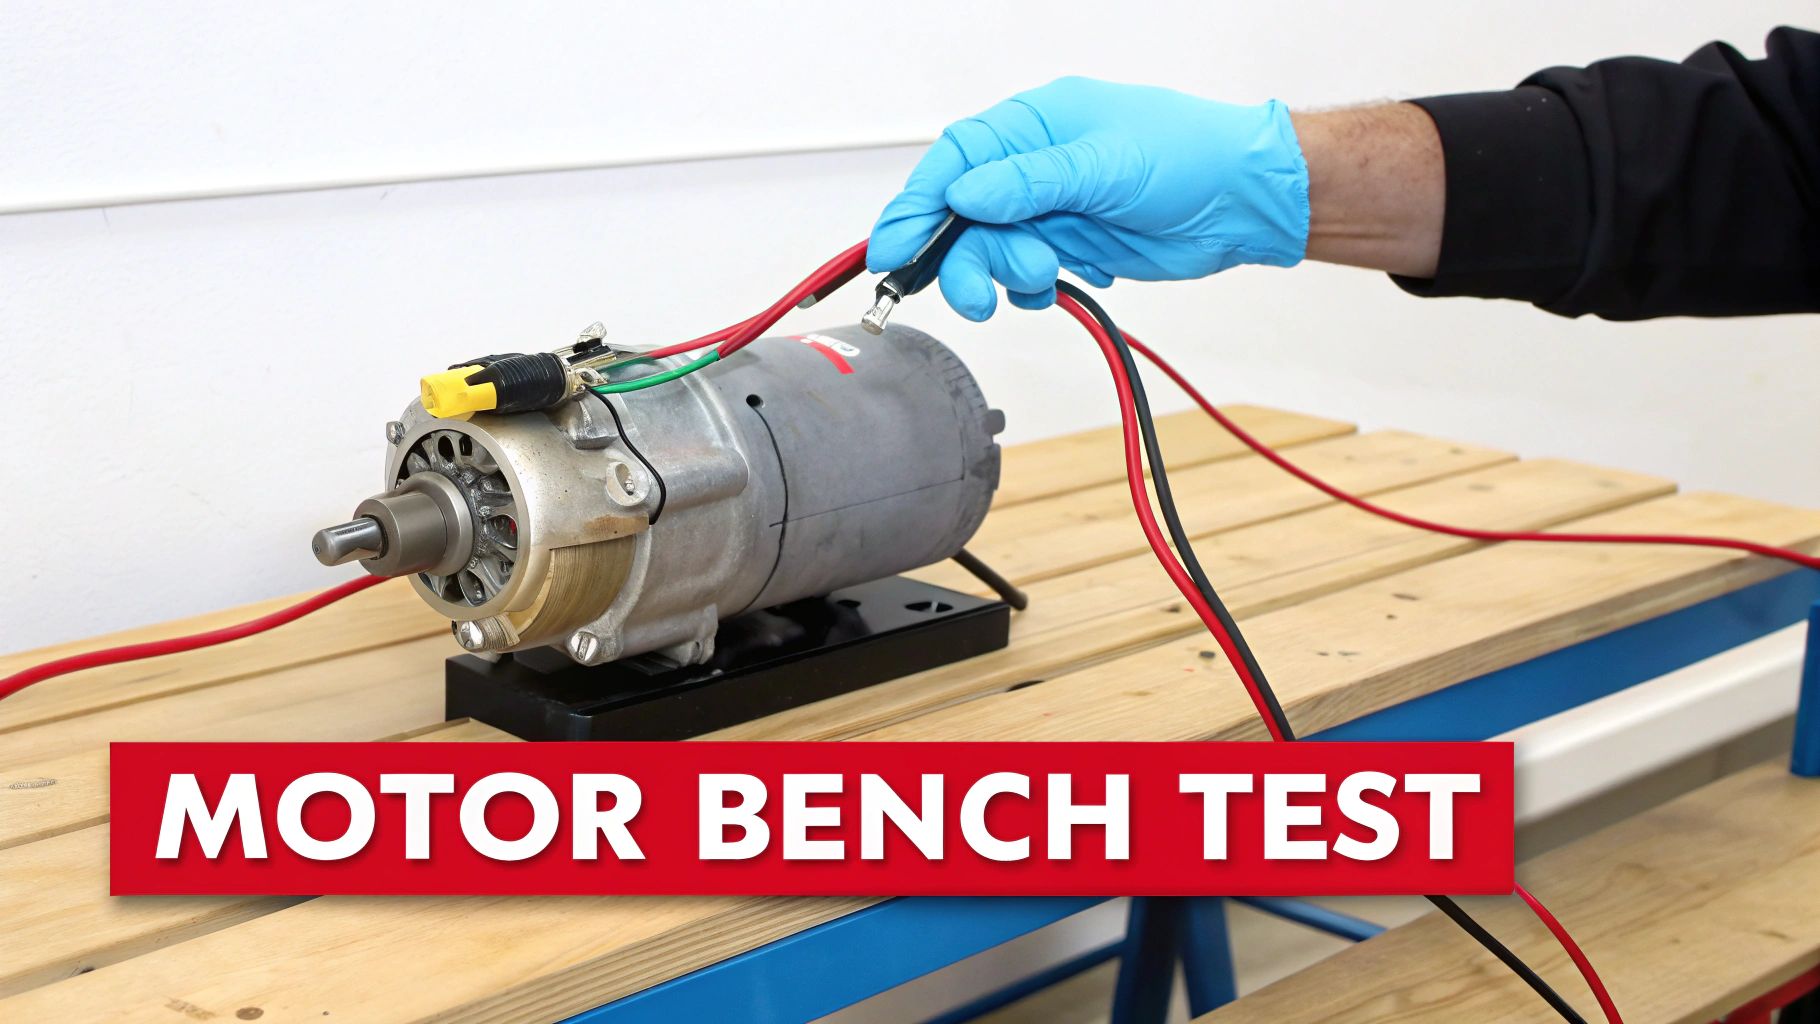
Verify everything works before closing up the door.
Reconnect Battery and Test
Reattach the negative battery terminal.
– Activate the window switch.
– Watch for smooth, full up/down movement.
– Listen for grinding or binding, which signals misalignment.
Note: Some vehicles require window reinitialization (e.g., hold switch up for 5 seconds after full rise). Consult your manual.
Troubleshoot Common Issues
| Symptom | Likely Cause | Fix |
|---|---|---|
| Window moves slow | Lack of lubrication | Apply 3M silicone paste to tracks |
| Grinding noise | Misaligned regulator | Recheck arm alignment and bolt tightness |
| Fuse blows | Exposed blade connectors | Insulate with electrical tape |
| No movement | Wrong polarity or bad switch | Swap wires or retest switch |
Reinstall Door Trim and Final Checks
Now close everything up securely.
Reseal Moisture Barrier
Press the plastic liner back onto the door. Use butyl tape if the original adhesive is weak. Ensure full coverage around edges to prevent water leaks.
Snap in Lower Trim Panel
Align the grab handle bracket first. Insert bolts through access holes.
– Reconnect wiring (mirror, speaker).
– Snap fir tree clips into place. Use a screwdriver to guide stubborn ones.
– Reinstall perimeter screws.
Reattach Crossmember and Upper Trim
Slide the wiring harness into guide clips. Position the metal crossmember and tighten screws. Ends first, then center.
Reinstall the upper trim by flexing the curved metal clip back into its cavity. Press firmly to seat all clips.
Final Components
- Reinstall escutcheon and power mirror switch (use screwdriver to release clip).
- Replace any screws hidden under trim covers.
Maintenance Tips to Prevent Future Failure

Extend the life of your new window motor with simple care.
Lubricate Tracks Regularly
Apply silicone-based lubricant to vertical and horizontal tracks every 6 months. Avoid grease; it attracts dirt and increases motor load.
Clean Regulator Mechanism
Remove old grease and debris from gears and cables annually. Re-lubricate with dielectric grease for smooth operation.
Protect Electrical Connections
Use dielectric grease on all connectors during installation. It prevents moisture buildup and corrosion that cause resistance and overheating.
Watch for Cold Weather Slowdown
If the window moves slowly in winter, it may signal a failing motor. Replace it before complete failure.
Frequently Asked Questions About Window Motor Replacement
How long does it take to replace a window motor?
Professional technicians typically complete the job in under an hour. DIY repairs may take longer depending on trim complexity and whether fasteners are rusted or seized.
Can I replace just the motor without the regulator?
Yes, but it’s often not recommended. The motor and regulator wear together, and replacing only the motor may leave you with stripped gears or broken cables that cause the same failure shortly after. A combined assembly is usually cheaper and more reliable.
What causes a window motor to fail?
Common causes include age, normal wear, corrosion, and contamination from debris. Motors can also fail due to electrical shorts, blown fuses, or thermal fuse activation after extended use.
How do I know if it’s the motor or the switch?
Test the motor directly using a PowerProbe or 12V battery. If the motor runs when given direct power, the switch or wiring is likely the problem. If it doesn’t respond, the motor is dead.
Why does my window work sometimes but not others?
Intermittent operation usually points to a loose electrical connection, a failing thermal fuse, or early-stage motor wear. Check connector seating and apply dielectric grease to rule out corrosion.
Will a new motor fix a window that falls into the door?
Not necessarily. If the window drops when the motor disconnects, the regulator cables or gears are likely stripped. In that case, replace the entire regulator/motor assembly.
Final Thoughts on Replacing a Window Motor
Replacing a window motor doesn’t require a mechanic, just patience and the right approach. By following these steps, you can diagnose, remove, and install a new motor confidently, saving hundreds compared to dealership labor. Focus on securing the glass, insulating electrical connections, and lubricating moving parts for long-term reliability.
Remember: If the window still won’t move after replacement, the issue may be the regulator gears or switch wiring, not the motor. Always test components individually.
With your window working smoothly again, you’ll enjoy better comfort, security, and peace of mind, with no more rain-soaked seats or awkward drive-thru moments.



