
A torn window screen lets in mosquitoes, debris, and cold drafts while ruining your view. Even a small puncture can quickly grow into a larger rip if ignored. The good news is you don’t need to replace the entire screen or hire a professional for minor damage.
With a basic screen repair kit and about 30 minutes, you can restore your screen to like-new condition. This guide covers how to fix a torn window screen using simple tools, plus tips to make your repair last for years.
Inspect the Tear Before You Start
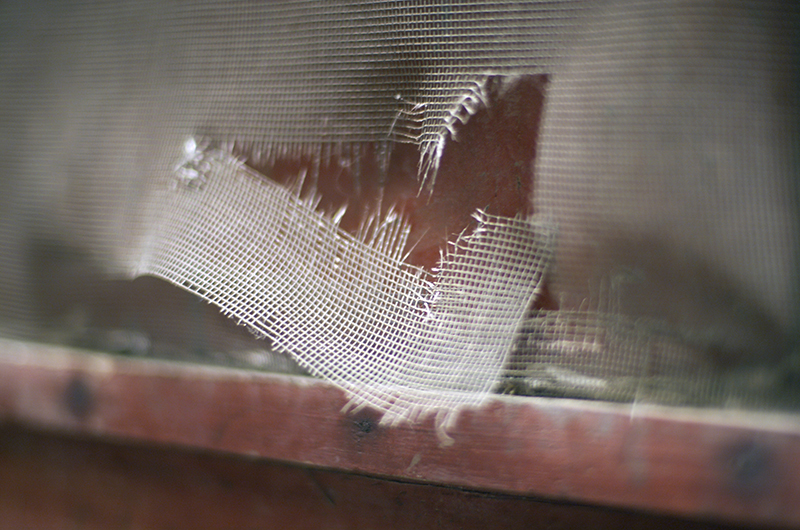
Jumping straight into repairs can lead to wasted materials. A quick inspection tells you whether a patch will hold or if you need to replace the whole panel.
Identify Tear Size and Location
Measure the damaged area with a ruler. Tears under 3 inches in the center of the screen are ideal candidates for patching. Tears running along the frame edge usually require full replacement because the spline groove can’t secure a patch properly.
Check the Frame Condition
Examine the aluminum or vinyl frame for bends, cracks, or corrosion. A damaged frame won’t hold the spline tightly, which means your repair will fail quickly. If the frame is compromised, replace the entire screen unit instead.
Decide Between Patching and Full Replacement
Not every tear deserves the same fix. Choosing the right approach saves time and money.
When Patching Works Best
- The tear is small and located away from the edges
- The surrounding mesh is still flexible and intact
- The frame is structurally sound
When Full Replacement Is Smarter
- The tear runs along the spline groove
- The mesh is brittle, faded, or sagging in multiple spots
- You see several holes scattered across the panel
A full replacement costs roughly $20 to $50 in materials and takes around 20 minutes. If you find yourself patching the same screen repeatedly, replacement is the better long-term value.
Gather Your Repair Materials
Having everything ready before you start prevents mid-project interruptions. Most supplies are available at any hardware store.
Essential Tools and Supplies
- Replacement screen mesh (fiberglass or polyester, matching your original)
- Screen repair kit with spline and spline tool
- Sharp utility knife or scissors
- Measuring tape
- Marker or pencil
- Spline roller (or a flat-edged spoon as a substitute)
Why Mesh Type Matters
Fiberglass mesh is the most common choice because it’s flexible, UV-resistant, and easy to cut. Polyester mesh is stronger and tighter, often found on premium screens. Using a mismatched mesh creates uneven tension and visible patches, so always match what you already have.
Measure and Cut Your Patch

Accurate measurements prevent gaps and wrinkles. A patch that’s too small won’t seal the hole, while an oversized patch is hard to seat properly.
Calculate the Right Patch Size
Measure the tear’s width and length. Add at least 2 inches of overlap on every side. For example, a 2-inch tear needs a patch measuring at least 6 inches by 6 inches.
Cut Clean Edges
Lay the replacement mesh on a flat surface. Mark your cut lines with a ruler and marker, then slice with sharp scissors. Clean, fray-free edges prevent the patch from unraveling over time.
Pro Tip: Cut the patch slightly larger than your measurements. You can always trim excess after the spline is seated.
Remove the Old Spline Carefully
The spline is the rubber cord that locks the mesh into the frame’s groove. You only need to remove the section near the tear, not the entire perimeter.
Lift the Spline End
Slide a utility knife or flathead screwdriver under one end of the spline. Gently pry upward while pulling the spline out with pliers or your fingers.
Work in Small Sections
Pull the spline out in 6 to 8 inch segments. This prevents the frame from bending or warping under uneven pressure.
Warning: If the spline resists or feels stuck, stop and check for corrosion or kinks. Forcing it can crack the frame and create a bigger problem.
Position the Patch Over the Tear
With the spline removed, you have access to the damaged area. Proper positioning ensures the patch stays flat and secure.
Lift the Existing Screen
Gently pull the original screen away from the frame to create a small gap. This gives you room to slide the patch underneath without disturbing the surrounding mesh.
Center and Secure the Patch
Place the patch over the hole from the interior side of the screen. Make sure it overlaps evenly on all sides. Use masking tape or small clamps to hold it in position while you work.
Visual Cue: The patch should lie completely flat. Any wrinkles or bubbles mean you need to reposition before continuing.
Reinstall the Spline to Lock the Mesh
The spline is what holds your repair together. Proper installation creates the tension that keeps the screen taut and firm.
Start at a Corner
Press the new spline into the groove using the spline tool’s flat edge. Begin at a corner or straight section of the frame. Work in 4 to 6 inch increments, pressing firmly as you go.
Roll the Spline Into Place
After inserting each section, run the spline roller over it. This pushes the spline deep into the groove and tightens the mesh evenly. Apply steady, consistent pressure without rushing.
Common Mistake: Skipping the roller leaves loose spots that sag over time. Always roll after pressing the spline in.
Trim the Excess Mesh

Once the spline is fully seated, trim away the extra material for a clean, professional finish.
Cut Flush with the Frame
Hold a sharp utility knife at a low angle against the outer edge of the frame. Slice along the perimeter, removing all excess mesh in one smooth motion.
Pro Tip: Make several light passes rather than one deep cut. This gives you better control and prevents gouging the frame.
Smooth the Surface
Wipe the screen with a dry cloth to remove dust and loose fibers. Run your hand across the patched area. It should feel smooth and tight, with no raised edges or loose threads.
Test Your Repair
A few quick checks confirm your fix will hold up to daily use.
Press Test for Proper Tension
Gently press your fingertip into the patched area. The mesh should resist and feel firm. If it gives too much or sags, the spline may not be seated deeply enough.
Inspect the Edges
Run your fingers around the entire frame. Look for any spots where the spline popped out or the mesh lifted. Re-roll those sections if needed.
Reinstall the Screen
Slide the screen back into the window track. Close the window to make sure it fits properly and doesn’t catch or bind.
Prevent Future Screen Damage
A little maintenance goes a long way toward keeping your screens in good shape.
Keep Pets and Children Away from Screens
Train pets not to paw at windows. Use decals or guards if you have young children who might push against the mesh.
Clean Screens Gently
Wash screens with a soft brush and mild soap once or twice a year. Avoid pressure washers or harsh scrubbing, which weaken the fibers over time.
Inspect Seasonally
Check screens each spring and fall for small holes or weak spots. Catching damage early means easier repairs and longer screen life.
Frequently Asked Questions About Fixing Torn Window Screens
Can I fix a torn window screen without removing it from the window?
Yes, small patches can be applied while the screen is still in place. However, removing the screen gives you better access and produces a cleaner, more durable repair.
What is the best adhesive for patching a window screen?
Most repairs don’t require adhesive because the spline holds the mesh in place. If you need a quick temporary fix, clear silicone caulk or screen patch tape works for small holes.
How long does a window screen repair typically last?
A properly installed patch using spline and matching mesh can last 5 to 10 years or longer. The lifespan depends on exposure to weather, pets, and how well you maintain the screen.
Is it cheaper to repair or replace a window screen?
Repairing costs around $10 to $20 for materials, while full replacement runs $20 to $50. For small, isolated tears, repair is the clear winner. For extensive damage, replacement offers better value.
Can I use duct tape to fix a torn window screen?
Duct tape is a temporary fix at best. It leaves residue, looks unsightly, and usually fails within a few weeks. A proper mesh patch with spline is far more reliable.
What size spline do I need for my window screen?
Spline size depends on your frame’s groove width. Measure the existing spline or check your screen manufacturer’s specifications. Most home screens use spline between 0.125 and 0.25 inches.
Key Takeaways for a Long-Lasting Window Screen Repair
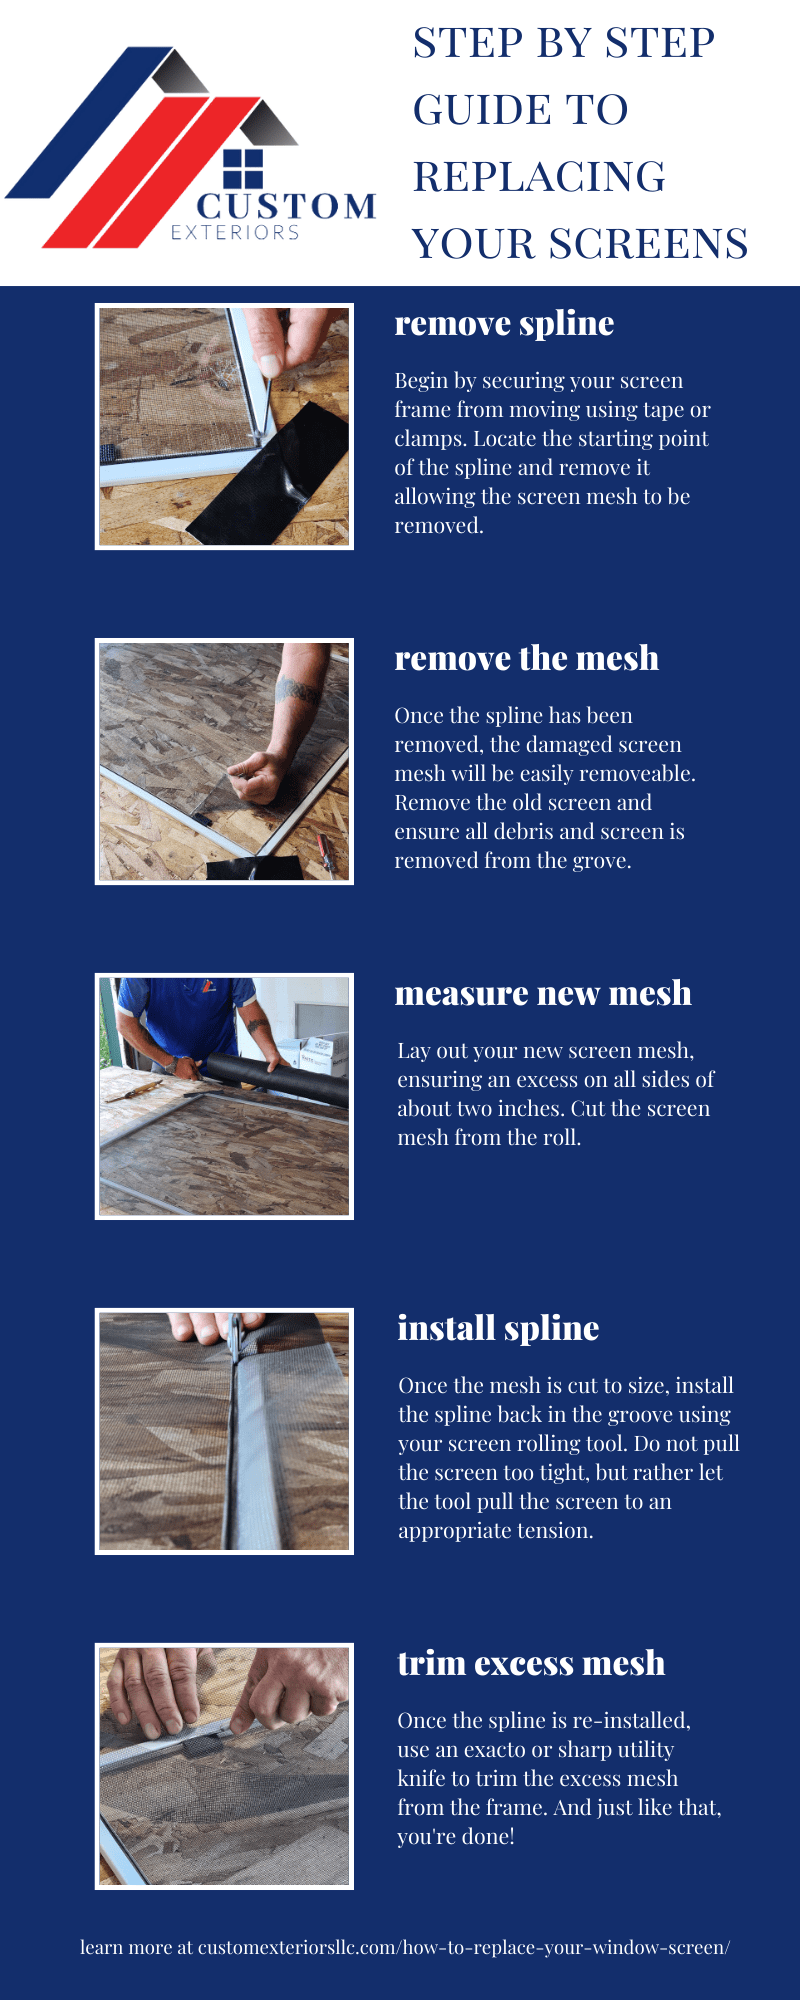
Fixing a torn window screen is one of the most affordable and satisfying DIY home repairs. Focus on matching your mesh type, measuring your patch with at least 2 inches of overlap, and seating the spline firmly with a roller. These three details separate a sloppy patch from a repair that lasts for years.
Your next step is simple: grab a screen repair kit from your local hardware store, set aside 30 minutes this weekend, and tackle that torn screen before it grows into a bigger problem.