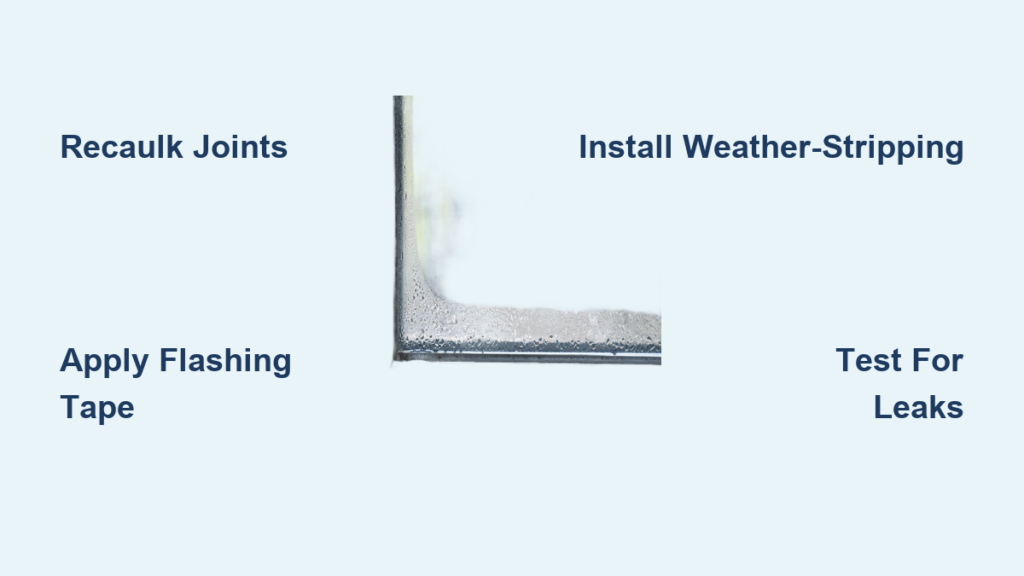
Water dripping down your wall during a rainstorm can quickly lead to mold, rot, and costly structural damage. If you’re facing a leaky window but cannot access the exterior, replacing the entire unit might seem like your only option. The good news is that targeted interior fixes can stop the leak for good without tearing out walls or hiring a contractor crew.
This guide walks you through diagnosing the source, applying weather-resistant seals, and preventing future moisture intrusion. You will learn how to reseal gaps, install flashing tape from inside, use adhesive repair strips, and tell real leaks apart from condensation.
Pinpoint Where the Leak Starts
Before applying any fix, confirm where water is entering. A misdiagnosis leads to wasted effort and recurring problems.
Look for Interior Water Signs
Check your walls and floors for these clues:
– Stains on the wall or windowsill
– Peeling paint or bubbling drywall near the frame
– Dampness on the floor after heavy rain
Trace the moisture path upward. Water often travels along framing before appearing inside your home.
Inspect Frame Gaps and Joints
Examine all four sides of the window frame carefully:
– Focus on corners, which are common failure points
– Run your finger along the seam between frame and wall
– Feel for drafts or visible cracks
Even hairline gaps can let in significant water during wind-driven rainstorms.
Test for Failed Sealant or Flashing
Old caulk shrinks, cracks, and pulls away over time. Look for these warning signs:
– Brittle, chalky, or missing caulk lines
– Gaps behind window trim if accessible
– Discoloration or rust on metal flashing
If flashing is absent or damaged, water may be bypassing the window entirely.
Pro Tip: On a rainy day, watch the exterior through a window or video to see where water flows near the problem area. Does it pool at the base or run behind siding?
Remove and Replace Damaged Caulk
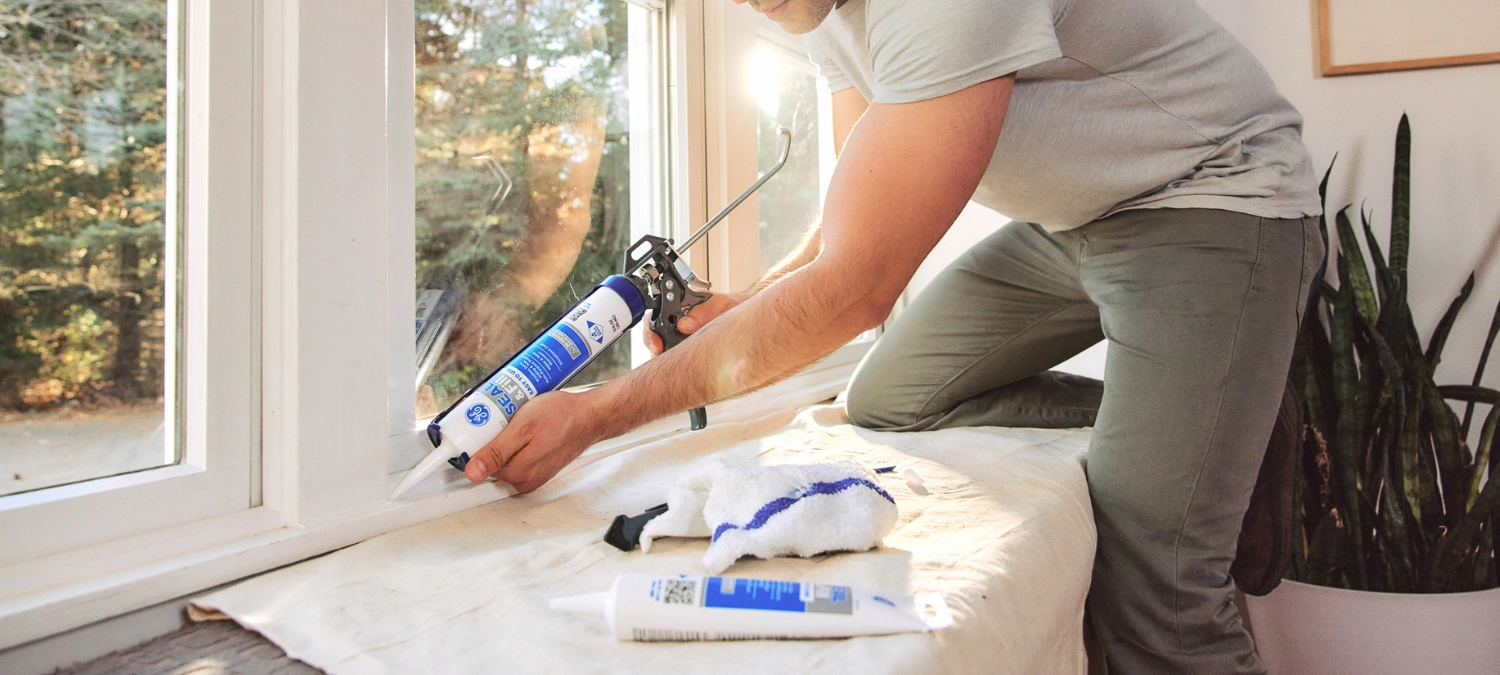
Failed caulk is the most common cause of window leaks and one of the easiest problems to solve.
Strip Out Old Caulk Completely
Use a 5-in-1 tool or utility knife to scrape out all degraded sealant:
– Cut along both sides of the old bead
– Pull out the center strip
– Clean residue with mineral spirits or a caulk remover
Leave a clean, dry surface for maximum adhesion of the new sealant.
Prep and Apply New Sealant
Follow these steps for a lasting bond:
1. Wipe the area with isopropyl alcohol or water
2. Let it dry for at least 30 minutes
3. Load a tube of exterior-grade silicone or polyurethane caulk into a caulk gun
4. Apply a continuous, slightly concave bead along the joint
Start at the top and work down to avoid smearing freshly applied caulk.
Smooth and Cure Properly
Finish the job with these final touches:
– Use a wet finger or caulk tool to smooth the bead
– Wipe excess immediately with a damp rag
– Allow 24 to 48 hours to cure before exposing it to rain
Best Caulks for Window Repairs:
– GE Silicone II for flexibility and UV resistance
– Soudal Soudalpro 1000 for bonding to wood, metal, or vinyl
– DAP Dynaflex Ultra for paintable, stretchable sealing
Avoid latex caulks since they degrade quickly when exposed to outdoor conditions.
Apply Self-Adhering Flashing Tape

When traditional flashing is not accessible, peel-and-stick membrane offers a powerful alternative for sealing gaps.
Choose the Right Flashing Tape
Select a rubberized asphalt or butyl-based product for best results:
– Henry 308 Window and Door Flashing Tape
– 3M All Weather Flashing Tape
– Vycor Pro Flashing
These products adhere strongly and remain flexible even in cold weather conditions.
Apply Tape Over Problem Areas
Even from the interior, you can seal critical junctions with these steps:
1. Cut tape to cover the gap between frame and wall
2. Start at the bottom corners and work upward
3. Press firmly with a roller or putty knife
Overlap vertical joints by 2 inches to prevent capillary action from pulling water behind the seal.
Seal Around the Entire Perimeter
Focus your efforts on these key zones:
– Bottom of the frame where water tends to pool
– Sides, especially if wind-driven rain is the culprit
– Top corners, since water can wick in sideways
Visual Cue: The tape should form a continuous, wrinkle-free barrier with no lifting edges anywhere on the perimeter.
This method mimics proper pan flashing and stops water before it enters the wall cavity.
Install Interior Sealant Strips for Quick Relief
For temporary or low-impact solutions, adhesive sealant strips offer fast results without permanent modification.
Select the Right Strip Type
Choose from these common options:
– Foam compression seals that expand slightly when closed
– Rubber gaskets for durable, weather-resistant performance
– Magnetic seals commonly used in storm windows
These products are widely available at hardware stores under brands like Frost King or Duck.
Install Along the Interior Frame
Follow this simple process:
1. Clean the attachment surface thoroughly
2. Measure and cut the strip to length
3. Peel the backing and press firmly into place
4. Close the sash to test compression
Make sure the strip does not interfere with normal window operation.
Best For: Older windows with small gaps, especially single-hung or sliding types.
While not a permanent fix, this approach can reduce air and water infiltration by up to 70 percent in drafty units.
Add Weather-Stripping to Sash Joints
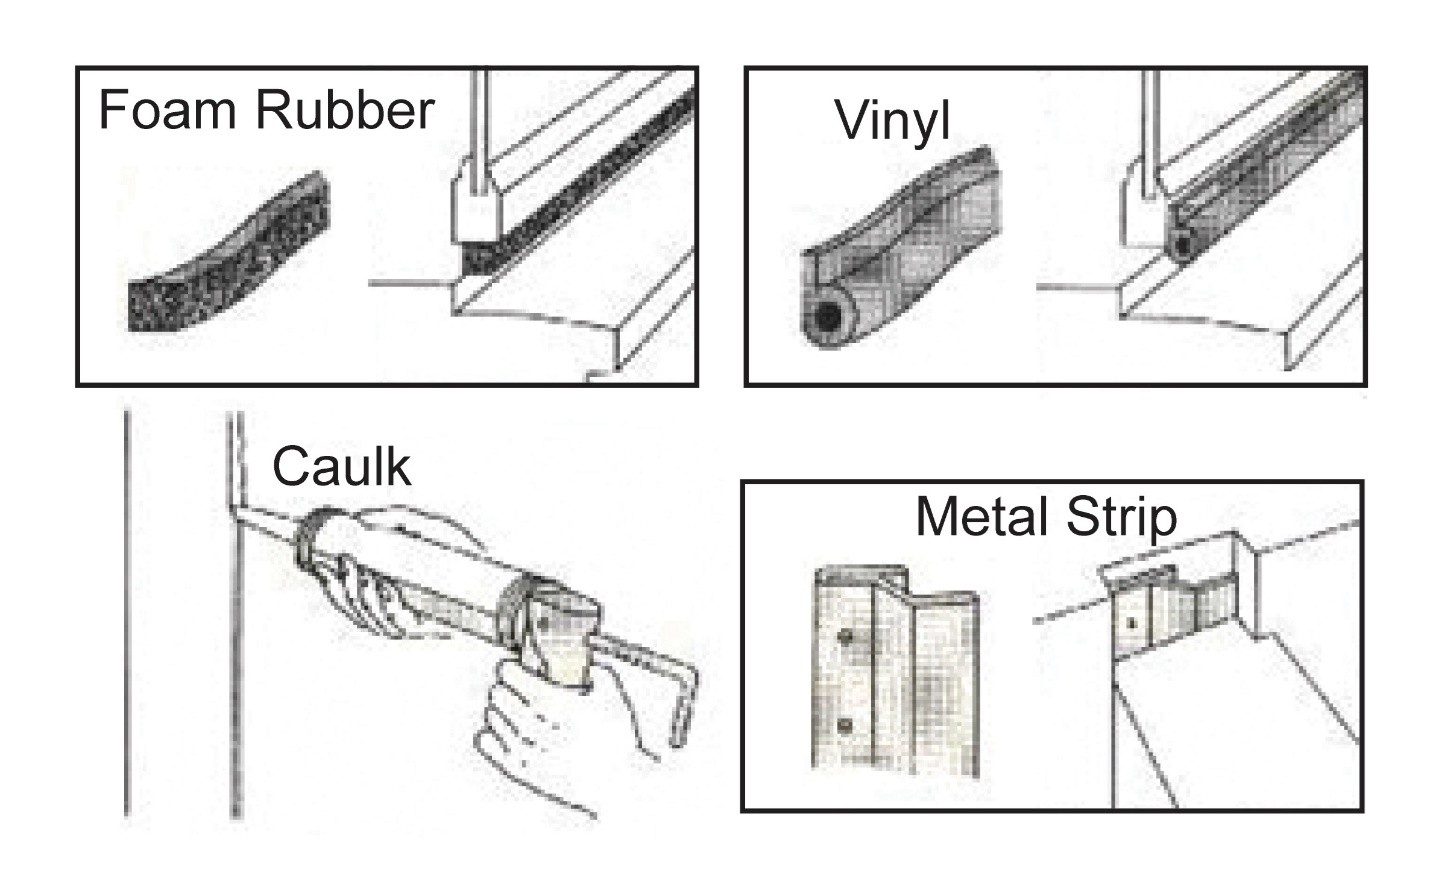
Leaks often occur where the moving sash meets the stationary frame, making weather-stripping an essential upgrade.
Choose Durable Weather-Stripping
Consider these reliable options:
– V-strip (tension seal) for long-lasting, invisible protection
– Foam tape for affordable but shorter-term sealing
– Silicone bulb seals for irregular gaps
Use closed-cell foam or rubber for the best moisture resistance.
Install Step by Step
Complete the installation with these steps:
1. Remove old stripping from the channel
2. Clean and dry the surface thoroughly
3. Press new strip into place along the channel
4. Trim excess with scissors for a clean fit
Test by closing the window. You should feel firm contact without any binding or sticking.
Pro Tip: Apply weather-stripping to both vertical and horizontal meeting rails for full protection against drafts and moisture.
This fix also improves energy efficiency and reduces uncomfortable air leaks throughout your home.
Distinguish Condensation from Actual Leaks
Not every moisture problem is caused by exterior water entry. Some “leaks” are actually condensation forming indoors.
Recognize Condensation Clues
Look for these signs that point to condensation rather than a leak:
– Water only appears during cold weather
– Droplets form on the glass, not on the frame
– No stains appear on walls or sills
– Indoor humidity reads above 60 percent
Condensation can drip like a leak but originates entirely from indoor moisture sources.
Reduce Indoor Moisture
Take these steps to stop condensation at its source:
– Run bathroom and kitchen exhaust fans during and after use
– Use a dehumidifier set to 30 to 50 percent relative humidity
– Avoid drying clothes indoors whenever possible
– Vent all gas appliances to the outside
Quick Test: Place a tissue on the window overnight. If it is wet in the morning but the exterior stays dry, the problem is likely condensation.
Upgrade Window Insulation
Improve thermal performance with these additions:
– Storm windows installed on the interior or exterior
– Clear plastic window kits using shrink-film technology
– Insulated cellular shades for added thermal resistance
These upgrades raise the glass temperature and reduce dew point formation on cold surfaces.
Use a Window Infill Kit for Stubborn Leaks

For chronic leaks in hard-to-reach areas, infill kits provide a structural barrier that blocks water and air.
What Is a Window Infill Kit?
It is a rigid panel, usually made from acrylic or polycarbonate, that fits inside the window opening and seals against the interior frame.
Common uses include:
– Old single-pane windows with persistent leaks
– Problems at the head or jambs with no exterior access
– Temporary repair before planning full replacement
Install from the Inside
Follow these installation steps:
1. Measure the interior opening carefully
2. Cut the panel to match your measurements
3. Apply butyl tape or adhesive to the edges
4. Press into place and clamp until set
Seal the perimeter with silicone if additional protection is needed.
Limitation: Not suitable for severely rotted frames. Use only when the surrounding structure remains sound.
This method blocks airflow, water, and noise, making it ideal for rental properties or historic homes.
Test Your Repair and Maintain Long-Term Protection
After completing your fix, verify it works and establish habits that prevent future problems.
Test the Repair
Confirm your fix holds up with these steps:
– Wait for rain or simulate it with a garden hose
– Spray water at the window from a 45-degree angle
– Watch inside for 10 to 15 minutes for any new moisture
No new moisture means the repair successfully stopped the leak.
Schedule Annual Maintenance
Prevent future leaks with these simple habits:
– Biannual caulk inspection each spring and fall
– Cleaning drainage weeps if your window has them
– Trimming nearby plants to improve airflow around the frame
A 10-minute check twice a year can save thousands in potential repair costs.
Know When to Call a Professional
Seek expert help if you notice any of these warning signs:
– Wood feels rotted or soft to the touch
– The frame moves when pushed
– Water still enters after multiple repair attempts
– You suspect hidden mold or insulation damage
A certified window technician can use moisture meters and thermal imaging to find hidden issues behind walls.
Frequently Asked Questions About Fixing a Leaky Window
Can you fix a leaky window without replacing the entire unit?
Yes. Most leaks come from failed caulk, damaged flashing, or worn weather-stripping, all of which can be repaired without removing the window. Interior fixes like flashing tape, sealant strips, and weather-stripping work well when exterior access is limited.
What causes window leaks during heavy rain?
The most common causes include deteriorated caulk, gaps between the frame and wall, missing or damaged flashing, and failed weather-stripping. Wind-driven rain can force water through tiny openings that normally stay dry.
How do I know if my window is leaking or if it is condensation?
Condensation forms on the glass surface during cold weather and disappears when temperatures rise. Actual leaks leave stains on walls or sills, occur during rainstorms, and often appear away from the glass itself.
What is the best caulk for fixing window leaks?
Exterior-grade silicone or polyurethane caulk works best for window repairs. Products like GE Silicone II and Soudal Soudalpro 1000 offer excellent flexibility, UV resistance, and long-term durability. Avoid latex caulk for outdoor applications.
How long does window caulk typically last?
Quality exterior caulk lasts 10 to 20 years depending on exposure and product type. Inspect caulk lines every spring and fall, and reapply at the first sign of cracking, peeling, or pulling away from the surface.
Are window infill kits worth the investment?
Window infill kits provide excellent temporary or semi-permanent solutions for chronic leaks in older windows. They work best on structurally sound frames and can extend window life by several years while blocking water, air, and outside noise.
Key Takeaways for Fixing Your Leaky Window
Fixing a leaky window without full replacement is both practical and cost-effective in most situations. The key to success lies in accurate diagnosis, durable materials, and consistent maintenance over time.
Start by identifying whether the problem is an actual leak or condensation. Then apply the appropriate fix: re-caulk failed joints, install flashing tape over gaps, add weather-stripping to sash joints, or use an infill kit for stubborn problems. Test your repair with a garden hose and inspect caulk lines twice a year to catch new issues early.
Your next step is simple. Pick one repair method from this guide, gather the materials, and tackle the leak this weekend before it causes serious water damage.