
A sagging window, drafts creeping through your home, or visible discoloration around the edges of your frame could all signal one serious problem: wood rot. If you have noticed soft, crumbling wood near your window, especially after heavy rain or high humidity, you are likely dealing with a rotten window frame. Left untreated, this damage weakens your home’s structure, invites mold growth, and drives up energy costs.
The good news is that you do not always need to replace the entire window. Learning how to fix rotten window frame damage involves identifying the decay, removing compromised material, and reinforcing or replacing sections using fillers, epoxy, or new timber. This guide walks you through every step, from inspection to finishing, so you can restore durability and curb appeal with confidence.
Spot Early Signs of Window Frame Rot
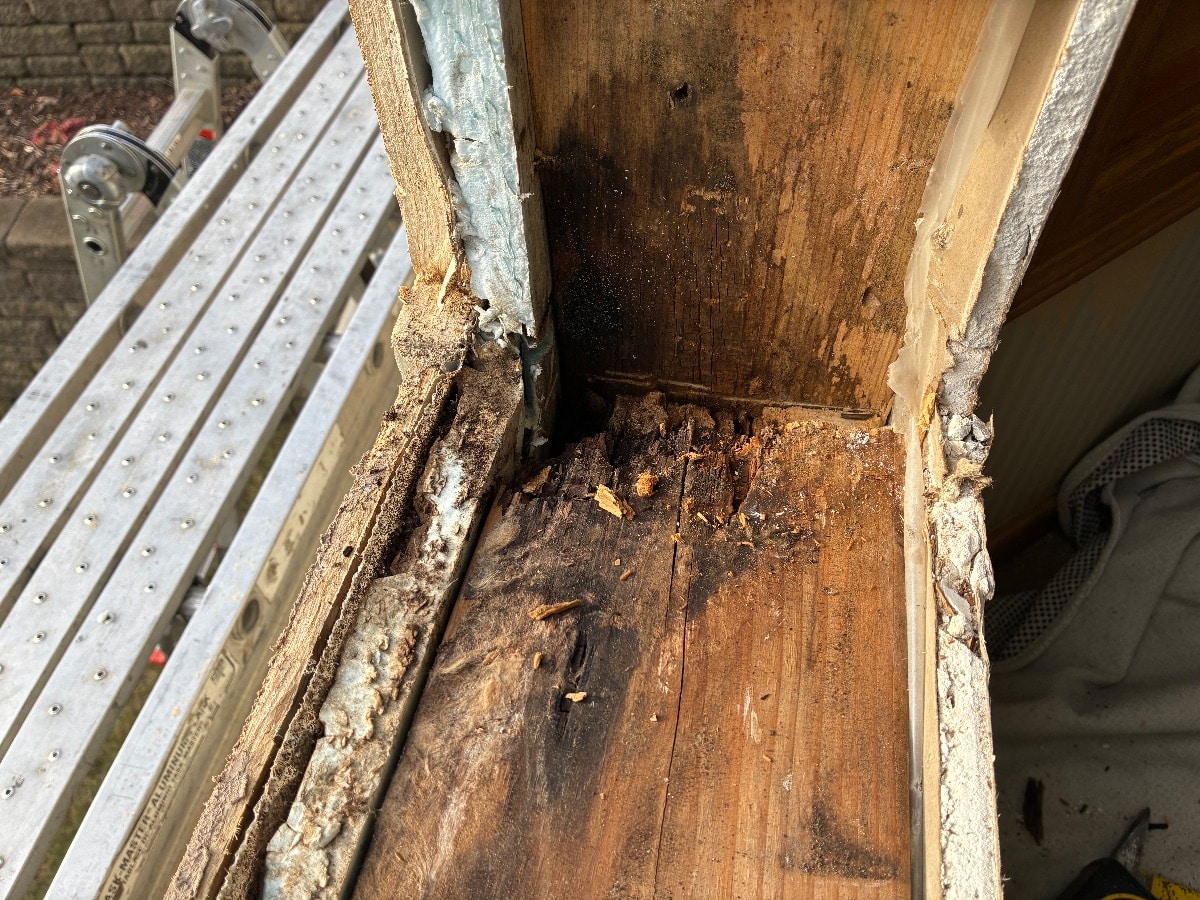
Catching rot early saves you time, money, and structural headaches down the road.
Watch for Visual Warning Signs
Peeling paint, dark stains, and warped wood around the window perimeter often indicate moisture intrusion. You may also notice a musty smell or see fungal growth on the surface. These signs frequently appear on the sill, jambs, and header, where water tends to collect.
Feel for Soft or Spongy Wood
Press the suspected area with a screwdriver or your fingertip. Solid wood feels firm and resists pressure. Rotten wood feels soft, crumbly, or spongy. Mark every soft zone with a pencil so you know exactly where to focus your repairs.
Identify Rot Type and Severity
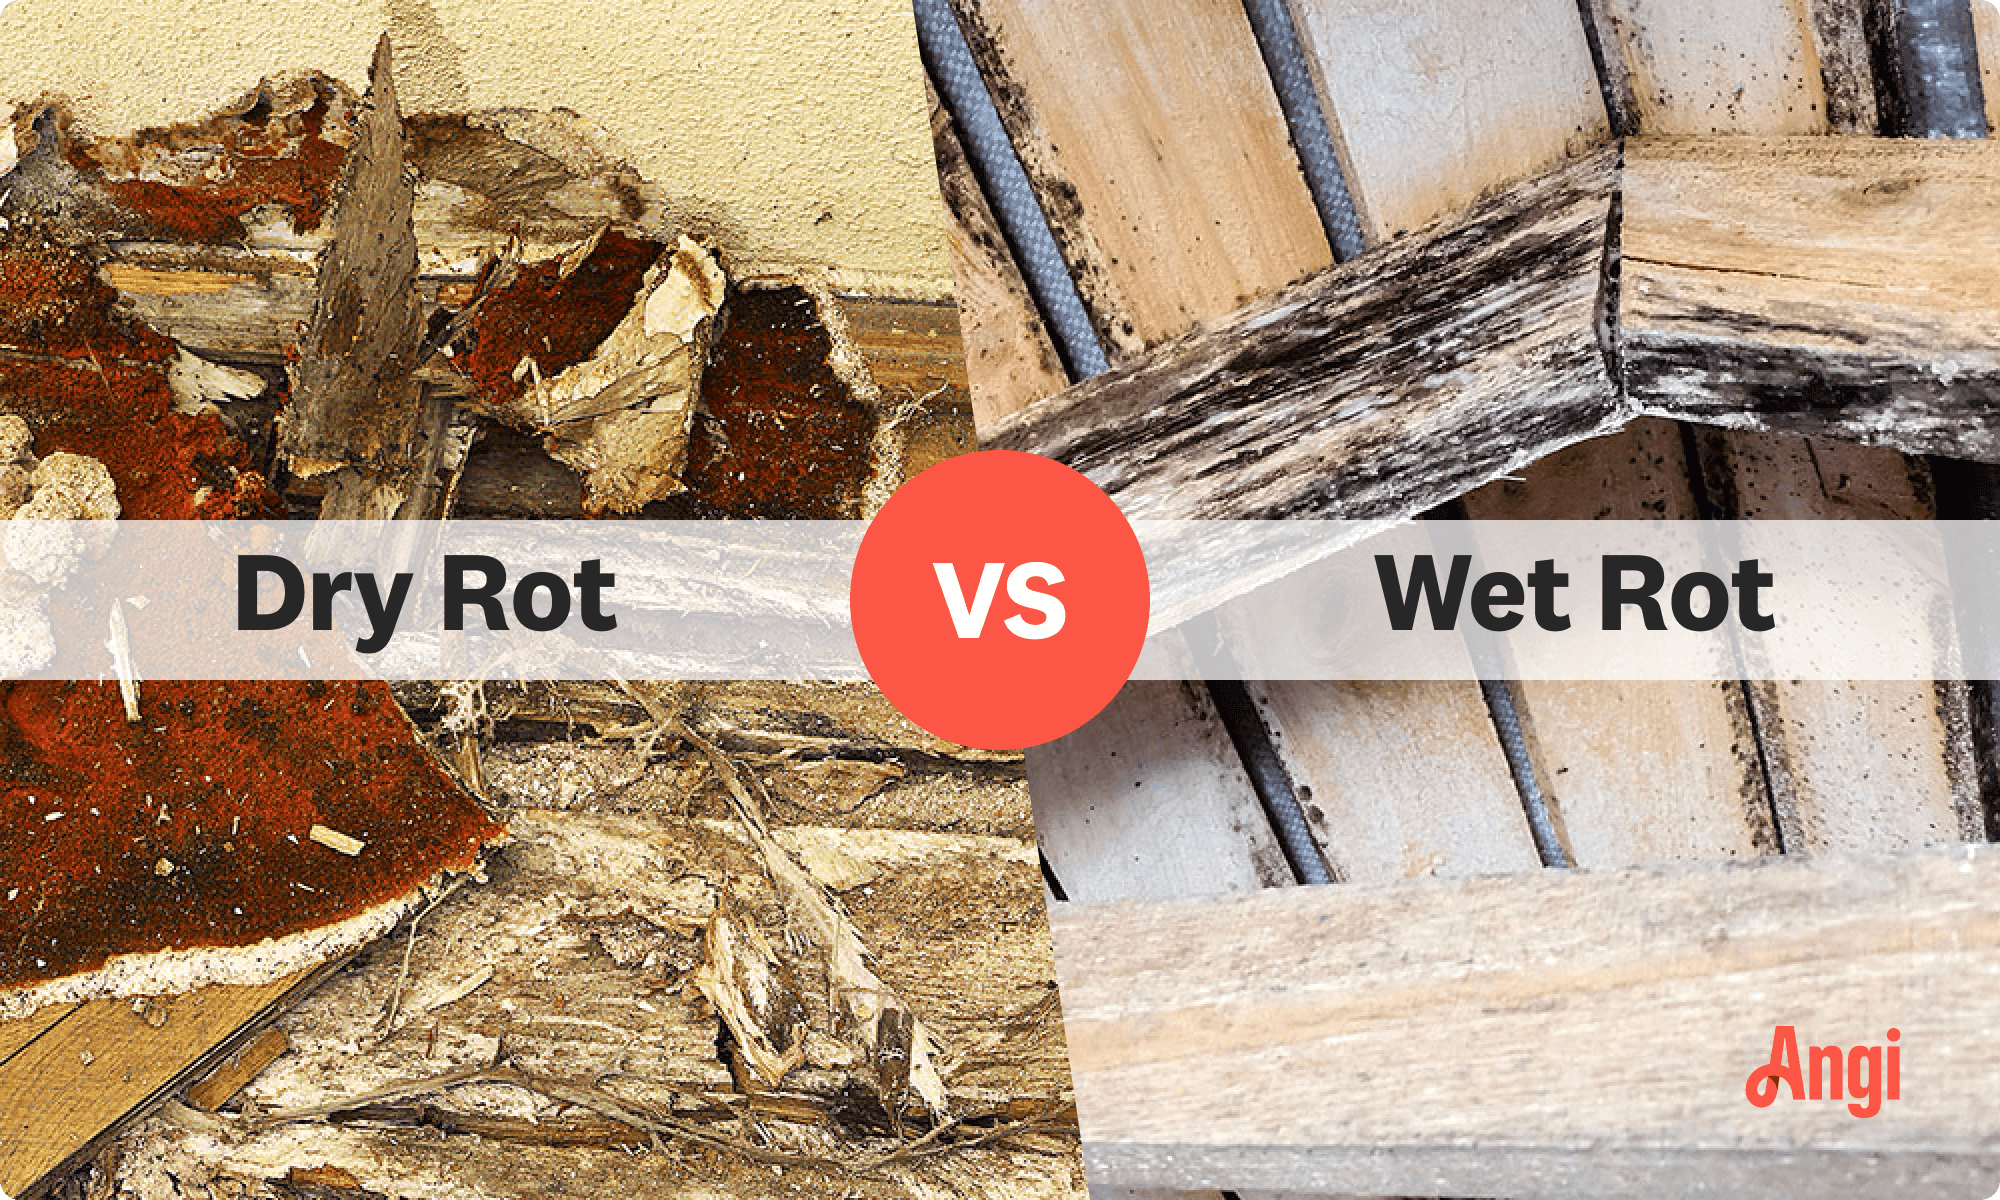
Before choosing a repair method, you need to know what kind of rot you are facing.
Distinguish Wet Rot from Dry Rot
Wet rot thrives in consistently damp wood and causes darkening, softness, and crumbling. It usually stays localized but can still weaken structural integrity. Dry rot spreads beyond wet areas and forms grayish fungal strands or cube-like cracks. If you spot these signs, professional remediation may be necessary.
Locate the Moisture Source
Rot always returns if moisture is not controlled. Inspect leaking gutters, poor drainage, cracked caulking, and missing flashing. Make sure downspouts direct water away from your foundation and that the window has proper overhang protection.
Gather Tools and Materials for the Repair
Having everything on hand before you start keeps the project moving smoothly.
Essential Tools
You will need a putty knife, chisel, rotary tool, wire brush, heat gun, jigsaw or handsaw, drill, and clamps. Safety gear includes goggles, gloves, a dust mask, and a sturdy ladder if working at height.
Repair Materials
Stock up on two-part wood epoxy consolidant and filler, wood preservative or borate solution, waterproof wood glue, pressure-treated or cedar lumber for patches, exterior primer, paint or stain, and paintable silicone caulk.
Prepare the Work Area Safely
Proper preparation protects both you and your home during the repair.
Clear Paint and Debris
Use a heat gun or chemical stripper to soften old paint around the affected zone. Scrape it off with a putty knife rather than sanding, especially if lead paint is a concern. Once bare, scrub the wood with a wire brush to remove dust, loose fibers, and fungal residue. Wipe with a damp cloth and let it dry completely.
Protect Surrounding Spaces
Lay drop cloths inside and outside the window. Wear safety goggles, a mask, and gloves whenever handling chemicals or power tools. Secure ladders and use fall protection if working above ground level.
Remove Damaged Wood Completely

Excising all compromised material creates a sound base for your repair.
Cut Out Rotten Sections
Use a rotary tool or chisel to remove soft wood down to firm material. Carve a slight inward slope, called an undercut, at the edges to help patching compound adhere better. For larger cavities, make clean rectangular cuts to simplify insert replacement.
Treat the Remaining Wood
Apply a wood preservative or borate solution to all exposed interior surfaces. This kills residual fungi and prevents future rot. Allow it to dry according to manufacturer instructions, usually around 24 hours.
Repair with Epoxy Filler
Epoxy is ideal for restoring strength and shape to moderately damaged frames.
Mix and Apply the Epoxy
Choose a two-part wood consolidant for deep penetration and a filler for rebuilding volume. Mix the components thoroughly. Pour or press the consolidant into the cavity with a plastic applicator, then pack the filler into the void, overfilling slightly to allow for sanding