
A crumbling or rotting window sill is more than an eyesore. Left unattended, water damage and wood decay can spread to the window frame, wall structure, or even insulation. Whether you are dealing with peeling paint, soft spots, or visible gaps, learning how to fix a window sill properly can save you hundreds in repair costs and prevent long-term structural issues.
This guide walks you through diagnosing the problem, choosing the right repair method, and completing the fix with lasting results. You will learn when to patch, when to replace, and how to protect your sill from future damage, all with basic tools and materials.
Assess the Damage Before Repairing Your Window Sill
Before picking up a putty knife or drill, inspect the window sill thoroughly. The approach you take depends entirely on the extent and cause of the damage.
Check for Soft or Spongy Spots
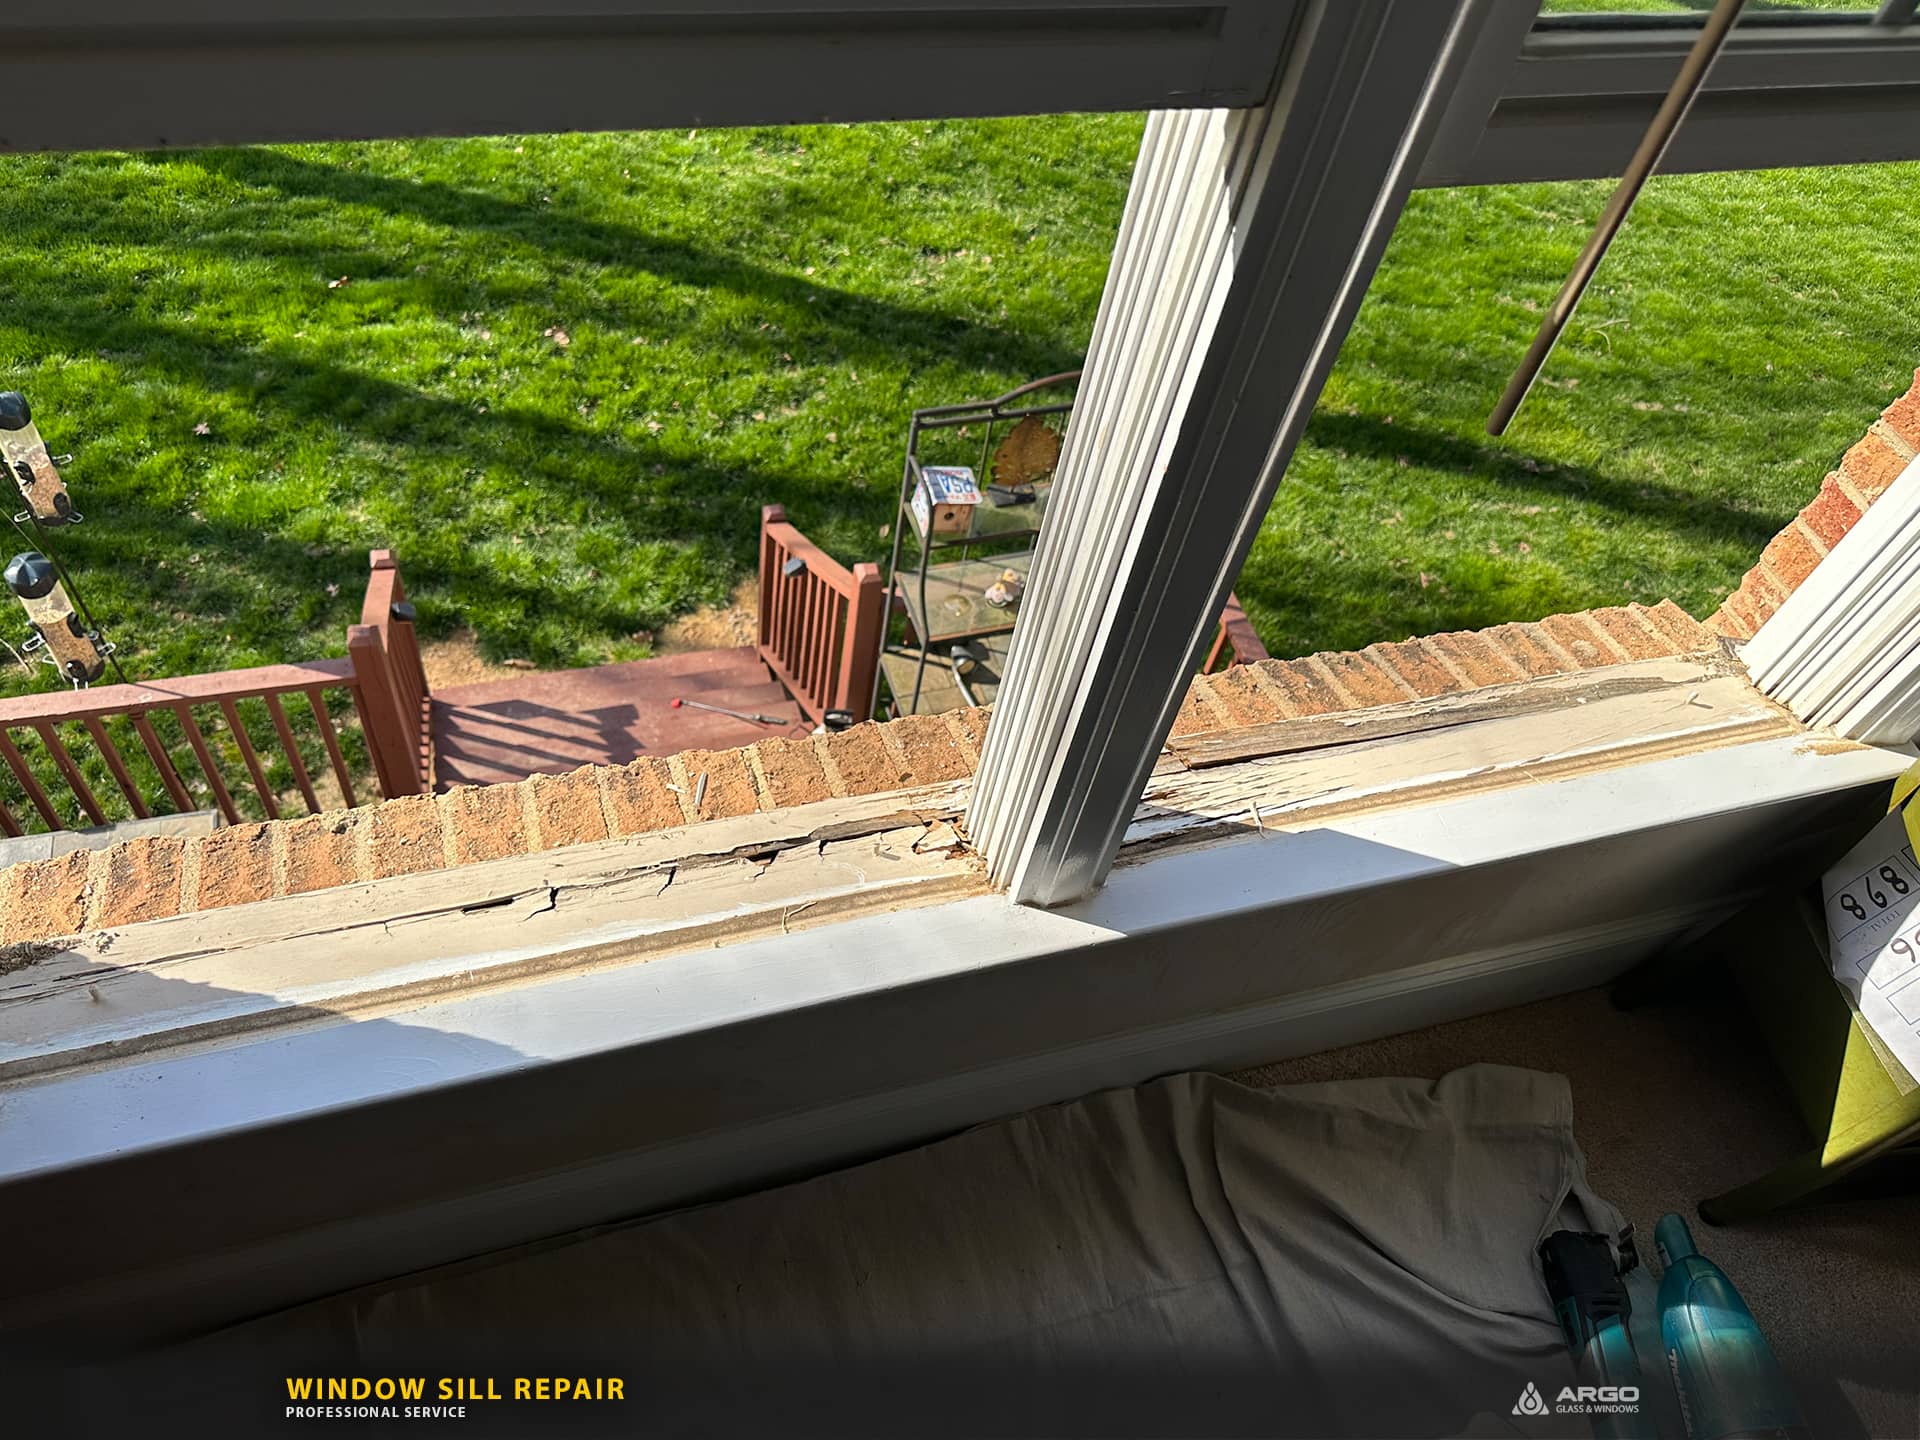
Run your hand along the surface and press firmly with a screwdriver. If the wood yields easily or feels spongy, it is likely rotted. Surface-level softness may be repairable with epoxy, but deep decay means replacement is safer.
Look for Gaps and Cracks
Inspect where the sill meets the window frame and exterior wall. Gaps indicate failed sealant or movement, allowing moisture intrusion. Small cracks can be sealed. Large separations may require reseating or full replacement.
Identify the Root Cause of Damage
Common culprits include:
– Lack of paint or sealant
– Clogged drainage channels
– Poor overhang design
– Condensation buildup indoors
Fixing the sill without addressing the source leads to repeat problems.
Repair Minor Rot with Epoxy Filler

For shallow rot affecting less than half the sill’s thickness, epoxy wood restoration offers a strong, long-lasting fix. This is one of the most effective ways to fix a window sill without full replacement.
Remove Decayed Material
Use a chisel or utility knife to cut away all soft wood. Work until only firm, sound wood remains. Dust out debris with a brush or vacuum.
Apply Wood Hardener
Brush a liquid wood hardener into the exposed area. This stabilizes remaining fibers and improves epoxy adhesion. Let dry per manufacturer instructions, usually 1 to 2 hours.
Fill with Epoxy Wood Filler
Press two-part epoxy filler into the cavity. Overfill slightly, as it may shrink. Smooth the surface with a plastic spreader.
Pro Tip: Shape the filler to slope slightly outward to encourage water runoff.
Let cure completely, typically 6 to 24 hours, before sanding flush with 120-grit paper.
Replace Severely Damaged Window Sills
When rot extends deep into the sill or compromises structural integrity, full replacement is necessary. Knowing how to fix a window sill at this level requires careful removal and installation.
Choose the Right Replacement Material
Options include:
– Cedar or redwood for natural rot resistance and easy shaping
– PVC trim board for waterproof, low-maintenance performance
– Composite lumber for durability, though it is harder to paint
Match the profile to your existing sill for a seamless appearance.
Remove the Old Sill Safely
- Open the window fully to protect the frame.
- Cut through sealant and caulk lines with a utility knife.
- Use a pry bar to gently remove the sill. Avoid damaging the window jamb or siding.
- Scrape off old adhesive and inspect the substructure.
Install the New Sill Correctly
- Dry-fit the replacement to ensure proper length and fit.
- Apply waterproof construction adhesive to the back.
- Slide into place, pressing firmly.
- Secure from below with 2-inch finish screws if needed, then plug the holes later.
- Seal all edges with exterior-grade silicone caulk.
Visual Cue: The sill should slope downward 10 to 15 degrees away from the window.
Seal and Protect the Surface
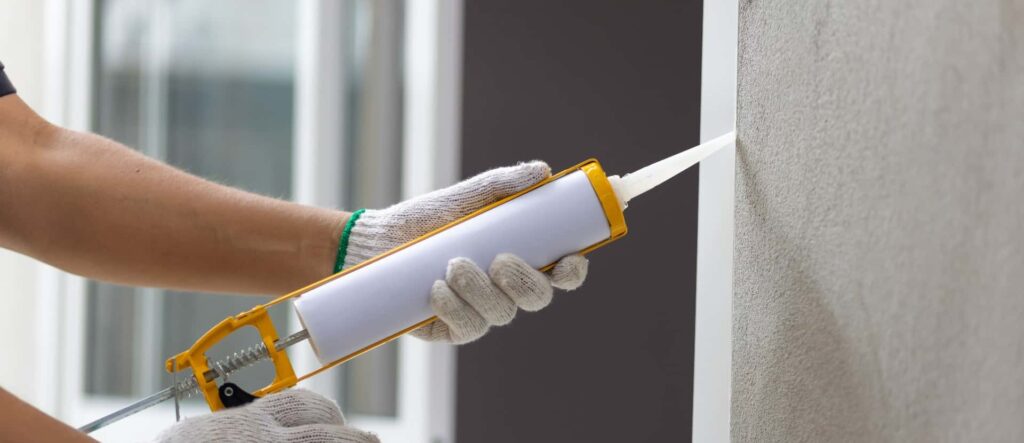
Even a repaired or new sill needs protection to resist moisture over time. Skipping this step is one of the most common reasons people need to fix a window sill again.
Prime and Paint Properly
- Use exterior-grade primer on all surfaces, including the underside.
- Apply two coats of 100% acrylic paint.
- Pay special attention to end grains, which absorb water fastest.
Avoid oil-based paints on softwood, as they trap moisture inside the wood.
Reapply Caulk Annually
Inspect seams each year. Re-caulk with silicone or polyurethane sealant where gaps appear. Never let caulk bridge the gap between sill and wall, since this traps water.
Install a Drip Cap for Extra Protection
For added defense, attach a metal or PVC drip edge above the sill. This directs water away and prevents wicking into the wall.
Prevent Future Window Sill Damage
Avoid repeat repairs with simple preventive steps that extend the life of your repair.
Maintain Paint and Sealant Regularly
Repaint every 3 to 5 years. Touch up chips immediately. Keep caulk intact and flexible throughout every season.
Ensure Proper Drainage Around the Sill
Make sure the sill is not flat. It should angle outward. Clean debris from window tracks to prevent water pooling near the wood.
Use Weather-Resistant Materials Indoors
In bathrooms or kitchens, consider moisture-resistant sill materials like PVC or tile, even if the sill is interior-facing.
Fix Common Installation Mistakes

Many sill failures stem from poor initial installation rather than age or weather alone.
Avoid Trapped Moisture
Never set a sill directly against siding without a moisture barrier. Use backer rod and sealant to create a drainage gap.
Do Not Skip the Slope
A level sill collects water. Always install with a downward tilt, with a quarter inch per foot being ideal.
Never Use Regular Caulk Alone
Caulk degrades over time. Combine it with mechanical fasteners and adhesive for a long-term hold.
When to Call a Professional
DIY works for most sill issues, but seek help if:
– Structural framing is damaged
– The window no longer operates smoothly
– Sill removal affects siding or flashing
– You are unsure about water intrusion into walls
A carpenter or window specialist can assess hidden damage and ensure code-compliant repairs.
Frequently Asked Questions About Window Sill Repair
Can I fix a rotted window sill without replacing it?
Yes, if the rot is shallow and affects less than half the sill’s thickness, you can remove the decayed wood, apply a wood hardener, and fill the cavity with epoxy wood filler. Deep or widespread rot requires full replacement.
What is the best material for a replacement window sill?
Cedar and redwood offer natural rot resistance. PVC trim board is waterproof and low maintenance. Composite lumber is durable but harder to paint. Choose based on your climate and maintenance preferences.
How long does a window sill repair last?
With proper materials, sealing, and maintenance, a repaired or replaced window sill can last 10 years or more. Annual caulk inspection and repainting every 3 to 5 years significantly extend its lifespan.
How much does it cost to fix a window sill?
DIY epoxy repairs typically cost between $20 and $50 in materials. Full replacement with wood or PVC can range from $50 to $200 for materials alone. Professional labor adds $150 to $400 depending on the scope of work.
What causes window sills to rot?
The most common causes are failed paint or sealant, clogged drainage channels, poor overhang design, and indoor condensation. Addressing the root cause is essential to prevent the rot from returning.
Should a window sill slope downward?
Yes, a window sill should slope downward 10 to 15 degrees away from the window. A flat sill collects water, which leads to rot, paint failure, and structural damage over time.
Key Takeaways for Fixing Your Window Sill

Fixing a window sill does not require advanced skills, but attention to detail makes the difference between a lasting repair and a repeat problem. The most important steps are diagnosing the full extent of damage, stopping moisture at its source, and sealing every joint properly.
Whether you patch minor rot with epoxy or replace the entire piece, protect your work with primer, paint, and annual caulk inspections. With proper materials and routine maintenance, your repaired window sill can last well over a decade.
Address the problem now, before it becomes a costly wall or foundation repair.