
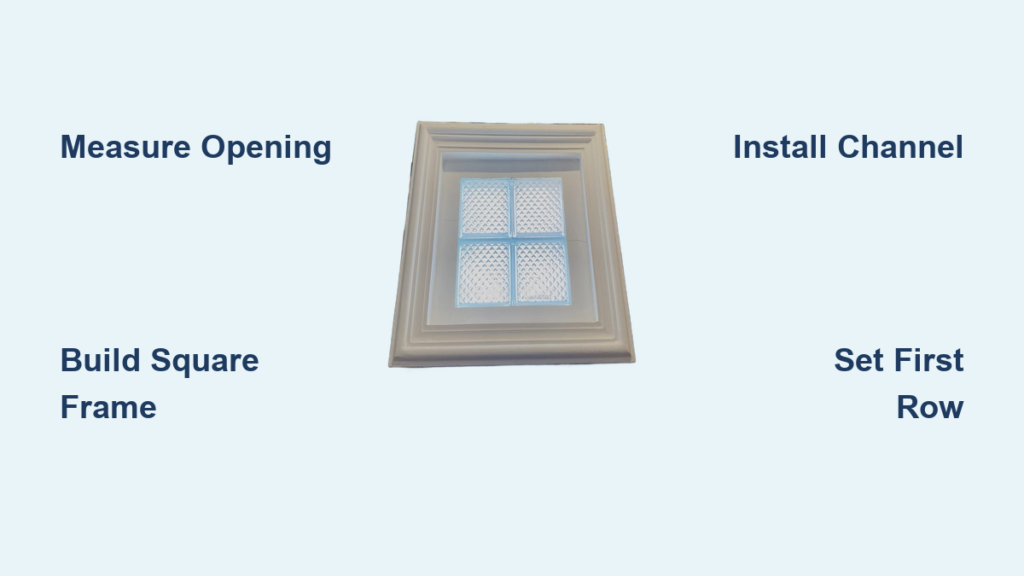
Installing a glass block window brings natural light and privacy into basements, bathrooms, and exterior walls. Unlike standard windows, glass block panels require a rigid, square frame and specialized mortar to hold the blocks securely. Without proper framing, the installation can shift over time, causing cracks, leaks, or structural failure.
This guide walks you through every step of learning how to frame a glass block window, from measuring the rough opening to building a sturdy support structure. You’ll discover which materials work best, how to maintain perfect squareness, and which mistakes to avoid. Whether you’re a DIYer or a contractor, this step-by-step breakdown helps you complete the job right the first time.
Measure the Rough Opening Accurately
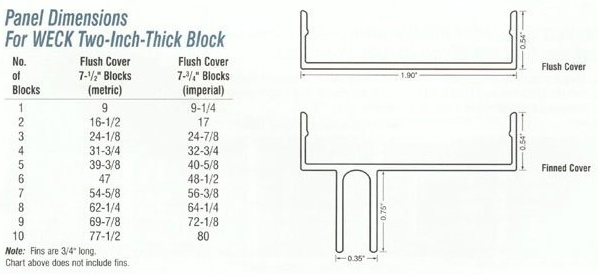
Before cutting lumber or laying blocks, you must determine the exact size of the opening.
Calculate Block Count and Layout
Standard glass blocks measure 7-5/8″ x 7-5/8″, though you should always verify manufacturer specs. Include a 3/8″ mortar joint between each block.
To calculate total wall coverage:
- Multiply the block width plus the joint
- Multiply by the number of blocks per row
- Repeat for horizontal and vertical dimensions
For example, 5 blocks wide equals (7-5/8″ + 3/8″) x 5 = 40 inches total width.
Account for Frame and Spacers
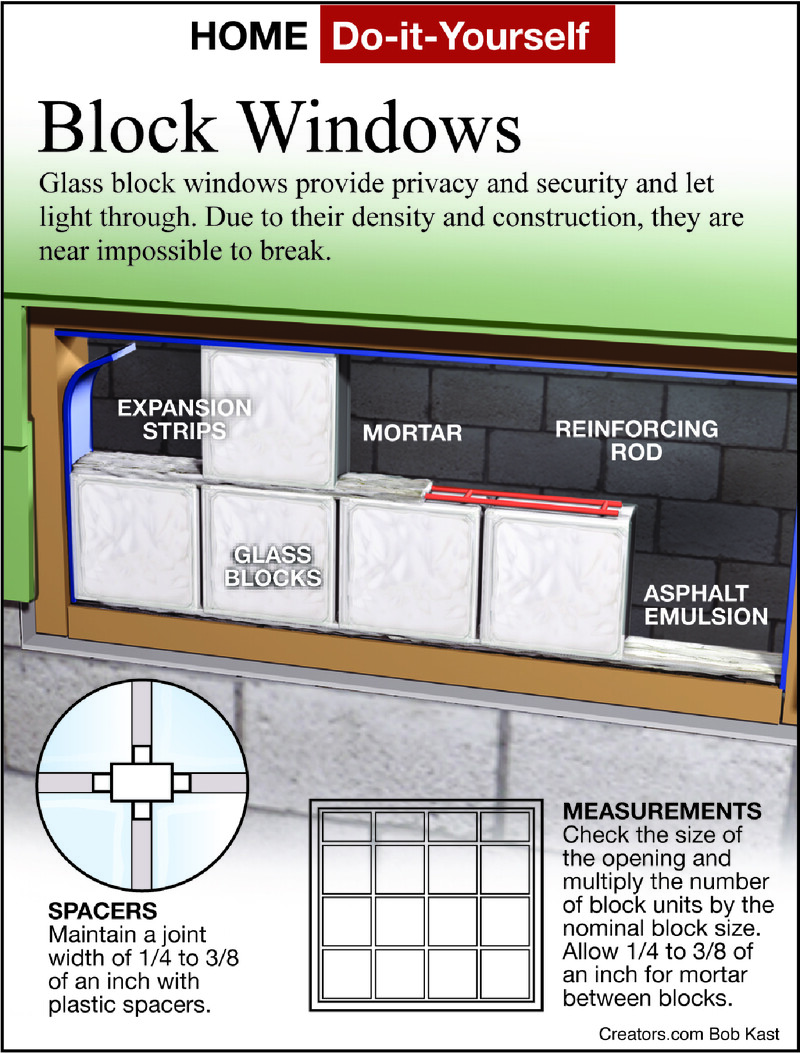
The framed opening should be 1/2″ wider and 1/2″ taller than the complete glass block panel. This extra space allows room for expansion, shims, and proper mortar bedding.
Mark final dimensions on the wall studs or masonry surface before framing begins.
Build a Square and Level Support Frame

A rigid, perfectly aligned frame is critical for long-term stability.
Choose Pressure-Treated Lumber
Construct the frame using pressure-treated 2x4s or 2x6s, especially for exterior or moisture-prone areas. This material resists rot and provides strong support.
Cut top and bottom plates to the measured width. Cut two vertical jack studs to support the header.
Install Header and Sill Properly
Install a header across the top of the opening, supported by jack studs. For heavy glass block panels, reinforce with a steel lintel or solid wood header.
At the bottom, install a pressure-treated sill plate that is level and secured to the floor or foundation. This supports the first row of blocks.
Verify Square and Plumb Alignment
Use a framing square and level to verify all corners are 90 degrees. Measure diagonally from corner to corner. Both measurements must match.
Adjust as needed before fastening permanently. A skewed frame leads to misaligned blocks and uneven mortar joints.
Install Metal or PVC Channel Frame

Once the structural frame is set, add a secondary channel to hold the blocks.
Select the Right Channel Type
Use galvanized metal or PVC U-channel designed specifically for glass block. These channels receive the edges of each block and maintain consistent spacing.
Channels come in corner, straight, and T-sections. Cut to fit with a hacksaw or metal snips.
Secure the Perimeter Channel
Attach the U-channel to the framed opening using construction adhesive and screws. Make sure it is level on the sill and plumb on the sides.
Leave a continuous 1/8″ to 1/4″ gap at joints for expansion.
Insert Reinforcing Bars When Needed
For large windows or structural applications, insert steel reinforcing rods vertically through the block joints. These rest in pre-drilled holes in the sill and extend into the header.
Rebar improves impact resistance and helps distribute load evenly across the panel.
Prepare the Site for Block Installation
Proper setup prevents costly errors during placement.
Mix Mortar or Use Pre-Mixed Adhesive
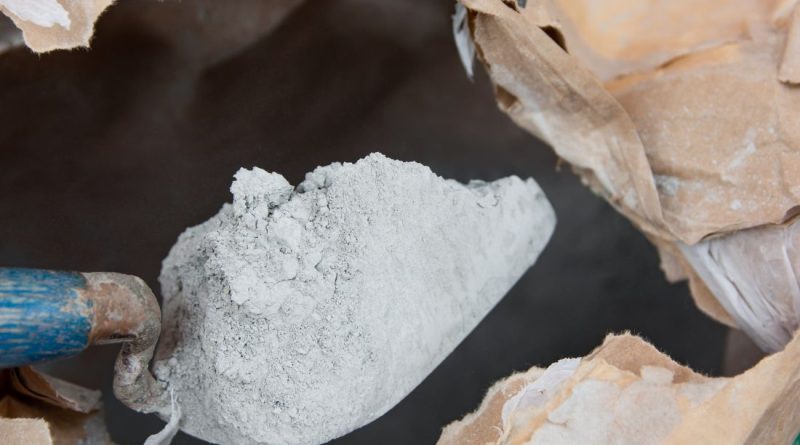
Traditional installations use type N mortar mixed to a thick, peanut butter-like consistency. For faster work, use pre-mixed polymer-modified glass block adhesive.
Avoid regular cement mortar, as it shrinks and cracks over time.
Dry-Fit the First Course
Lay out the bottom row of blocks in the channel without adhesive. Check for even spacing and alignment.
Mark block positions on the sill to guide final placement.
Insert Spacers and Alignment Grids
Most glass blocks come with plastic cross spacers that fit between adjacent units. These maintain uniform joint width and help stack blocks straight.
Snap in spacers at each corner before applying mortar.
Set the First Row of Blocks
The foundation course determines the entire window’s alignment.
Apply Bedding Mortar
Spread a 1/2″ layer of mortar inside the bottom U-channel. Tool a shallow groove down the center to help air escape when blocks are pressed in.
Work in 2 to 3 foot sections to prevent premature drying.
Position Each Block Carefully
Lower each block into the channel, pressing gently until it seats fully. Use a rubber mallet to tap into place if needed.
Check level across the top of each block and adjust immediately.
Verify Alignment and Joint Consistency
Use a level across both horizontal and vertical axes. If a block sits slightly out of square, shim under it with thin strips of plastic.
Keep joints aligned by referencing the spacers and marked layout.
Stack the Remaining Rows
Build upward in courses, ensuring each layer is level and bonded properly.



