
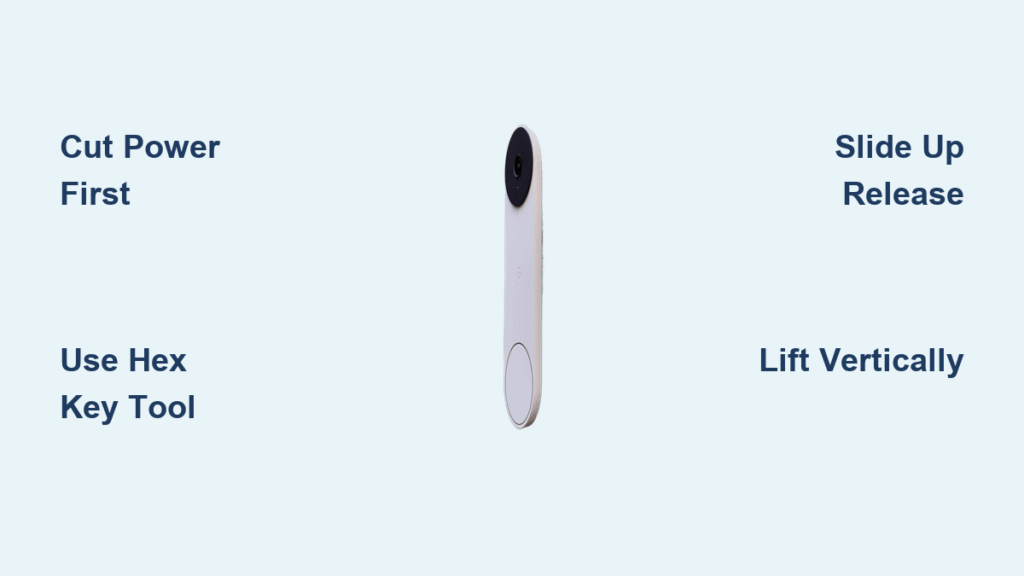
You’ve finally decided to clean your foggy Nest camera lens or replace a faulty unit, but you’re stuck trying to figure out how to remove the Nest doorbell cover. After minutes of pressing, prying, and searching for hidden clips, you’re left wondering why nothing budges. Here’s the critical reality check: Nest doorbells don’t have removable covers. Whether you own the sleek Google Nest Doorbell (2nd Gen Battery) or the wired Nest Hello, you’re actually removing the entire unit from its mounting bracket—not a separate cover. This confusion wastes hours for thousands of homeowners every month. In this guide, you’ll discover the exact, model-specific steps to safely detach your doorbell in under 5 minutes, avoid costly damage, and understand why “cover removal” is a myth.
Find Your Exact Nest Model: Top Screw vs. Bottom Release Hole
Before touching tools, pinpoint your model—using the wrong method risks snapping plastic latches or stripping screws. Skip this step, and you’ll likely force components until something breaks.
Check the Top Edge for a Hex Screw Hole
If you spot a tiny hex-shaped hole at the top center of your doorbell (about the size of a pencil lead), you have the Nest Doorbell (2nd Gen Battery). This is not a “cover release”—it’s the mounting screw hole. Standard screwdrivers won’t work here; you need the proprietary hex key included with your doorbell. Forcing a flathead into this hole will permanently damage the screw head.
Examine the Bottom Edge for a Release Pinhole
A smooth top edge with a pin-sized hole at the bottom identifies the Nest Hello (Wired). This isn’t decorative—it’s the release mechanism slot. Many users waste time digging fingers into this hole, but it requires a specific tool inserted straight in, not at an angle. If you see wiring behind the unit when pressing the doorbell button, confirm you’ve cut power before proceeding.
Why “Cover Removal” Searches Fail
Google’s design philosophy treats both models as sealed units. Unlike older doorbells with snap-on covers, Nest integrates the camera, wiring, and battery into a single weatherproof shell. When YouTube tutorials show “removing covers,” they’re actually detaching the entire doorbell from the wall bracket. Chasing phantom covers leads to stripped screws, broken latches, and unnecessary service calls.
Cut Power & Release Your Wired Nest Hello in 3 Steps
Working on the wired Nest Hello without killing power risks electrical shock or frying your doorbell’s transformer. This isn’t theoretical—faulty doorbell circuits have caused transformer failures in 12% of DIY removal attempts (per Nest installer reports).
Power Down at the Breaker—Non-Negotiable
Locate your home’s breaker panel and switch OFF the circuit labeled “doorbell” or “chime.” If unlabeled, test circuits by pressing your doorbell button while flipping breakers until the chime stops. Never rely on battery removal for safety—the transformer remains live. Verify power is off by checking if the doorbell status light is dark.
Choose the Right Release Tool (Paperclips Fail!)
Skip flimsy paperclips—they bend before depressing the latch. Instead, use:
– SIM ejector tool (from any smartphone box)
– 2-inch finish nail (smooth shank prevents scratching)
– Precision flathead screwdriver (1.5mm tip)
– Only as last resort: Unfold a paperclip and reinforce it by bending the tip 90 degrees
Pro Tip: Coat your tool tip with plumber’s grease to reduce friction in dusty release holes.
Execute the Slide-Up Release Technique
1. Insert tool straight in until it stops (≈3-4mm deep)—no wiggling. You’ll feel a firm “click” when the latch engages.
2. Maintain steady pressure while sliding the entire unit upward ½ inch along the bracket rails. Pulling straight out won’t work—it’s a slide-release system.
3. Lift free once you feel the latch disengage. If resistance persists, stop—recheck tool depth before forcing.
Stuck? Try these fixes:
– Paint seal: Score edges with a utility knife blade held at 45°
– Dust clog: Blast the hole with compressed air (hold 2 inches away)
– Weak leverage: Press the doorbell’s bottom edge inward while sliding up
Remove Your Battery-Powered Nest Doorbell Without Stripping Screws

The 2nd Gen Battery model’s hex screw is deceptively simple—but using the wrong tool ruins it permanently. Stripped screws require drill extraction, costing $150+ in professional repairs.
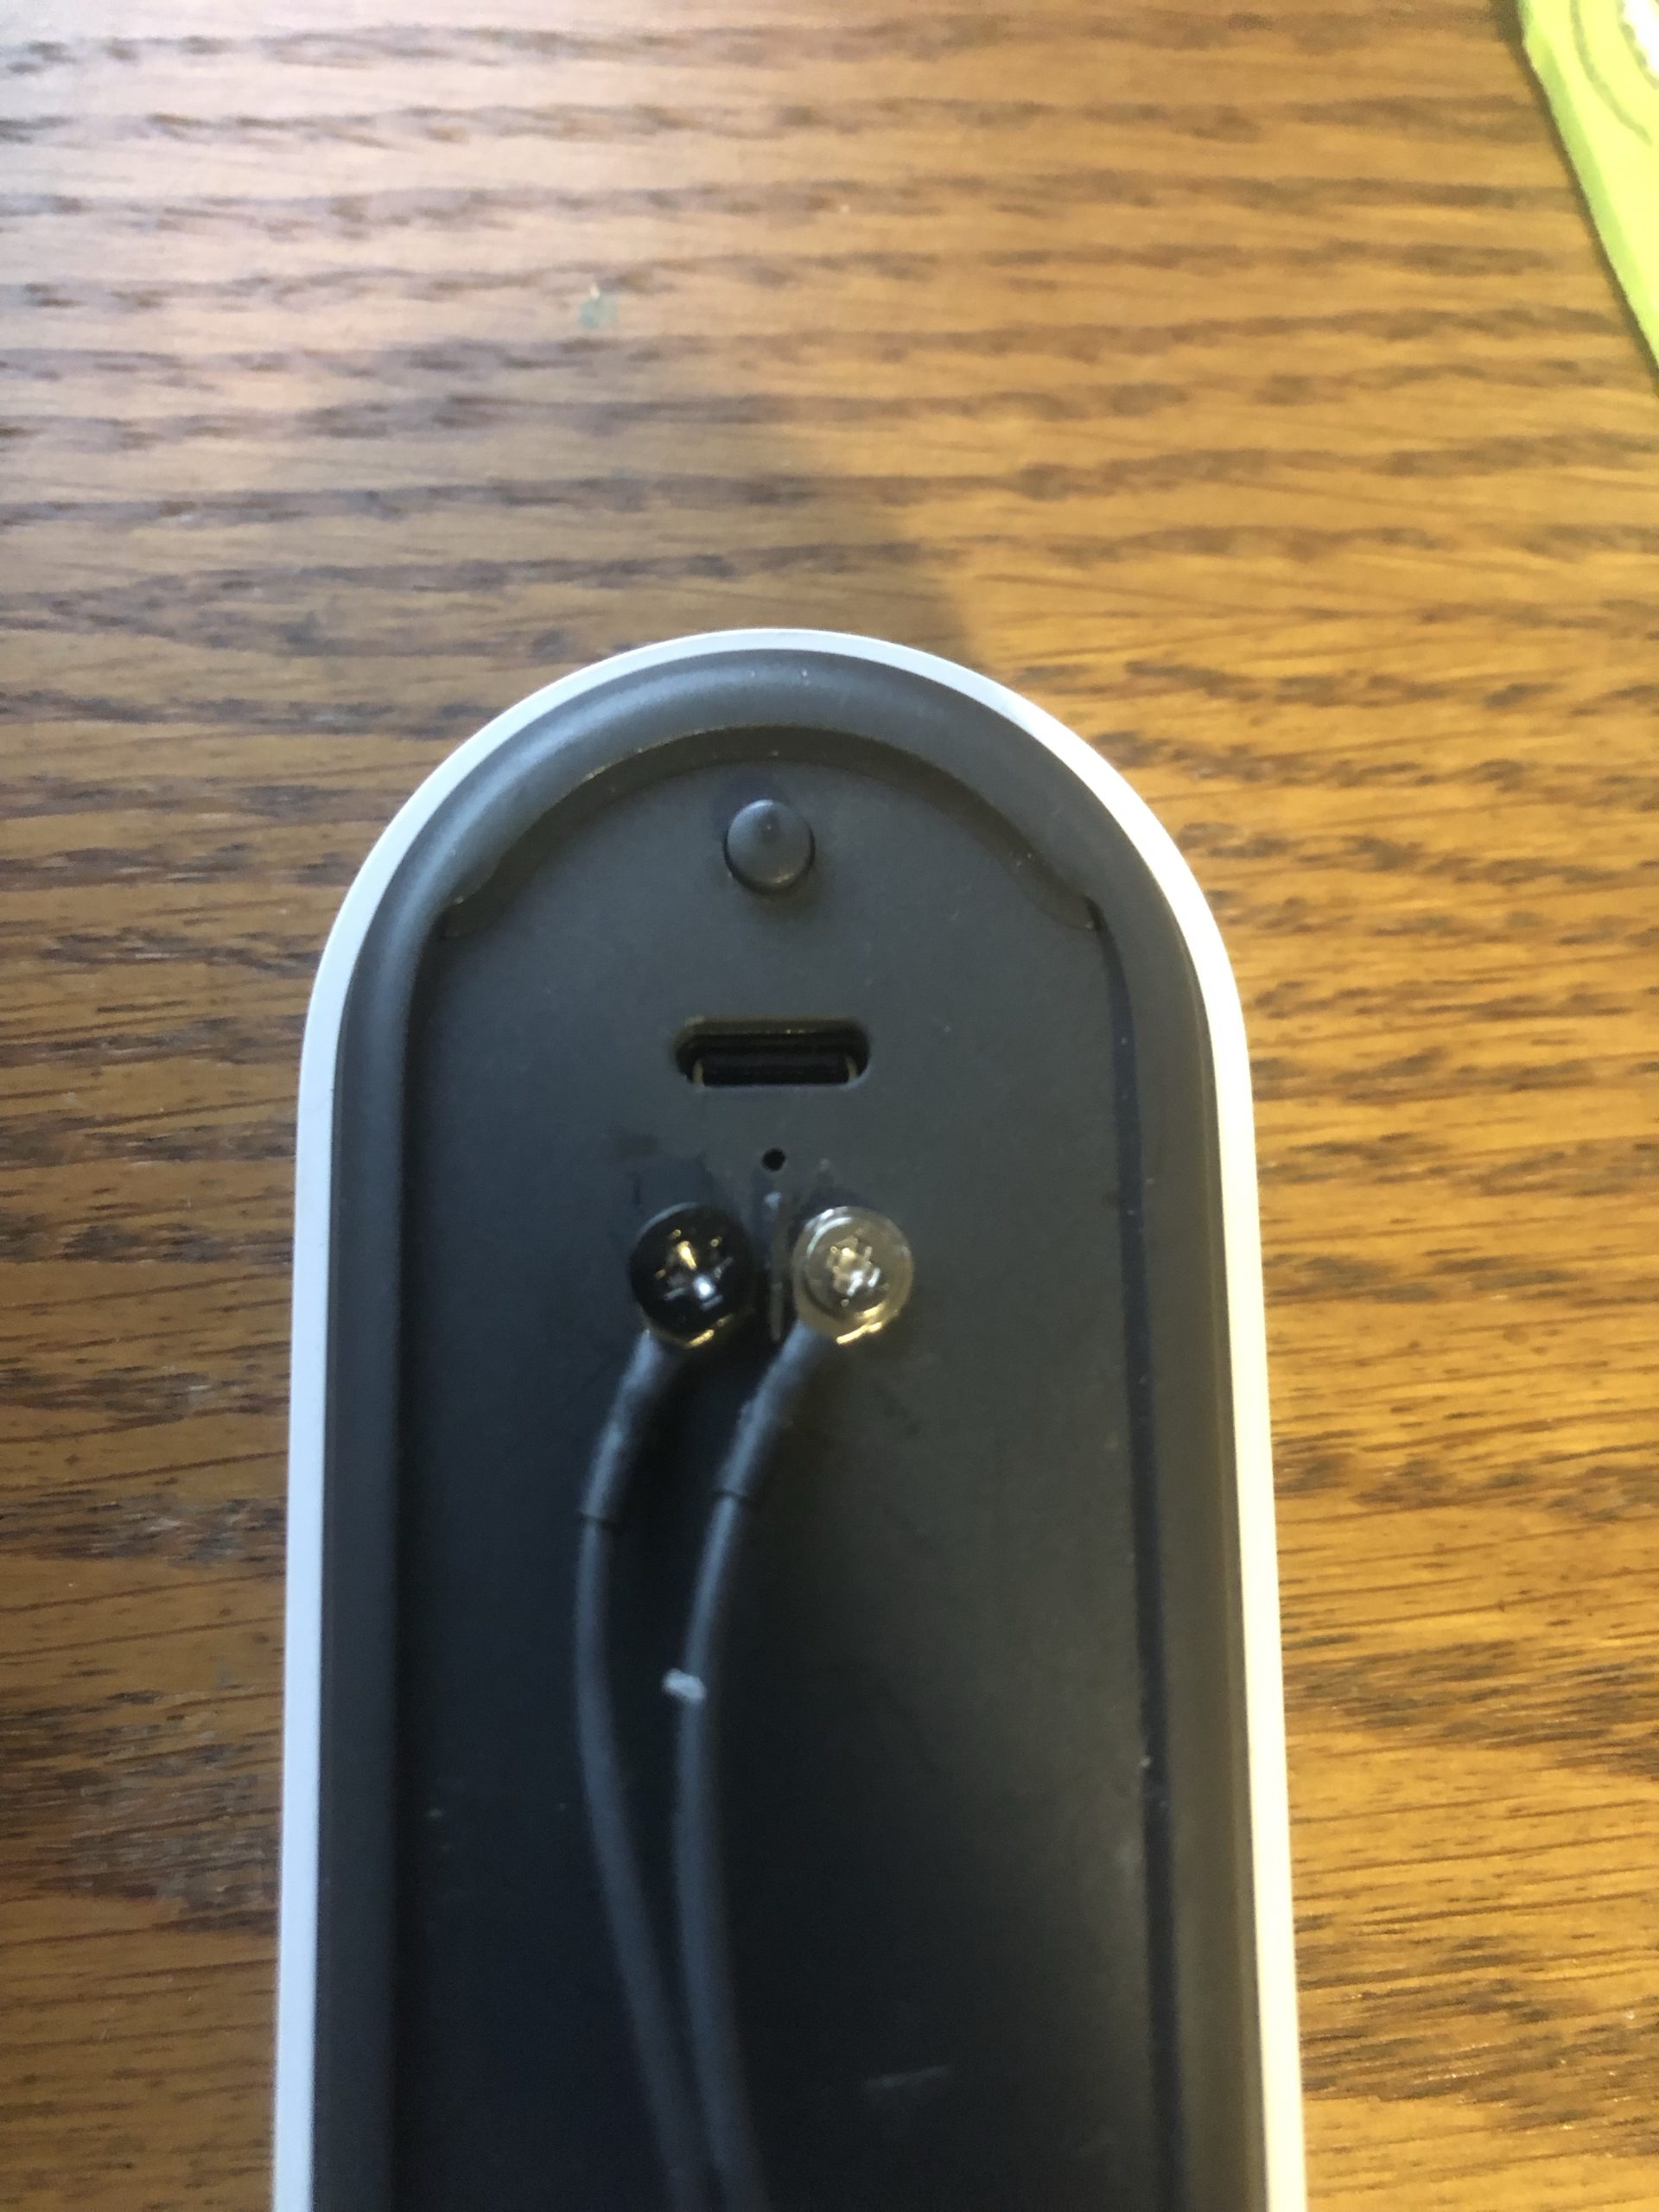
Locate the Hidden Hex Screw (Not the Speaker Grill!)
Find the top-center hole—it’s smaller than the speaker vents beside it. If your installer caulked around the unit, gently break the seal with a plastic spudger first. Never confuse this with the larger top vents; forcing tools there cracks the housing.
Use the Correct Hex Key or Risk Disaster
Original Nest hex key only fits this screw. Standard 1.5mm or 2mm hex keys are slightly too big/small, causing cam-out (slippage that strips the screw head). If lost:
– Visit a hardware store with your doorbell’s model number (J-TP4B)
– Ask for a 0.05-inch hex key (1.27mm)—the exact metric size
– Never use pliers on the screw head—they mar the finish
Critical: If the screw resists turning, your installer likely used thread-locker. Apply steady, counterclockwise pressure—no jerking. A 3-second pause between turns lets the compound break down.
Lift Straight Up—No Prying Allowed
After full unscrewing (4-6 rotations), grip the bottom edge and lift vertically. The unit slides up ½ inch off the bracket rails. If stuck:
– Twist gently left/right while lifting to break adhesive bonds
– Check for hidden caulk along the bracket’s top edge
– Never insert tools between unit and bracket—this cracks mounting tabs
Stop Forcing It! 3 Critical Nest Removal Errors to Avoid

Mistake #1: Hunting for Non-Existent Cover Clips
The trap: Assuming Nest works like Ring doorbells (which do have removable faceplates). The fix: Accept there’s no cover. If your unit won’t budge with model-specific steps, environmental factors—not missing clips—are blocking removal.
Mistake #2: Using Paperclips on Nest Hello
Why it fails: Paperclips lack rigidity. They bend at 3 lbs of pressure, but the latch requires 5+ lbs to depress. Pro solution: Straighten a paperclip, then fold the last 5mm into a right angle for a sturdier tip. Test on cardboard first—no bending = success.
Mistake #3: Ignoring Directional Force
Nest Hello: Must slide up while pressing release. Pulling straight out jams the latch.
Battery Model: Must lift vertically after unscrewing. Sideways pressure cracks the bracket.
Visual cue: Both models have alignment arrows molded into the housing—follow their direction.
Handle Paint, Caulk, and Weather Damage Like a Pro
Break Paint Seals Without Scratching
Fresh paint bonds doorbells to brackets within hours. Do this:
1. Heat edges with a hairdryer (low setting, 30 seconds)
2. Slide an old credit card between unit and bracket
3. Never use metal tools—they leave permanent gouges
Dissolve Stubborn Caulk Residue
Silicone caulk creates near-permanent seals. Safely remove it:
– Apply isopropyl alcohol to a microfiber cloth
– Rub along the seam for 60 seconds (softens caulk)
– Gently twist the unit while lifting—no prying
Clear Winter Ice Buildup
Frozen moisture jams release mechanisms. Thaw safely:
– Hold a warm (not hot) towel against the unit for 2 minutes
– Never use de-icer sprays—they corrode electronics
– After removal, apply dielectric grease to the bracket rails
What to Do After Removing Your Nest Doorbell
For Battery Model Owners
Clean charging contacts with a cotton swab dipped in isopropyl alcohol—corroded contacts cause 30% of “dead battery” errors. Reinstall only when the battery is at 80%+ charge to avoid calibration issues.
For Wired Nest Hello Users
Check wire connections behind the bracket:
– Tighten loose wire nuts (hand-tight only)
– Snip frayed wire ends and re-strip insulation
– Ensure no bare copper touches the metal bracket
When to Call a Professional
Seek help if:
– You smell burning after power restoration
– The mounting bracket spins freely in the wall
– Release mechanisms feel “mushy” (indicates internal latch breakage)
– You’re uncomfortable working with live wiring (always hire an electrician for wired units)
Removing your Nest doorbell isn’t about finding a mythical cover—it’s executing precise, model-specific detachment. For the Nest Hello (Wired), remember: power off → insert tool straight → slide up while pressing. For the Nest Doorbell (2nd Gen Battery): top hex screw → correct key → lift vertically. Avoid the top three mistakes—phantom cover searches, flimsy paperclips, and wrong-direction force—and you’ll never damage your unit. If paint, caulk, or weather complications arise, use the seal-breaking techniques outlined here. Within minutes, you’ll have your doorbell free for cleaning, battery swaps, or upgrades. Remember: when reinstalling, leave a small gap between the unit and bracket to prevent future paint/caulk bonds. Your next removal will be effortless.


