
Learning how to install a window fan is one of the smartest moves for anyone wanting affordable cooling without the high energy bills of central air. These compact units pull in cool outdoor air or push out hot indoor air, dropping room temperatures by several degrees when conditions are right. They work best during spring, fall, and mild summer evenings when nights turn cool.
This guide walks you through every step of window fan installation, from assessing your space and positioning the unit to sealing gaps, blocking bugs, and optimizing airflow. Whether you rent an apartment, live in a mild climate, or simply want to cut summer cooling costs, you’ll find practical steps that make the process fast and effective.
Assess Room and Weather Conditions Before You Begin

Before installing your window fan, confirm that your space and climate will actually allow it to cool effectively. Window fans are not magic; they only work when outdoor air is genuinely cooler than indoor air.
Check Outdoor Temperature First
Window fans perform best when outdoor air is 10 to 15°F cooler than indoor air. This makes them ideal for nighttime use during spring, early summer, or fall. Avoid running them when outdoor temperatures exceed 90°F with high humidity, since they will just circulate hot, sticky air and make the room feel worse. In extreme heat, rely on an air conditioner instead.
Ensure Proper Room Ventilation
For maximum airflow, keep the room door open and allow cross-ventilation throughout the home. If your fan pulls air in, open another window or door on the opposite side of the house to create a steady draft. If the fan exhausts air, close off adjacent rooms to direct airflow outward. Without this balance, pressure builds up and reduces cooling power.
Prepare for Electrical Safety
Plug your fan directly into a surge protector before turning it on. This protects the motor from voltage spikes and extends the life of budget models with basic electronics. Avoid using extension cords whenever possible, since they can overheat and create fire hazards.
Position and Secure the Fan in the Window

Installing a window fan takes less than five minutes if your window fits standard dimensions. Most twin or single units slide into double-hung windows from the top down.
Slide Fan Into the Window Frame
Lift the window sash and place the fan inside from above. The top lip of the unit should rest firmly on the windowsill. Most models have built-in brackets or slots that the lower sash presses down on for stability. Allow about three inches of clearance to accommodate thick frames or screens.
Tip: Have a second person assist you. It is much easier and safer than balancing the fan solo.
Lock the Window Against the Unit
Lower the window sash until it presses tightly against the top of the fan. If your model has plastic side brackets, extend them outward to press against the window frame. Test the fit by gently tugging the unit; there should be no movement at all. A snug, immovable fit prevents tipping and keeps the fan secure during operation.
Seal Gaps for Maximum Cooling Efficiency
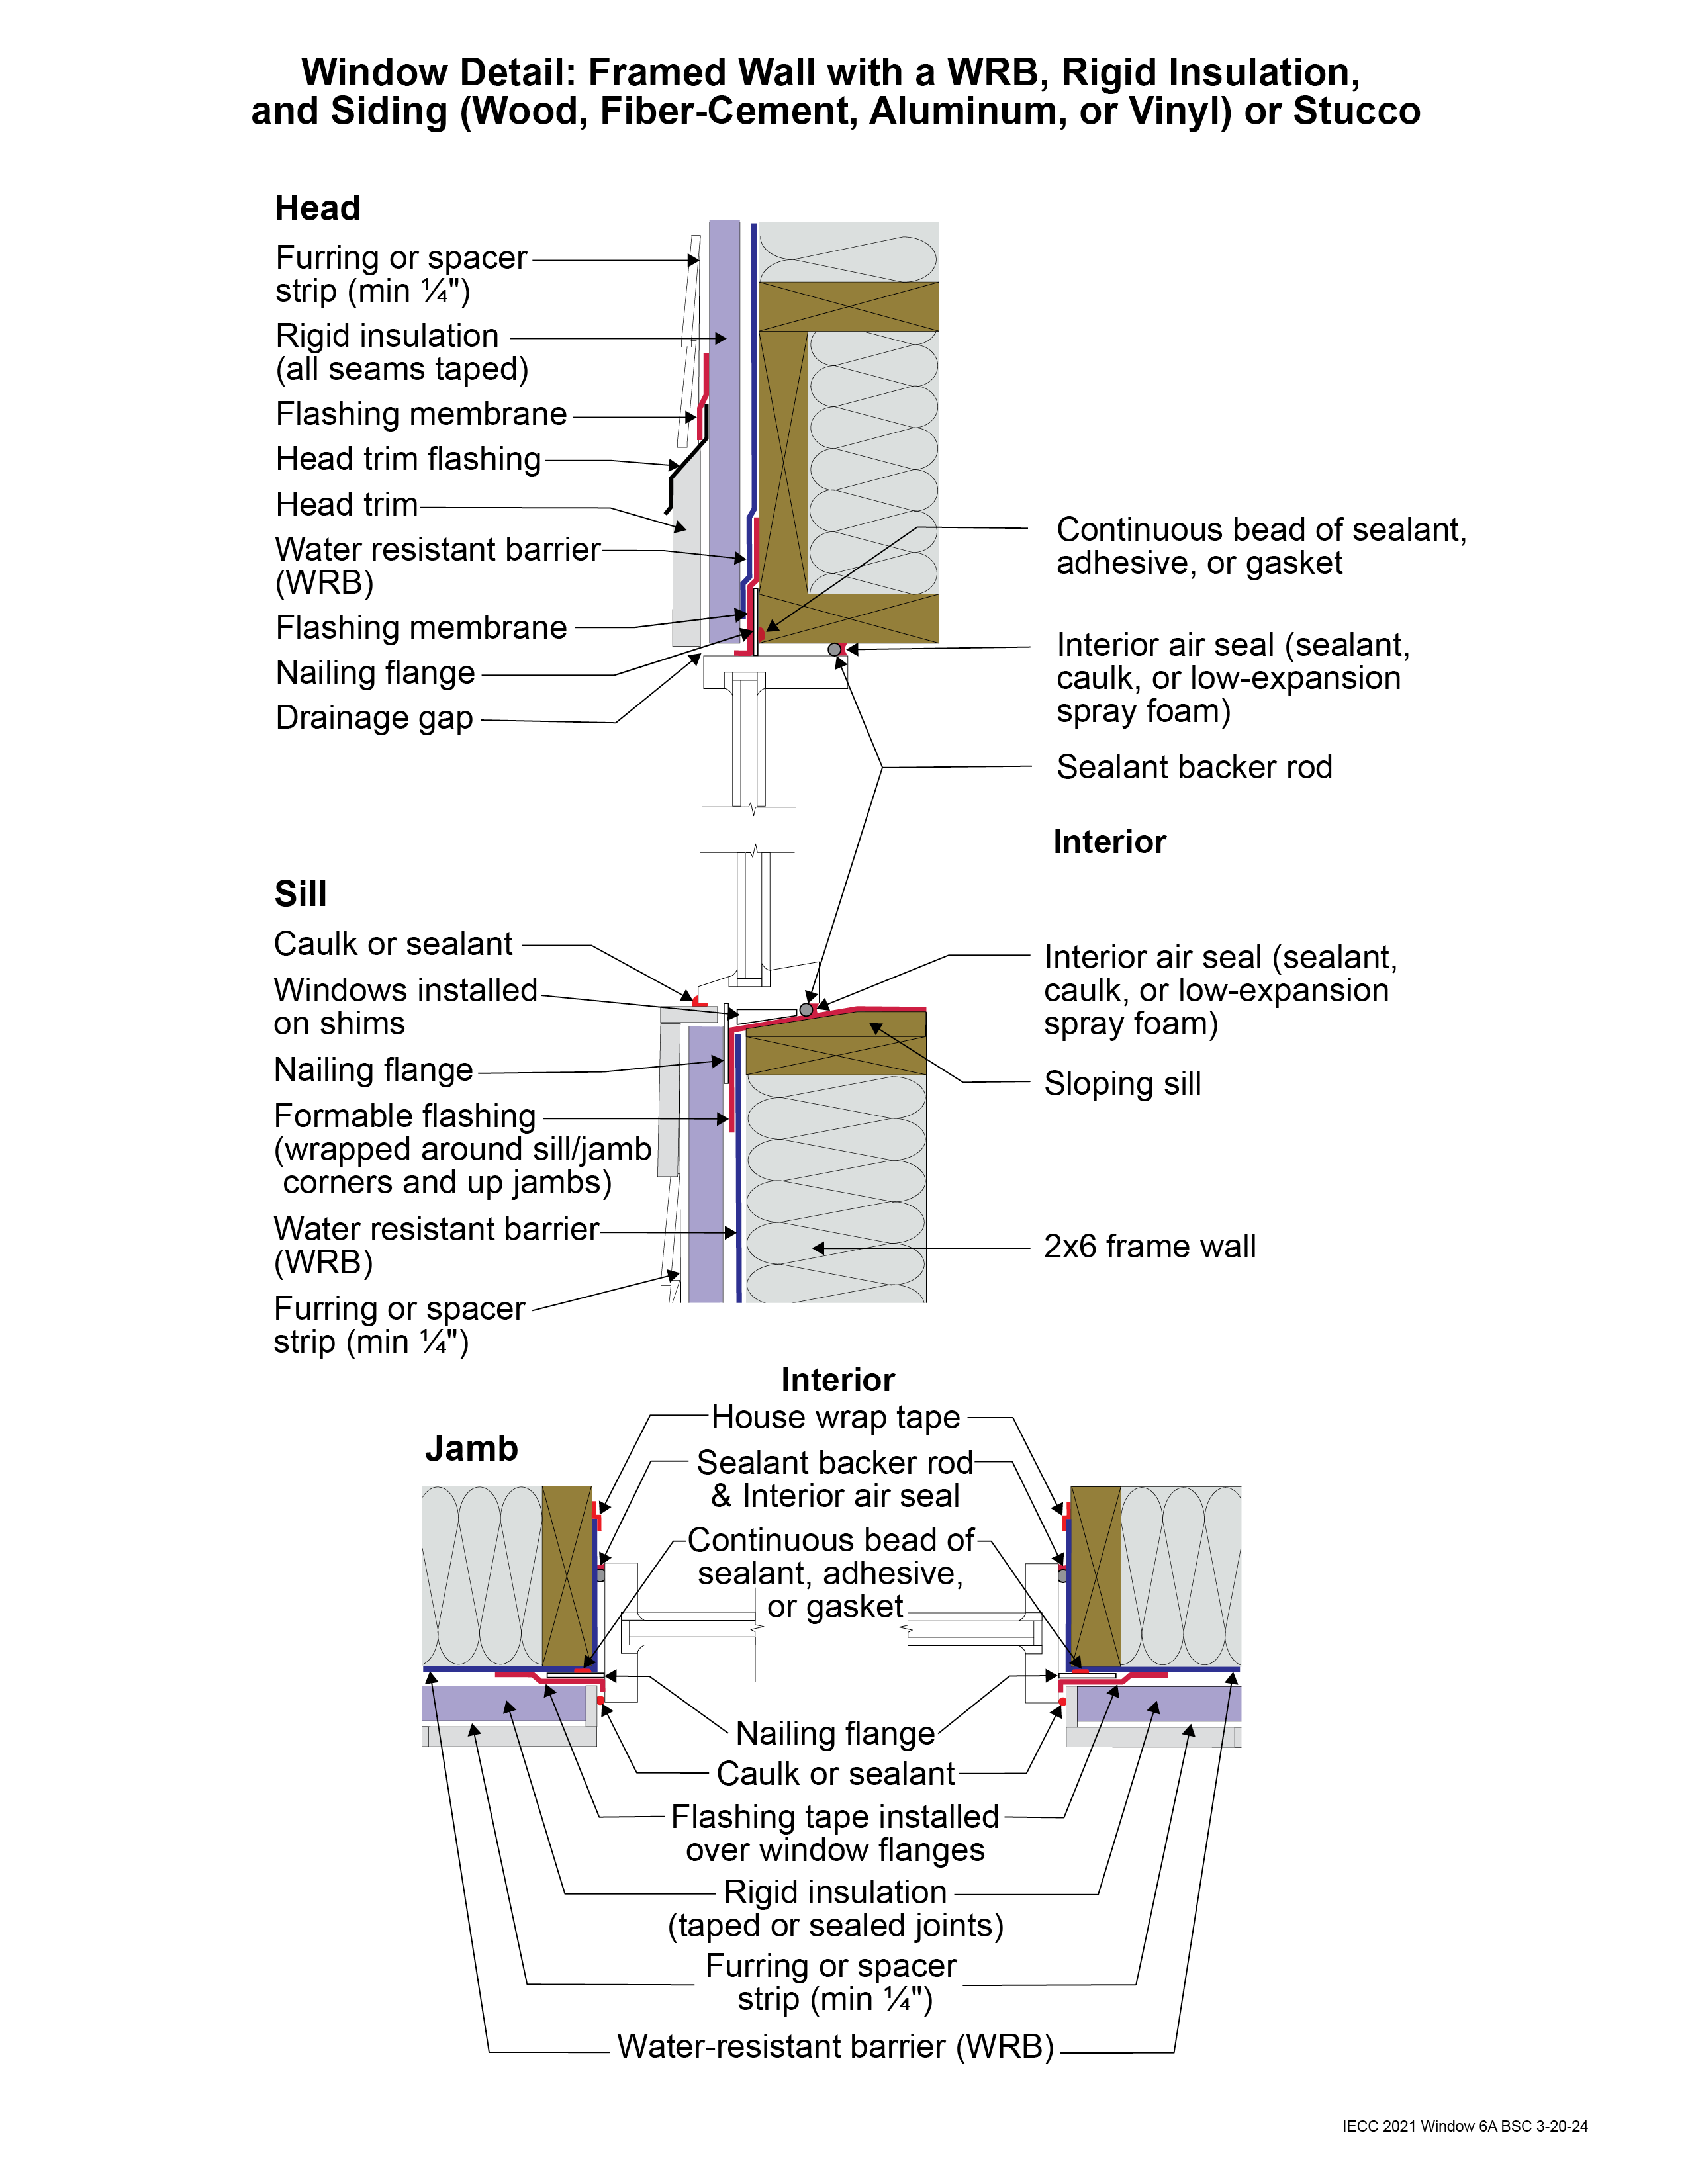
Even small air leaks around the fan reduce cooling performance and let in dust, noise, and pests. Sealing gaps ensures all airflow passes through the fan rather than around it.
Use Foam Board for Temporary Sealing
For short-term or indoor-side gaps, cut rigid foam board to size and press it into open spaces. Double-layering improves insulation significantly. Avoid using foam outdoors unless you seal it with weatherproof spray, since rain and UV exposure will degrade it quickly.
Install Wooden Strips for Long-Term Use
For permanent or outdoor sealing, cut wooden strips to fill side and top gaps. Wood withstands weather better than foam and provides a stable, durable barrier. Secure with removable fasteners or caulk if your landlord allows modifications.
Try Towels for Quick Fixes
In a pinch, roll up a towel and tuck it into gaps around the fan. This is not a long-term solution, but works well during testing or temporary use. Replace with foam or wood for lasting results.
Block Bugs with Custom Screening

Most window fans come with weak internal screens that do not stop mosquitoes or small insects. If the fan runs in intake mode, bugs can easily enter your home unless you add extra protection.
Do Not Rely on Factory Mesh
The included screen is often too coarse to block tiny pests. Mosquitoes and gnats can pass through, especially when strong suction pulls them inward. Treat the built-in mesh as a dust guard rather than a true bug barrier.
Add a Secondary Screen
- Measure the uncovered portion of the window opening.
- Cut standard window screen material to size (available at Home Depot or Lowe’s).
- Attach with duct tape around all edges, ensuring a tight seal.
- Overlap the screen slightly over the fan frame to prevent crawling insects from sneaking behind.
Pro Tip: Use clear packing tape for a cleaner look, or paintable tape if aesthetics matter in your space.
Choose Intake or Exhaust Mode
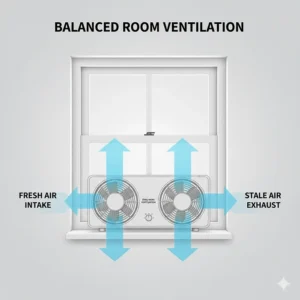
Your fan’s airflow direction determines whether it cools or dehumidifies the room. Use the right mode based on the time of day and your specific comfort needs.
Pull in Cool Air at Night (Intake)
Set both fans (on dual models) to intake mode when outdoor air is cooler. This brings in fresh air and drops indoor temperatures fast. In testing, intake mode reduced room temperatures from 75.7°F to 73°F in just 15 minutes on low to medium speed.
Best for: Bedrooms, living rooms, and cooling down a warm house after sunset.
Push Out Stale Air (Exhaust)
Use exhaust mode to remove hot, humid air, especially in kitchens, bathrooms, or sunlit rooms. While the temperature may not drop much, reducing humidity makes the space feel noticeably cooler.
Best for: Spot ventilation when the AC is off but air feels sticky.
Adjust Speed Based on Need
- Speed 1 (Low): Quiet operation. Ideal for sleeping.
- Speed 2 (Medium): Balanced airflow and noise. Best for daytime use.
- Speed 3 (High): Strong cooling, but produces a high-pitched whine. Use for quick cooldowns or when the room is empty.
Maintain and Troubleshoot Your Window Fan
Even simple fans need basic care to run quietly and last for years. Most issues stem from dry motors or dirty grilles.
Fix Scraping Noises with Oil
If the fan makes a scraping sound or the blades stop quickly after power-off, the motor bearings are dry. Apply 2 to 3 drops of lightweight oil, like sewing machine oil, to the motor shaft. This reduces friction, extends motor life, and cuts noise significantly.
Warning: Never use WD-40. It is a cleaner, not a lubricant, and can damage motor bearings.
Clean Grilles Monthly
Dust buildup blocks airflow and strains the motor. Wipe intake and exhaust grilles with a damp cloth every month. Remove the front panel if possible and rinse it with water, then let it dry completely before reinstalling.
Store Properly Off-Season
If you remove the fan for winter, store it in a dry place. Wrap it in a cloth or bag to prevent dust accumulation. Avoid damp basements or garages where moisture can corrode the motor.
Maximize Longevity and Performance
With the right setup, a basic window fan can last for years, even if it is a budget model with plastic construction.
Expect Years of Service with Care
Units with plastic bodies and manual dials have fewer electronic parts to fail. Though not built to last a decade, they remain reliable with annual oiling and cleaning. Their simplicity is a real strength.
Know the Sound Profile
Inside, fans can be loud, especially on high speed. But from outside, they are nearly silent, unlike portable AC units that hum constantly. This makes them ideal for apartments or noise-sensitive neighborhoods.
Target the Right Users
Window fans work best for:
– Renters avoiding expensive AC installations
– Homes in climates with cool nights
– Spot cooling bedrooms or bathrooms
– Budget-conscious users wanting lower electricity bills
They require manual effort for installing, sealing, and maintaining, but the payoff is strong airflow and major energy savings.
Frequently Asked Questions About Window Fan Installation
How long does it take to install a window fan?
For standard window dimensions, installation takes less than five minutes. You simply slide the unit into the window frame from above, lower the sash onto it, and secure the brackets. Custom sealing and screening may add another 10 to 15 minutes.
Can I install a window fan without tools?
Yes, most window fans install without any tools. The unit slides into the frame and is held by friction and the closed window sash. You only need tools if you plan to cut foam board, wooden strips, or custom screening for sealing gaps.
Do window fans work in humid climates?
Window fans work best in dry or low-humidity conditions. When humidity is high, especially above 90°F outdoors, the fan simply circulates muggy air and can make the room feel worse. In humid climates, use exhaust mode to push humid air out rather than pulling it in.
How do I keep bugs out when using a window fan?
The factory mesh on most window fans is too coarse to block mosquitoes. Install a secondary screen over the uncovered portion of the window using duct tape or packing tape. Make sure the screen overlaps the fan frame so insects cannot crawl behind it.
Should I use a surge protector with my window fan?
Yes, always plug your window fan into a surge protector. This protects the motor from voltage spikes and extends the life of budget models with basic electronics. Avoid extension cords and plug directly into a wall outlet whenever possible.
How often should I oil my window fan?
Oil the motor annually or whenever you notice scraping noises or short spin-down times after power-off. Apply 2 to 3 drops of lightweight sewing machine oil to the motor shaft. Never use WD-40, as it is a solvent rather than a true lubricant.
Key Takeaways for Installing a Window Fan Successfully
Installing a window fan is a quick, affordable project that delivers real cooling when conditions allow. Start by checking that outdoor air is at least 10°F cooler than indoor air, then position the unit on the windowsill with about three inches of clearance. Seal gaps with foam board or wooden strips, add a secondary bug screen, and choose intake mode at night for the best results.
Your next step is simple: grab your fan, pick a window on the shaded side of your home, and run through this installation checklist tonight. With proper sealing and annual maintenance, your window fan will provide reliable, low-cost cooling for years to come.



