
Colorful flowers spilling from a wooden planter, fresh herbs within arm’s reach of the kitchen, a touch of green brightening up a plain facade. These are the rewards waiting when you learn how to make a window box from scratch. A custom-built planter adds curb appeal, supports pollinators, and gives you a small-space garden you can enjoy every day. This guide covers every step, from choosing wood and cutting boards to mounting brackets and picking the right plants, so you can build a sturdy, attractive window box that holds up through seasons of sun, rain, and snow.
Picking Materials That Stand Up to Weather

The material you choose shapes how your window box looks, how long it lasts, and how much maintenance it needs. Wood is the most popular DIY choice because it is easy to cut and customize, but a few options deserve a closer look.
Why Cedar and Redwood Work Best
Cedar and redwood naturally resist rot, insects, and moisture without needing chemical treatments. They are light enough to mount on most exterior walls and age into a soft silver-gray if left unfinished. Pine and plywood are cheaper, but they warp and decay quickly when exposed to wet soil and weather. If you go with pine, plan to replace the box every few years or seal it aggressively.
Alternative Materials Worth Considering
Composite lumber offers excellent durability and never needs sealing, but it is heavier and harder to cut with basic tools. Metal boxes made from galvanized steel or aluminum last for decades and suit modern architecture, though they are usually purchased rather than built. For most DIYers, rot-resistant wood strikes the best balance between cost, workability, and appearance.
Measuring Your Window Box for the Perfect Fit
Good proportions make a window box look intentional rather than awkward. Take a few minutes to measure before you start cutting.
Matching Length to Window Width
The box should be roughly 6 to 12 inches shorter than the window itself. A 48-inch window pairs well with a 36- to 42-inch box. This gap leaves room for trim, shutters, or simply visual breathing space.
Choosing Depth and Height
Aim for a depth of 8 to 12 inches so roots have room to spread without the box jutting out too far. A front height of 6 to 8 inches holds enough soil for most flowers and herbs. Taller boxes around 10 inches or more work well for deep-rooted plants or stacked displays.
Accounting for Weight and Support
Wet soil is heavy. A 4-foot box can easily exceed 50 pounds once planted and watered. Brick, stone, and solid wood siding support this load well. Vinyl siding, hollow walls, or weak trim may need a ledger board or additional bracing to handle the weight safely.
Cutting and Assembling the Frame

Once your measurements are set, cut the pieces and put the box together using hardware that resists rust.
Cutting the Boards to Size
For a 36-inch box built from ¾-inch boards, you will need:
– Front and back panels: 36 by 8 inches
– Side panels: 7.5 by 8 inches
– Bottom panel: 34 by 7.5 inches
A miter saw gives you the cleanest cuts, but a circular saw with a straightedge guide works fine too.
Joining Pieces with Weather-Resistant Screws
Pre-drill every screw hole to prevent splitting, especially near the ends of the boards. Fasten the sides to the front and back using 1¼-inch galvanized deck screws. Drop the bottom panel into the frame and secure it from the outside or through the side walls. Leave small gaps between bottom boards if you plan to skip a liner so water can drain freely.
Adding Support for Longer Boxes
Any box longer than 4 feet needs a center brace to keep the bottom from sagging under wet soil. A simple vertical cleat or a 1×2 ledger strip along the back bottom edge adds strength and gives you a solid surface to mount against the wall.
Setting Up Drainage and a Protective Liner
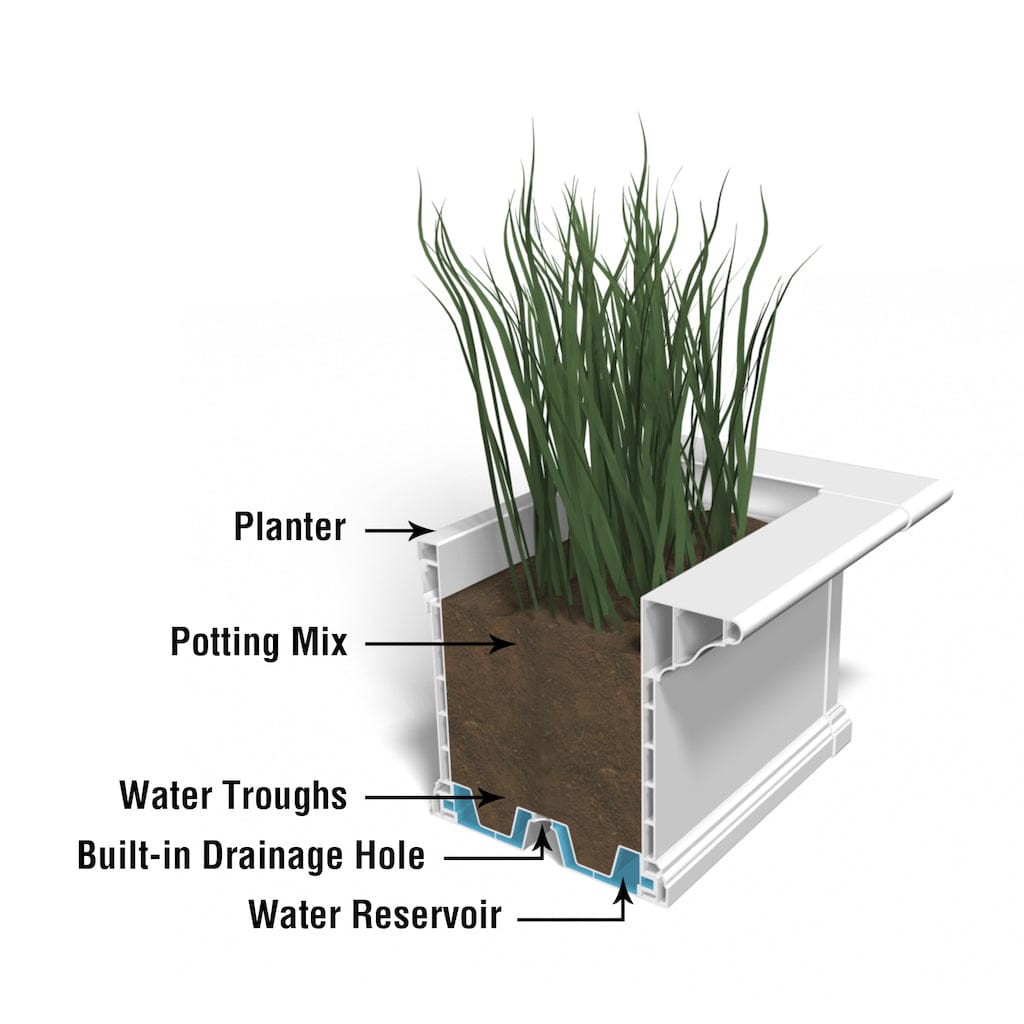
Water that cannot escape will rot the wood and drown plant roots. A liner keeps moisture away from the wood while letting excess water flow out.
Drilling Drainage Holes
Drill ½-inch holes every 6 to 8 inches across the bottom of the box. More holes are better if you live in a rainy climate. Clear away sawdust after drilling so the holes stay open.
Installing a Plastic or Coco Liner
Line the inside with 6-mil plastic sheeting, folding it neatly into the corners and stapling it to the top inner edge. Cut a few slits near the bottom so water can escape into the drainage holes. Pre-formed coco liners offer a natural look and work well for shallow plantings like succulents or annual flowers.
Preventing Soil from Washing Out
Lay a piece of landscape fabric over the liner before you add soil. The fabric holds dirt in place while letting water pass through. Trim the edges so the fabric sits just below the rim.
Sealing and Painting for Long-Term Protection
Bare wood breaks down quickly outdoors. A good finish protects the box and lets you match your home’s color scheme.
Applying Exterior Sealant
Brush a waterproof sealant onto every exterior surface, paying extra attention to end grain and joints where moisture sneaks in. Reapply every 1 to 2 years depending on your climate.
Choosing Paint or Stain
Exterior acrylic paint resists mildew and fading and comes in any color you can imagine. Dark shades absorb heat and dry out soil faster, so lighter colors often work better for plants. Stain penetrates the wood and needs less upkeep, though your color choices are more limited.
Protecting the Interior
If you skip a liner, seal the inside with a food-safe waterproofing product like tung oil. This slows rot but does not stop it entirely, so plan to replace the box every few years.
Mounting Your Window Box Securely
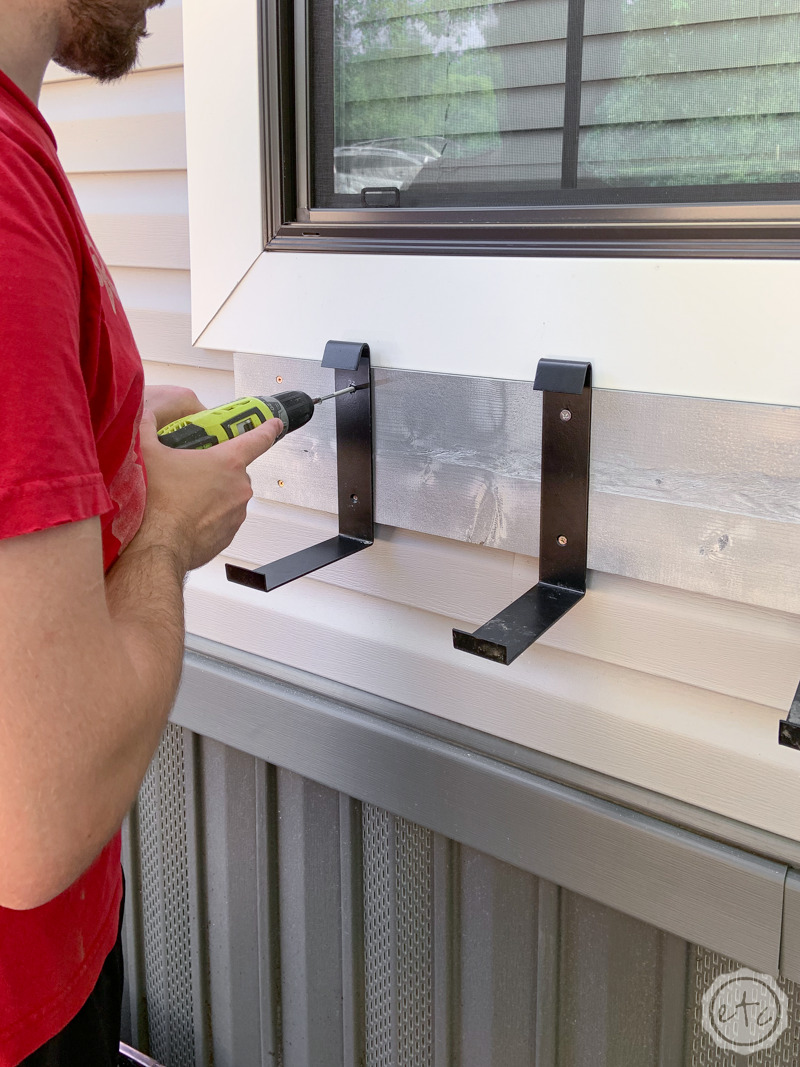
A falling window box can damage siding, break windows, or injure someone below. Take mounting seriously.
Finding Solid Wall Support
Use a stud finder to locate framing behind siding, or tap the wall to find solid masonry. Screws anchored into studs or masonry hold far more weight than screws in hollow drywall or thin vinyl.
Selecting Heavy-Duty Brackets
Choose iron or galvanized steel brackets rated for at least 50 pounds each. A 4-foot box needs three brackets, one near each end and one in the middle. Position the box 1 to 2 inches below the window sill for a clean, balanced look.
Tilting for Better Drainage
Mount the box with a slight forward slope, about ¼ inch per foot of length. This angle helps water run off instead of pooling against your siding or seeping into the wall behind the box.
Filling and Planting Your Window Box
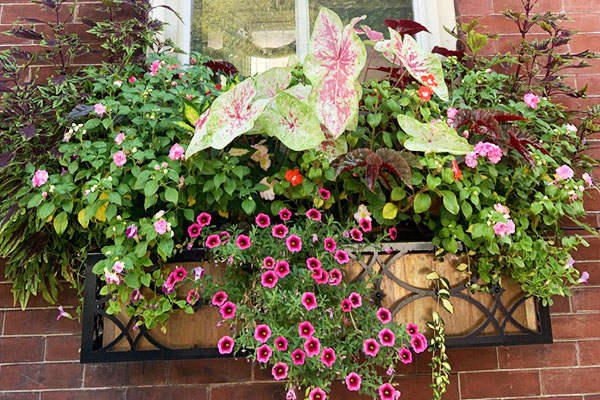
With the box built and mounted, it is time to bring it to life with plants.
Using the Right Potting Mix
Skip garden soil, which compacts and drains poorly in containers. Choose a lightweight potting mix with perlite or vermiculite for aeration. For herbs or vegetables, look for an organic blend labeled for containers.
Selecting Plants for Your Light Conditions
Match your plant choices to how much sun the window receives:
– Full sun (6+ hours): Petunias, marigolds, geraniums, lavender
– Partial shade (3 to 6 hours): Begonias, impatiens, coleus, fuchsias
– Full shade (under 3 hours): Hostas, ferns, ivy, heuchera
Mix tall thriller plants in the center, mounding fillers in the middle, and trailing spillers along the edges for a full, layered look.
Spacing Plants Properly
Crowded plants invite disease and block airflow. Follow the spacing guidelines on each plant tag. Water thoroughly after planting to settle the soil around the roots.
Caring for Your Window Box Through the Seasons
A little regular attention keeps your window box looking sharp all year.
Watering the Right Way
Window boxes dry out faster than in-ground gardens, especially in summer. Stick a finger an inch into the soil each morning. Water when it feels dry, ideally before midday heat sets in. A long-spout watering wand keeps water off your siding and windows.
Pruning and Deadheading
Pinch off faded blooms to encourage new flowers. Trim leggy stems to keep plants bushy and full. Cut back any vines that start blocking the window.
Refreshing Plants Each Season
Replace annuals every 3 to 4 months. In fall, swap in cold-hardy options like pansies or ornamental kale. Each spring, empty the box, refresh the potting mix with compost, and replant.
Mistakes to Avoid When Building a Window Box
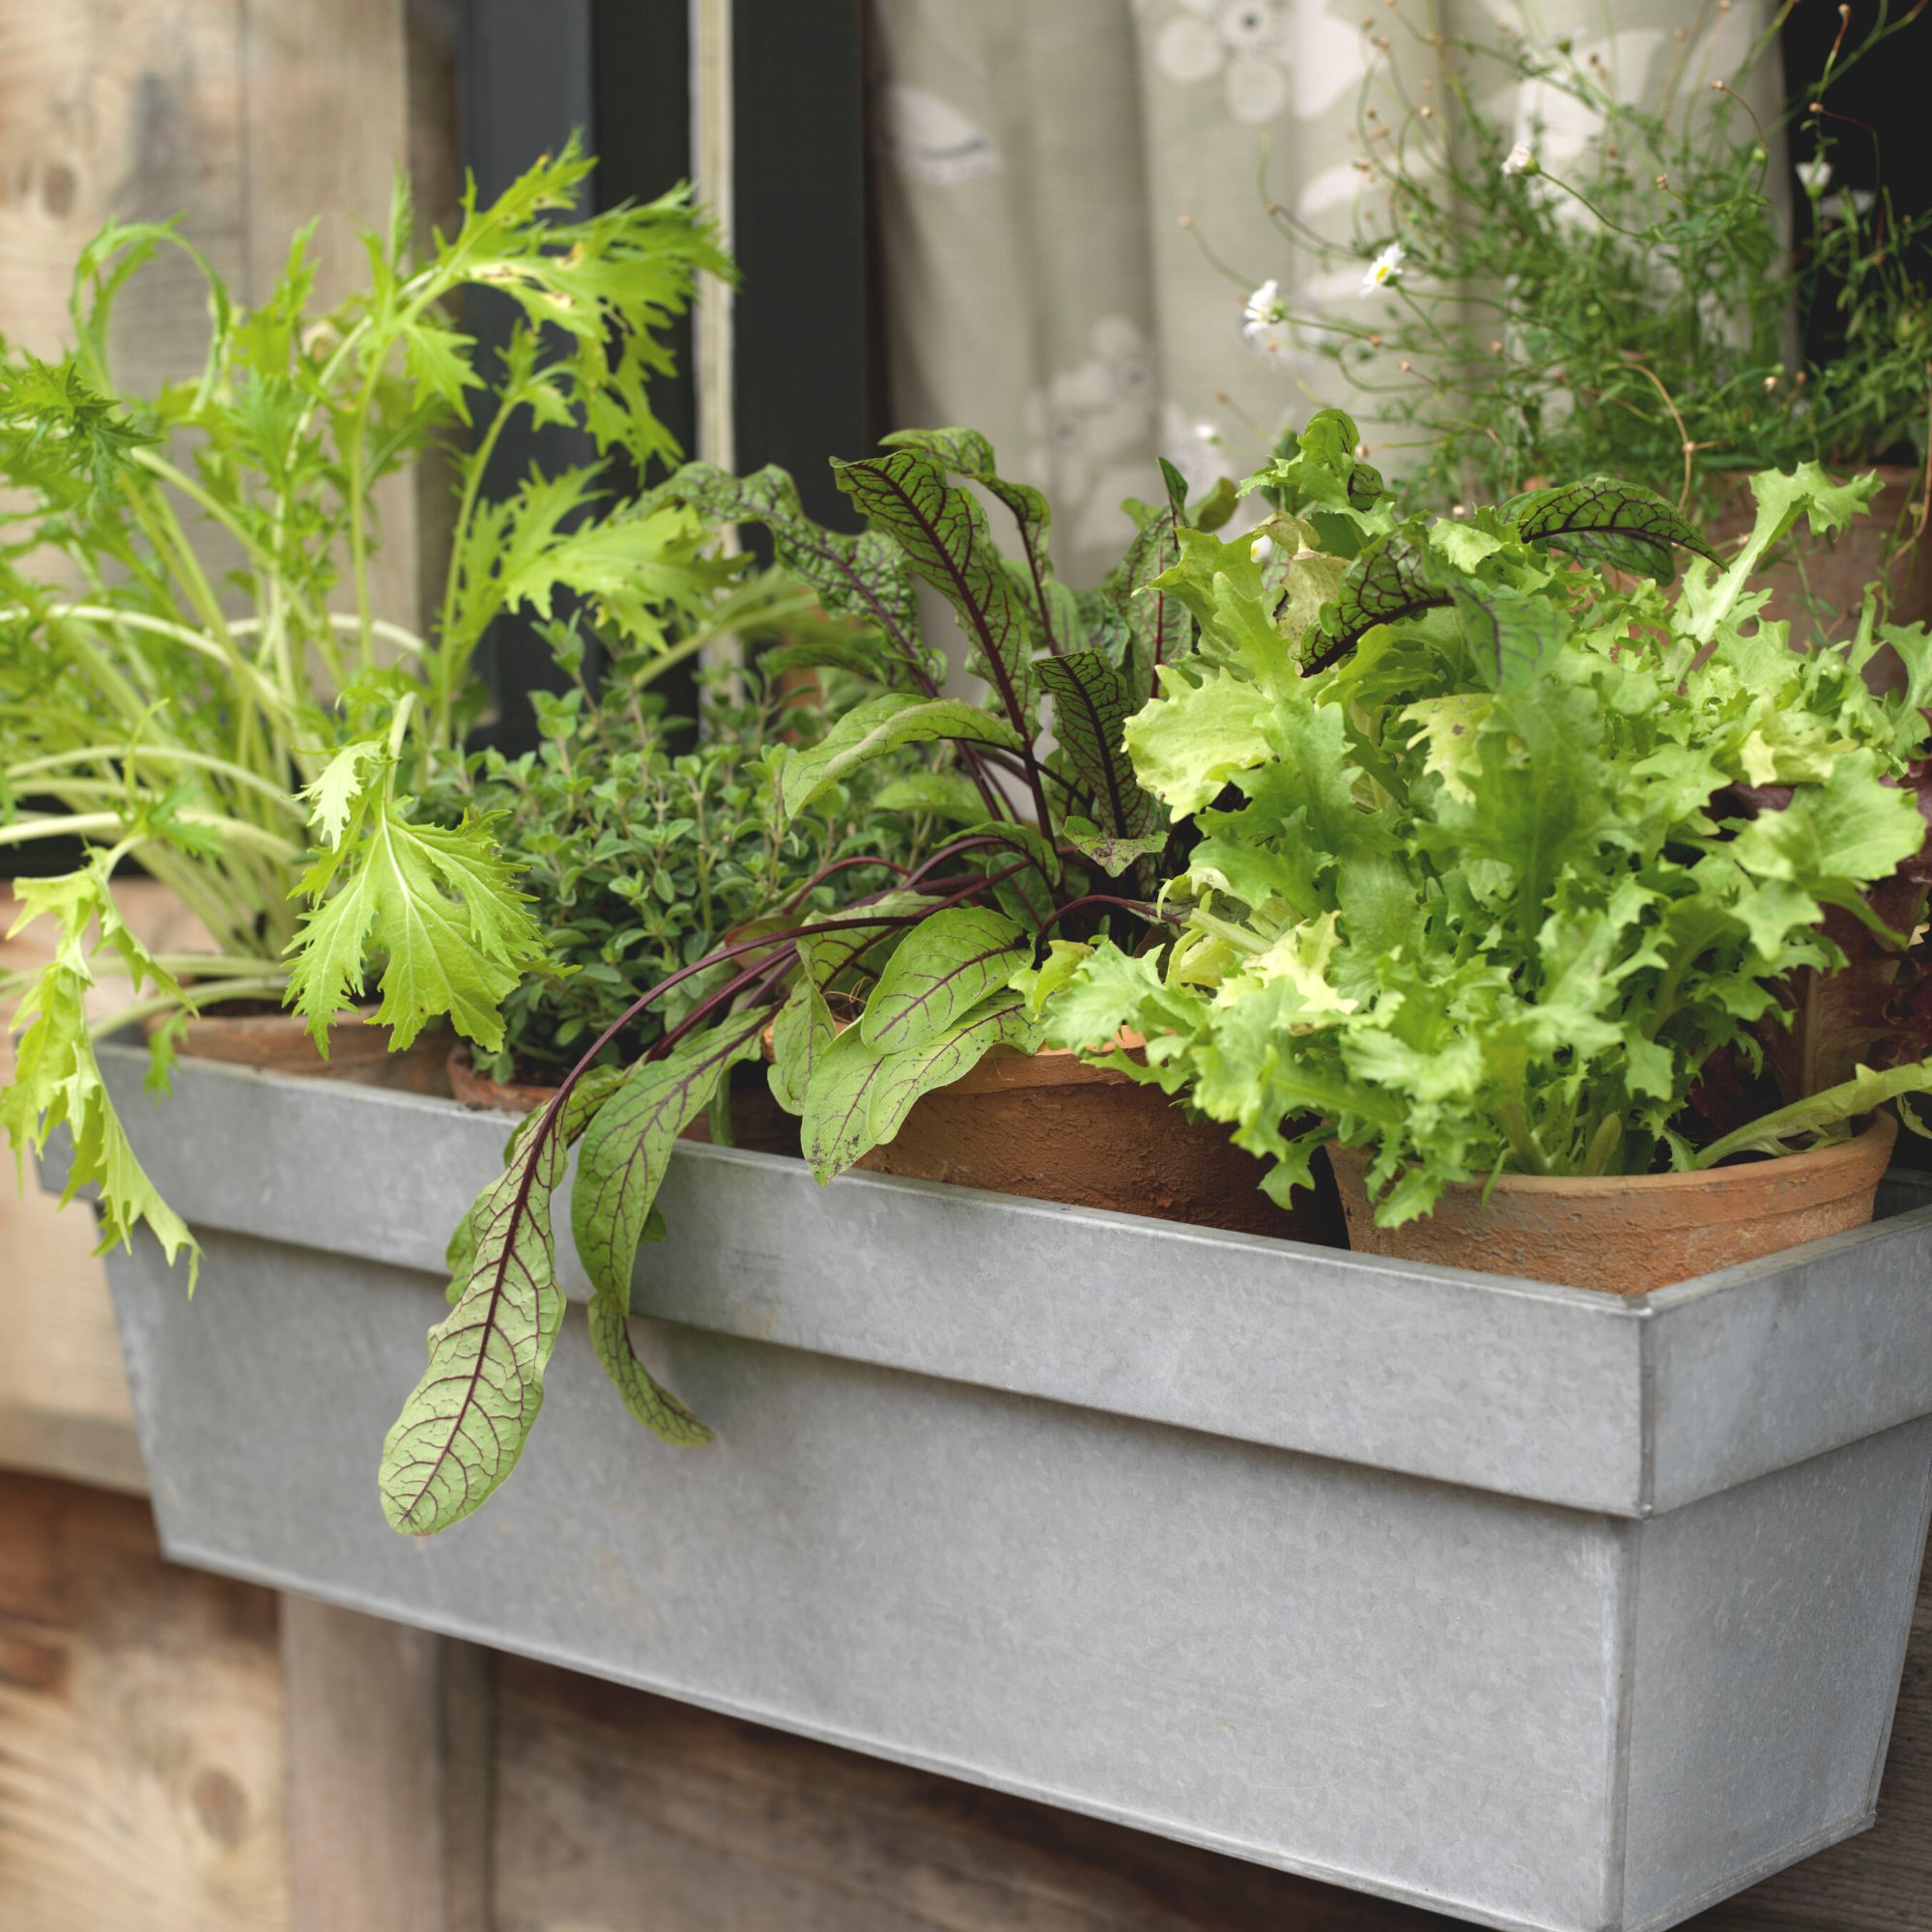
A few common errors can shorten the life of your planter or cause safety problems.
Skipping Drainage
Without drainage holes, water collects at the bottom and rots the wood while suffocating roots. Even with a liner, water needs a way out.
Overfilling with Soil
Leave 1 to 2 inches of space below the rim. Overfilling causes soil to spill during watering and adds unnecessary weight.
Using Weak Mounting Hardware
Cheap brackets or short screws can pull out under the weight of wet soil. Spend a little more on heavy-duty, rustproof hardware rated for outdoor use.
Frequently Asked Questions About How to Make a Window Box
What is the best wood for a window box?
Cedar and redwood are the top choices because they resist rot and insects naturally. Both hold up for many years outdoors without chemical treatment and remain light enough for most exterior walls.
How deep should a window box be?
Aim for a depth of 8 to 12 inches. This range gives most flowers and herbs enough root space while keeping the box from sticking out too far from the wall.
How much weight can a window box hold?
A 4-foot box filled with wet soil and mature plants can easily weigh 50 pounds or more. Always mount into studs or masonry, and use brackets rated for the total load.
How do I keep my window box from falling off?
Anchor the brackets into wall studs or solid masonry with heavy-duty screws. Use three brackets for any box longer than 3 feet, and check the mounting each spring for loose hardware.
Do window boxes need drainage holes?
Yes. Drainage holes let excess water escape so roots do not rot. Drill ½-inch holes every 6 to 8 inches across the bottom of the box.
Can I make a window box without a drill?
You can build a basic box using a hammer and nails, but you will still need a way to create drainage holes. A large nail and hammer can punch through thin boards, though a drill gives cleaner results.
Final Thoughts on Building a Window Box That Lasts
Knowing how to make a window box opens the door to a satisfying DIY project that pays off every single day. Start with rot-resistant wood, measure carefully, drill plenty of drainage holes, and mount the box into solid framing with brackets strong enough to handle the load. Once planted, a little regular watering and seasonal refreshes will keep your window box looking beautiful year after year. Pick up your tools this weekend and start building.



