
Have you ever wanted custom decorations for your windows without sticky residue? Learning how to make window clings with Cricut opens up a world of reusable, repositionable decor for holidays, parties, or everyday fun. The process uses Cricut’s specialty window cling material, which sticks to glass through static cling rather than adhesive.
In this guide, you’ll discover the exact steps for designing, cutting, weeding, and applying your own window clings. You’ll also learn the difference between window cling and vinyl, why a kiss cut matters, and how to troubleshoot common issues. Whether you’re a beginner or experienced crafter, you’ll have professional-looking results in minutes.
Select and Size Your Window Cling Design

Your project starts in Cricut Design Space, where you’ll choose or upload an image. Consider where the cling will go and pick a design that fits your space.
Mirror Your Design When Needed
If your design includes text or directional elements, mirror it before cutting. This step matters when the cling liner faces down during application.
To mirror your design:
– Click the “Mirror” toggle in the mat preview screen
– Mirror only when the front of the cling faces outward
– Double-check orientation for letters or asymmetrical shapes
Scale Your Design Correctly
Most home windows fit clings between 6 and 12 inches wide. Avoid oversized designs unless you have large-format material. Use the resize handles or enter exact dimensions in the toolbar for precision.
Choose the Window Cling Material Setting

Correct material selection ensures a clean kiss cut that slices only the cling layer, not the liner.
Select Window Cling in Design Space
- Open the Material search bar in Design Space
- Type “Window Cling”
- Choose “Cricut Window Cling” from the list
- The machine sets blade depth and pressure automatically
For Cricut Explore Air 2 or older models, turn the Smart Set Dial to Custom before loading the mat. This allows the machine to follow Design Space settings accurately.
Why a Kiss Cut Matters
A kiss cut slices only the top cling layer, leaving the paper liner intact. This makes weeding easier and keeps your design aligned. If you cut through the liner, handling becomes harder, though the cling remains usable.
Always run a test cut on a small scrap first. Adjust pressure in Custom Materials if needed.
Load the Mat with Window Cling Material
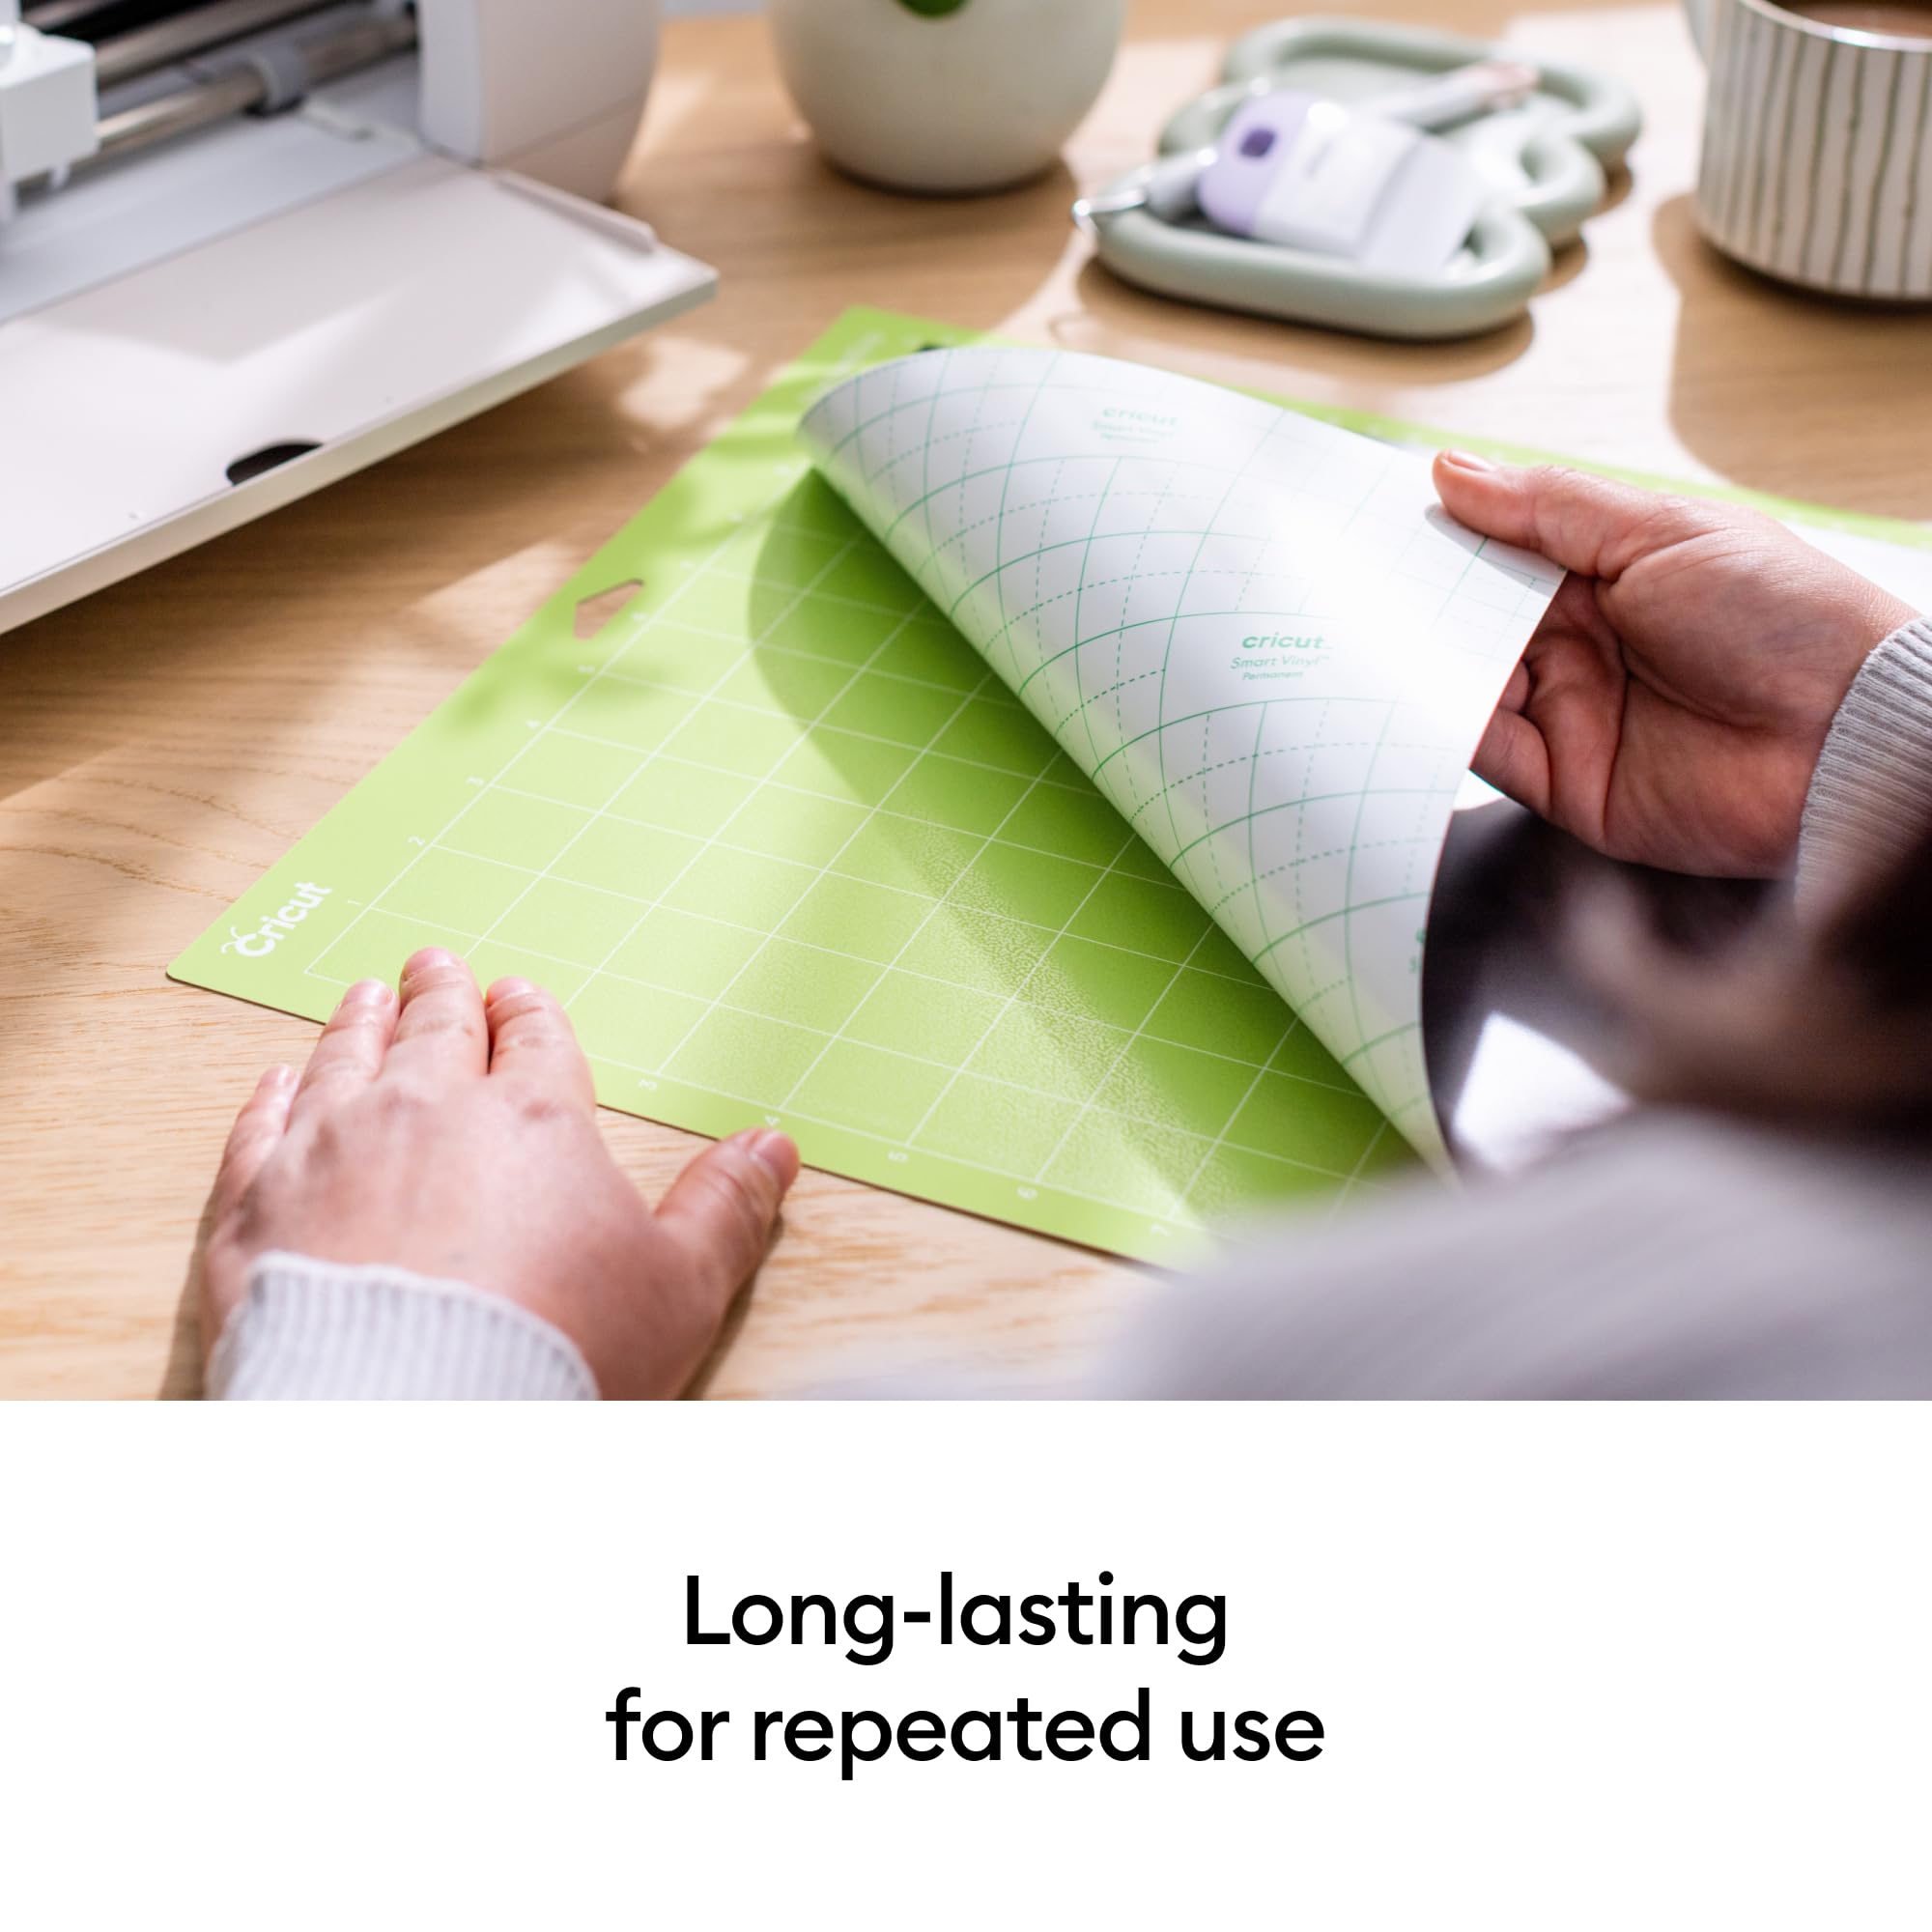
Proper mat loading ensures accurate cuts and prevents misfeeds during the cutting process.
Place Cling Liner-Side Down
Peel the cling sheet from its liner and lay it adhesive-side down onto the Cricut StandardGrip mat. The shiny cling side should face up, where the blade will cut.
Smooth out wrinkles with your hand. Use a



