
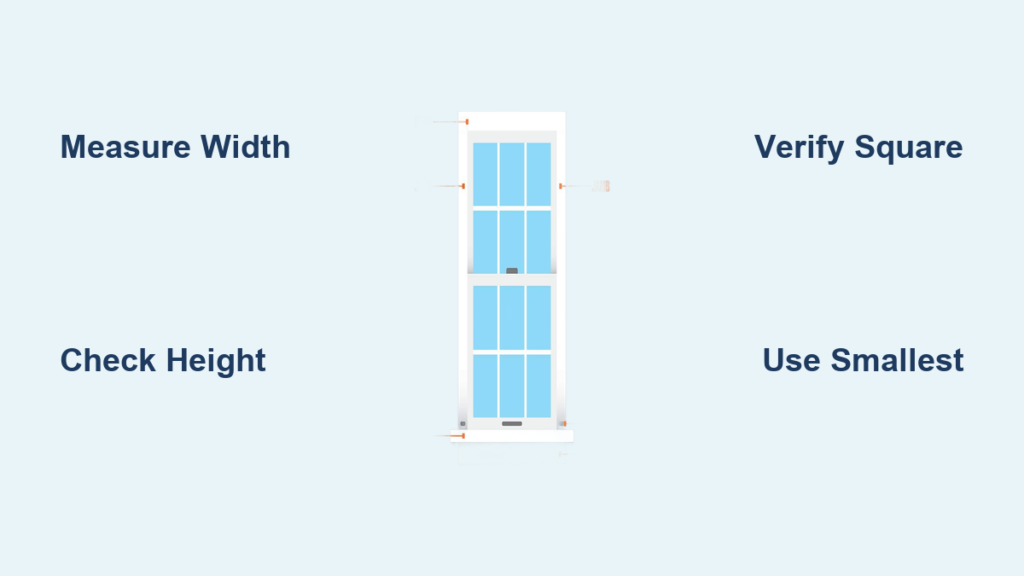
You’re ready to buy new curtains, blinds, or replacement windows, but without the right measurements, even the best products can end up being a costly mistake. Knowing how to measure window size correctly ensures a perfect fit, clean look, and smooth installation every time.
Measuring window size seems simple, but small errors can lead to big problems. A quarter inch off might mean your blind won’t fit, your frame overlaps the opening, or your energy efficiency suffers due to gaps. This guide walks you through every step to measure window size correctly, whether for replacement, framing, or window coverings, so you get it right the first time.
Choose Your Measurement Goal First
Before grabbing a tape measure, clarify why you’re measuring. The method changes based on your end use.
Measure for Replacement Windows
If you’re replacing an old window, focus on the rough opening, which is the actual space in the wall. Remove the existing window first, then measure the opening’s height, width, and depth. Always measure at multiple points since walls aren’t always square. Use the smallest dimension to ensure the new window fits.
Measure for Window Treatments
For blinds, shades, or curtains, decide whether you’re installing inside or outside the window frame. Interior mounts require precise frame dimensions. Exterior mounts need extra width and height for full coverage and light blocking. Always note depth to ensure hardware clearance.
Measure for Screens or Storm Panels
When replacing screens or storm windows, measure the existing panel or the frame opening. Include spline groove depth if replacing mesh. For custom panels, measure the outer edge of the frame, not the glass.
Essential Tools for Measuring Window Size
Having the right tools ensures accuracy and saves time.
- Steel tape measure (25 foot): Flexible but precise
- Notepad and pen: Record measurements immediately
- Level: Check if the window is plumb and square
- Pencil: Mark reference points lightly
- Measuring app (optional): Some smartphones offer laser assisted measuring, though less accurate for tight tolerances
Always measure in inches, rounding to the nearest 1/8 inch. Write down every number and don’t rely on memory.
Inside Mount Window Measurements

Use this method for blinds, shades, or inserts that fit within the window frame.
Measure Width at Three Points
Measure the width at the top, middle, and bottom of the window frame. Record the smallest width. Never use the largest. For example:
– Top: 28 3/8″
– Middle: 28 1/4″
– Bottom: 28 5/8″
Final width: 28 1/4″
Measure Height on Both Sides and Center
Take three height measurements on the left, center, and right. Use the shortest height. Example:
– Left: 60 1/2″
– Center: 60 3/8″
– Right: 60 1/2″
Final height: 60 3/8″
Check Window Depth for Hardware
Check the depth of the window recess. Most inside mount blinds need at least 2.5 inches of depth for brackets. Measure from the glass to the inside edge of the trim.
Outside Mount Window Measurements
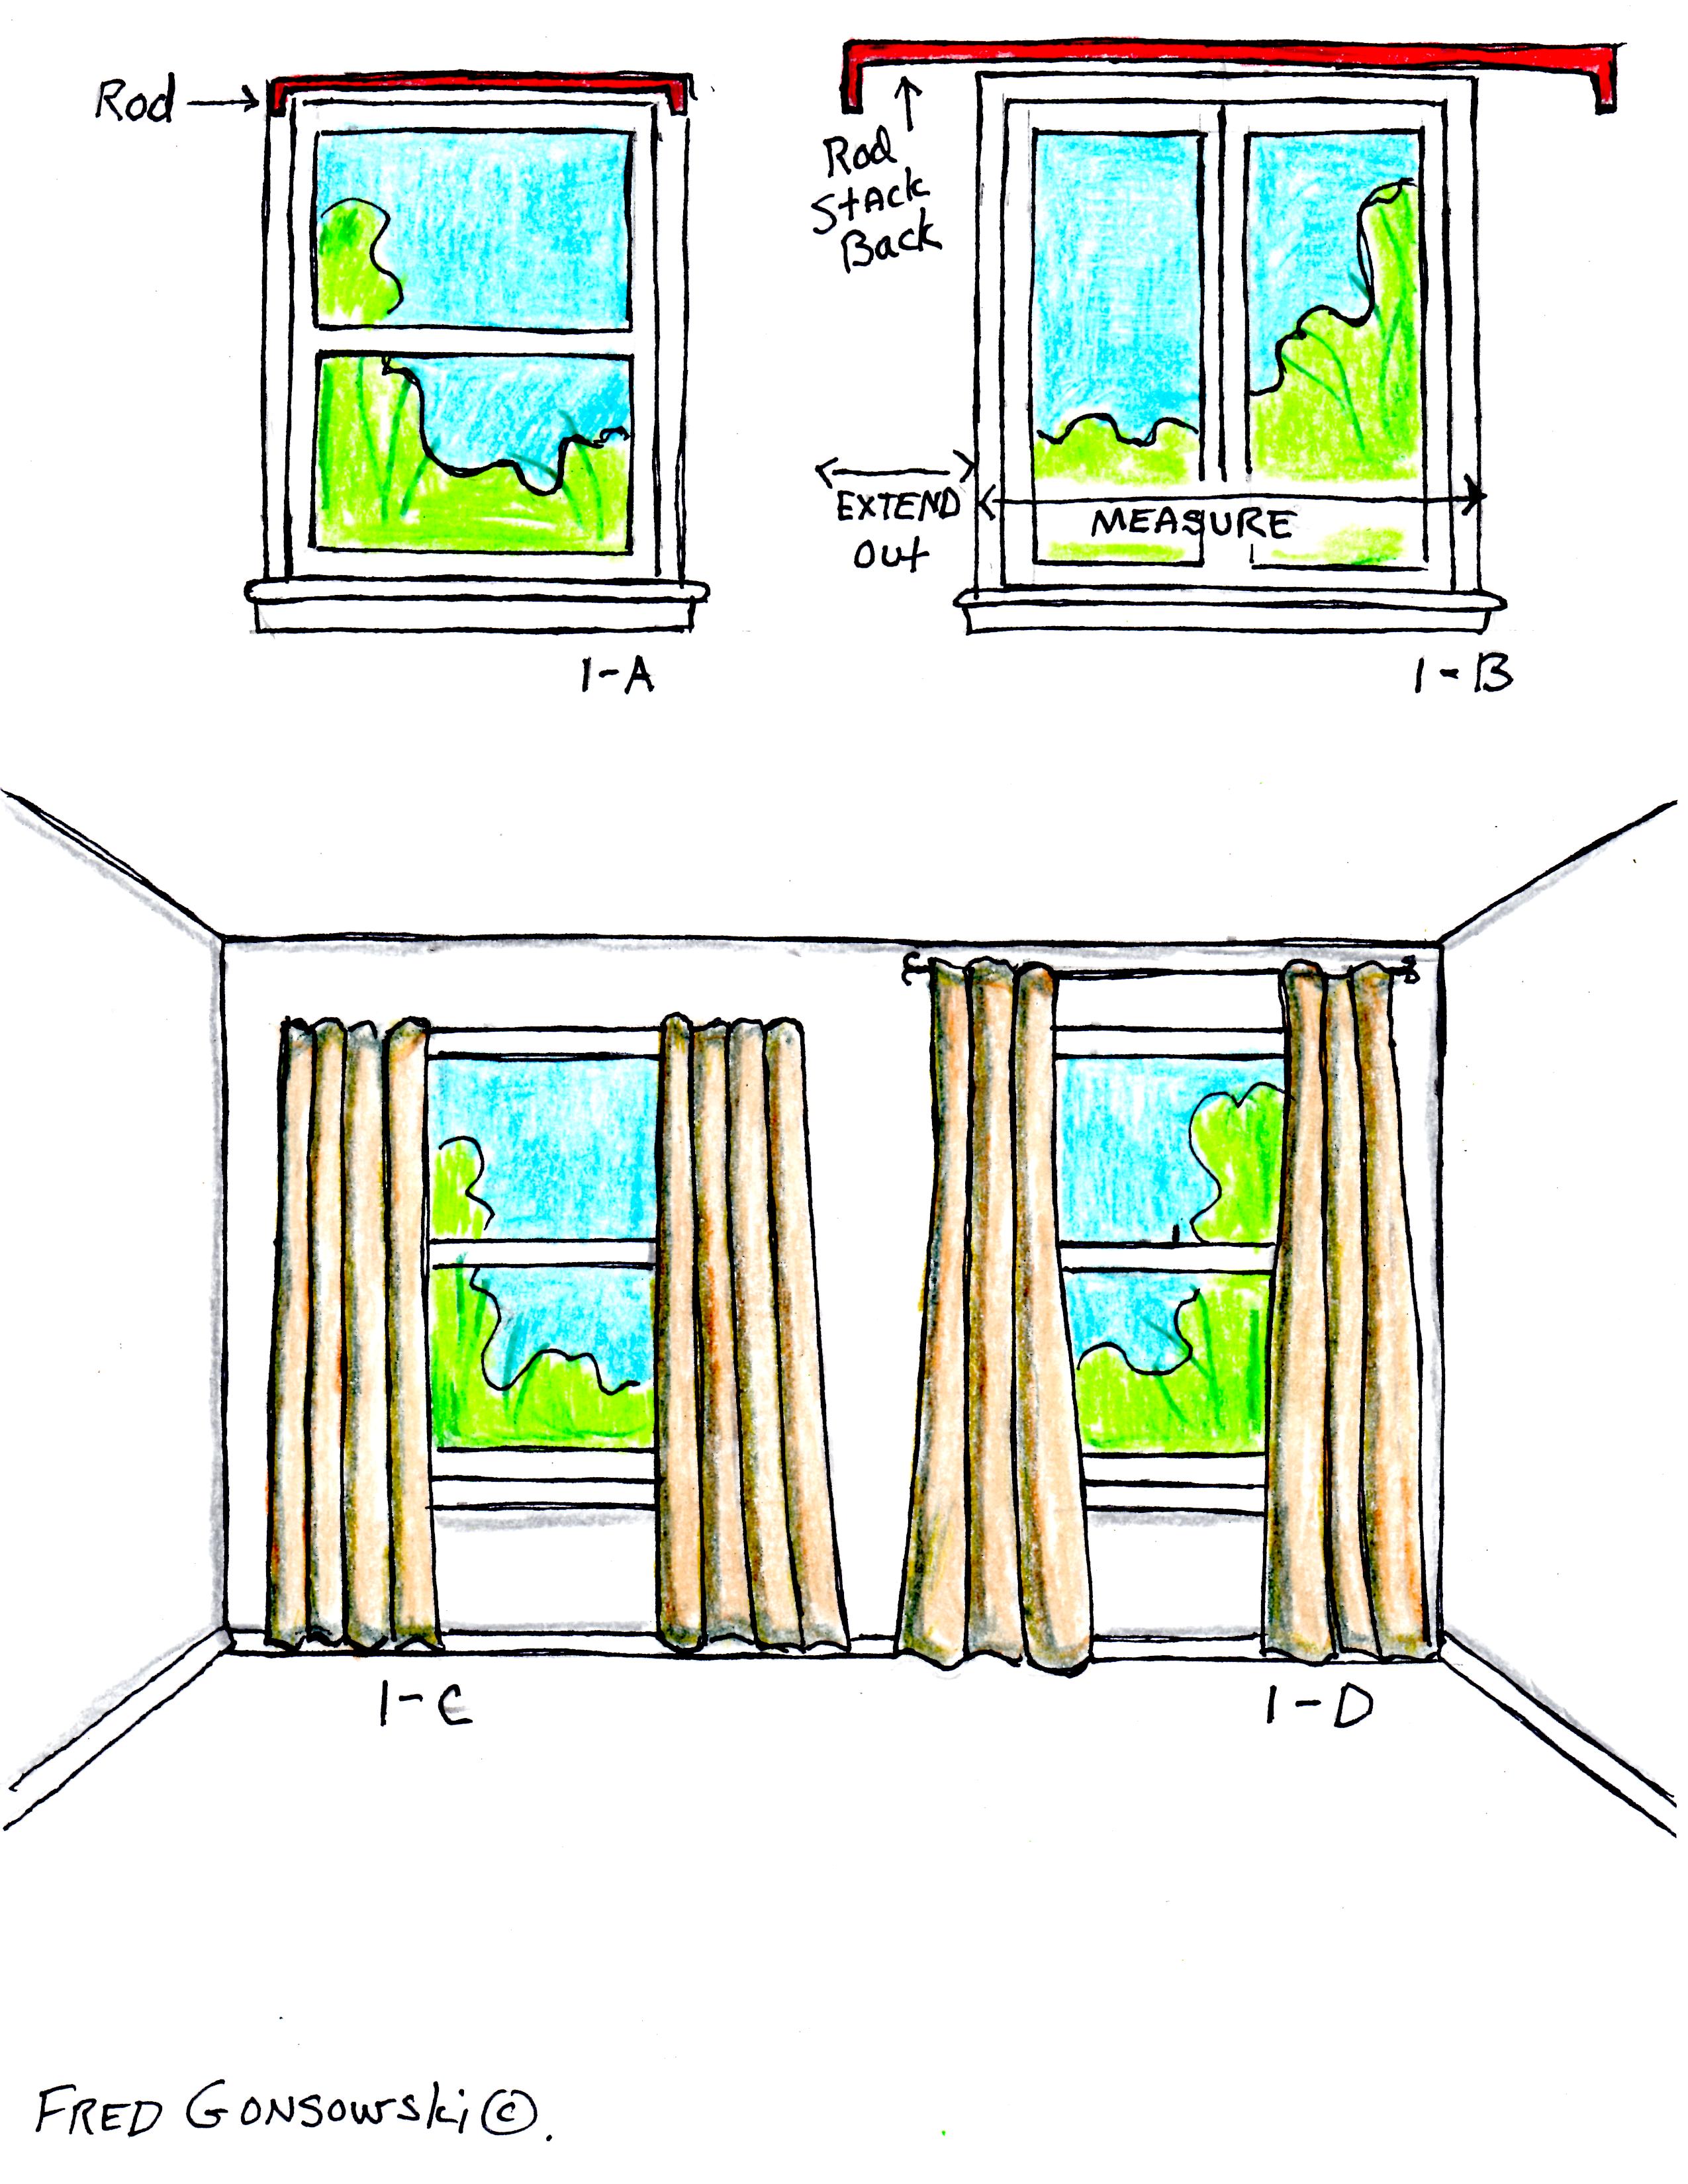
Ideal for curtains, shutters, or when frames are too shallow.
Decide How Far to Extend Beyond the Frame
Decide how far beyond the frame you want coverage. For curtains, extend 3 to 6 inches on each side to prevent light gaps. Add 6 to 12 inches above for height to make ceilings appear taller.
Measure Total Coverage Width
Include the window frame plus desired extension. Example:
– Window width: 30″
– Add 4″ per side
Total width: 38″
Measure Total Coverage Height
From mounting point to desired endpoint. If hanging rods above the frame:
– Start 6″ above frame
– End 1″ below sill or to floor
Total height: 84″
Always double check alignment with a level before marking drill points.
Measuring for Replacement Windows Step by Step
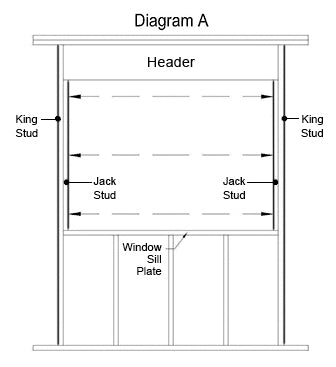
Accuracy is critical because custom windows won’t accept returns for wrong sizes.
Remove the Old Window Safely
Take out sashes and stops to expose the rough opening. Clear debris and inspect for damage.
Measure Width Across Three Points
At the bottom, center, and top of the opening, measure from jack stud to jack stud. Use the smallest measurement. Example:
– Bottom: 35 7/8″
– Center: 35 5/8″
– Top: 35 7/8″
Final width: 35 5/8″
Measure Height on Both Sides and Center
From the header to the sill, measure left, center, and right. Record the shortest. Example:
– Left: 59 1/4″
– Center: 59″
– Right: 59 1/4″
Final height: 59″
Verify the Opening Is Square
Use a level to test if the opening is plumb. Misaligned frames may need shimming during installation.
Common Window Measurement Mistakes to Avoid
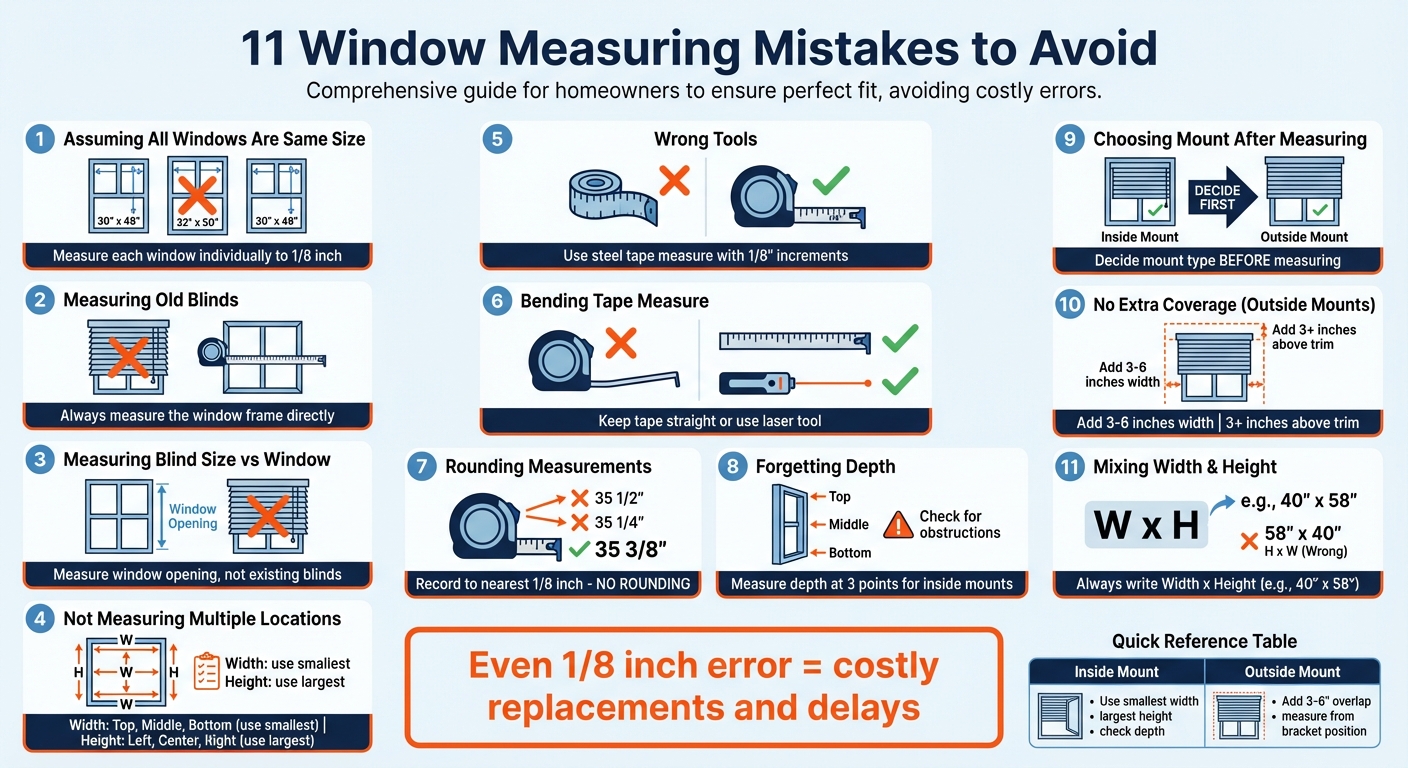
Even experienced DIYers make these errors. Don’t let them ruin your project.
Using the Largest Dimension by Accident
Always use the smallest dimension when fitting into a space. Bigger numbers lead to products that don’t fit.
Measuring Only Once
Always take each measurement twice: once to measure, once to verify. Better yet, measure three times.
Ignoring Frame Obstructions
Window cranks, sills, or trim can block blind arms or curtain rods. Measure clearance depth before finalizing.
Forgetting Mounting Space
Outside mounts need wall space beyond the frame. Ensure no light switches, outlets, or furniture interfere.
When Digital Measuring Apps Make Sense
Smartphone apps like Google Measure or Apple’s Measure can help, but they’re not foolproof.
Best Situations for Measuring Apps
- Quick estimates
- Hard to reach windows
- Double checking manual measurements
Limitations of Phone Measuring Tools
- Accuracy drops beyond 10 feet
- Poor lighting or reflective glass affects results
- Not suitable for custom window orders
Always confirm app readings with a physical tape measure.
Track Every Window With a Simple Map
If measuring multiple windows, confusion is easy.



