
Peeling, chipped, or outdated window trim can make even the cleanest room look neglected. If you have stared at worn trim and wondered whether painting it is worth the effort, the answer is yes. Done right, painting window trim transforms your space with crisp, fresh lines that elevate the entire room. The good news? You do not need to be a professional painter to achieve clean, polished results.
This guide walks you through every step, from choosing paint and supplies to cutting in like a pro, so you can tackle wood, MDF, or vinyl trim with confidence. You will learn exactly how to paint window trim for smooth, durable, and streak-free finishes. No guesswork, no mess. Just clear, actionable steps that help you avoid common mistakes and get professional-looking results on your first try.
Essential Tools and Supplies for Painting Window Trim
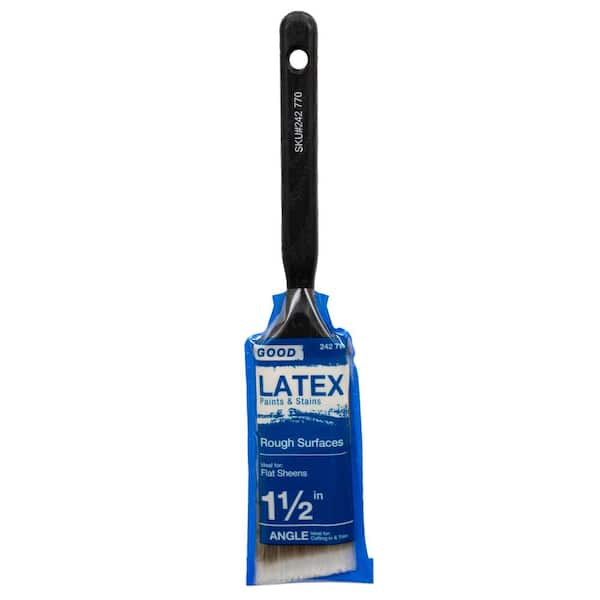
Before you pick up a brush, gather everything you need. Having the right tools on hand prevents interruptions and helps you maintain a wet edge, which is key to smooth results.
Must-Have Painting Tools
- Angled sash brush (1.5 to 2 inches): Perfect for precision cutting in along edges
- Mini foam roller or 4-inch trim roller: Delivers smooth coverage without brush marks
- Painter’s tape (3M Blue Tape or equivalent): Protects glass and walls
- Drop cloths or rosin paper: Shields floors from drips
- Putty knife or 5-in-1 tool: For scraping loose paint and caulk removal
- Sandpaper (120 and 220 grit): Smooths surfaces and knocks down gloss
- Tack cloth or microfiber rag: Removes dust after sanding
- Paint can opener and stir sticks: For proper paint mixing
Paint and Primer Choices
- Oil-based primer (such as Zinsser Cover Stain): Seals knots, blocks stains, and ensures adhesion
- Water-based acrylic enamel paint (such as Sherwin-Williams ProClassic): Durable, low-odor, and fast-drying
- High-gloss or semi-gloss finish: Resists scuffs and highlights crisp trim lines
Pro Tip: Buy a full quart of paint even for small jobs. You will need extra for touch-ups and future repairs.
Prep Work: The Secret to a Flawless Window Trim Finish
:max_bytes(150000):strip_icc()/SPR-painting-interior-window-trim-1822407-Step-07-a03040854c304ccf8bee44b68687da37.jpg)
Most beginners rush into painting, but skipping prep leads to peeling, bubbling, and uneven texture. Proper prep ensures paint adheres and lasts for years.
Remove Old Paint and Caulk
Use a putty knife to scrape off flaking paint. For stubborn areas, lightly sand with 120-grit paper. Remove old caulk from where the trim meets the wall and window frame using a utility knife or caulk removal tool. This creates a clean gap for fresh caulk later.
Sand and Clean the Surface
Sand the entire trim surface to dull the existing finish. This de-glossing step allows new paint to bond properly. Focus on glossy spots and any rough patches. Wipe down with a damp cloth, then use a tack cloth to remove all dust. Never skip this step. Dust causes bumps in the final coat.
Apply Painter’s Tape Strategically
Tape along the glass and wall edges. Press the tape down firmly with a putty knife to create a tight seal. This prevents bleed-through and gives you sharp, clean lines. For extra precision, use low-adhesion tape designed for trim work.
Prime for Long-Lasting Window Trim Results
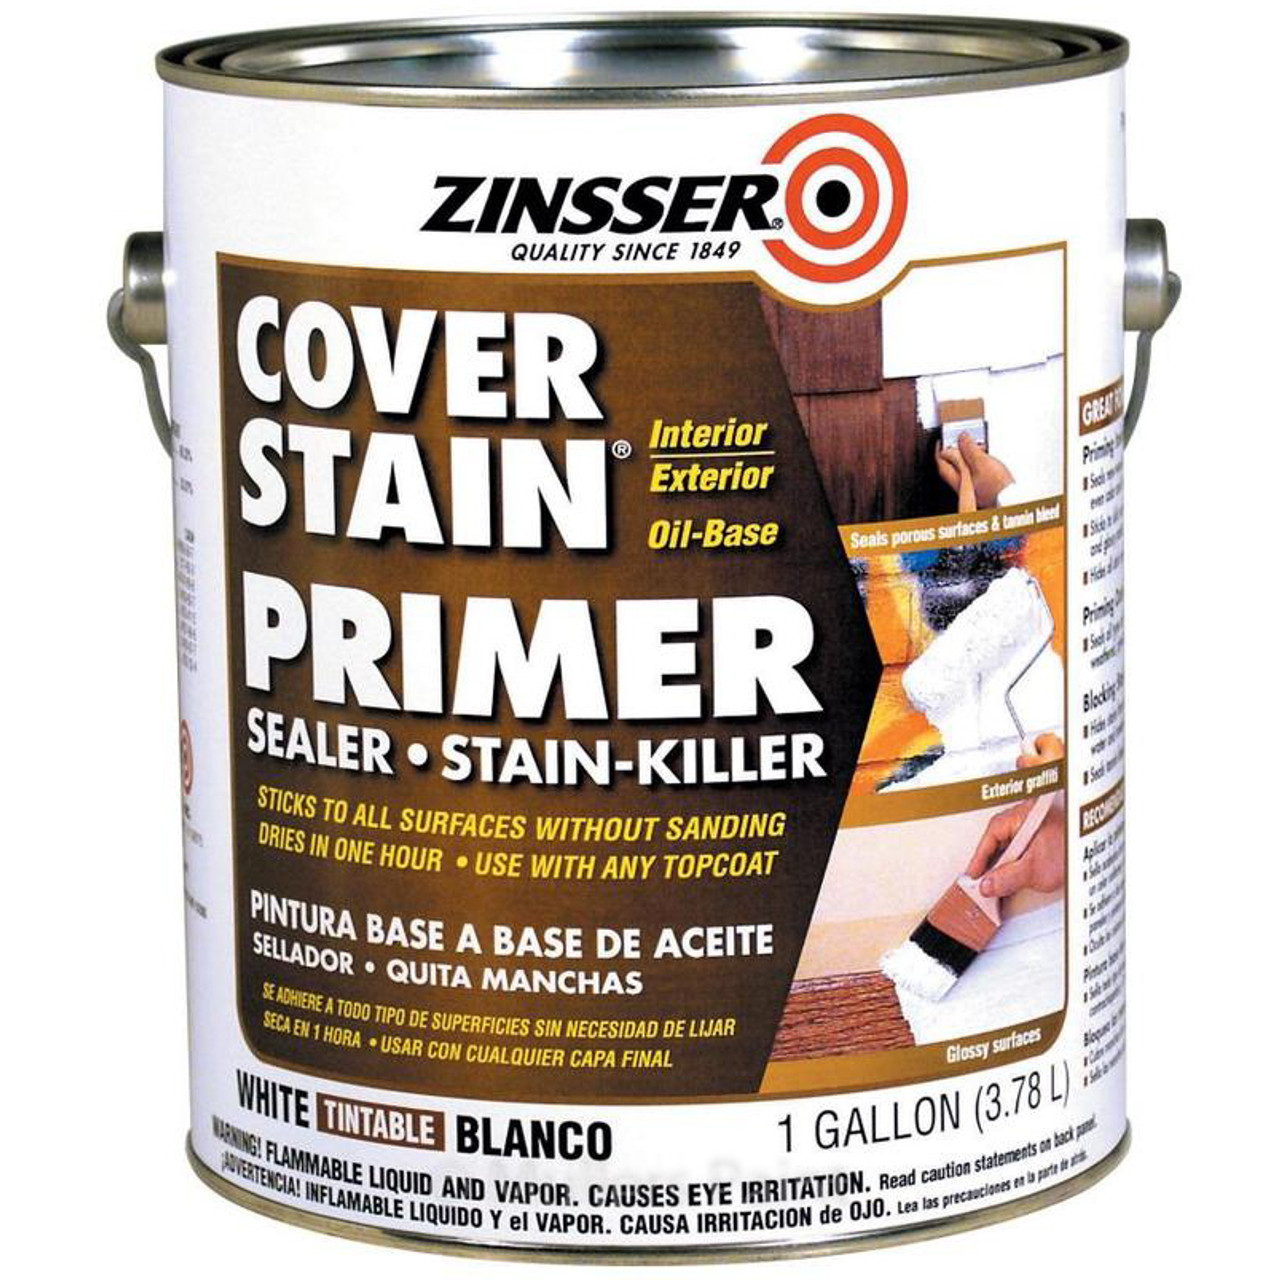
Priming is non-negotiable, especially if you are painting over bare wood, stained areas, or making a drastic color change.
Why Use Oil-Based Primer
Oil-based primers like Zinsser Cover Stain block tannin bleed, which is common in pine, and seal knots. They also create a hard, smooth base that paint adheres to better than bare wood or old finishes.
Apply Primer Evenly
Stir the primer thoroughly. Use your angled brush to cut in along edges, then roll the flat sections. Work in small sections to avoid lap marks. Let dry 4 to 6 hours or as directed. Sand lightly with 220-grit paper and wipe clean before painting.
Warning: Oil primers have strong fumes. Work in a ventilated area and wear a mask.
Cut In First, Then Roll for Clean Lines
The key to clean, professional trim painting is the right sequence: cut in, roll, and finish with detail.
Master the Cut-In Technique
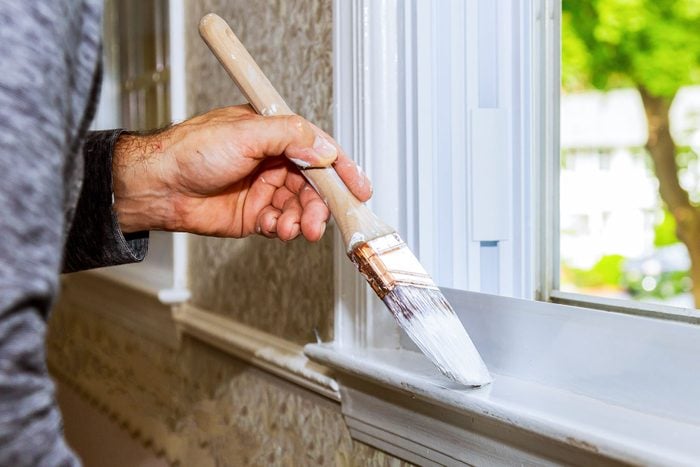
Load your angled brush with paint, then tap off excess. Do not wipe the brush. Hold the brush at a 45-degree angle and draw a clean line along the edge where trim meets glass or wall. Use the tip of the brush for precision. Work in 2 to 3 foot sections to maintain a wet edge.
Pro Tip: Do not overload the brush. Too much paint leads to drips and wavy lines.
Roll the Flat Surfaces
After cutting in, use a mini foam roller to apply paint to the wide faces of the trim. Roll in long, even strokes, slightly overlapping each pass. Avoid pressing too hard, as this can leave roller stipple.
Work Top to Bottom
Start with the top of the window (header), then sides (jambs), and finally the sill. Gravity helps minimize drips when you follow this order.
Apply a Second Coat for Durability
One coat rarely delivers full coverage, especially on trim. A second coat ensures richness, uniformity, and long-term protection.
When to Apply the Second Coat
Wait 2 to 4 hours between coats and check paint can instructions. Make sure the first coat is dry to the touch. Lightly sand with 220-grit paper and wipe clean.
Focus on Problem Areas
Pay extra attention to edges, corners, and any spots that look thin. Use the same cut-in-then-roll method. The second coat should be smoother and faster.
Caulk for a Pro Window Trim Finish
Many DIYers skip caulk, but it is the final touch that separates amateur from pro results.
Choose the Right Caulk
Use a paintable acrylic latex caulk such as DAP Alex Plus. It is flexible, easy to tool, and will not crack over time.
Apply and Smooth the Bead
Load a caulk gun and apply a thin, continuous bead where the trim meets the wall and window frame. Dip your index finger in water and gently smooth the caulk. Wipe excess with a damp sponge. Let dry 2 to 4 hours before painting over it.
Remove Tape While Paint Is Wet
Timing is critical. Remove painter’s tape when the paint is dry to the touch but not fully cured, usually 1 to 2 hours after rolling.
How to Pull Tape Cleanly
Peel slowly at a 45-degree angle, pulling backward over itself. If paint starts to lift, score the edge with a utility knife first. This prevents tearing the fresh paint line.
Clean Up and Final Touch-Ups
Once the paint is dry, inspect your work under natural light.
Clean Your Tools
Wash brushes and rollers with soap and water for water-based paint. For oil-based primer, use mineral spirits. Store tools properly for future use.
Fix Mistakes Immediately
Touch up any thin spots, drips, or missed areas with a small brush. Keep leftover paint in a sealed jar for future repairs.
Maintain Your Painted Window Trim
Well-painted trim lasts 5 to 10 years with proper care.
Cleaning Tips
Dust regularly with a microfiber cloth. For smudges, use mild soap and water and avoid abrasive cleaners.
When to Repaint
Look for signs of wear such as chipping, discoloration, or worn edges. Repaint before damage spreads to the wood.
Common Mistakes to Avoid When Painting Window Trim
Even experienced DIYers make these errors. Avoid them to save time and frustration.
Skipping Sanding
Paint will not stick to glossy surfaces. Always de-gloss before priming.
Using the Wrong Brush
Cheap brushes shed bristles and leave streaks. Invest in a high-quality angled sash brush.
Painting in Humid or Cold Conditions
Ideal painting temperatures are 50 to 85°F with low humidity. Cold or damp air slows drying and causes runs.
Not Letting Primer Dry
Painting over tacky primer traps moisture, leading to bubbling and peeling.
Time and Difficulty Overview
How Long Does It Take?
- Single window: 3 to 5 hours, including prep and drying
- Entire room: 1 to 2 days
- Full house: 3 to 5 days
Most time is spent prepping, not painting.
Skill Level: Moderate
Beginners can succeed with patience. Focus on clean prep and steady brushwork. Practice cutting in on scrap wood first.
Frequently Asked Questions About How to Paint Window Trim
What Type of Paint Works Best for Window Trim?
Water-based acrylic enamel in semi-gloss or high-gloss finish works best for window trim. It dries fast, resists scuffs, and cleans easily. For raw wood or stained trim, pair it with an oil-based primer for proper adhesion.
Do I Need to Remove Old Paint Before Repainting Trim?
You only need to remove paint that is peeling, cracking, or bubbling. Sound, well-adhered paint can stay. Sand glossy areas to dull the finish and create a bonding surface for the new coat.
Should I Caulk Window Trim Before or After Painting?
Caulk before painting. Caulk fills gaps between the trim and wall, and painting over it seals the joint. Use paintable acrylic latex caulk and let it dry fully before applying your topcoat.
How Do I Avoid Brush Marks on Trim?
Use a high-quality angled sash brush and a mini foam roller. Do not overload the brush. Apply paint in thin, even coats and maintain a wet edge to prevent lap marks.
Can I Paint Window Trim Without Taping?
Yes, with a steady hand and a quality angled brush, you can cut in cleanly without tape. However, tape makes it easier to get perfectly straight lines, especially on glass or textured walls.
How Long Does Painted Window Trim Last?
With proper prep and quality materials, painted window trim lasts 5 to 10 years. High-traffic areas may need touch-ups sooner. Clean regularly and repaint at the first signs of wear.
Final Tips for a Pro Window Trim Finish
- Paint all trim in the room at once for consistent color
- Use natural light to spot missed areas
- Keep a damp rag handy for quick drip fixes
- Label paint cans with room and date
Painting window trim is not glamorous, but it is one of the fastest ways to refresh your home. With the right approach, you will get crisp, durable results that make your windows pop and your rooms feel polished.
Now that you know how to paint window trim like a pro, grab your brush and transform your space one clean line at a time.



