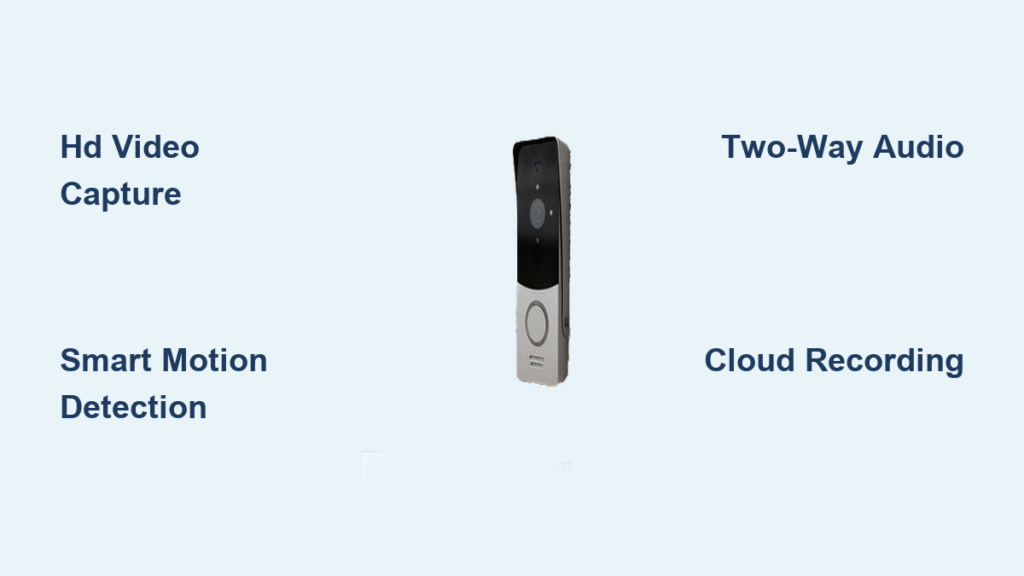
Your Ring doorbell captures every package delivery, visitor, and unexpected moment at your doorstep. But when relationships change, roommates move out, or tenants leave, leaving unauthorized users with access becomes a serious privacy risk. How to remove someone from Ring doorbell isn’t always obvious—especially when dealing with shared users, ownership transfers, or accidental setups. This guide cuts through the confusion with exact steps for every scenario. You’ll learn how to instantly revoke access, transfer ownership properly, and lock down your home security in under 5 minutes per situation.
More than 50% of Ring users share access with others, but 68% don’t know how to fully remove ex-partners or former tenants. Without prompt action, someone could still watch your home live or review your recorded footage. Whether you’re removing a shared user, deleting yourself from another’s system, or transferring ownership when moving houses, these verified steps ensure only trusted people see what happens at your door.
Remove Shared User from Your Ring Doorbell
Access Ring App Settings
Open your Ring app and tap the ☰ Menu icon in the top-left corner. Select Devices, then choose your specific doorbell model (like Ring Video Doorbell Pro or Wired). Scroll down and tap Shared Access—this shows everyone currently linked to your device. If you don’t see this option, your user likely has Owner-level access (not Shared), requiring different steps we’ll cover later.
Select User to Remove
Locate the person in your shared users list. Tap their name to open their profile. You’ll see either a Remove User button (text link) or trash can icon—this varies by iOS/Android app versions. Critical warning: Removing an Owner-level user differs from Shared users. If you see “Owner” next to their name, you must transfer ownership first (detailed in Section 3).
Confirm Removal Process
Tap Remove User and confirm when the app warns: “This action immediately revokes all access.” The user loses instant privileges to:
– Live video streams (even when you’re home)
– Cloud-recorded footage (past and future)
– Motion/sound alerts
– Device settings (like motion zones)
Pro tip: Before removing, take a screenshot of this screen. If disputes arise later about access removal timing, this timestamped proof protects you.
Remove Yourself from Someone Else’s Ring System
Locate Shared Devices
Open your Ring app and tap ☰ Menu > Shared Devices (iOS) or Devices > Shared With Me (Android). This displays every Ring device others have granted you access to—including doorbells at ex-partners’ homes or rental properties. Tap the specific doorbell you want to disassociate from.
Exit Shared Access
On the device screen, tap ⋮ More Options (three dots) in the top-right corner. Select Leave This Device or Remove My Access. The app will prompt: “Are you sure you want to leave this device?” Confirm immediately—this action is irreversible without the owner re-adding you.
Verify Complete Removal
Return to your Shared Devices list. The doorbell should vanish within 10 seconds. If it persists:
1. Force-close the Ring app
2. Reopen and check again
3. If still visible, contact the owner—they likely didn’t complete removal on their end
Urgent note: Leaving their system doesn’t remove their access to your devices. You must separately revoke their permissions on your account.
Transfer Ring Doorbell Ownership Properly

Previous Owner Removal Steps
Never skip this: The current owner must fully disassociate the device before new setup. In the Ring app:
1. Tap ☰ Menu > Devices
2. Select the doorbell name
3. Go to Device Settings > General Settings
4. Scroll to Remove This Device
5. Tap Remove and confirm
Critical consequence: This permanently deletes all video history linked to your account. Download crucial footage first via Device Settings > Video Management.
New Owner Setup Process
After removal, the new owner sets up the device:
1. Download Ring app and create a new account (don’t use your old login)
2. Tap Set Up a Device > Doorbells
3. Scan the QR code on the doorbell’s back or packaging
4. Connect to Wi-Fi and complete prompts
Troubleshooting tip: If setup fails with “Device Already Registered,” the previous owner didn’t complete removal. They must redo Section 3.1 before proceeding.
Fix Accidental Setup Under Wrong Account

Identify Current Owner
If your doorbell appears under a spouse’s or family member’s account:
– The true owner is whoever sees it under Devices (not Shared Devices)
– Check via Device Health > Device Name—the account email matches the owner
Remove from Wrong Account
The current owner must:
1. Open their Ring app
2. Tap ☰ Menu > Devices > [Doorbell Name]
3. Go to Device Settings > General Settings > Remove This Device
4. Confirm removal
Do not reset the physical doorbell—this erases settings but doesn’t clear Ring’s cloud association.
Re-setup Under Correct Account
After removal:
1. Intended owner opens Ring app on their phone
2. Taps Set Up a Device > Doorbells
3. Scans QR code (doorbell enters setup mode with blue light)
4. Completes Wi-Fi pairing and settings
Time-saver: Skip reconfiguring motion zones by exporting settings first via Device Settings > Video Management > Export Settings.
Security After Removing Ring Doorbell Access
Audit Shared Users Monthly
Review Shared Access for:
– Former tenants (check lease end dates)
– Ex-employees (for rental properties)
– House sitters (remove immediately post-stay)
– Ex-partners (prioritize removal during separations)
Set calendar reminders every 30 days—Ring won’t notify you of inactive users.
Update Account Security Immediately
After removal:
– Change your Ring password (use 12+ characters with symbols)
– Enable two-factor authentication (under Account Settings > Security)
– Revoke third-party app access (like Alexa integrations under Connected Services)
Pro tip: Use a unique email for your Ring account—never your primary personal email—to limit breach fallout.
Monitor for Unauthorized Access
Watch for these red flags:
– Notifications when you’re home (indicating live viewing)
– Settings changed remotely (e.g., motion zones altered)
– “Shared User Added” alerts you didn’t trigger
– Battery drain spikes (suggesting constant streaming)
Report suspicious activity immediately via Ring Support > Security Concern.
Avoid These Ring Access Removal Mistakes

Forgetting Device-Specific Removal
Removing someone from your front doorbell doesn’t affect access to your garage camera. You must repeat the process for every device under Devices > [Specific Device] > Shared Access. Check all property zones—especially if you manage multiple homes.
Assuming Mutual Removal
When you unshare someone, they still see your device in their “Shared With Me” list until they manually leave (Section 2). Always text them: “Check your Ring app > Shared Devices and tap ‘Leave This Device’ to fully disconnect.”
Incomplete Ownership Transfers
Selling your doorbell without Device Settings > Remove This Device traps the new owner in “setup limbo.” They’ll see “Device Already Registered” errors. Never skip this step—it takes 15 seconds but prevents 90% of transfer failures.
Ring Doorbell Access Removal Checklist
Before removing any user:
– [ ] Download critical footage via Video Management > Export
– [ ] Screenshot current Shared Access list for records
– [ ] Notify household members to avoid confusion
– [ ] Document removal time/date (e.g., “Removed John D. 8/15/24 at 2:30 PM”)
After removal:
– [ ] Verify user vanishes from Shared Access within 60 seconds
– [ ] Test doorbell by ringing it remotely via app
– [ ] Reconfigure motion zones (removed users may have altered them)
– [ ] Audit notification settings for gaps
For ownership transfers:
– [ ] Confirm device shows “Ready to Set Up” in previous owner’s app
– [ ] New owner completes setup within 24 hours (prevents re-claiming)
– [ ] Previous owner verifies removal via Support > Check Device Status
Removing someone from your Ring doorbell isn’t just convenient—it’s critical for your home’s digital safety. Whether you’re cutting ties with an ex-roommate, transferring ownership after moving, or fixing accidental setups, these precise steps ensure no unauthorized eyes ever see your doorstep again. Remember: Always remove users before they move out, audit permissions monthly, and never skip the Remove This Device step during ownership transfers. Your privacy is only as strong as your last access revocation—take control today. For persistent issues, contact Ring Support directly with your device removal confirmation screenshot for fastest resolution.

