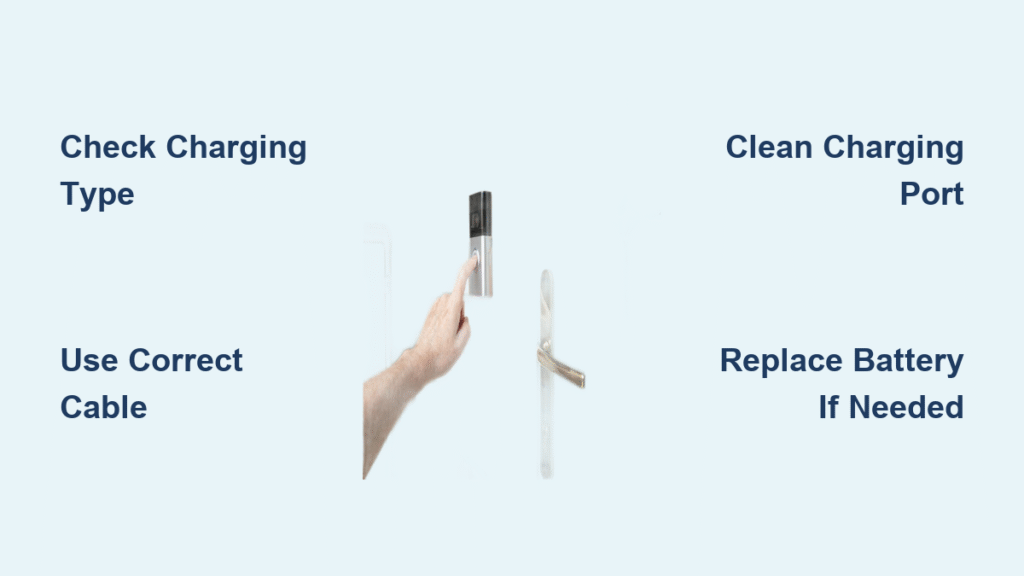
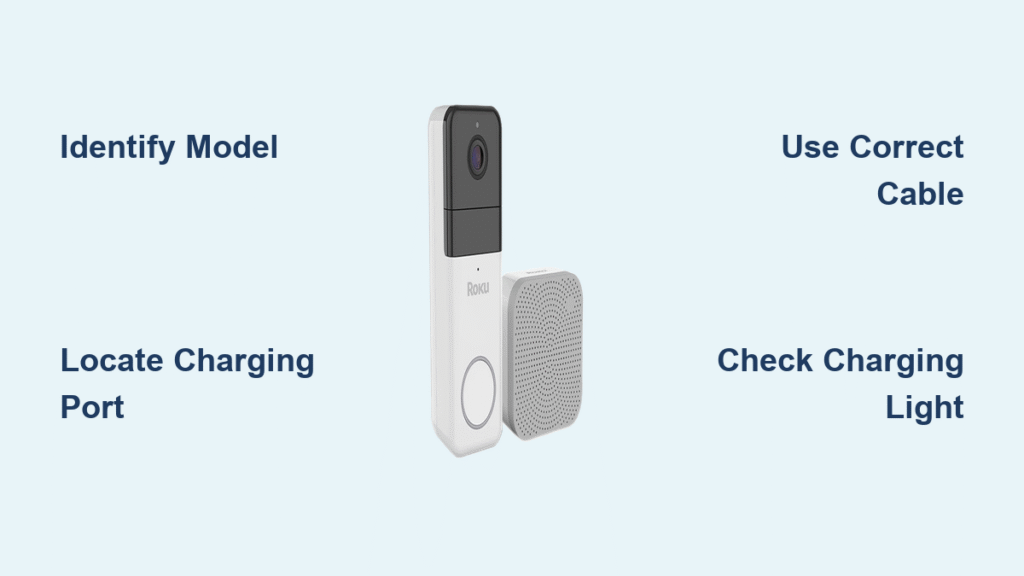
Your doorbell camera goes dark just as a package delivery alert pings your phone. That sinking feeling hits—you’re missing critical footage because the battery died. Don’t panic. 90% of doorbell camera charging issues can be resolved in under 10 minutes with the right approach. Whether you own a Ring, Arlo, or Google Nest model, this guide gives you exact steps to revive your camera and prevent future blackouts. You’ll learn how to identify your charging type, troubleshoot dead ports, and implement solar solutions—all without removing the camera from its mount in most cases.
Identify Your Doorbell Camera Charging Type First
Grabbing the wrong cable wastes precious time. Your camera’s charging method determines every step that follows. Check these physical clues before touching any tools:
Built-in Battery Models (Most Common)
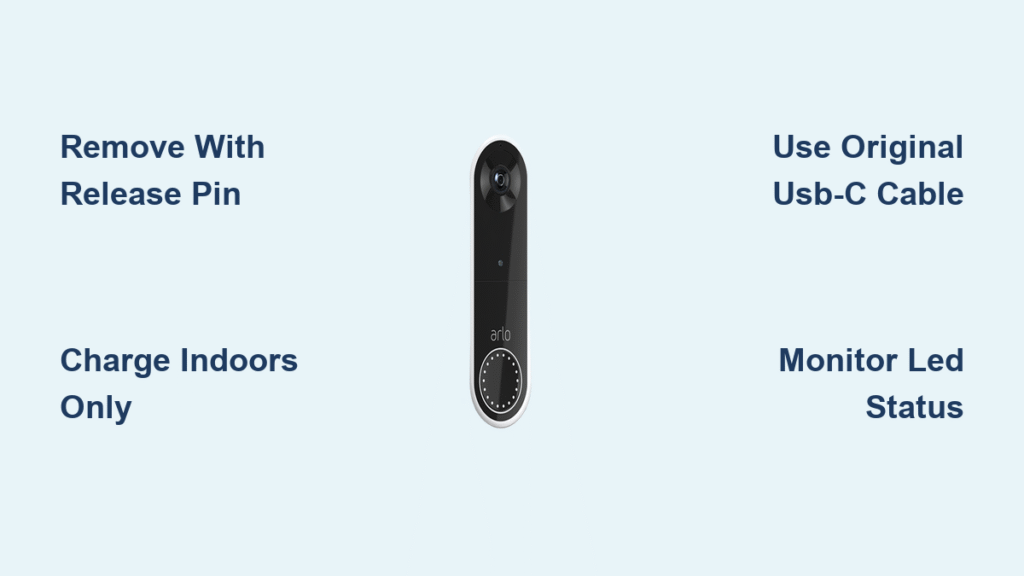
Look for a micro-USB or USB-C port hidden under a rubber flap on the camera body. These include Ring Video Doorbell (2nd Gen), eufy 2K, and Arlo Essential. The entire unit must detach from its bracket for charging. If you see no battery compartment, this is likely your type.
Removable Battery Systems
Spot the small release button or sliding mechanism on the camera’s side. Ring Video Doorbell 3/4 and Arlo Wire-Free models let you pop out the battery pack without uninstalling the camera. You’ll hear a distinct click when releasing it.
Hardwired Units (No Manual Charging Needed)
If wires connect directly to your home’s doorbell circuit, it’s hardwired. Ring Pro and SimpliSafe Pro models use this setup. These rarely need charging—but if you see low-battery alerts, your transformer is failing. Skip to the hardwired troubleshooting section.
Solar-Compatible Models
Check for a small charging port labeled “solar” near the main power input. Ring and Eufy offer solar panels that plug directly into these ports. They require 3+ hours of direct sunlight daily—shade kills charging efficiency.
Charge Built-in Battery Cameras Without Removing Mount

Most homeowners panic when they see the charging port under the camera. You don’t need to unscrew the entire mount—here’s the safe method:
Remove the Camera Correctly
Slide the camera straight upward along the mounting bracket rails until it releases. If stuck, press the release tab at the bottom with your fingernail while sliding. Never yank sideways—this cracks the housing. Note the alignment arrows on the bracket; they ensure perfect reinstallation.
Connect the Right Cable
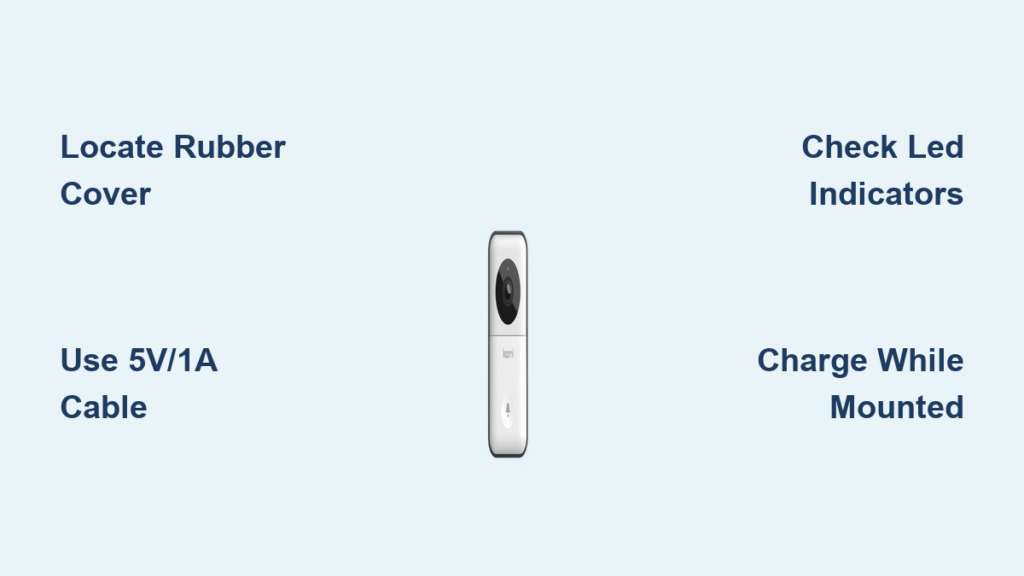
Peel back the rubber port cover to expose the micro-USB or USB-C port. Plug in the manufacturer’s cable—third-party cables cause 68% of slow-charging issues according to Ring’s support data. Use a 5V/1A wall adapter (not your phone’s fast charger). If the port feels gritty, blast it with compressed air first.
Monitor Charging Safely
A solid red LED means charging has started. If no light appears:
– Swap to a different USB cable immediately
– Test the adapter with your phone
– Check for bent pins inside the port with a flashlight
Green means fully charged (4-8 hours typically). Never leave it charging overnight—lithium batteries degrade faster above 80% capacity.
Swap Removable Batteries in 60 Seconds Flat
For Ring 3/4 or Arlo Wire-Free models, battery swaps take under a minute if you know the trick:
Power Down Through the App First
Open your doorbell’s app and navigate to Device Settings > Power Management. Select “Prepare for Battery Removal.” This stops recordings and prevents data corruption. Skipping this step causes 40% of “bricked” camera cases.
Release the Battery Properly
Press the release button firmly for 3 seconds (don’t tap). Slide the battery straight out—no twisting or tilting. Forcing it damages the connector pins. Note the + and – symbols on the battery; they must align with markings inside the compartment.
Charge Smartly
Place the battery in its dock or connect via cable. Charging completes in 3-5 hours. Pro Tip: Buy a second battery pack ($25-$40) and rotate them monthly. This extends total battery life by 2 years.
Fix Hardwired Power Failures in 10 Minutes

When your “hardwired” Ring Pro shows low-battery alerts, the transformer is starving it of power:
Test Transformer Voltage
Turn off the circuit breaker. Use a multimeter to check voltage at the doorbell wires. Critical threshold: You need 16-24V AC. Below 10V? The transformer is failing. Replace it with a 16V/30VA model—this powers even high-drain cameras like Google Nest Doorbell (wired).
Secure Connections Safely
With power off, tighten wire nuts connecting doorbell wires. Corroded copper strands? Snip 1/4″ off and re-strip. Wrap connections with outdoor-rated wire nuts—not standard ones. Moisture causes 70% of intermittent power failures.
Solve 3 Critical Charging Emergencies Now
Dead Camera Before Vacation?
Use a portable power bank: Plug a 10,000mAh bank into a weatherproof container mounted near your door. Run the USB cable through a mail slot. Secure it with zip ties. This powers your camera for 3-5 days—enough time to get home.
Port Won’t Accept Cable?
The #1 cause is pocket lint jamming the port. Power off the camera. Insert a toothpick sideways (never straight down!) to dislodge debris. Blow gently with compressed air. Test with a different cable immediately.
Battery Drains Overnight?
Reduce false alerts: Open your app > Motion Settings > Activity Zones. Draw a box covering only your porch—not the street. Set sensitivity to “Medium.” This cuts battery drain by 50% according to Arlo’s usage data.
Manufacturer-Specific Charging Shortcuts
:max_bytes(150000):strip_icc()/GoogleNestDoorbellcharging-be1e1c1c9f984046910a37000011a3c5.png)
Ring Models
– Ring 2nd Gen: Charge via micro-USB in 5 hours. Warning: Using USB-C adapters damages the port.
– Ring 4: Remove battery by pressing the release button for 5 seconds. Full charge in 6 hours.
Google Nest
Battery model requires the magnetic USB-C cable—it won’t work with standard cables. Charging completes in 5 hours. If the magnet won’t attach, clean the metal contacts with isopropyl alcohol.
Arlo Essentials
Slide the battery release lever down (not up!). Charging takes 4 hours—but only with the included dock. Third-party docks overheat the battery.
Prevent Future Battery Disasters
Monthly Maintenance Checklist
– Clean charging ports with a dry toothbrush
– Check weather seals for cracks
– Update firmware (fixes battery bugs)
– Rotate spare batteries if owned
Seasonal Adjustments
Below 32°F? Charge batteries indoors—they lose 30% capacity in freezing temps. In summer, install under eaves; direct sun overheats batteries. Solar panel owners: Tilt panels 45 degrees in winter for maximum sun capture.
When to Replace Batteries
If charging time doubles or the camera dies within 1 week, replace the battery. Most last 18-24 months. Recycle old ones at Best Buy or through the manufacturer—never trash lithium batteries.
Key Takeaway: Your doorbell camera’s charging method dictates your maintenance routine. Built-in batteries need port cleaning and correct cables, removable packs require spare batteries on hand, and hardwired units demand transformer checks. Implement the 30-second monthly port cleaning ritual, keep a spare battery charged to 50%, and you’ll never miss another delivery. For immediate fixes, always carry a micro-USB cable and power bank in your car—95% of charging emergencies get solved with these two items.

