Old, cracked caulk around your window frame is more than an eyesore. It lets in drafts, water, and pests while driving up your energy bills. Knowing how to remove caulk from window frames properly is the only way to prepare the surface for a fresh, long-lasting seal.
In this guide, you will learn three proven removal methods, the right tools for each situation, and how to prep and re-caulk like a pro. Whether you are dealing with silicone, latex, or acrylic caulk, these techniques will save you time and protect your window frame from damage.
Set Up a Safe Workspace Before You Begin
Caulk removal creates debris and sometimes involves heat or solvents. A few minutes of preparation prevents injury and protects nearby surfaces.
Gear Up for Protection
Wear safety goggles to keep flying fragments out of your eyes. Pull on rubber gloves to guard against sharp blades and chemical cleaners. If you plan to use mineral spirits or a heat gun, open windows or work outdoors so fumes do not build up.
Shield the Surrounding Area
Clear furniture and plants away from the window. Spread drop cloths or old newspapers on the sill and floor to catch falling pieces. Run masking tape along painted trim, drywall, and delicate wood like oak window stools. This simple step prevents scratches and gouges when your scraper slips.
Pick the Best Tools for Your Removal Job

The right tool depends on the caulk type, surface material, and size of the project. Matching your approach to the job makes removal faster and safer.
Manual Tools for Small or Delicate Work
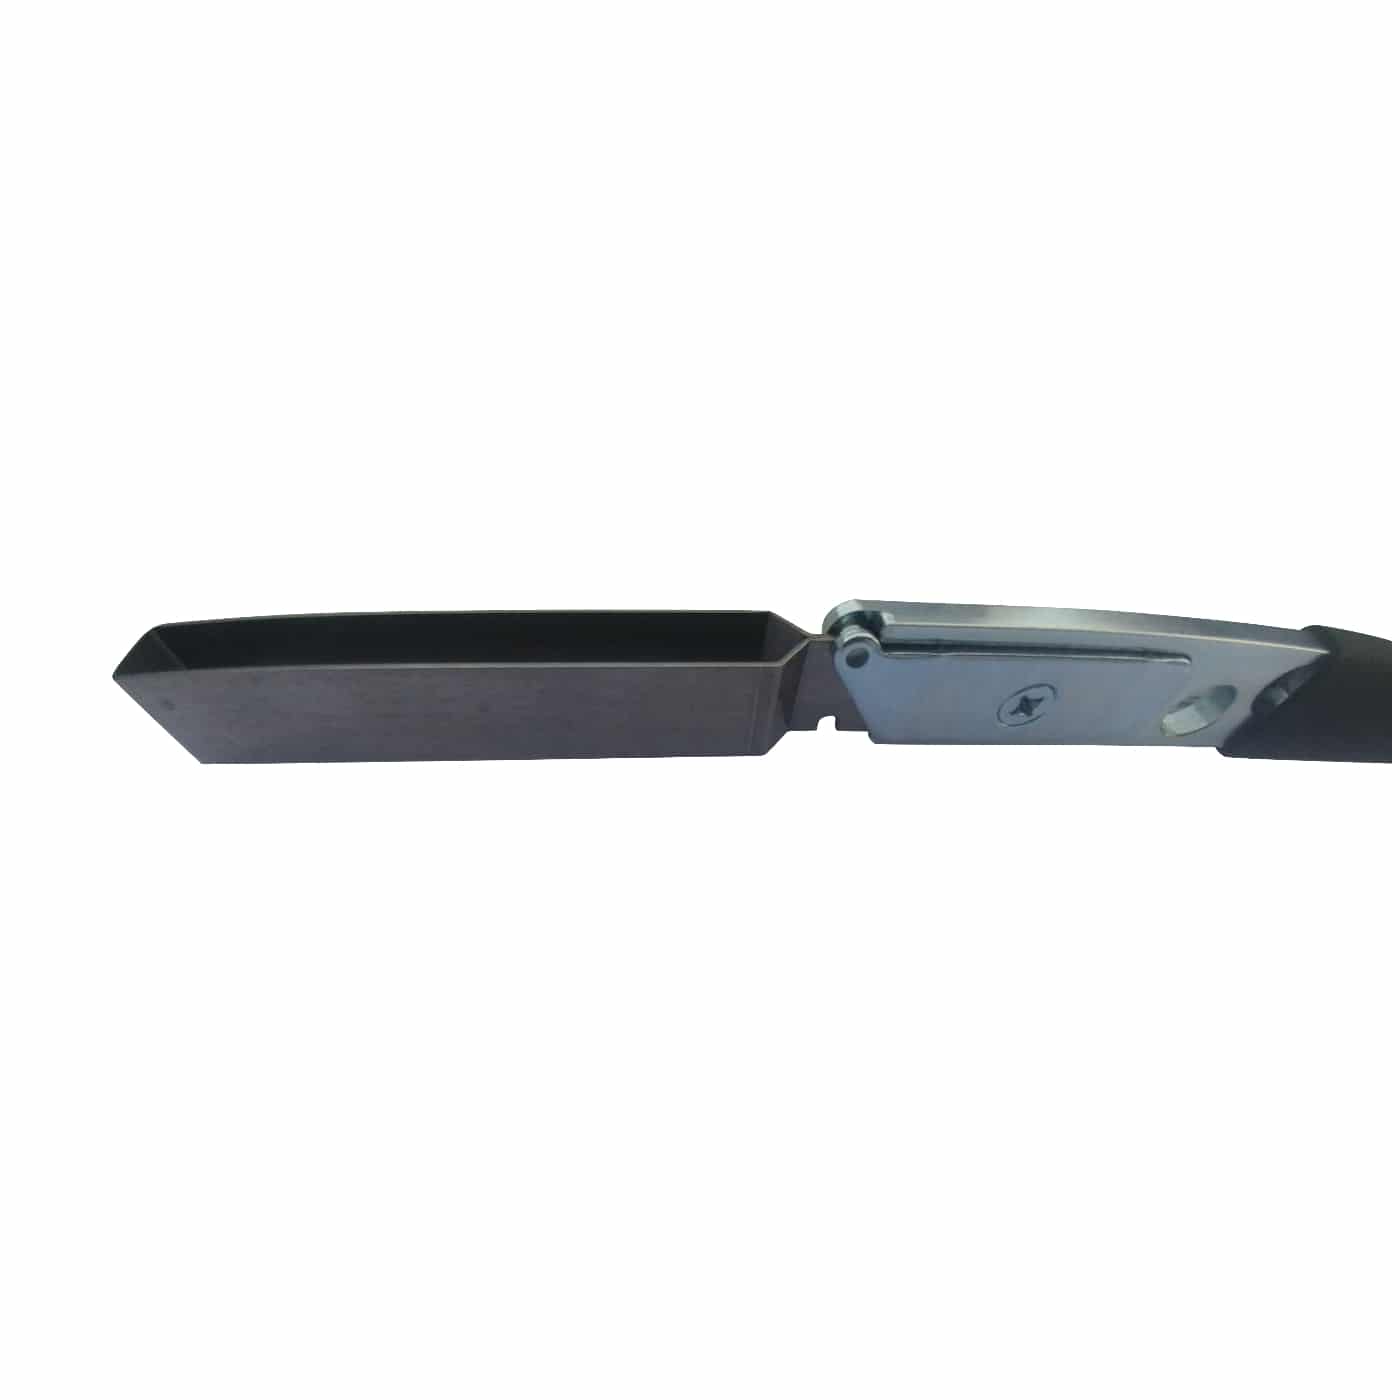
A utility knife scores the caulk cleanly when you lightly dull the blade with sandpaper first. A sheetrock knife cuts through thick, aged seams with its stiff, angled edge. A plastic scraper or flexible putty knife removes residue without scratching paint or soft wood. A pull scraper peels out bulk caulk after scoring. Tweezers grab loose strips from tight corners. A soft bristle brush sweeps dust from porous surfaces like brick and stucco.
Power Tools for Fast, Large-Scale Removal
An oscillating multi-tool with a dedicated caulk removal blade strips old sealant up to 15 times faster than manual methods. Set the tool to its lowest speed and let the vibration do the cutting. Top picks include the Milwaukee M12 Fuel for performance and the Jorgensen Corded Tool for budget shoppers.
A heat gun or hair dryer softens brittle, cured caulk. Use the low or medium setting and hold the tool 6 to 8 inches from the surface to avoid melting vinyl or blistering paint.
Solvents for Stubborn Residue
Mineral spirits dissolve leftover silicone. White vinegar breaks down water-based or latex caulk. Rubbing alcohol cleans porous surfaces and helps new caulk bond better. Always test any solvent on a hidden spot first to confirm it will not damage the finish.
Score the Old Caulk to Break Its Bond
Scoring is the first physical step and it makes everything else easier. A clean cut separates the caulk from both the frame and the wall.
Cut Both Sides of the Joint
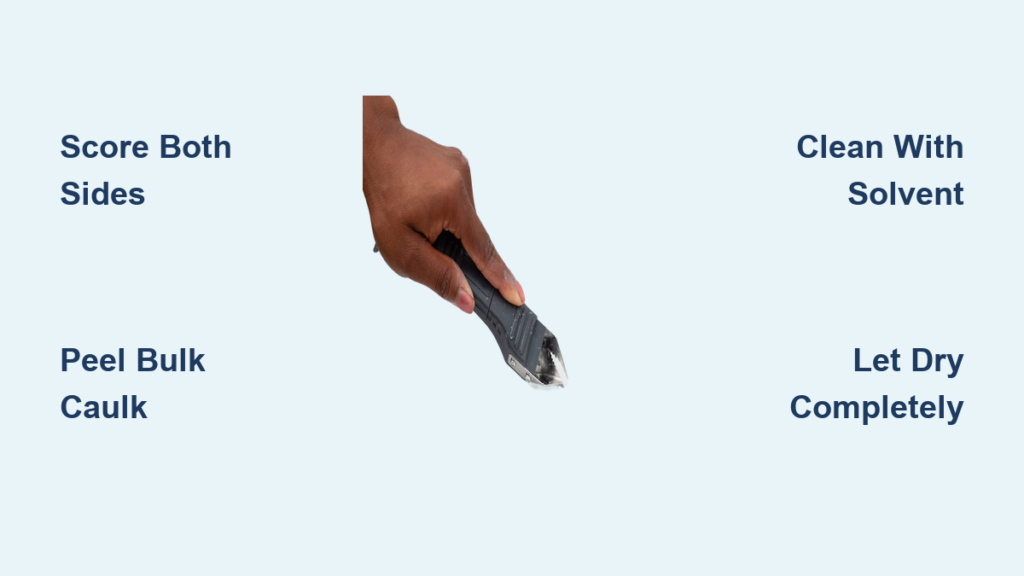
Hold your utility knife or sheetrock knife at a slight angle and glide it along the edge where caulk meets the frame. Apply steady pressure and let the blade slice through without digging into the wood or drywall. Flip your position and score the opposite side of the bead. This isolates the strip so it lifts out cleanly.
Start at the Top and Work Down
Begin at the top of the window and move down the sides. These areas face the most weather and usually have the thickest buildup. Score in one direction, then reverse to catch the other edge. Do not force the blade. A sharp edge with light pressure works better than heavy pushing.
Peel Away the Bulk Caulk
Once scored, the caulk comes off in strips. Choose a method that fits your job size and the caulk hardness.
Manual Scraping for Small Repairs
Slide a pull scraper or sheetrock knife under the scored edge and gently pry upward. Work slowly to avoid gouging wood or drywall. In tight corners, switch to tweezers to grip and pull stubborn bits. Try to remove caulk in long, continuous pieces to cut down on leftover residue.
Oscillating Tool for Big Jobs
Attach a caulk removal blade and set the tool to its slowest speed. Hold it steady and guide the blade along the joint while the vibration cuts through the material. Do not force the tool. A second quick pass usually clears any remaining flecks in seconds.
Heat Softening for Hardened Caulk
Point a heat gun or hair dryer at the seam from 6 to 8 inches away. Move it slowly and evenly for 30 to 60 seconds until the caulk softens. Slide a plastic scraper underneath and lift the material out. If you meet resistance, reapply heat and try again.
Clean the Joint Until It Is Spotless

A clean surface is non-negotiable for a strong new seal. Dust, oil, and leftover chunks cause new caulk to fail early.
Match the Cleaner to the Caulk Type
Dampen a rag with mineral spirits and rub away any silicone residue. For latex or water-based caulk, use white vinegar on a cloth to dissolve what remains. On brick or stucco, wipe the joint with rubbing alcohol to soften hidden adhesive and prep the surface for bonding.
Sweep Out Loose Debris
Run a soft bristle brush or dry paintbrush along the joint to clear dust and tiny fragments. If you have compressed air, blow out the gap to remove anything trapped deeper inside.
Confirm the Surface Is Dry and Ready
Never apply new caulk over moisture or grime. A quick inspection now prevents headaches later.
Feel and Look Closely
Run a gloved finger along the joint. It should feel smooth with no bumps or sticky spots. Check corners and edges where residue hides easily.
Wait for Complete Dryness
Let the area dry fully after any solvent or water use. Moisture trapped under fresh caulk blocks curing and invites mold growth.
Tape for Clean Edges
Apply masking tape along both sides of the joint. This protects nearby surfaces and helps you lay down straight, professional-looking lines when you apply the new bead.
Lay Down the New Caulk the Right Way
With a clean, dry surface, you are ready to seal. The right product and technique deliver decades of protection.
Choose a High-Performance Sealant
Siliconized latex acrylic caulk offers flexibility, strong adhesion, and UV resistance. It bonds to wood, vinyl, metal, and masonry and lasts 20 to 30 years when applied correctly.
Prep the Nozzle and Test the Flow
Snip the tube tip at a 45-degree angle. Start with a small opening since you can always cut more. Squeeze a test bead onto cardboard to adjust your pressure and speed.
Apply a Smooth, Continuous Bead
Start at the top of the joint and work downward. Hold the gun at a 45-degree angle and apply steady pressure while moving at a consistent pace. This fills the gap fully without air pockets or excess.
Smooth and Remove the Tape
Smooth the bead right away using a damp finger, a caulking tool, or a thin wooden wedge held at a 45-degree angle. Wipe away extra caulk with a damp rag. Pull off the masking tape within 5 to 10 minutes while the sealant is still slightly tacky.
Let the Seal Cure and Check It Annually
Fresh caulk needs time to harden before facing water or stress.
Follow the Curing Window
Most siliconized latex caulks cure in 24 to 48 hours. Check the manufacturer label and avoid washing the area or exposing it to heavy rain during this time.
Inspect Once a Year
Look over the seal each year for cracks, shrinking, or detachment. Catching problems early lets you do spot repairs before water intrusion causes real damage.
Steer Clear of These Common Mistakes
A few simple errors can ruin your hard work. Avoid them and your new seal will last for decades.
Using a Razor-Sharp Blade on Soft Wood
A brand-new utility blade can slice into painted trim or oak window stools. Dull the edge slightly with sandpaper or switch to a plastic scraper on delicate areas.
Skipping the Final Clean
Dust and oil block adhesion. Always brush and wipe the joint before re-caulking, even if it looks clean.
Overheating with a Heat Gun
Too much heat melts vinyl frames and blisters paint. Keep the gun moving and stay 6 to 8 inches away.
Caulking Over a Damp Surface
Moisture is the top cause of adhesion failure. Wait until the surface is 100 percent dry before you start.
Cutting the Nozzle Too Wide or Narrow
A tiny opening strains the tube while a huge one wastes material. Match the cut to the gap width for best results.
Frequently Asked Questions About Removing Caulk from Windows
What Is the Easiest Way to Remove Caulk from a Window?
For most homeowners, an oscillating multi-tool with a caulk removal blade is the fastest and easiest option. It cuts through old caulk up to 15 times faster than manual scraping with minimal cleanup. For small touch-ups, a utility knife and pull scraper work just fine.
Can I Apply New Caulk Over Old Caulk?
No. New caulk will not bond well to old, cracked sealant and the joint will fail prematurely. You must remove all old caulk, clean the surface, and let it dry before applying a fresh bead.
What Dissolves Old Silicone Caulk?
Mineral spirits are the most effective solvent for silicone residue. Dampen a rag or cotton swab and rub the joint until the leftover material dissolves. Always test on a hidden area first.
How Do I Remove Caulk from a Window Without Damaging the Frame?
Use a plastic scraper or flexible putty knife on painted or soft surfaces. Dull your utility knife blade with sandpaper before scoring to prevent digging into wood. Apply masking tape to protect trim and delicate areas.
How Long Does New Window Caulk Last?
A properly applied siliconized latex acrylic caulk can last 20 to 30 years. Surface preparation, correct application technique, and allowing full curing time are the keys to maximum lifespan.
Is a Heat Gun Safe for Vinyl Window Frames?
A heat gun is safe if you keep it on low to medium heat and hold it 6 to 8 inches from the surface. Move it constantly and never focus on one spot. Excessive heat can melt vinyl or warp the frame.
Key Takeaways for a Clean, Lasting Window Seal
Learning how to remove caulk from window frames is the foundation of a durable, weather-tight seal. Score both sides of the joint, peel away the bulk material with the right tool, and clean the surface with a solvent matched to your caulk type. Always let the area dry completely before applying fresh sealant.
Your next step is to gather your tools, pick a dry mild day, and tackle the oldest window in your home. A properly re-caulked window boosts energy efficiency, blocks moisture, and protects your home for decades to come.