

A drafty, foggy, or stuck bathroom window can quietly drain your energy bills and let moisture creep into your walls. When seals fail or glass cracks, the damage spreads faster than most homeowners expect. Learning how to replace a bathroom window the right way restores comfort, boosts efficiency, and refreshes your space without a full remodel.
This guide walks you through every stage of the project, from picking the perfect window style to sealing the final frame. You will learn how to measure accurately, remove the old unit without damaging drywall, and install a new window that stands up to humidity. With basic tools and a free weekend, you can tackle this upgrade confidently and learn how to replace a bathroom window like a pro.
Choose the Right Replacement Window for Your Bathroom
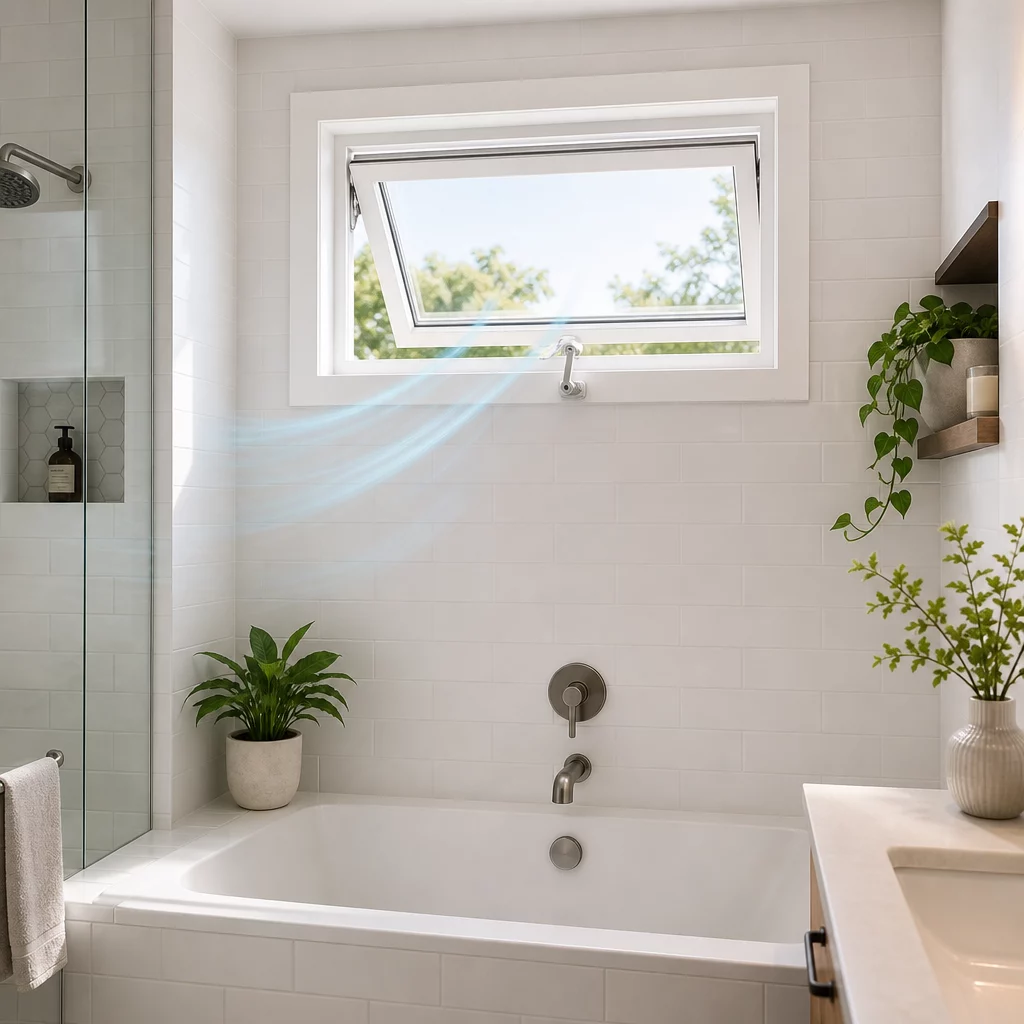
Picking the correct window sets the foundation for a successful bathroom window replacement. Bathrooms demand materials and styles that handle moisture while offering privacy and ventilation.
Pick a Style That Suits Your Space
Awning windows crank outward from the bottom and stay open during rain. Hopper windows tilt inward from the top and fit well in tight or elevated spots. Sliding windows glide horizontally and work in wider wall sections. Fixed windows supply light without any opening mechanism, ideal for privacy-focused designs.
For compact bathrooms, a 24×36-inch or 20×30-inch unit often fits standard rough openings. Frosted or textured glass lets daylight in while keeping the view out.
Match the Existing Frame Dimensions
Measure the height, width, and depth of your current rough opening before ordering. Most replacement units are insert or pocket windows that slide into the existing frame. This approach avoids major drywall or trim repairs.
Pro Tip: Measure at three points across each dimension (top, middle, bottom) and use the smallest figure to guarantee a snug fit.
Prioritize Energy Efficiency
Double-pane glass with Low-E coating blocks UV rays and reduces heat transfer. An Energy Star rated window meets strict efficiency standards and performs well in steamy bathroom conditions. Vinyl frames resist moisture better than wood and require less upkeep.
Prepare the Workspace Safely Before You Replace a Bathroom Window

Bathrooms present tight corners, slippery floors, and nearby plumbing. Smart preparation keeps your space protected and your workflow smooth.
Clear the Area Completely
Move towels, toiletries, and shower curtains out of the room. Lay drop cloths or cardboard over tile and vinyl flooring to catch debris. Switch off power to nearby outlets or light fixtures before you begin.
Gather Essential Tools and Materials
Round up these items before starting:
– Utility knife
– Pry bar
– Hammer
– Screwdriver (flathead and Phillips)
– Caulking gun
– Exterior-grade silicone sealant
– Shims
– Level
– Measuring tape
– Safety goggles and work gloves
Having everything ready prevents mid-project trips to the hardware store.
Remove the Old Bathroom Window Carefully
Pulling out the existing window requires patience to protect the surrounding wall and frame.
Cut Through Sealant and Remove Trim
Slice through paint or caulk along the window trim using a utility knife. Gently pry off interior trim pieces with a flat bar. Save the trim if you plan to reinstall it later.
Take Out the Sash or Full Unit
For double-hung or sliding windows, release the side jambs or lift mechanisms and remove the sash first. If the pane is cracked or the frame is rotted, pull the entire unit out. Work from inside and outside to loosen stubborn nails or screws.
Inspect the Rough Opening
After removal, check the sill and frame for rot, mold, or water stains. Replace any damaged wood before moving forward. Sweep away dust and debris so the new window seats flat.
Install the New Bathroom Window Unit

Accurate alignment and tight sealing make the difference between a drafty fit and a professional result.
Dry-Fit the Replacement Window
Set the new unit into the opening without fasteners. Confirm an even gap on all sides. The window should slide in snugly without forcing. Use shims beneath the sill to level it if needed.
Apply Flashing and Sealant
Run a continuous bead of exterior-grade sealant along the sill. Add step flashing around the top and sides if you are working from the exterior. Flashing directs water away from the frame and prevents rot.
Position and Secure the Window
Press the window firmly into the sealant bed from the inside. Check plumb with a level and adjust shims as required. Drive screws through the mounting flange into the surrounding framing.
Expert Note: Avoid over-tightening screws. Excessive pressure can warp the frame and prevent the sash from operating smoothly.



