
Your Vivint doorbell camera suddenly needs to come down—maybe new siding installation begins tomorrow, you’re moving to a new house, or you’re upgrading to a newer model. Whatever the reason, removing your Vivint doorbell camera incorrectly risks cracked siding, damaged wiring, or even electrical shock. I’ve seen homeowners accidentally rip wires from junction boxes or leave live terminals exposed during DIY removals. This guide gives you the exact Vivint-specific steps to safely detach any model—whether it’s secured by hidden screws, industrial adhesive, or low-voltage wiring—while protecting your home’s exterior and electrical system. You’ll learn how to identify your model in 30 seconds, bypass common pitfalls like stripped security screws, and prep for seamless reinstallation after siding work.
Unlike generic doorbell removal guides, Vivint units have unique challenges: proprietary mounting hardware, weatherproof seals, and tamper-proof designs. Skipping even one step could mean costly repairs or voided warranties. By following this Vivint-specific roadmap, you’ll avoid the top three mistakes I see: failing to cut power at the breaker (not just the device), forcing adhesive mounts causing paint damage, and disconnecting wires without documentation. Let’s get your camera safely off the wall in under 20 minutes.
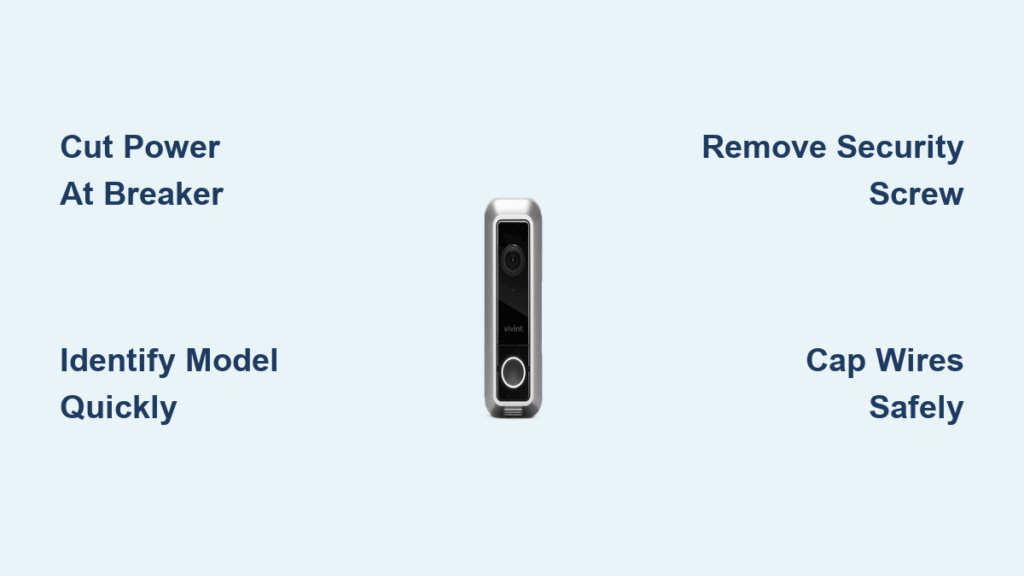
Cut Power at Breaker Before Removing Vivint Doorbell Camera
Ignoring this step risks electrical shock or frying your Vivint system. Start by locating your home’s main electrical panel and identifying the breaker labeled “doorbell” or “chime.” Flip it to OFF and wait 30 seconds—this drains residual power from the transformer. Never rely solely on the device’s power-off button; low-voltage systems can still carry current. To confirm power is dead, press your indoor doorbell button; silence means you’ve succeeded.
Verify Power Disconnection with Two Methods
Test with a non-contact voltage tester near the doorbell wires for absolute safety. If unavailable, use the device shutdown sequence: press and hold the setup button (usually on the side) for 5+ seconds until the LED turns solid red. This secondary step ensures no accidental activation during removal. If the chime sounds or the LED blinks, return to the breaker box—your circuit might be mislabeled.
Essential Tools Checklist for Safe Removal
Grab these before starting:
– Phillips screwdriver (size #1 or #2)
– Plastic pry tool (or old credit card)
– Needle-nose pliers for wire handling
– 90%+ isopropyl alcohol for adhesive cleanup
Skip metal tools like knives—they scratch siding and risk short circuits.
Identify Your Vivint Doorbell Model in 30 Seconds
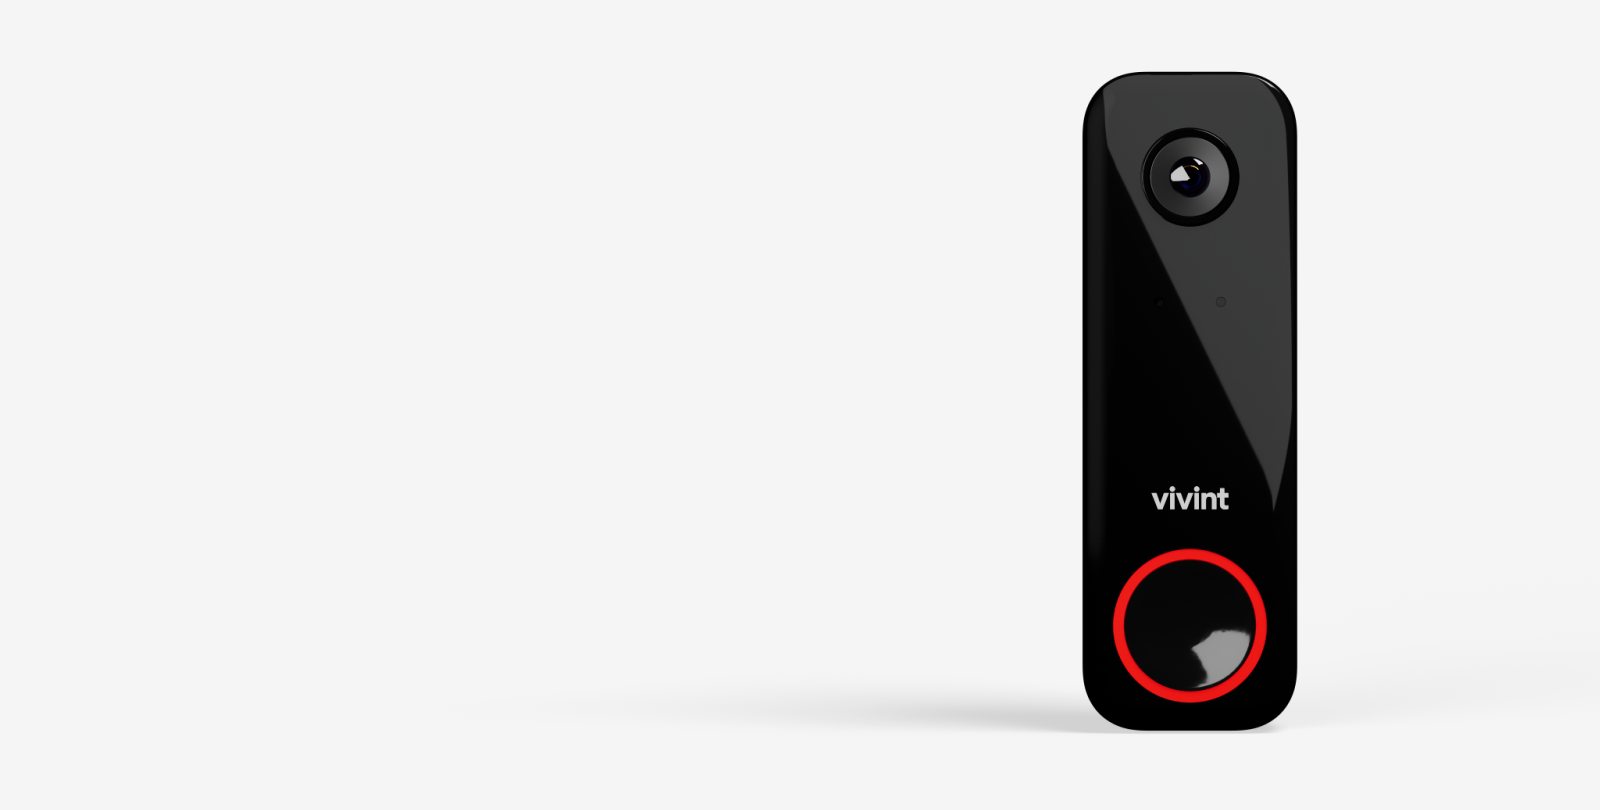
Your removal approach depends entirely on the model. Check the bottom or back edge of the camera for a white sticker with model numbers like DD2100 or DB100. If obscured, gently lift the Vivint logo on the faceplate—it slides or pops up on most units to reveal the sticker underneath. Screw-mounted models (common in pre-2020 installations) have visible hardware, while newer units often use adhesive.
Remove Screw-Mounted Vivint Doorbell in 3 Steps
Most Vivint cameras hide a security screw under the logo to deter theft. Missing this step leads to broken plastic housings when you force the unit off.
Access the Hidden Security Screw
Slide your fingernail under the Vivint logo at the top edge—it releases with light pressure. If stuck, use a plastic tool to avoid scratching. The screw sits directly beneath, often recessed. For older models, check below the camera faceplate for small access holes.
Remove the Tamper-Proof Screw
Turn the Phillips screw counterclockwise slowly. If it resists, place a rubber band between the screw head and screwdriver for grip. Never use pliers—this strips the head. Keep the screw safe; Vivint’s proprietary hardware isn’t sold at hardware stores.
Detach the Camera Body Safely
Grasp the bottom edge firmly and pull straight out 1-2 inches. The top will pivot free from the mounting bracket. If it sticks, wiggle gently side-to-side—yanking cracks the plastic housing. You’ll hear a soft click when released.
Detach Adhesive-Mounted Vivint Doorbell Without Wall Damage

Post-2020 Vivint models often use industrial-strength adhesive pads that bond tightly to siding. Forcing removal leaves holes or peels paint.
Release Adhesive Without Damaging Siding
Insert a plastic pry tool at the bottom corner and twist gently to create a 1/8-inch gap. Work clockwise around the perimeter, never lifting more than 1/4 inch at once. For brick or stucco, slide dental floss behind the camera in a sawing motion to slice the adhesive cleanly.
Soften Stubborn Adhesive Safely
If resistance exceeds gentle pressure, warm the edges with a hair dryer on LOW for 30 seconds—heat weakens the bond. Never use chemicals like Goo Gone; they melt camera plastics. Test on a hidden area first if your siding is vinyl (heat can warp it).
Safely Disconnect Vivint Doorbell Wires Without Shock Risk

Wired models connect to low-voltage (16-24V) transformers, but exposed wires can still cause shorts. Battery-powered units skip this step.
Document and Cap Wires in 4 Critical Steps
- Photograph wire positions before touching anything—terminals are labeled “Front,” “Trans,” or “Common.”
- Loosen terminal screws counterclockwise with needle-nose pliers (don’t pull wires directly).
- Cap each wire with wire nuts or electrical tape immediately after removal.
- Label wires with masking tape noting their original terminal (e.g., “FRONT”).
Never leave bare wires dangling—they can touch metal studs and short-circuit. Tuck capped wires into the wall cavity using pliers.
Coordinate Vivint Doorbell Removal With Siding Contractors
Removing too early exposes wiring to rain; too late delays installation. Time this perfectly.
Critical Handoff Steps for Siding Projects
- Remove the camera the morning of installation—not days prior.
- Mark wire entry points with colored tape so contractors avoid drilling there.
- Confirm if they need the mounting bracket removed (most do for new siding).
- Seal the wall hole temporarily with silicone caulk if reinstallation exceeds 48 hours.
Protect Wires After Removing Vivint Doorbell for Siding Work
Loose wires get cut by contractors or chewed by rodents. Secure them properly.
Wire Storage Protocol During Renovations
Push capped wires 2+ inches into the wall cavity using a bent coat hanger. If wires are too short, secure them to a stud with electrical tape loops (never staples). Take a photo showing wire positions relative to the doorframe—this saves hours during reinstallation.
Fix Stuck Vivint Doorbell Screw or Stubborn Adhesive
When standard removal fails, these field-tested fixes work without damage.
Unseize a Stripped Security Screw
Apply 3 drops of penetrating oil (like WD-40 Specialist) and wait 15 minutes. If the head is stripped, press a rubber band over it for grip while turning slowly. For complete failure, drill a tiny hole and use a screw extractor bit—stop if you feel heat to avoid melting plastic.
Break Industrial Adhesive Bonds
Wrap dental floss around the camera’s bottom edge and “saw” horizontally behind it. For curved surfaces, use fishing line. If siding is vinyl, alternate heat (hair dryer) and floss every 30 seconds—excessive heat causes warping.
Prepare for Vivint Doorbell Reinstallation After Siding
New siding changes mounting dynamics. Verify these points before reattaching.
Post-Siding Mounting Checklist
- Test fit the bracket against thicker siding—some models need spacers.
- Check wire length through new exterior holes; extend if needed with Vivint-approved connectors.
- Apply silicone sealant around new mounting points to prevent water intrusion.
- Confirm level placement with a smartphone app before final tightening.
Never Skip These 4 Safety Steps When Removing Vivint Doorbell
Skipping any of these risks injury or $300+ in repairs.
Critical Non-Negotiables
- Always cut power at the breaker first—device shutdown alone isn’t sufficient.
- Wear safety glasses when prying; adhesive can fling debris.
- Use a stable ladder on level ground—never stand on퀵 furniture.
- Call Vivint support (888-848-4681) if wires show fraying or discoloration.
Your Vivint doorbell camera removal is complete when wires are capped and labeled, the mounting surface is clean, and all hardware is stored safely. For reinstallation, consult Vivint’s official guides for your specific model—improper sealing voids weatherproofing. If siding work exposed wiring longer than 72 hours, have an electrician verify connections before powering up. Now that your doorbell is safely removed, protect your investment by storing it in its original box with desiccant packs to prevent moisture damage during renovations.


